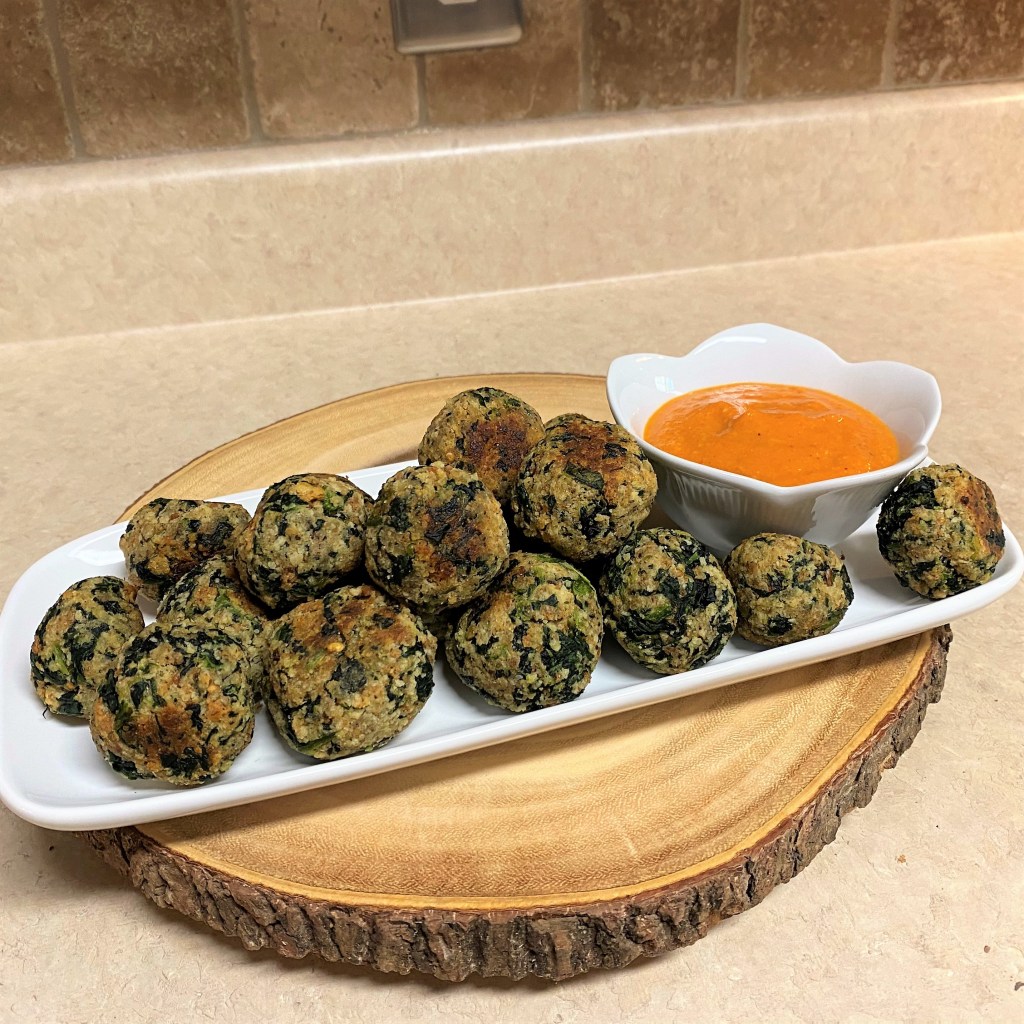
Every now and again, I accidentally cross paths with a recipe that has so many uses I have no choice but to add it to my repertoire. This is one of those sauces, and I can thank my husband, Les, who discovered this one last fall, tucked inside an email he received from New York Times Cooking. The sauce was intended for some kind of “couscous cake,” which sounds interesting for another day, but Les trusted his instinct to believe it a perfect dipping sauce for his spinach ball appetizer recipe, and indeed it was.
As Les and I have repurposed this flavorful sauce for various uses, I have laughed to myself recalling an inside joke from the “Pinch” kitchen, which was how the staff usually referred to A Pinch of Thyme, the catering company where I spent my spare time for about two years. In the Pinch kitchen, it did not matter what kind of sauce you were preparing—it might have been one of the fancy French “mother sauces,” such as a hollandaise or béchamel or velouté, or maybe even a turkey gravy or a cheese fondue—if it was sauce of any type, Chef Rodney had a code word for it: “weez.” I imagined that the moniker might have been adapted from the name of the overly processed spread known as “Cheez Whiz,” but Rodney never confirmed that. It was amusing though, and we all secretly looked forward to the recipes that required creation of a weez, just because it was a funny word to say.
There was such irony in those scenes; while my friend Tammy, the Pinch events manager, was on the phone selling clients on the elegance of a dish such as filet mignon with béarnaise, Rodney was in the kitchen offering instruction for making a “tarragon weez.” He definitely kept things interesting.
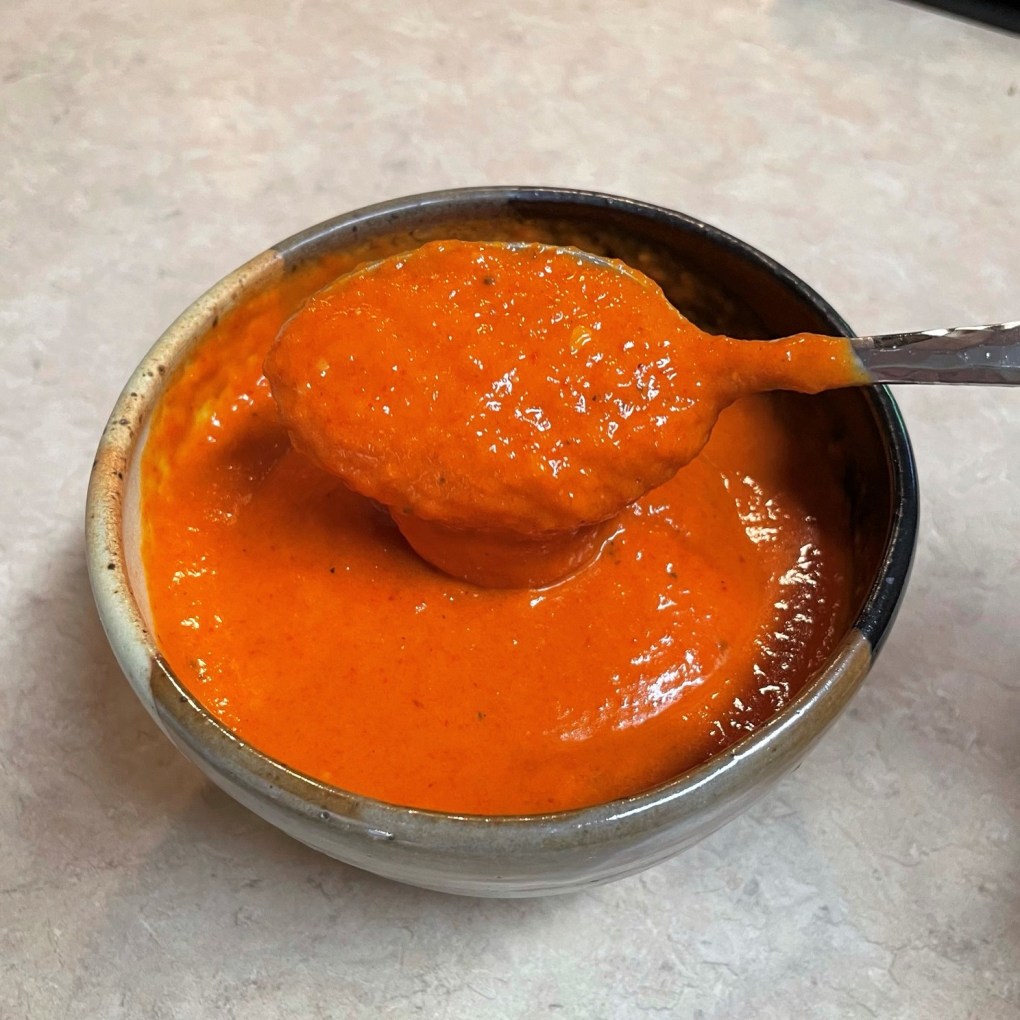
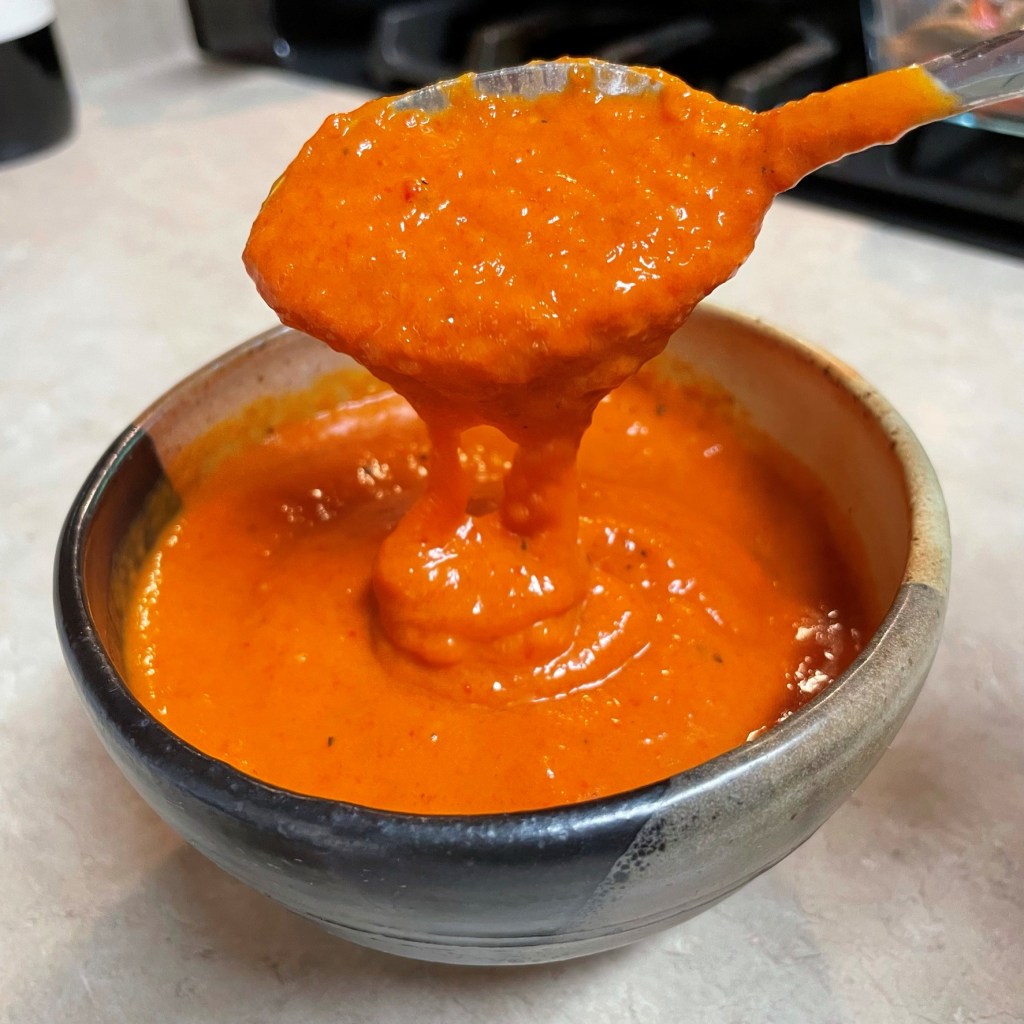
This roasted red pepper weez is simple to make, which is surprising, given its depth of flavor and incredible versatility. The sauce begins in the oven, with the roasting of red bell peppers, a tomato and two whole bulbs of garlic, and it’s finished in the blender, where those ingredients come together with a splash of red wine vinegar, olive oil and the smallest kiss of maple syrup. The result is perfectly balanced and utterly addictive.
Easy, weezy, and delicious! 😊
Adapted from Giant Couscous Cake with Roasted Red Pepper Sauce
Recipe makes about 2 cups
Ingredients
2 medium red bell peppers
1 Roma tomato, halved and seeded
1/4 cup good quality extra virgin olive oil, divided
Kosher salt and freshly ground black pepper
2 bulbs roasted garlic (link to this post for easy DIY instructions)
1 Tbsp. red wine vinegar
1 tsp. real maple syrup (or substitute honey)
Instructions
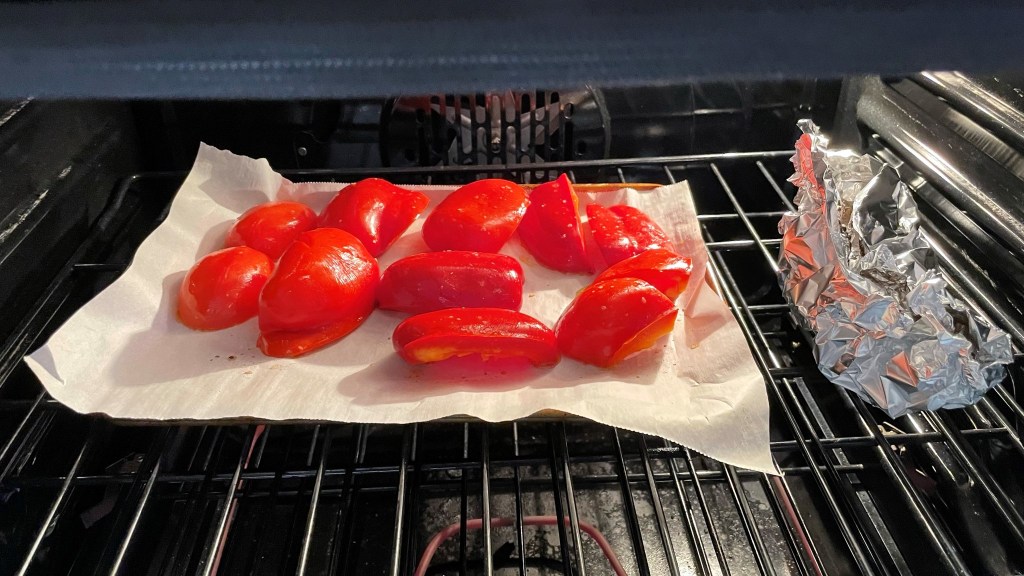
Some people roast peppers whole, but I have found this method easier for even roasting and removal of seeds. These guys stay in the oven until they have a nice blister on them, about 40 minutes. 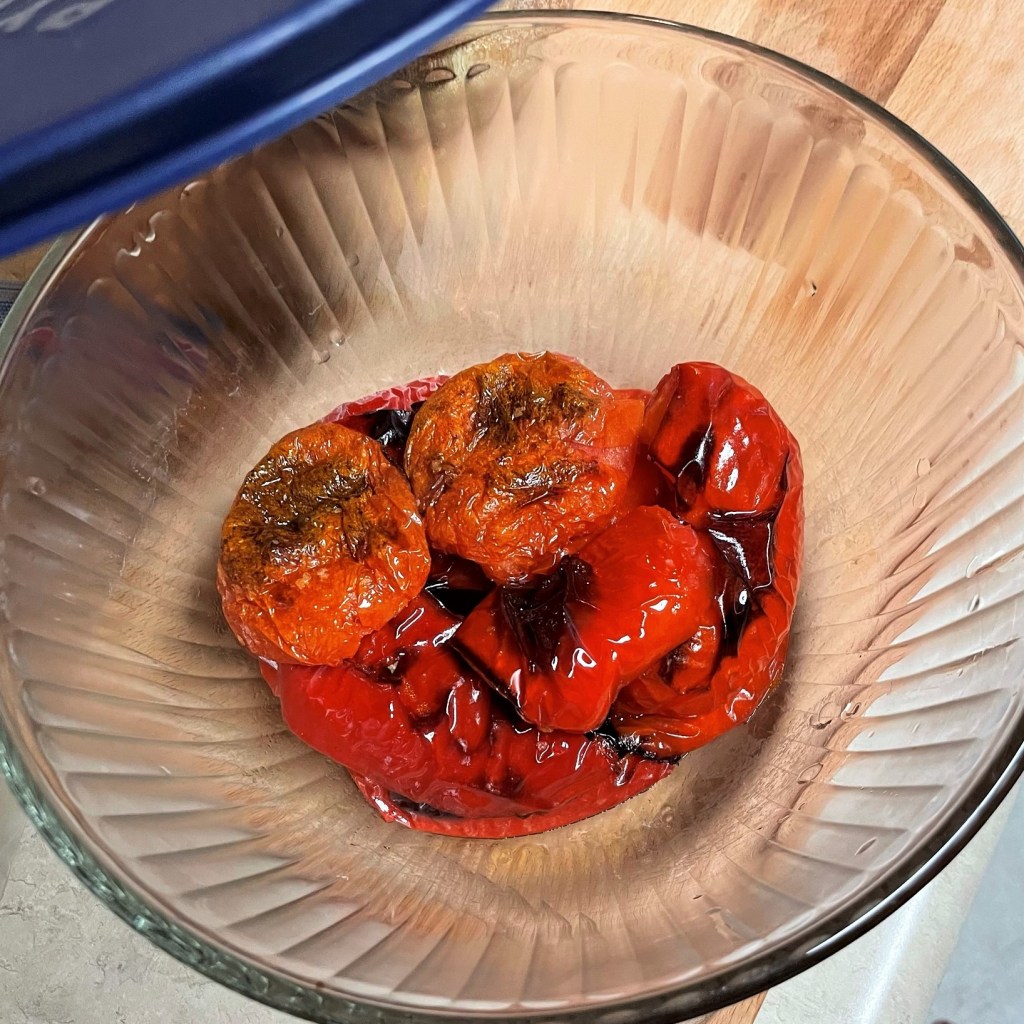
Drop the blistered peppers and tomatoes into a bowl and cover it for at least 20 minutes, enough time to soften the skin for easy removal. 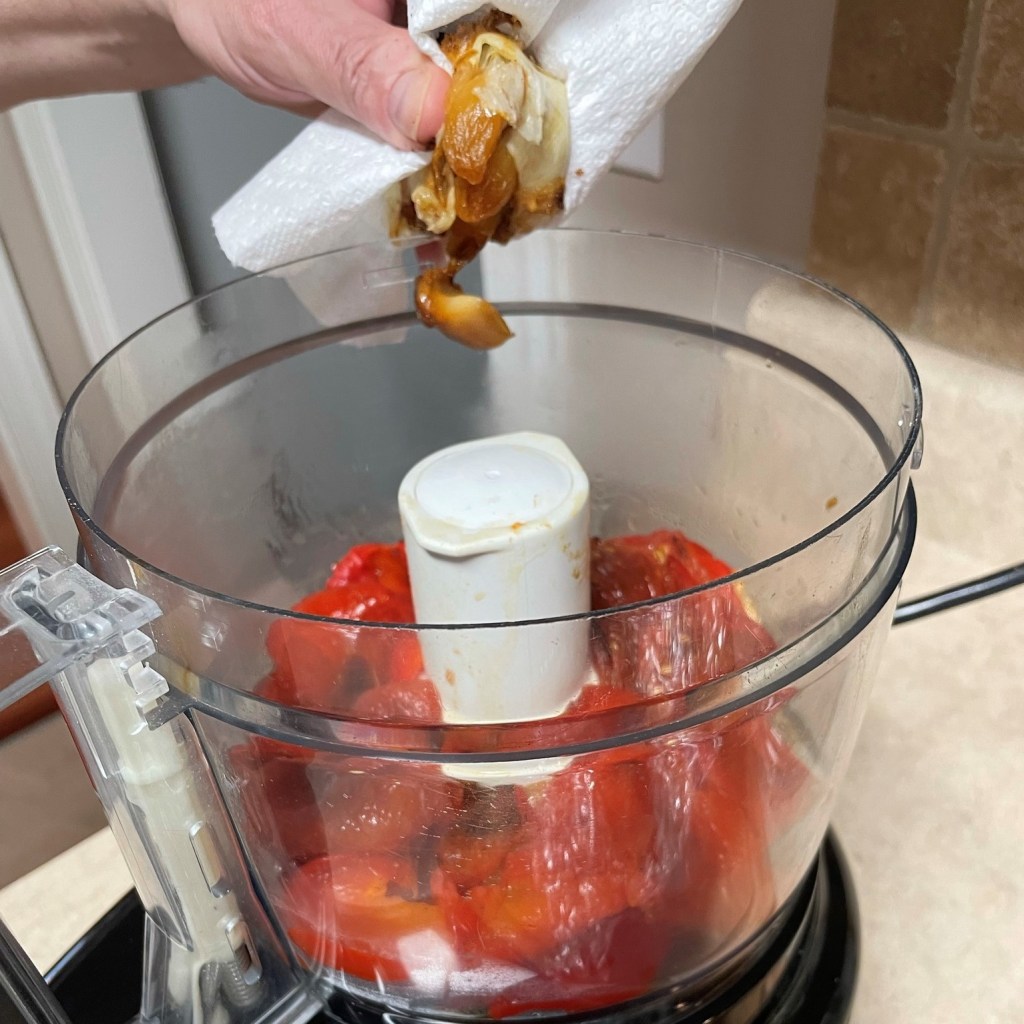
Transfer the peeled peppers and tomatoes to a food processor or standard blender, and squeeze in the roasted garlic. All of it. 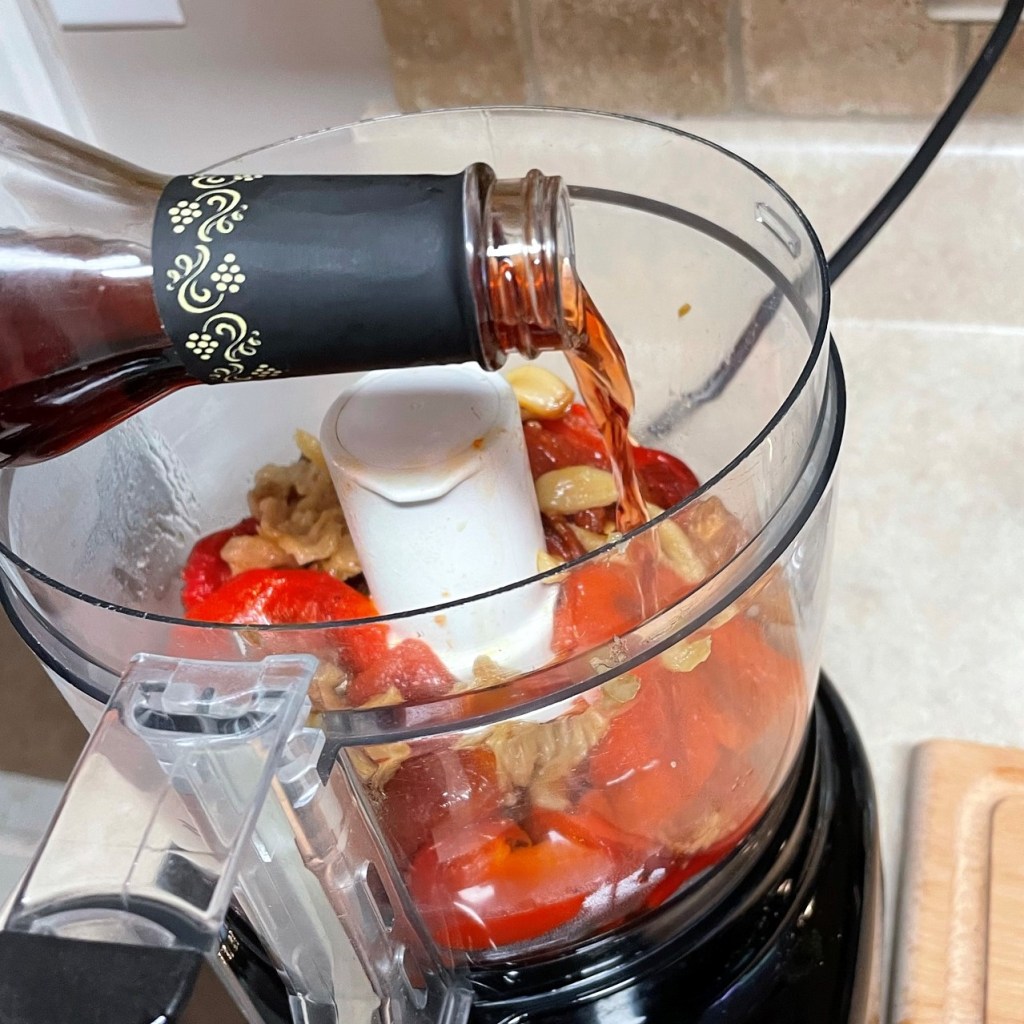
Red wine vinegar gives a little punch to the sauce. The kiss of maple syrup balances the acidity. 
Give the mix a little season of salt to get things started. You can always add more later if needed. 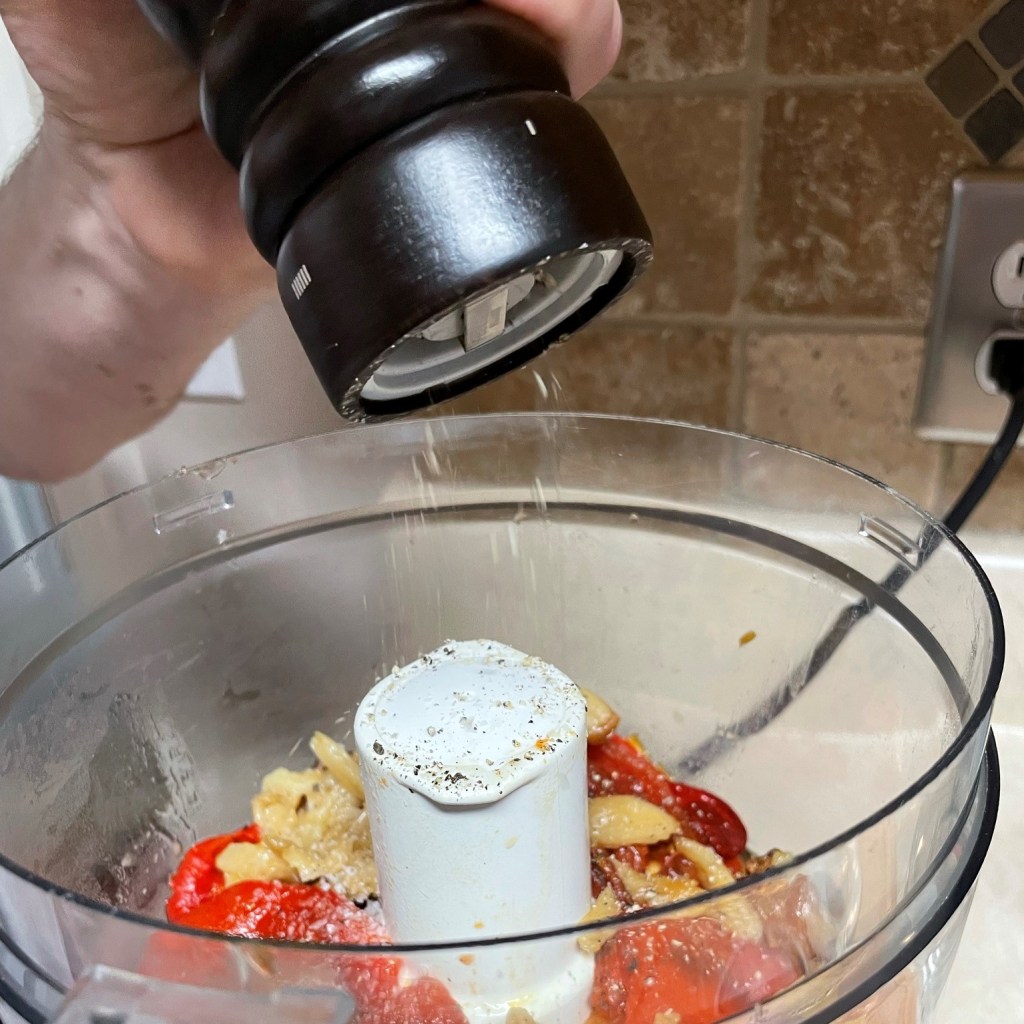
Freshly ground pepper is one of the easiest ingredient upgrades. If you aren’t ready to invest in a pepper mill, look in the store for a bottle of pepper with a grinder already attached. 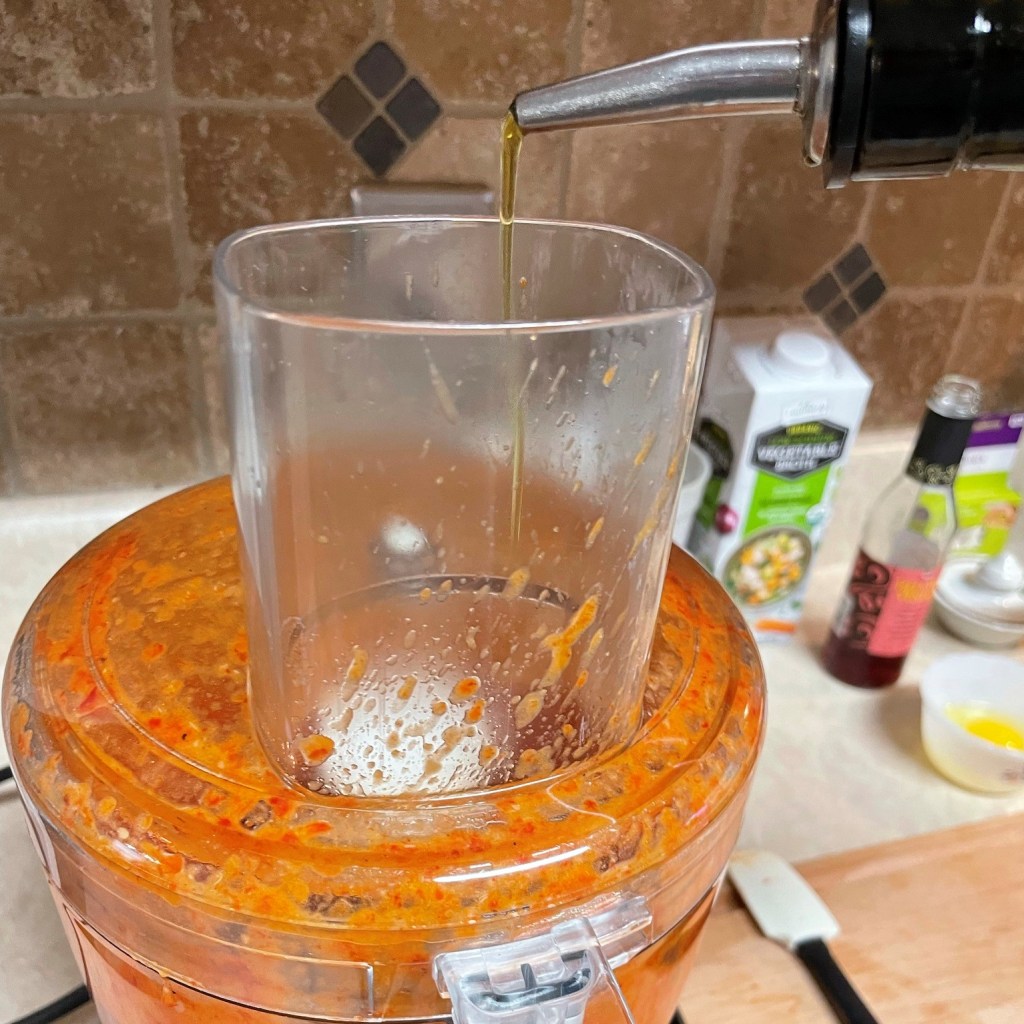
Pulse the mixture, then turn the processor or blender on to run continuously while drizzling in the remaining olive oil. 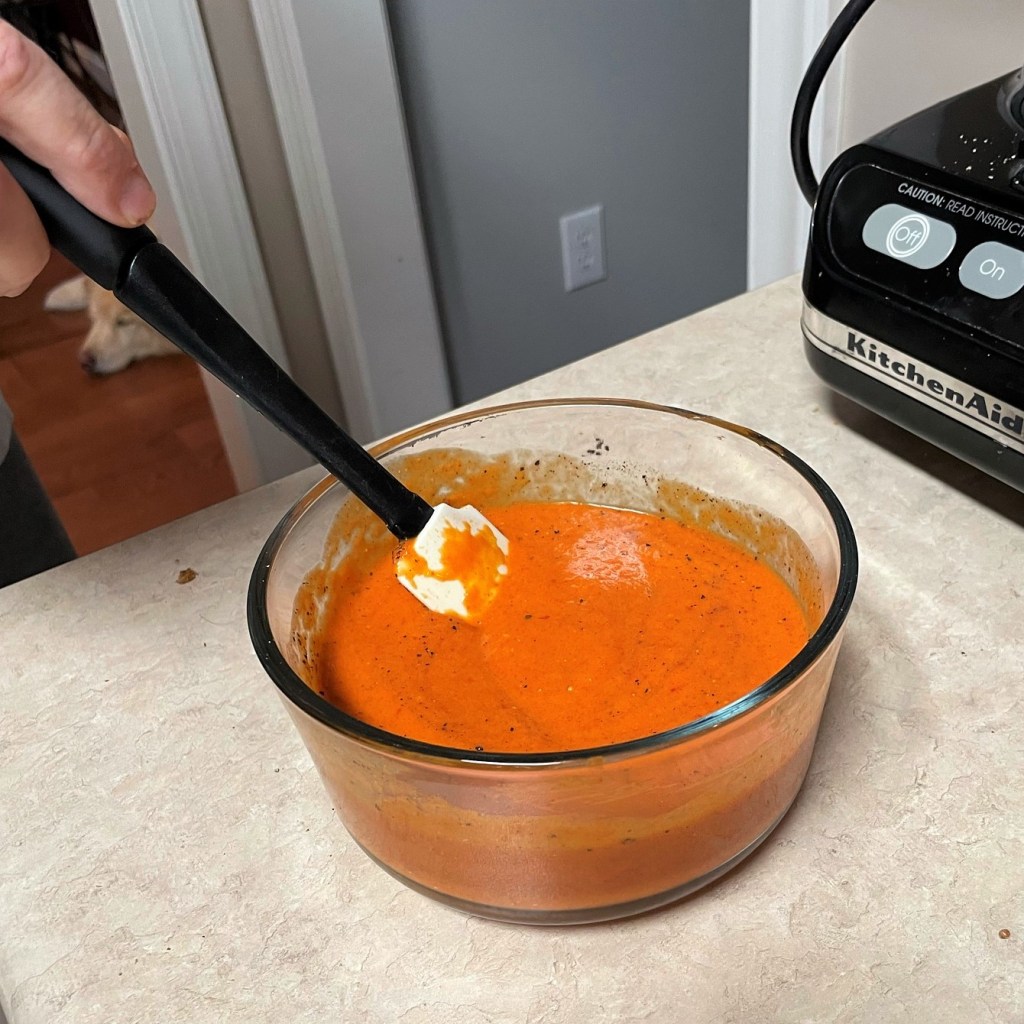
A blender will yield a silkier sauce, but the processor did fine. Adjust salt and pepper to taste. 
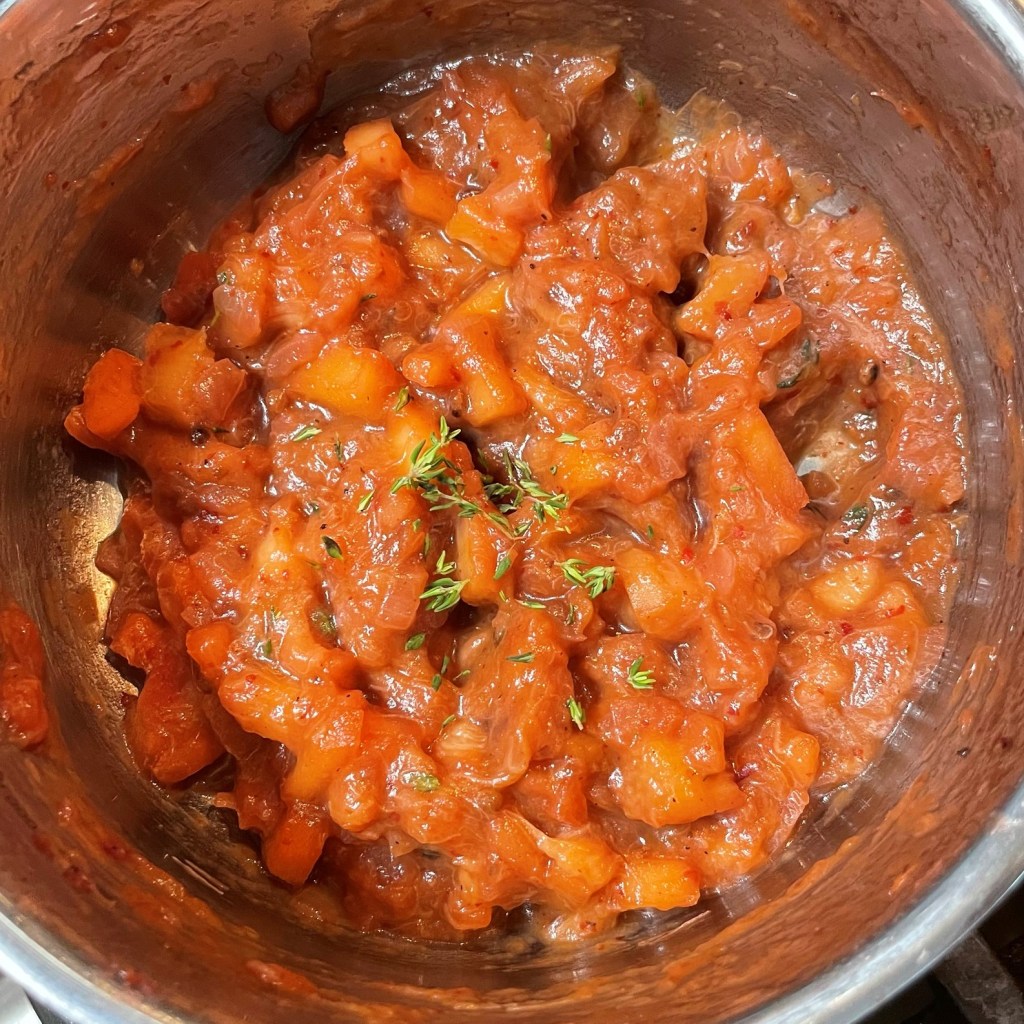
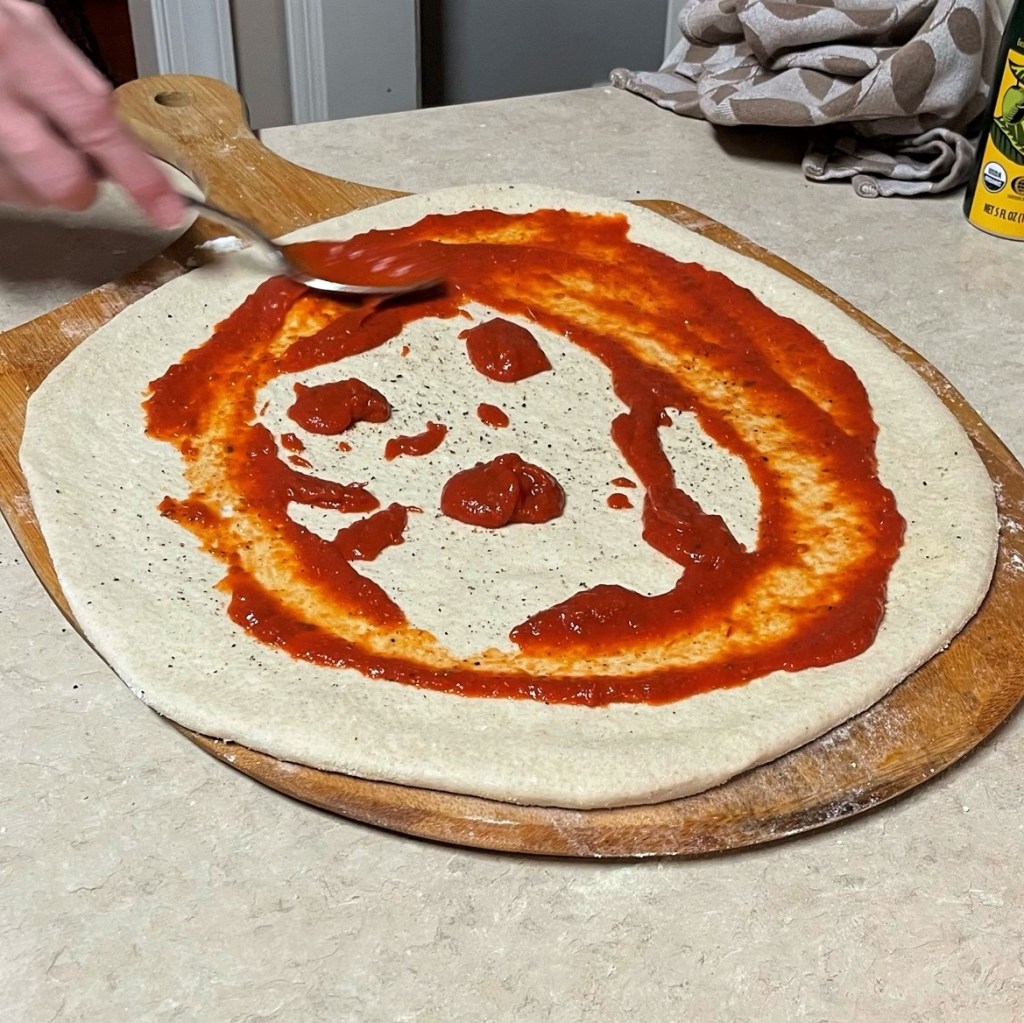
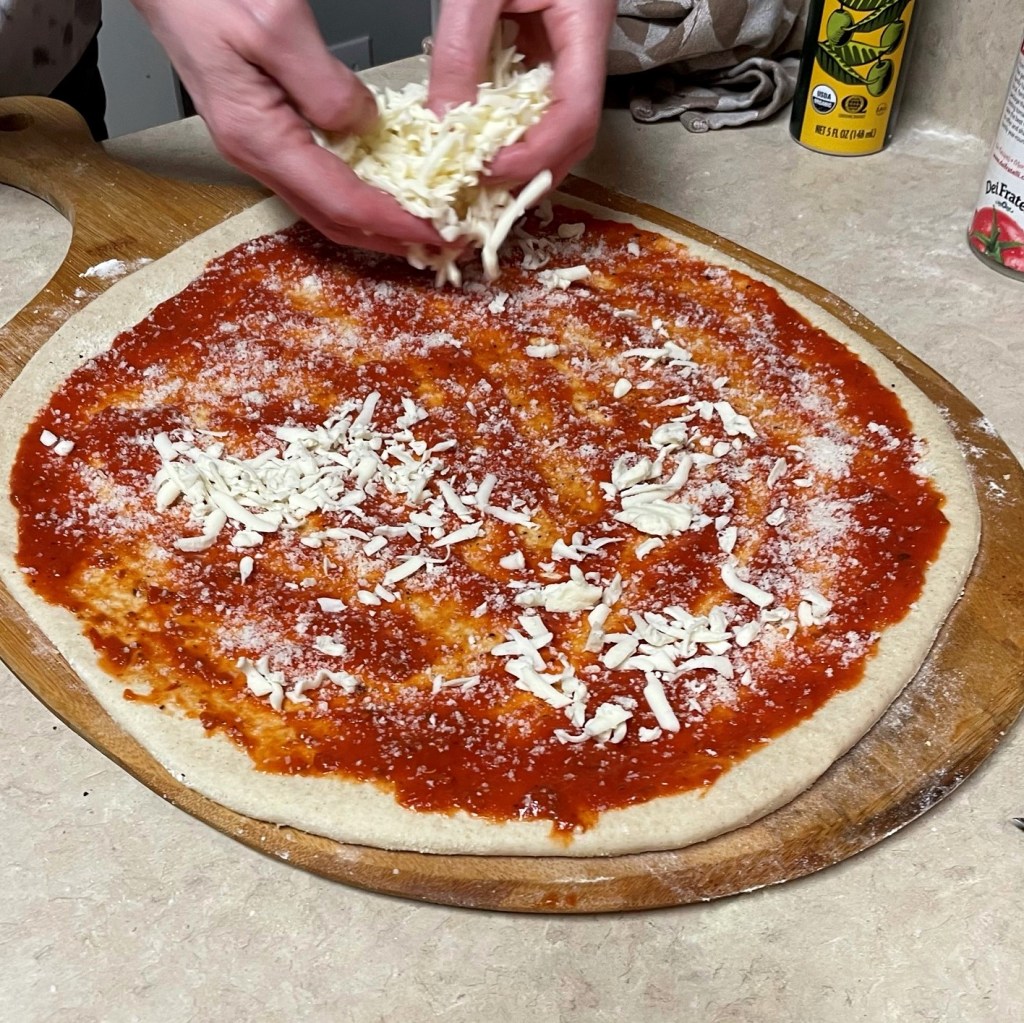
The finished sauce has a consistency similar to pizza sauce.
- Preheat oven to 425°F, and line a baking sheet with parchment paper.
- Cut the bell peppers into segments, along the natural lines of the fruit. Discard the seeds and membranes. Lay the tomato halves and pepper segments, skin side up, on the parchment-lined baking sheet. Brush all pieces with 1 tablespoon of the olive oil. Roast about 40 minutes, until the skins on the peppers are nicely charred.
- Transfer the tomatoes and pepper segments to a bowl. Cover the bowl and set it aside for several minutes, giving the skins time to soften for easy release.
- Once cooled, carefully peel the skins off the peppers and tomato halves. Transfer them to a food processor or standard blender. I do not recommend a “smoothie” blender for this step, because you will need to drizzle oil in later. An immersion blender would also work. Pulse a few times to chop the peppers and tomatoes into smaller pieces. Carefully squeeze in both bulbs of roasted garlic.
- Add the red wine vinegar, salt, pepper and maple syrup. Pulse a few times, then run processor or blender continuously while drizzling in the remaining 3 tablespoons of olive oil. Adjust salt and pepper to taste. Transfer sauce to a jar or bowl.
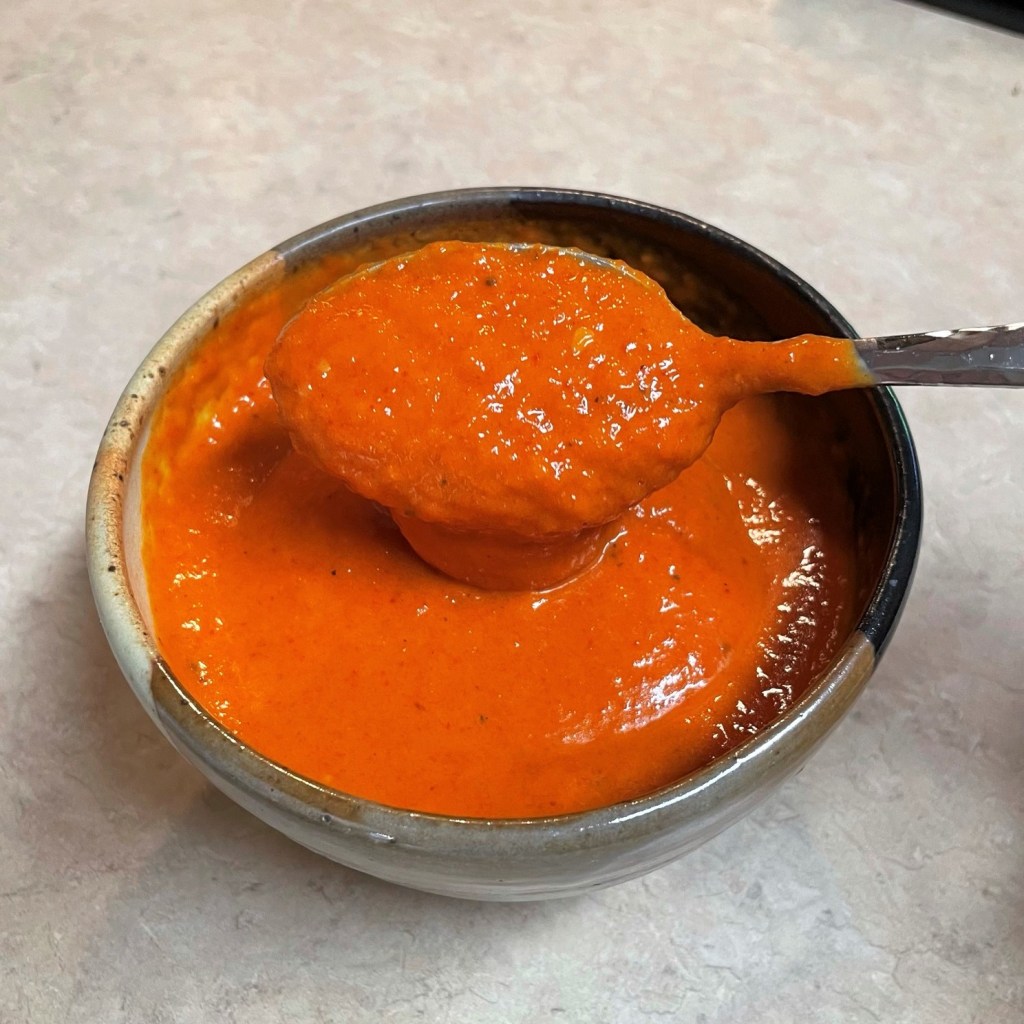
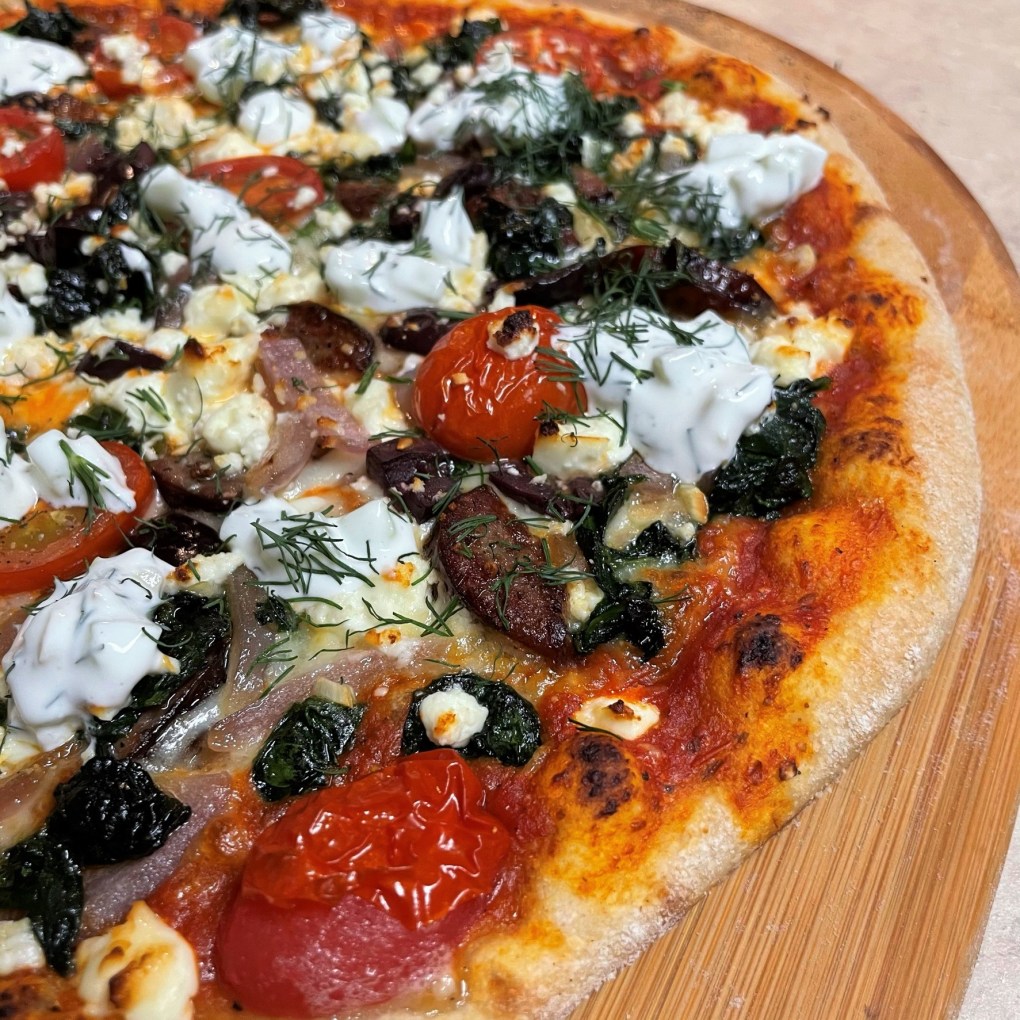
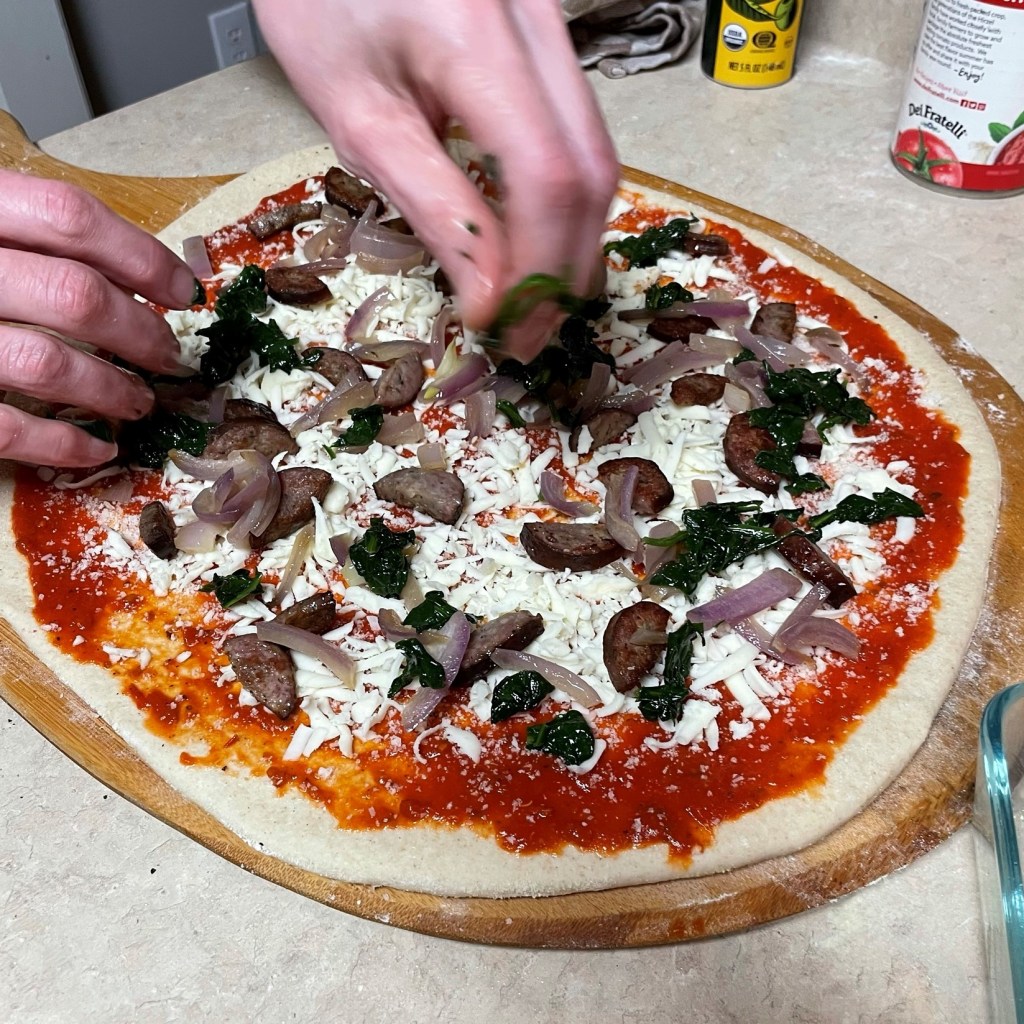
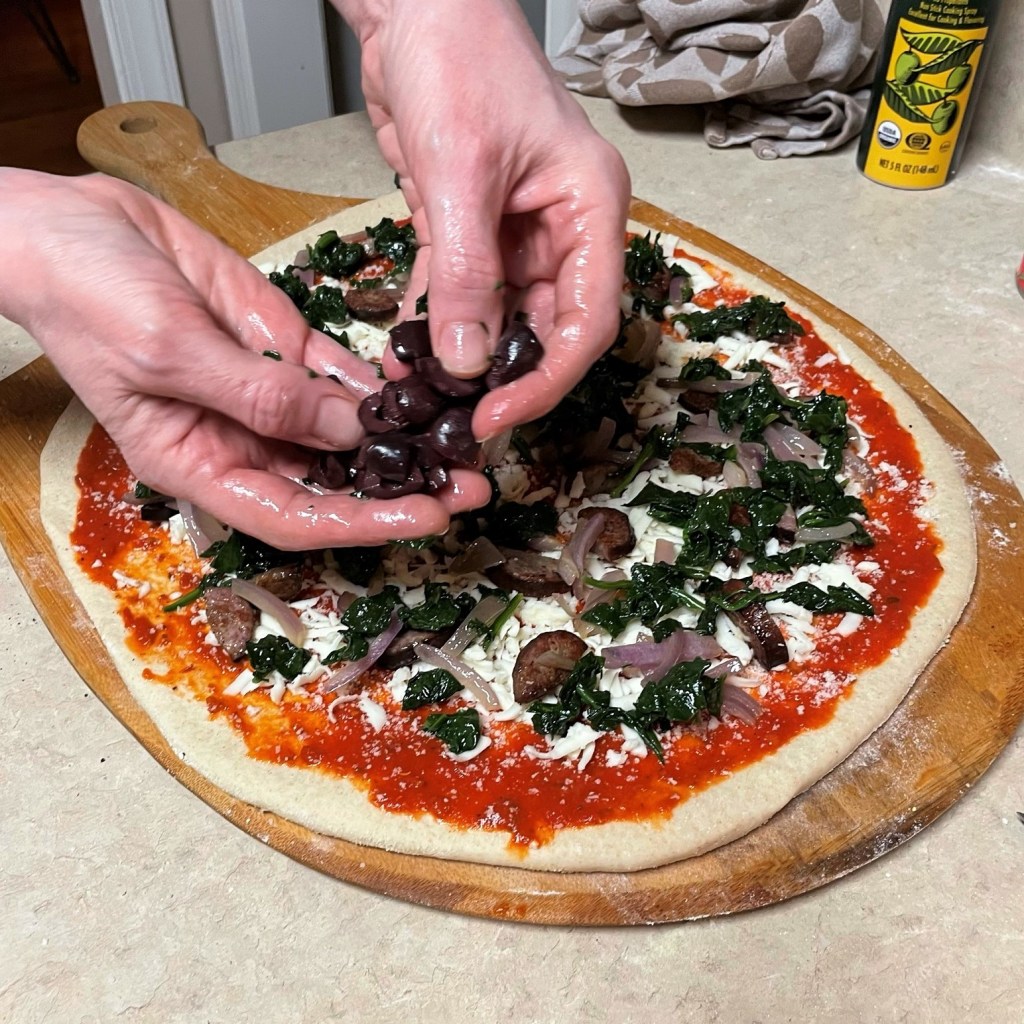
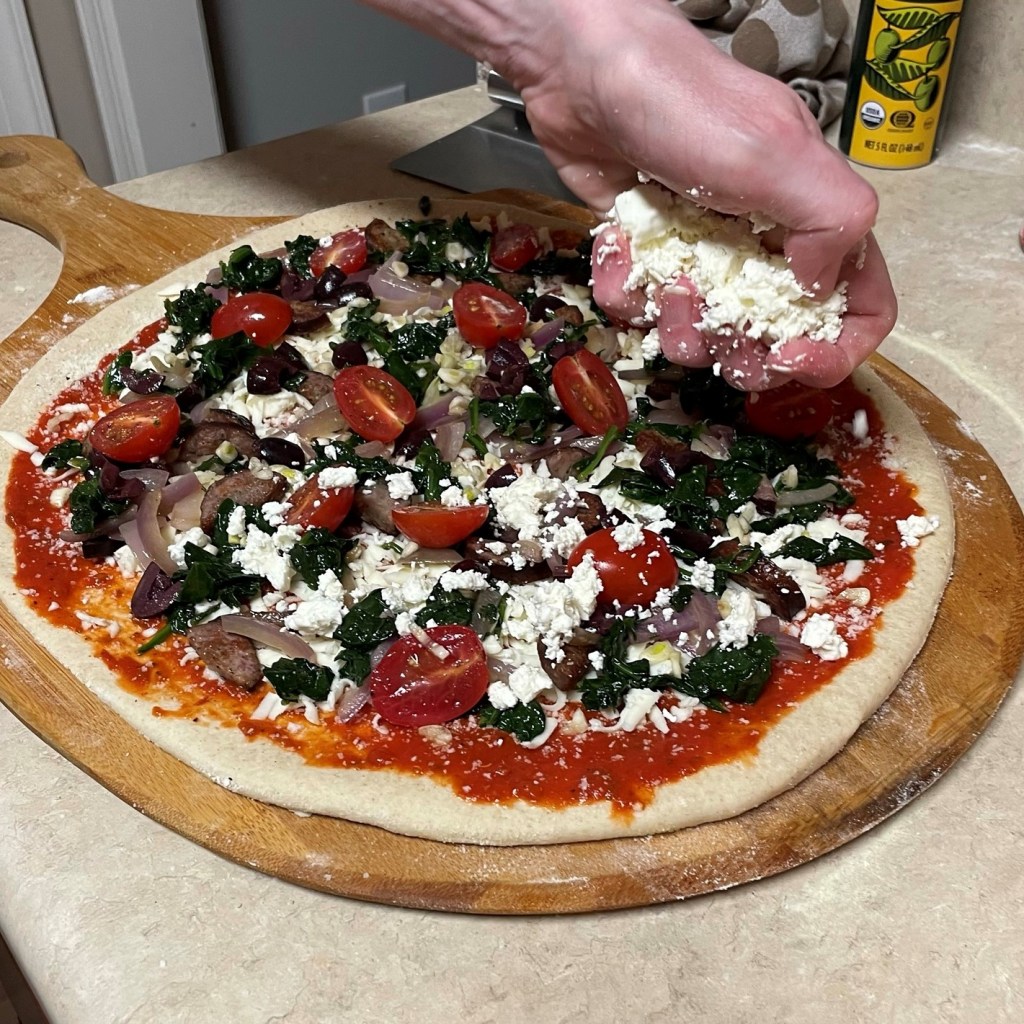
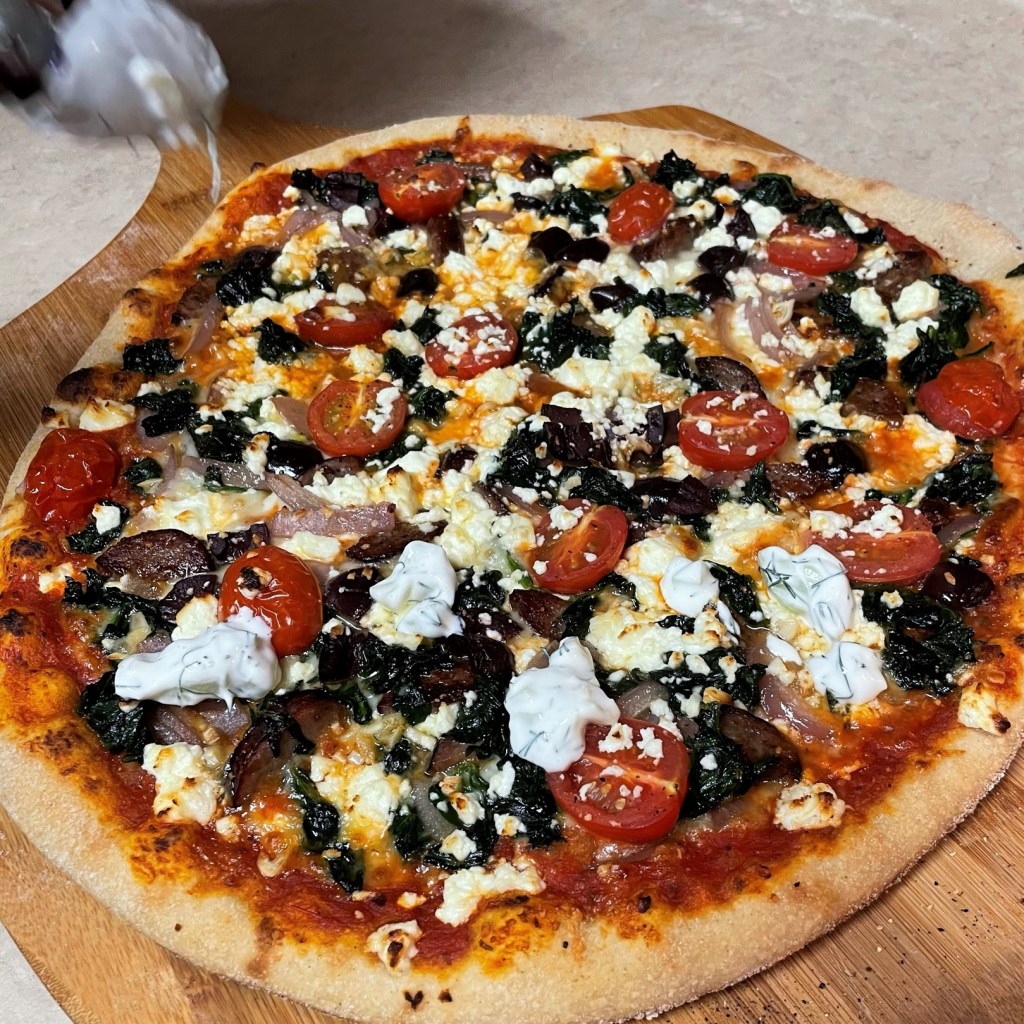
This roasted red pepper sauce has so many easy uses, from appetizers to pasta to pizza and more. It will keep in a jar in the fridge for a couple of weeks, though we have not been able to make it last that long at our house. Next time, we will make a double batch!

Here, the red pepper sauce was the base for our thin crust pizza with roasted asparagus, onions, mushrooms, strips of red pepper and two cheeses. 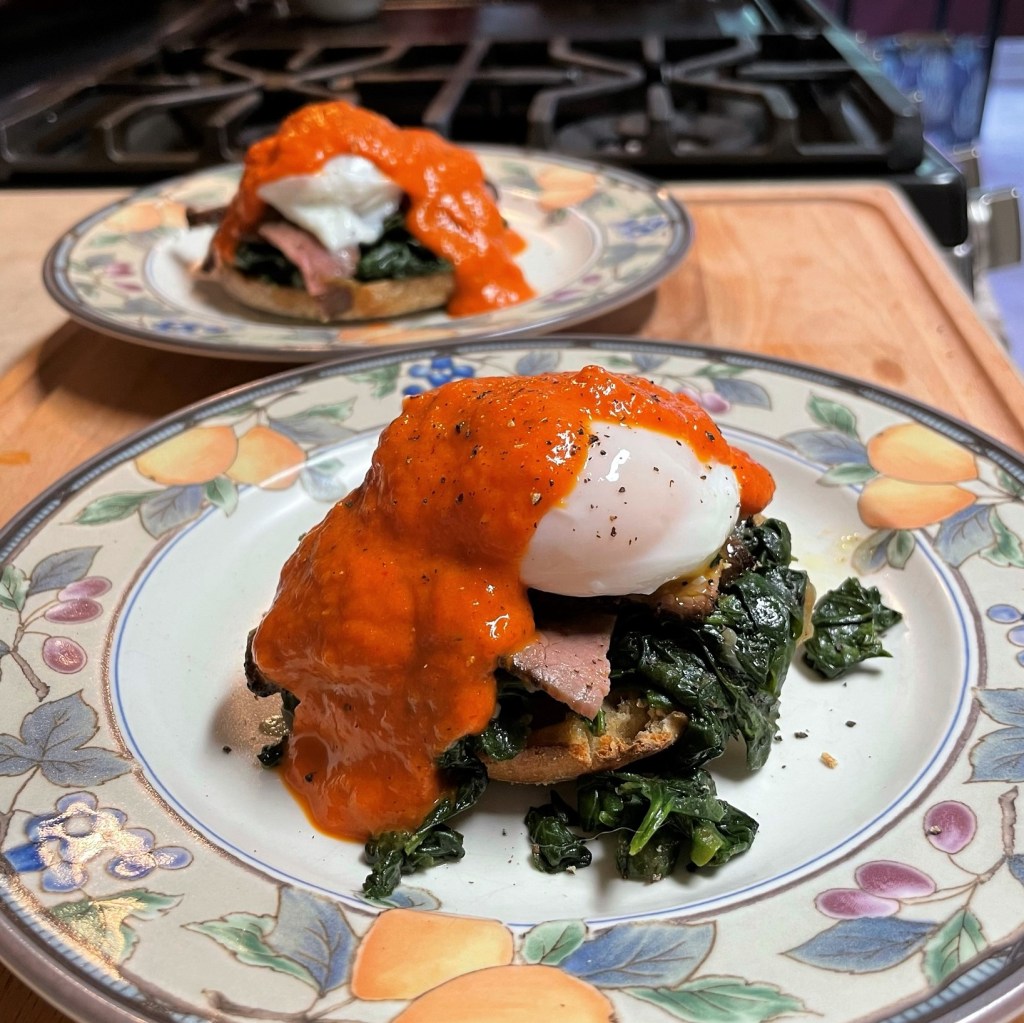
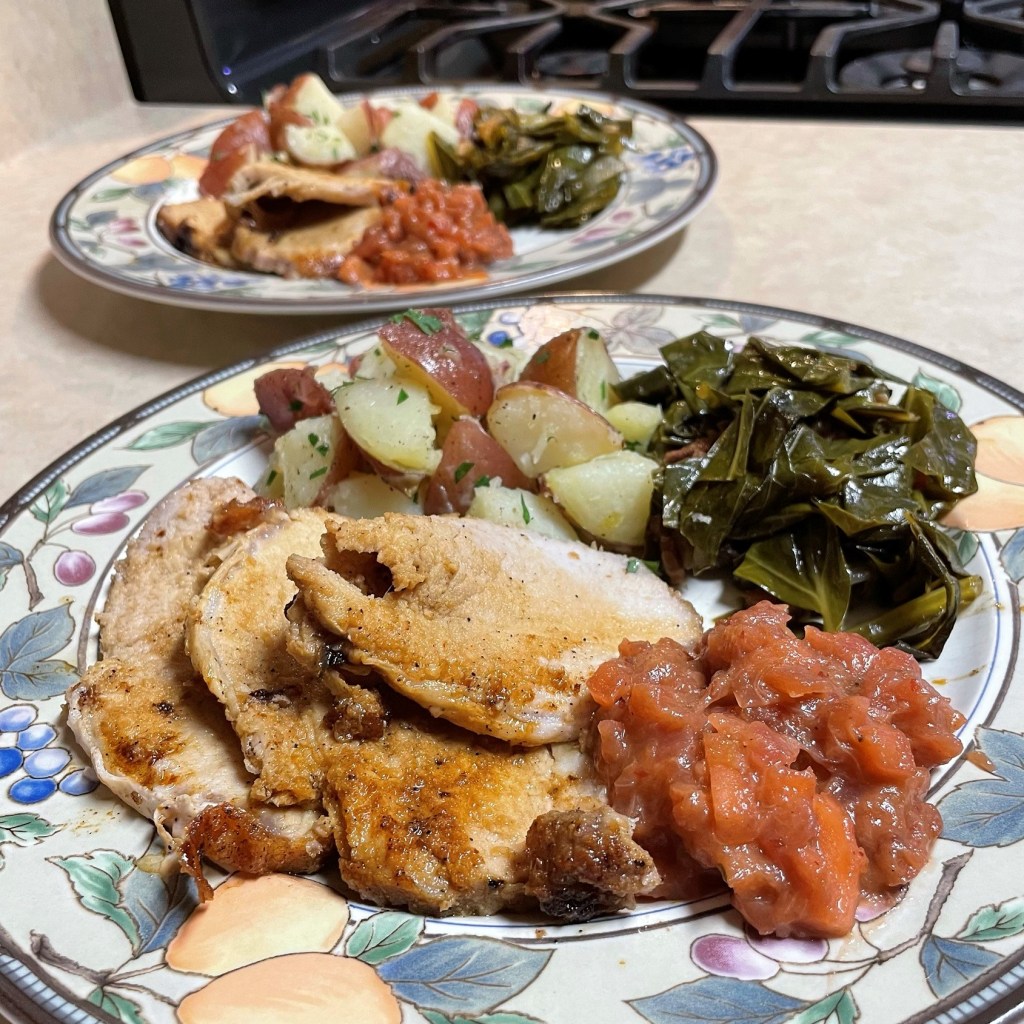
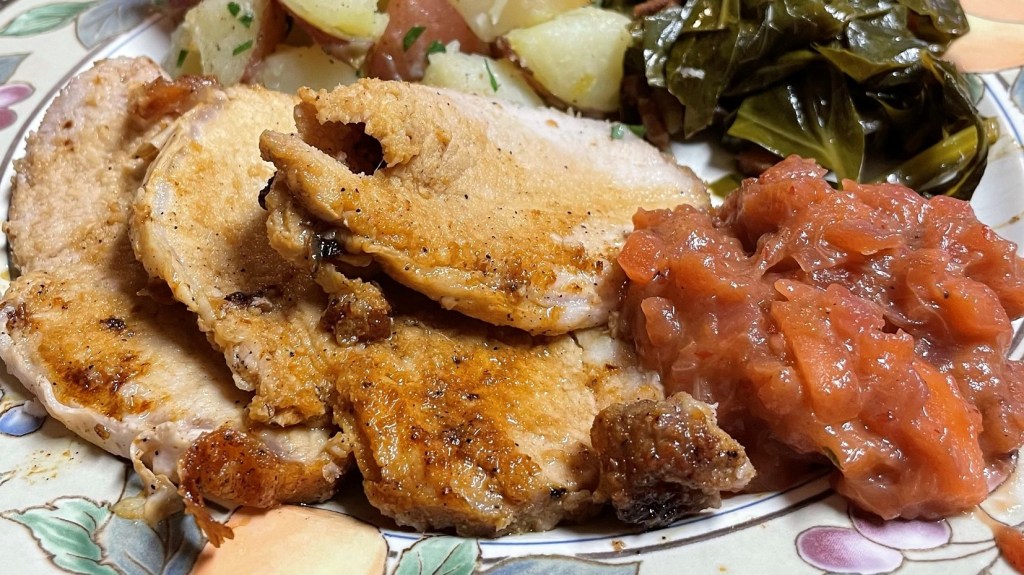
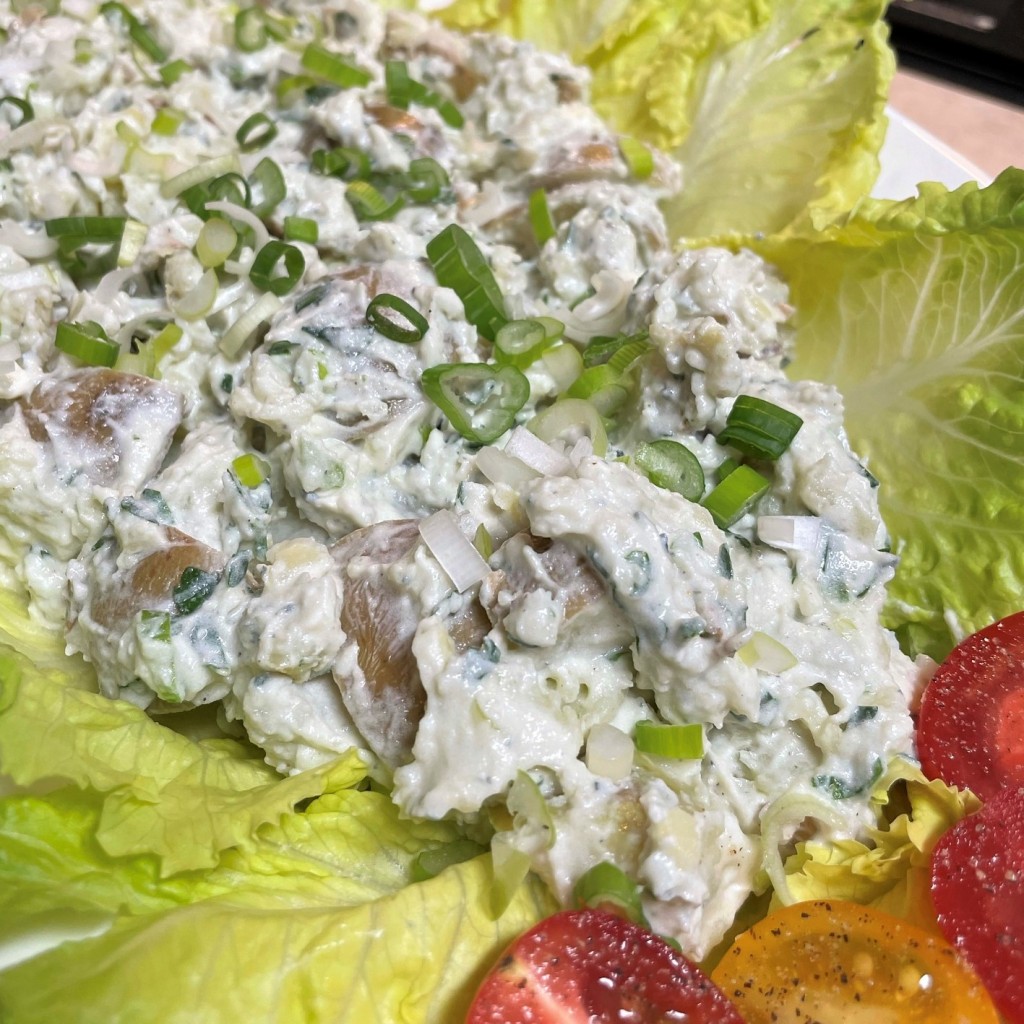
The red pepper sauce was a stand-in for hollandaise on these brunch benedicts. I’ll share the recipe tomorrow! 
The last of the sauce was delicious on bucatini pasta with shrimp and garlic. Les chimed in that we should have spiked it with a little bit of our calabrian chile bomba sauce!