Old Fashioned Cupcakes

When I say these are old-fashioned cupcakes, I don’t mean old-fashioned like Grandma used to make. Unless Grandma was a whiskey-shooting wild child who liked taking her crazy ideas to the stand mixer so she could have her cake and drink it, too. In which case, yeah, they’re that kind of old fashioned. It’s the kind of grandma I’d want to be.

You might want to order another round.

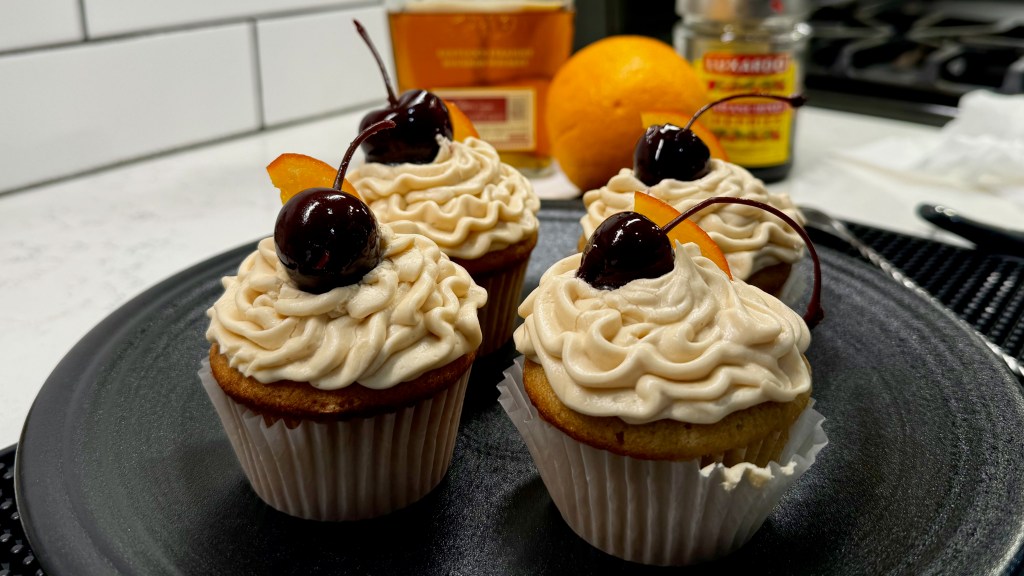
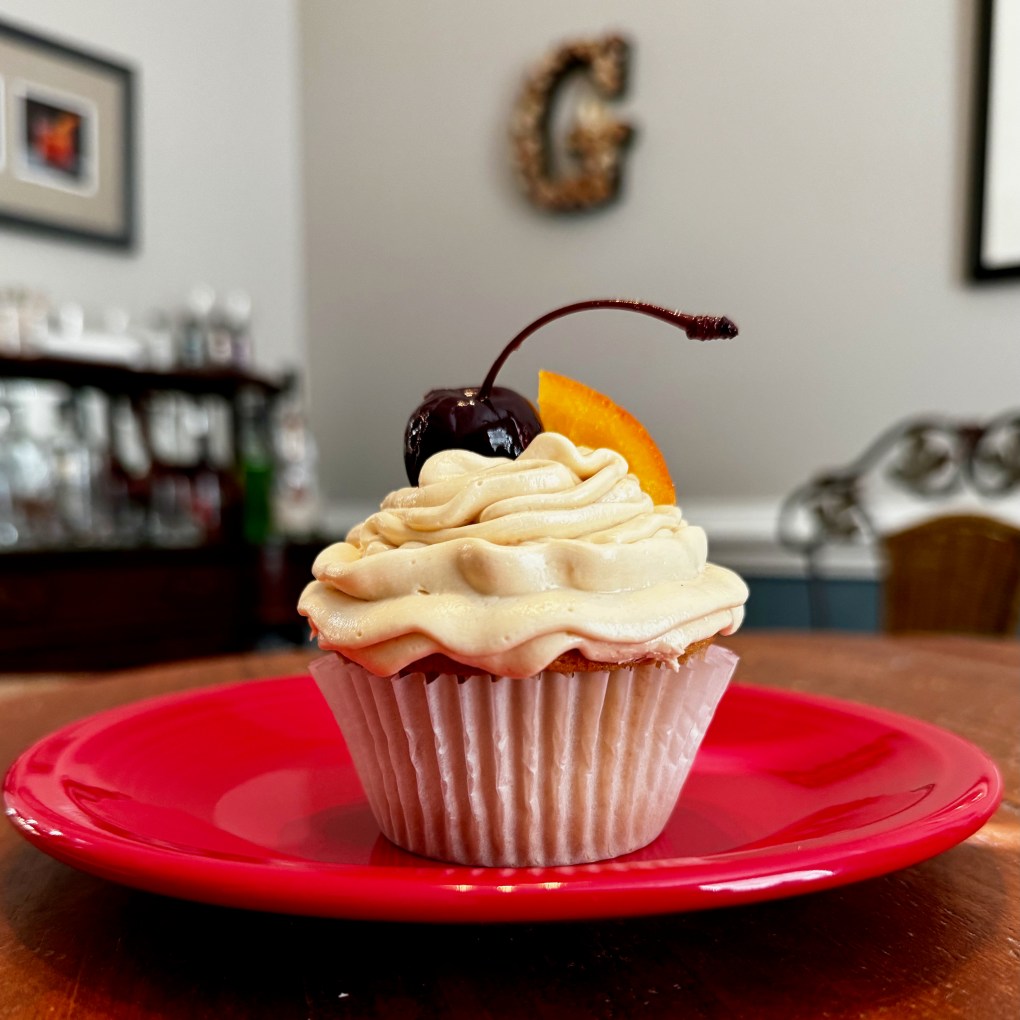
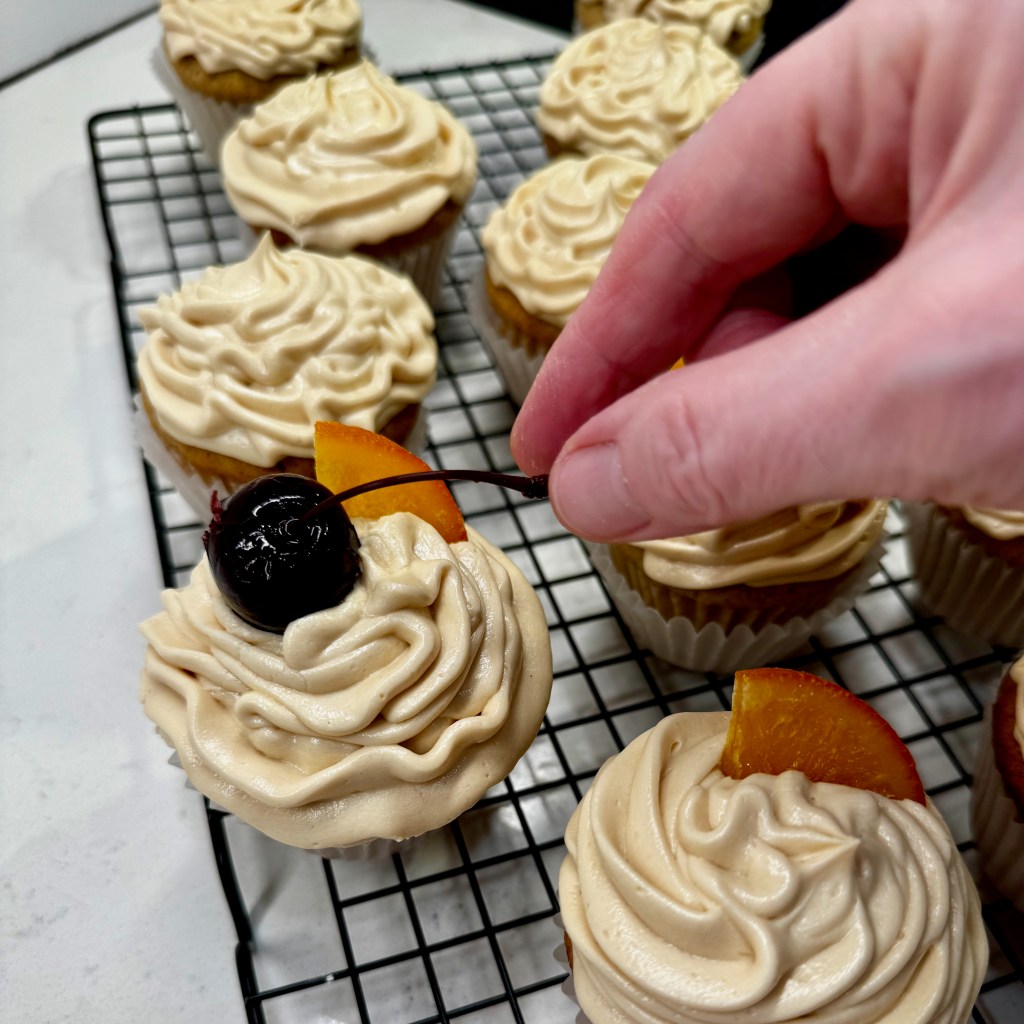
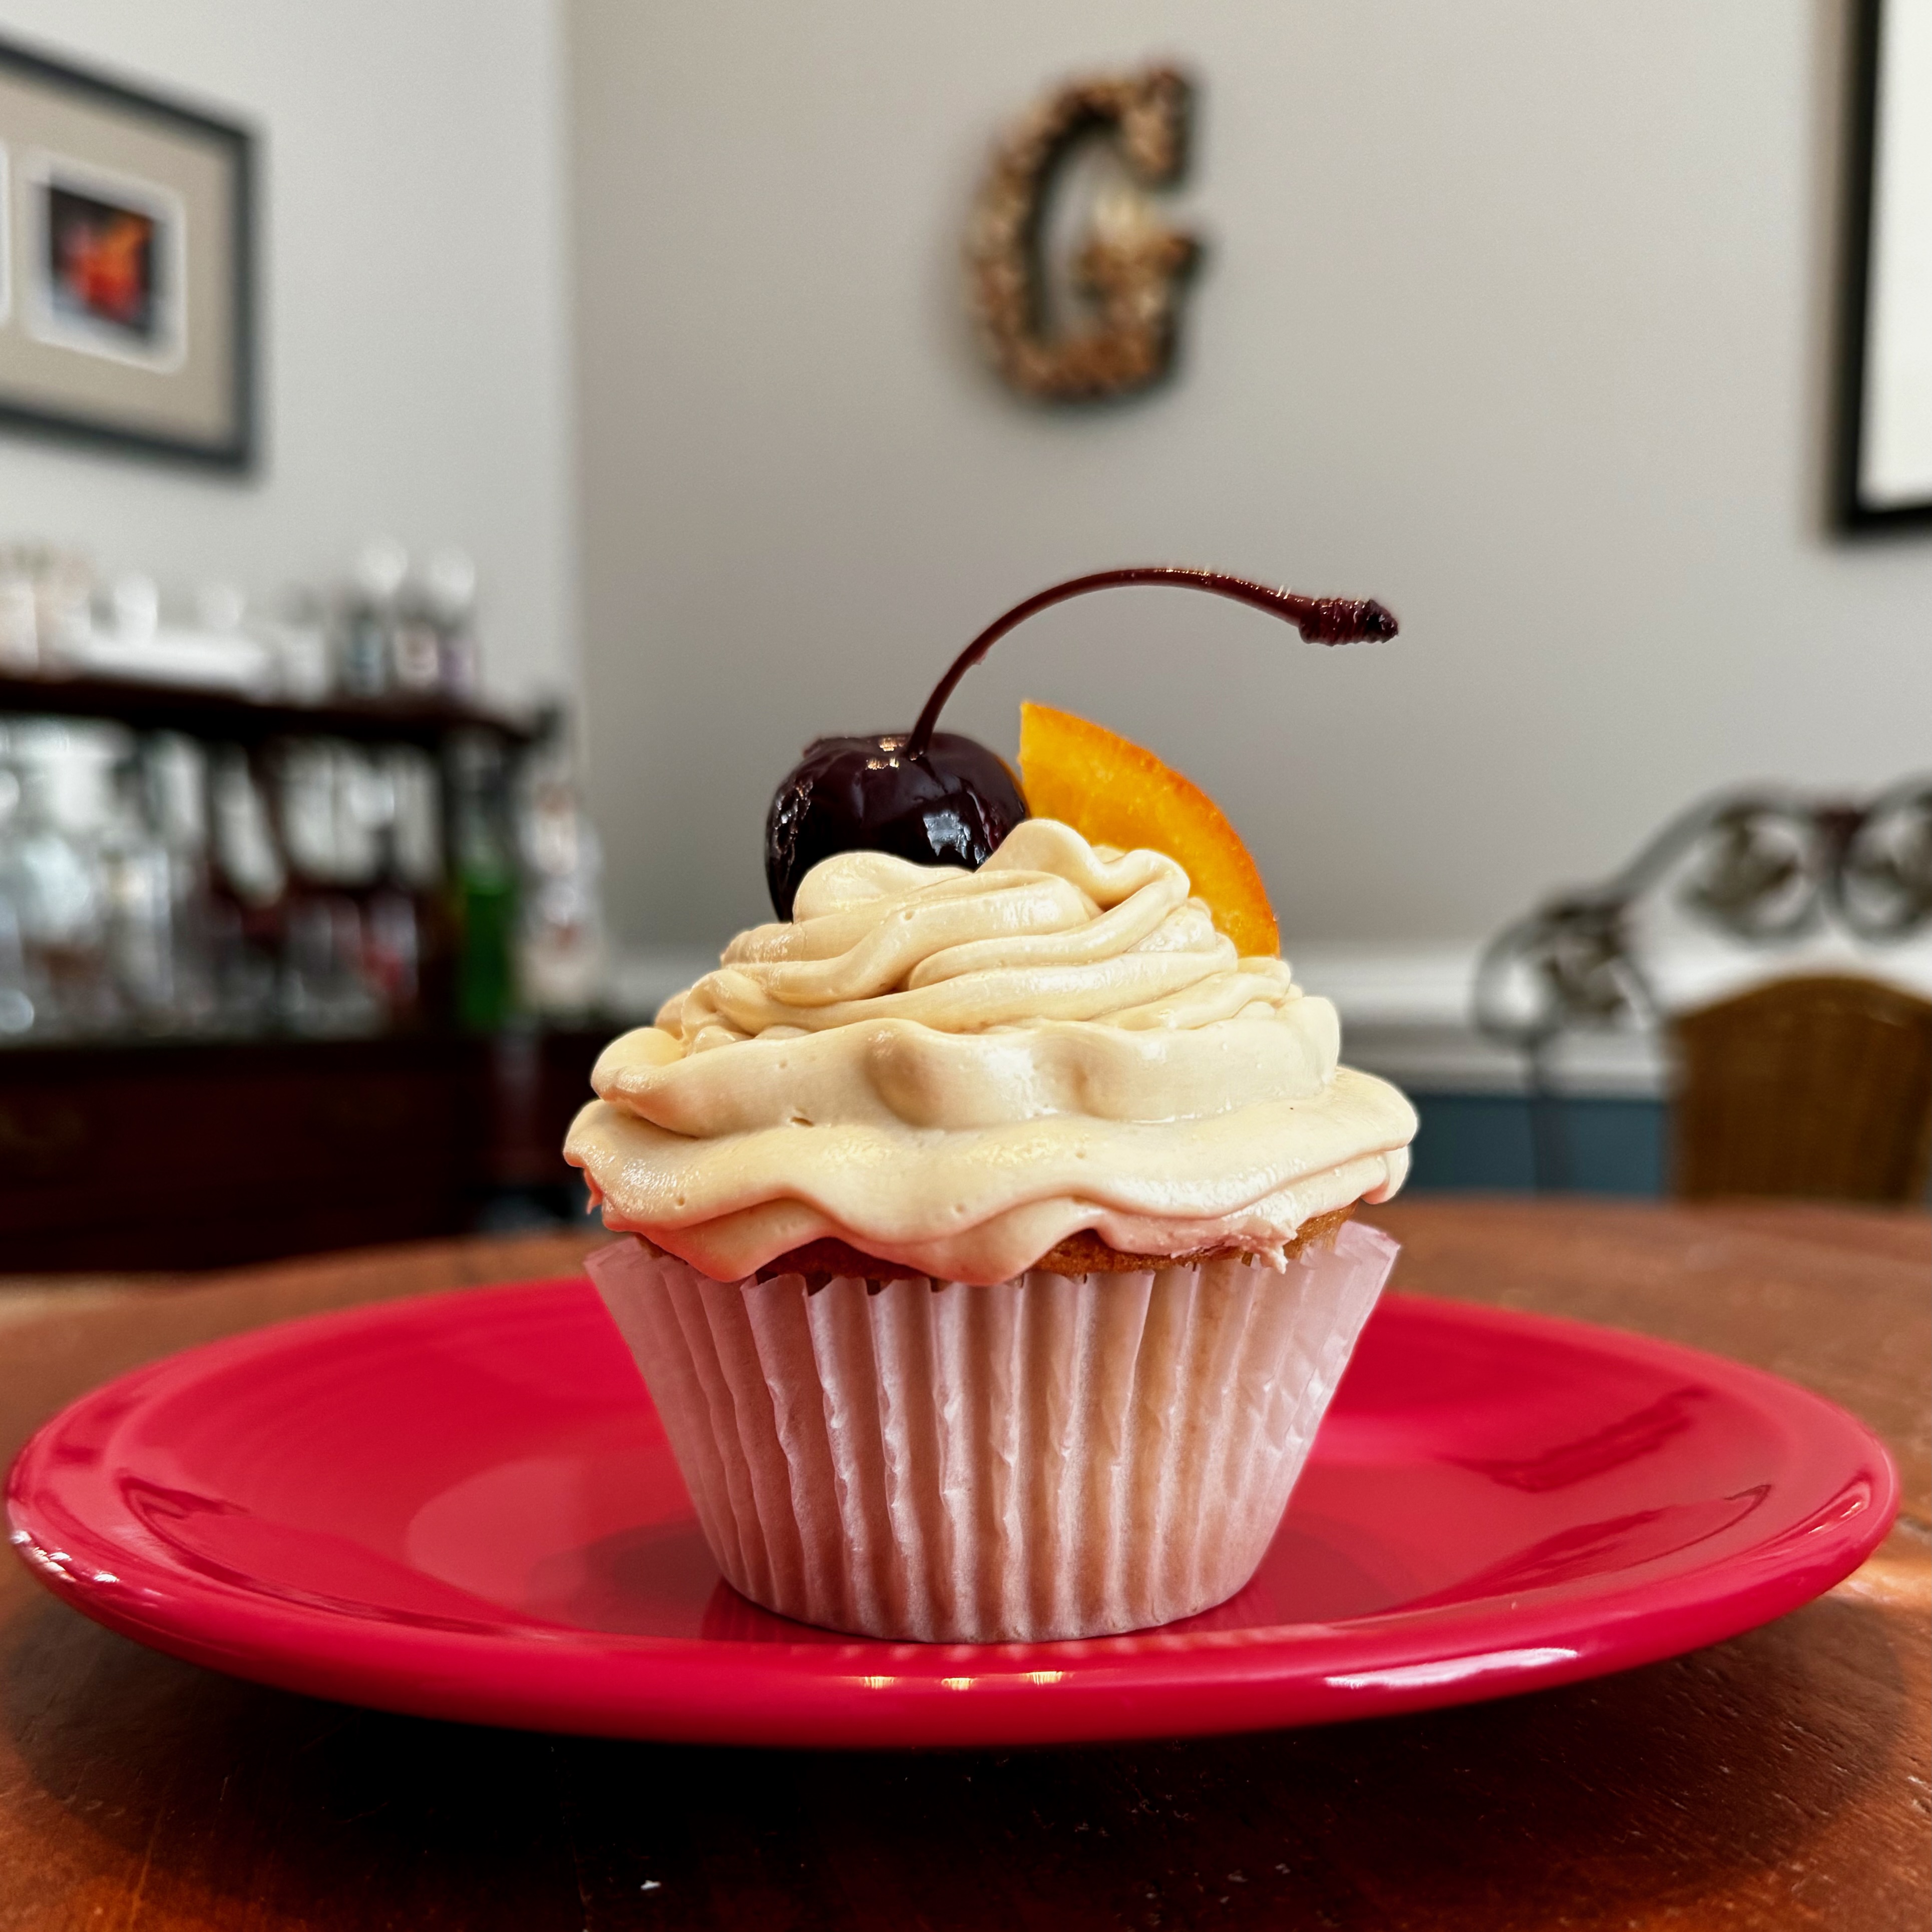
You can bet your booty there’s bourbon in here— or, in this case, Gentleman Jack whiskey (I’ll explain this choice in a moment). And the frosting? Also boozy, with a generous splash of blood orange bitters and a shot of caramel flavor. Garnished with a candied orange wedge and a cocktail cherry, of course.

For best results, add the cherries just before serving.

I started thinking about these when I baked this year’s batch of mint julep cupcakes for Kentucky Derby, and I will admit that the result of these old fashioned cupcakes exceeds even what my taste buds imagined. They really do taste like the cocktail! The best thing about them is that, despite the complex flavor arrangement, they are surprisingly easy to make. 

What goes into an Old Fashioned cupcake?

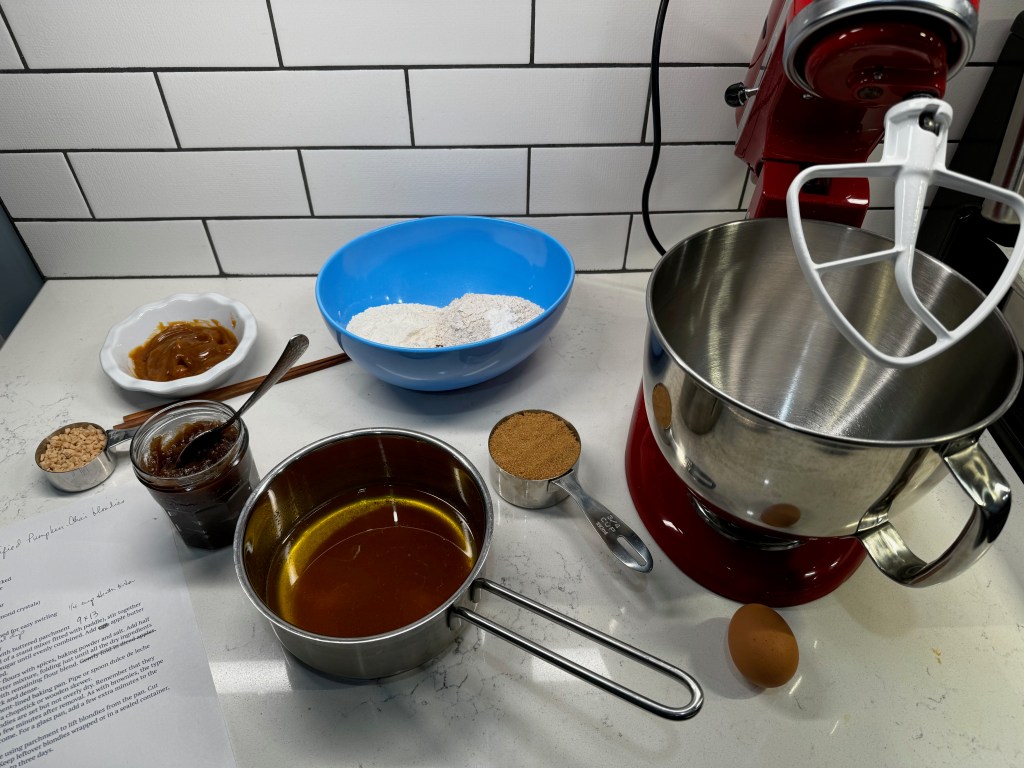
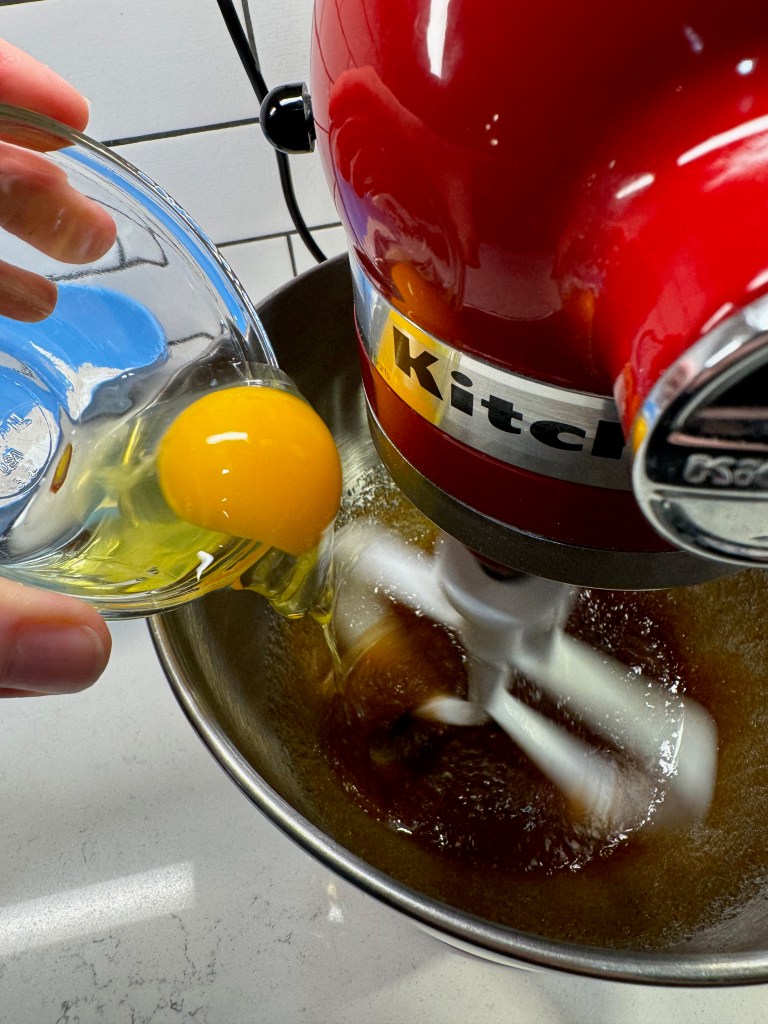
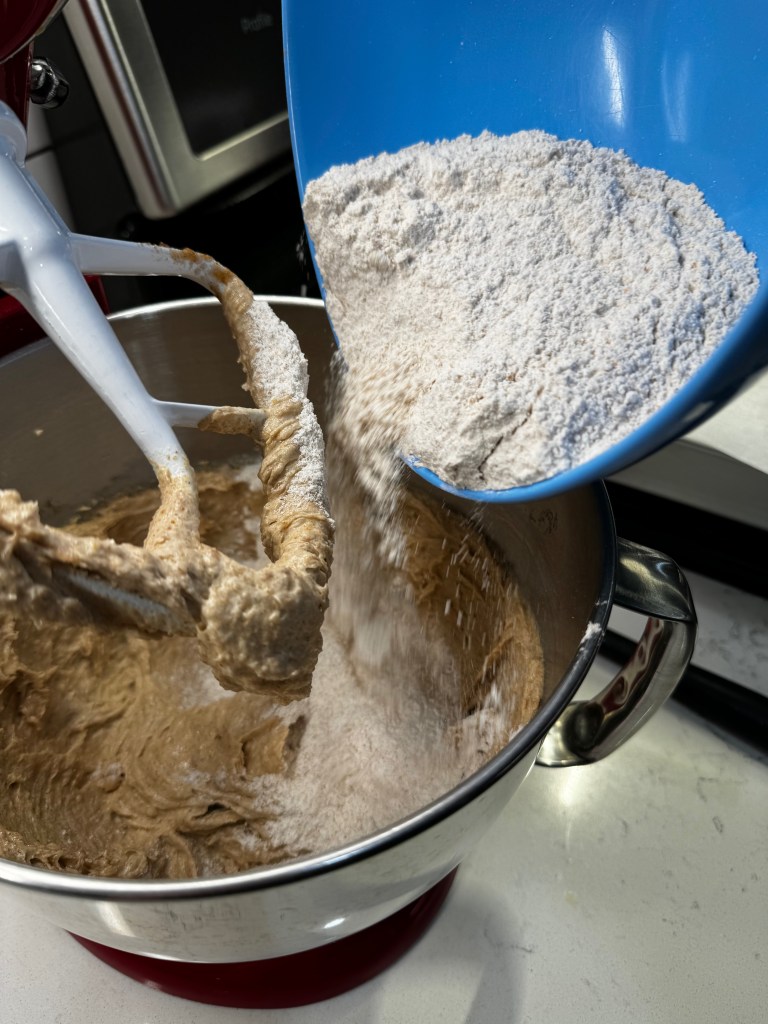
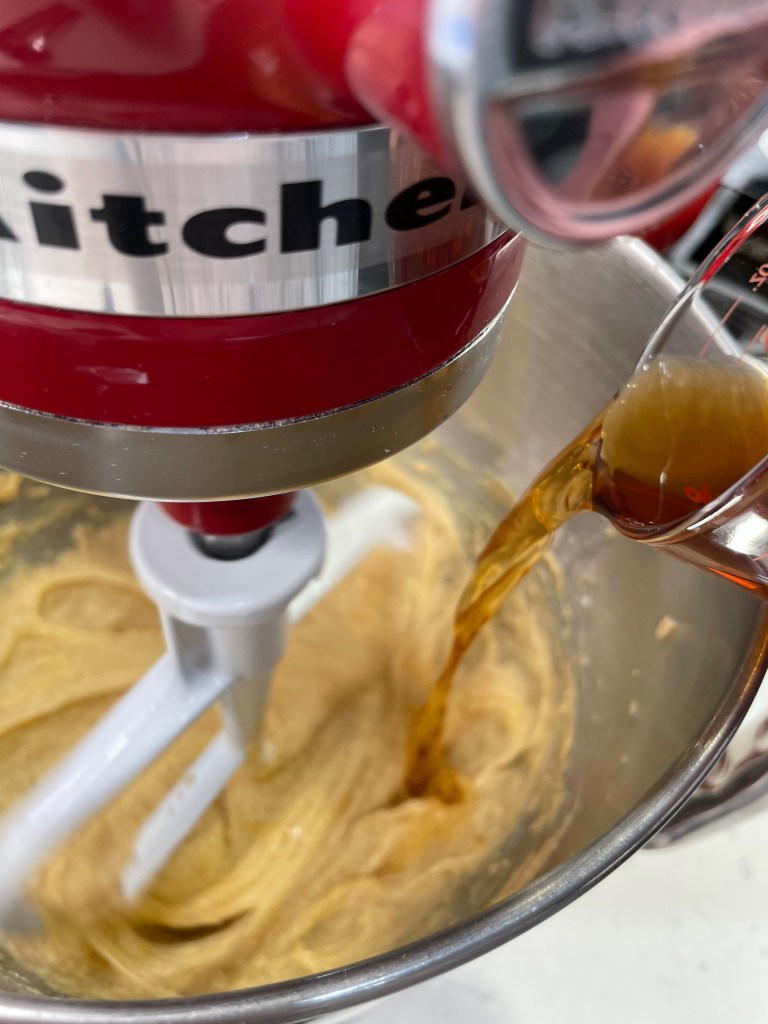
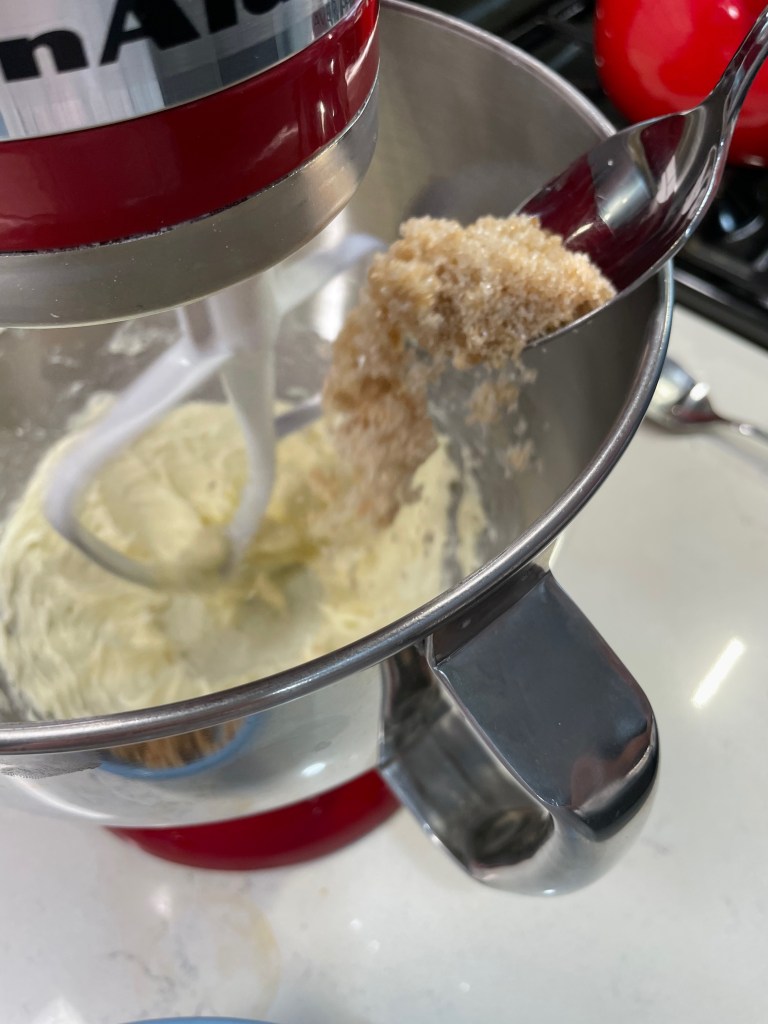
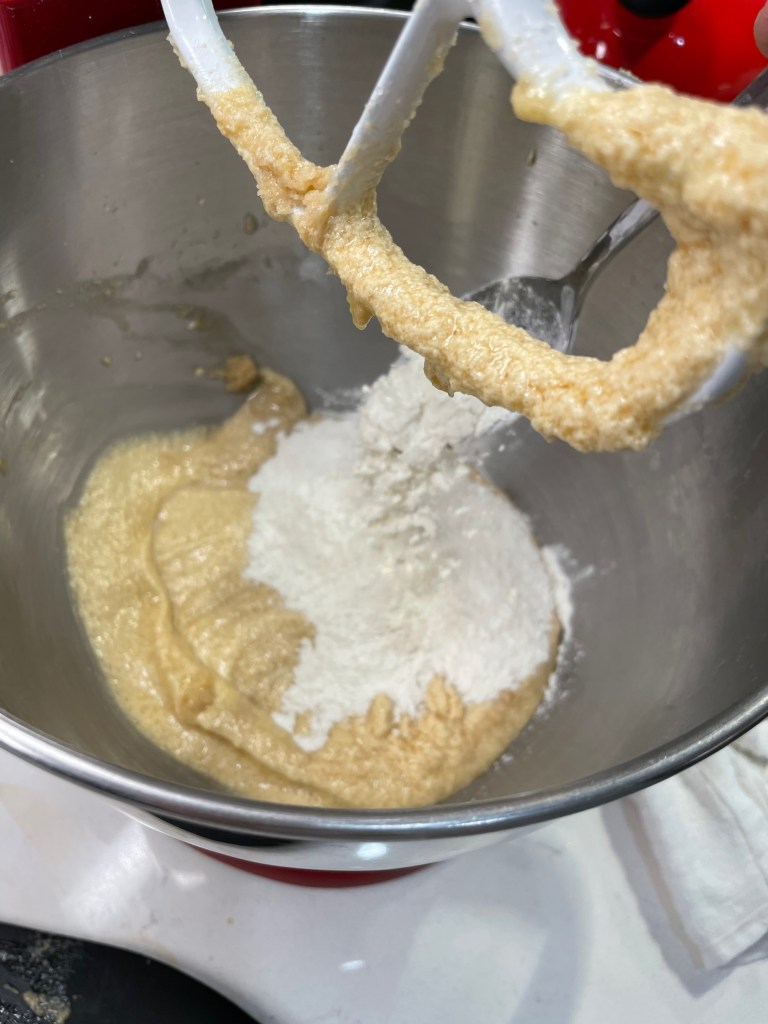
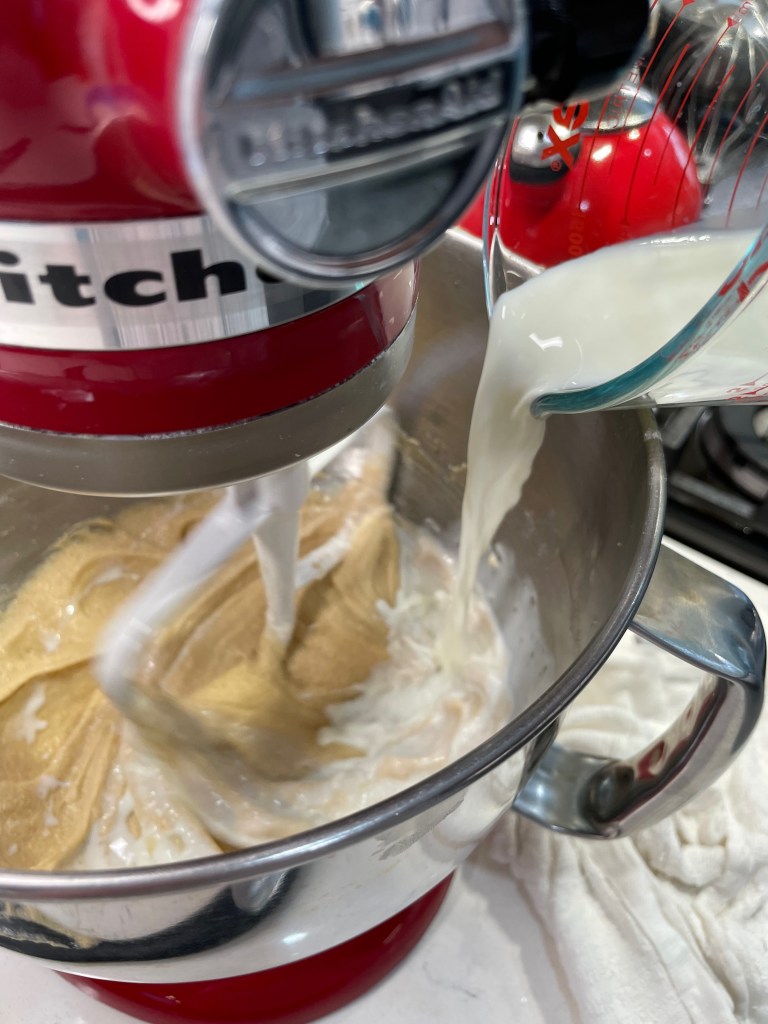
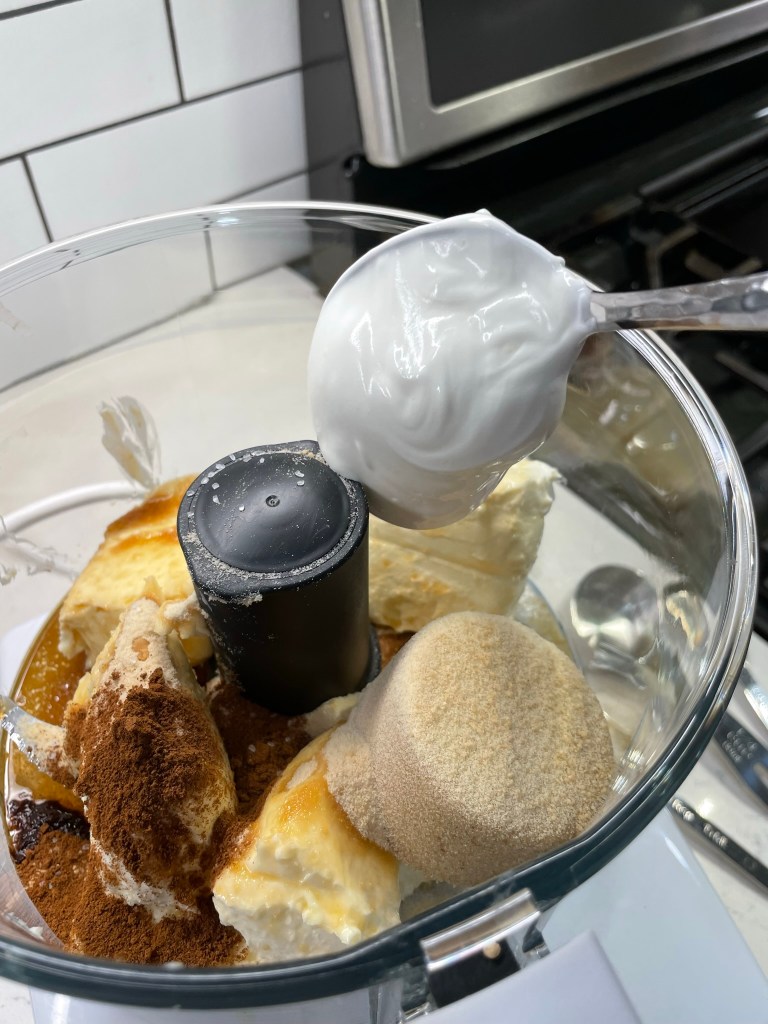
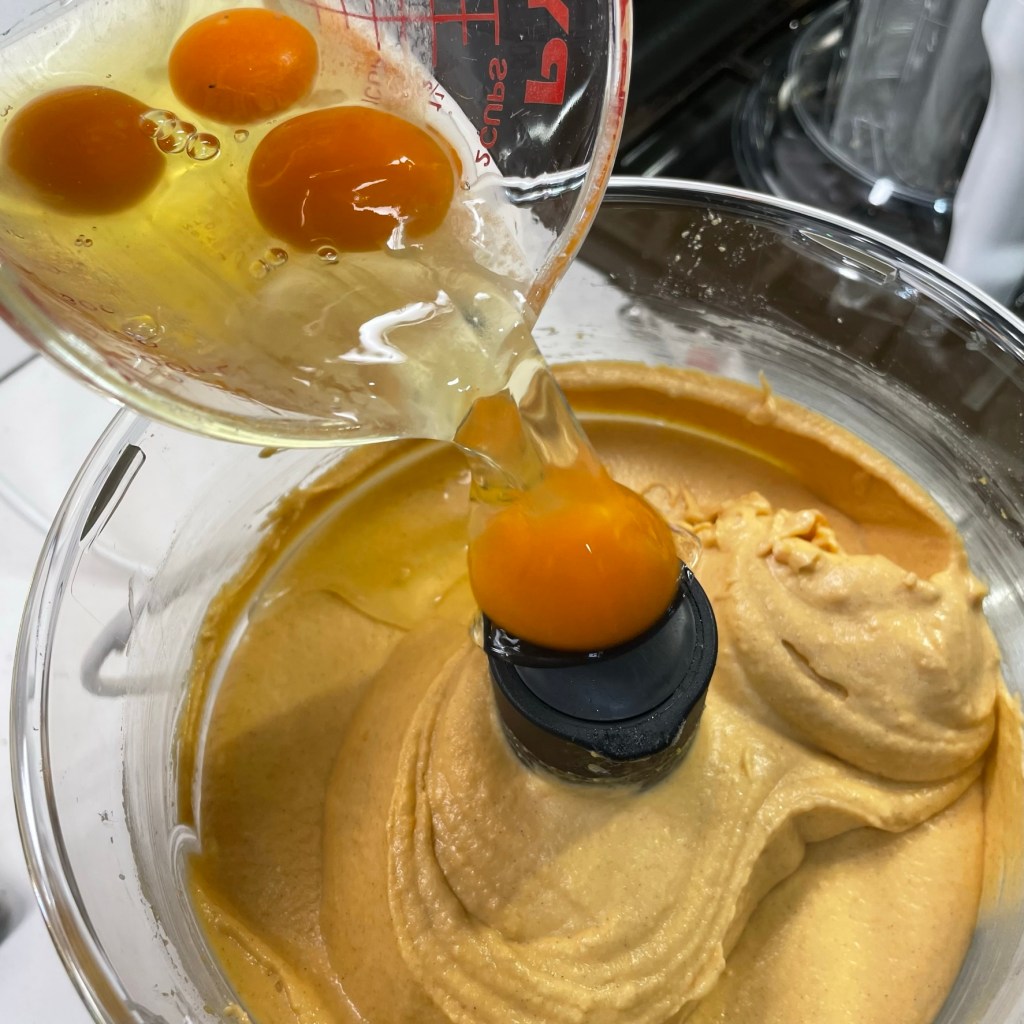
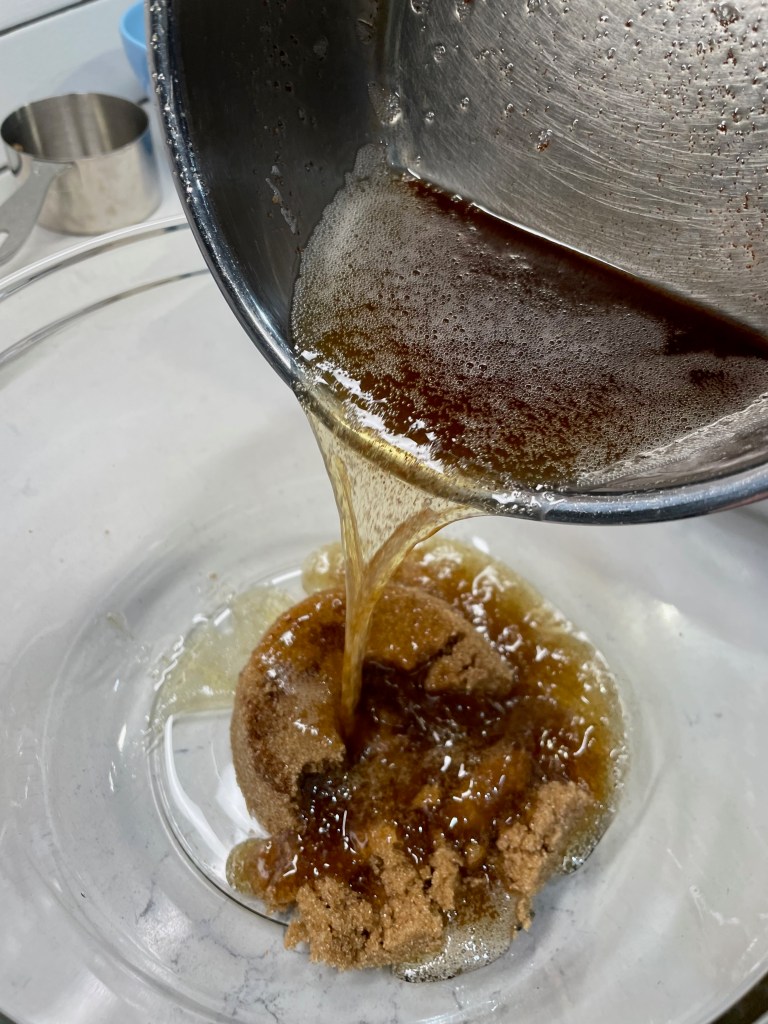
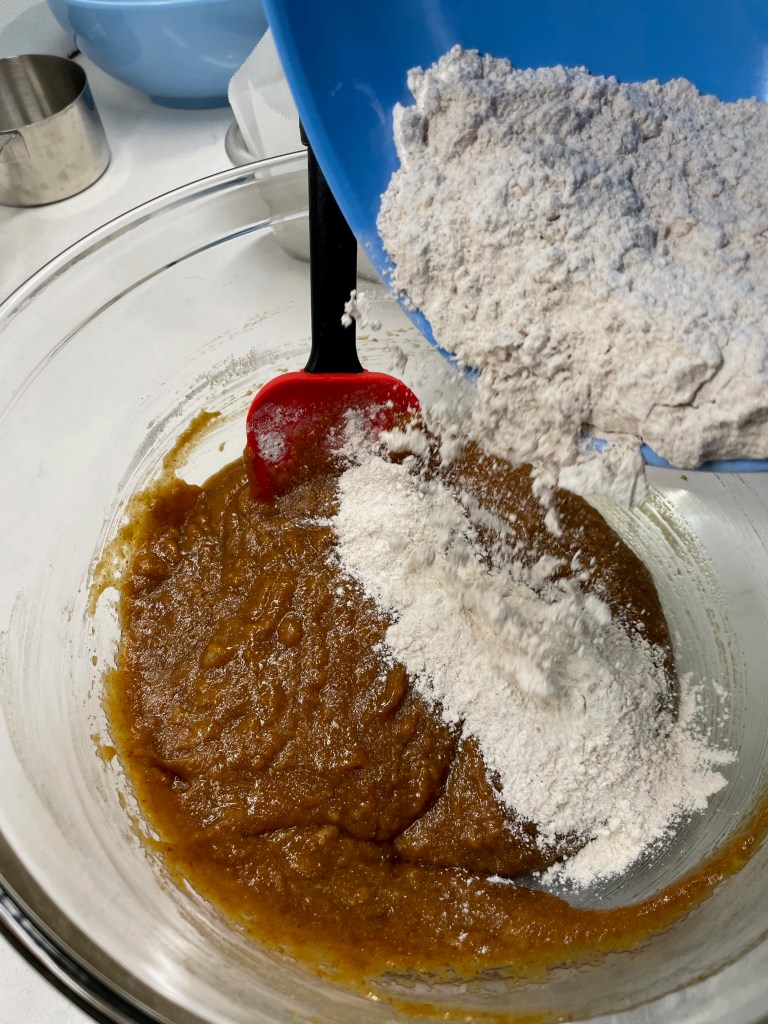
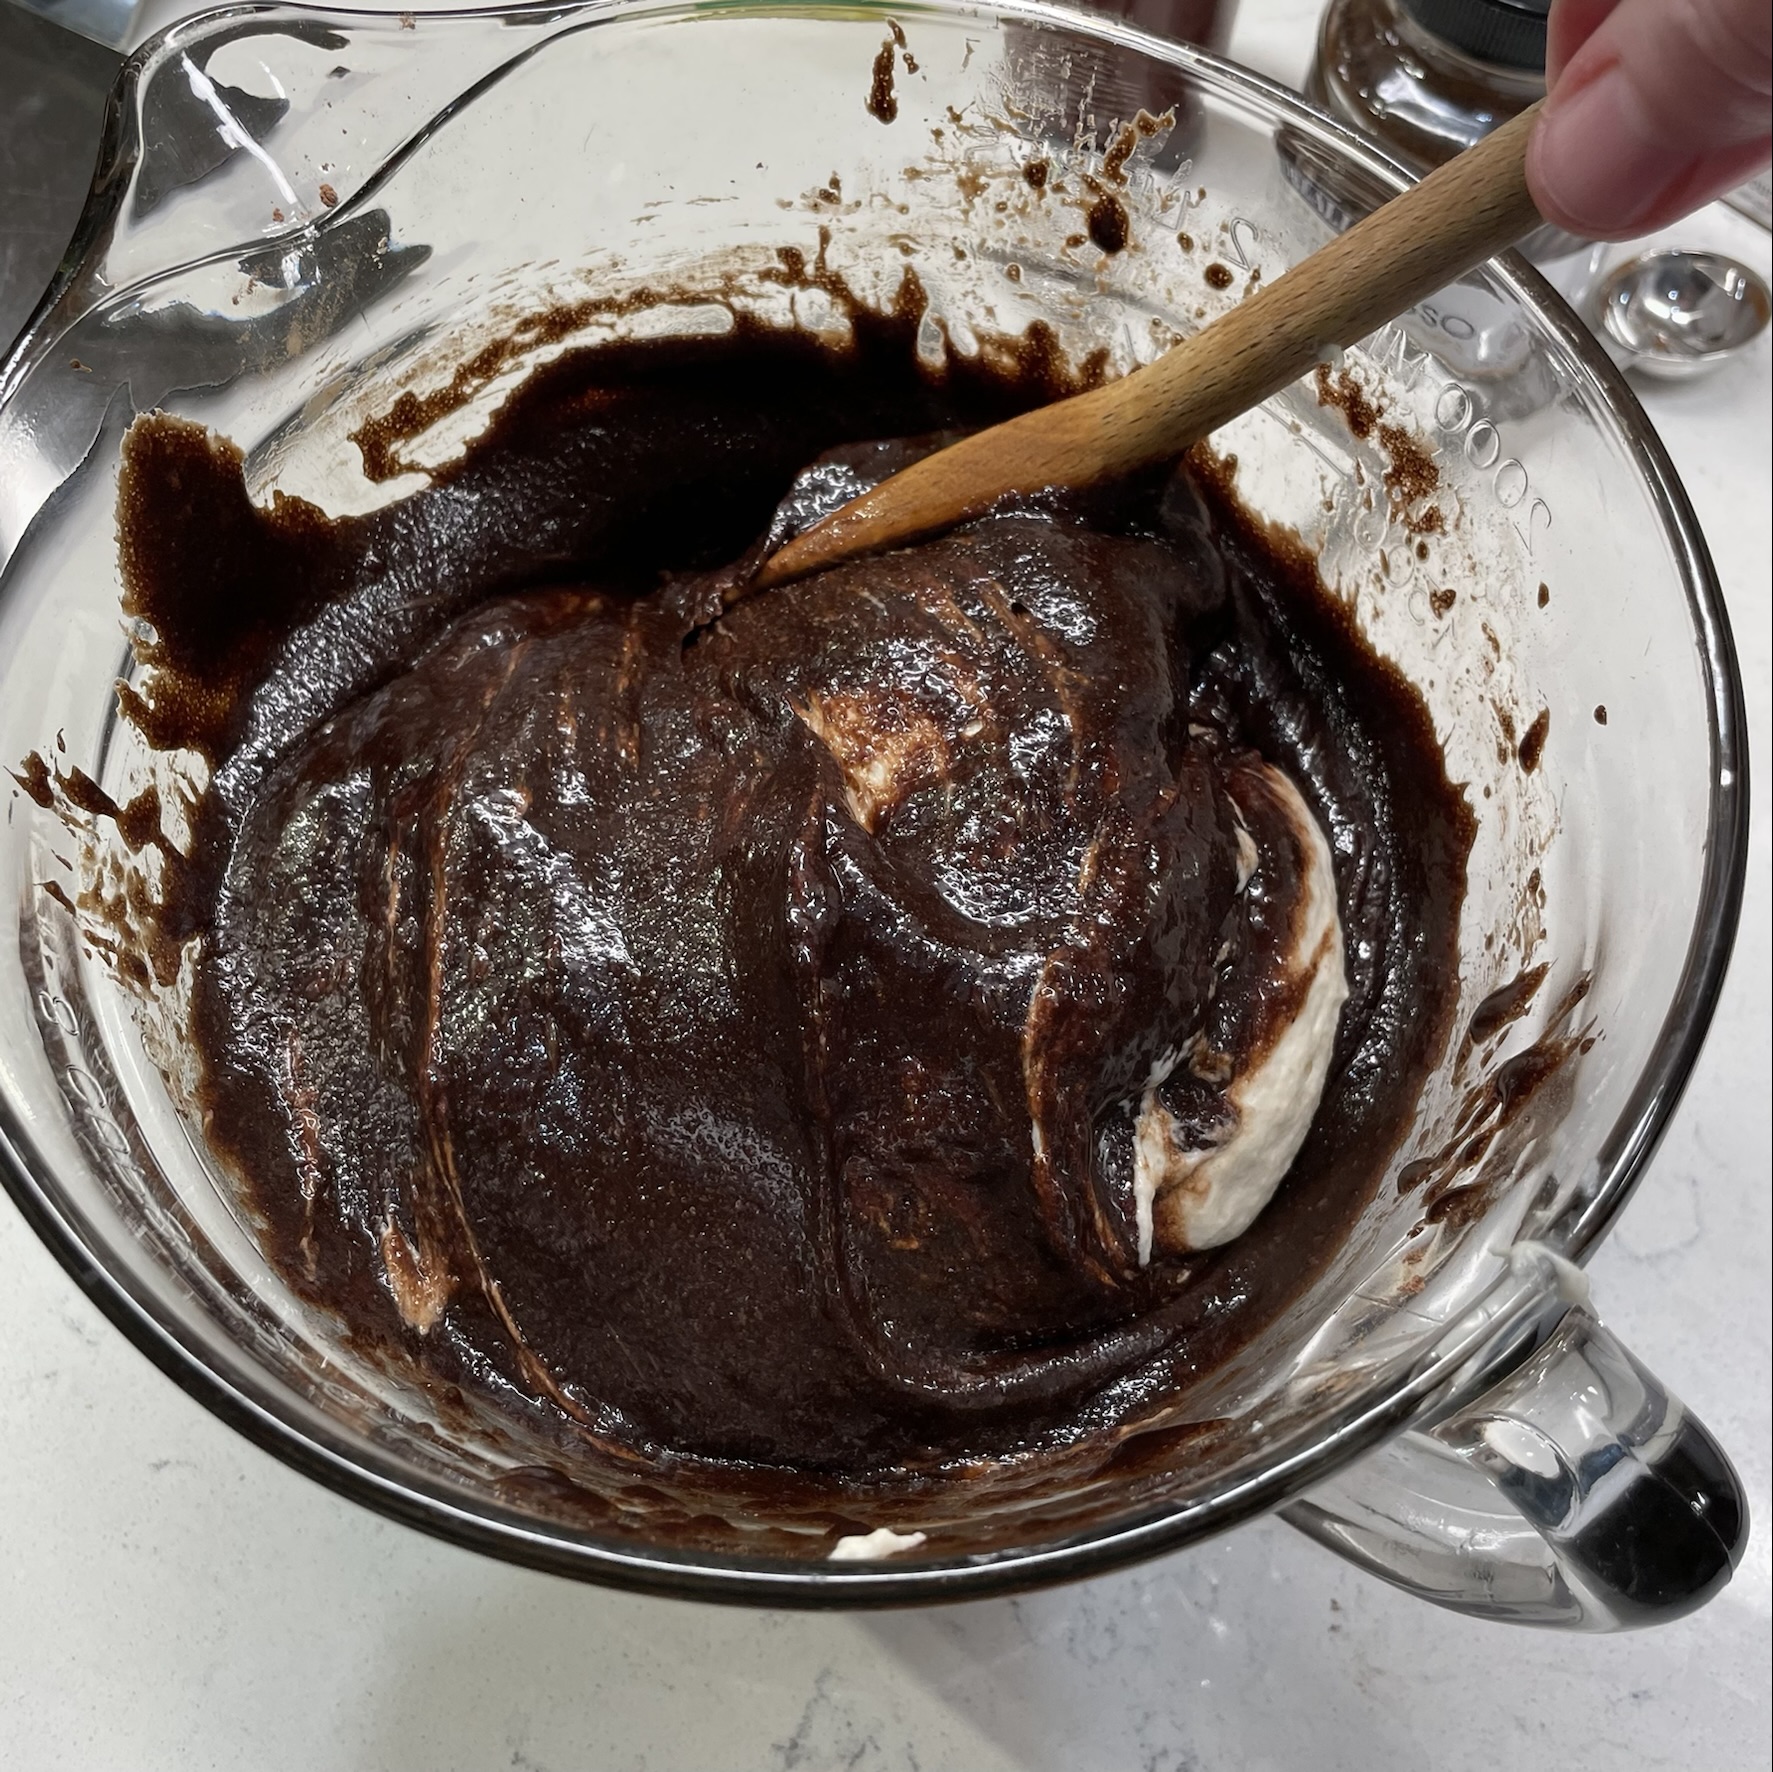
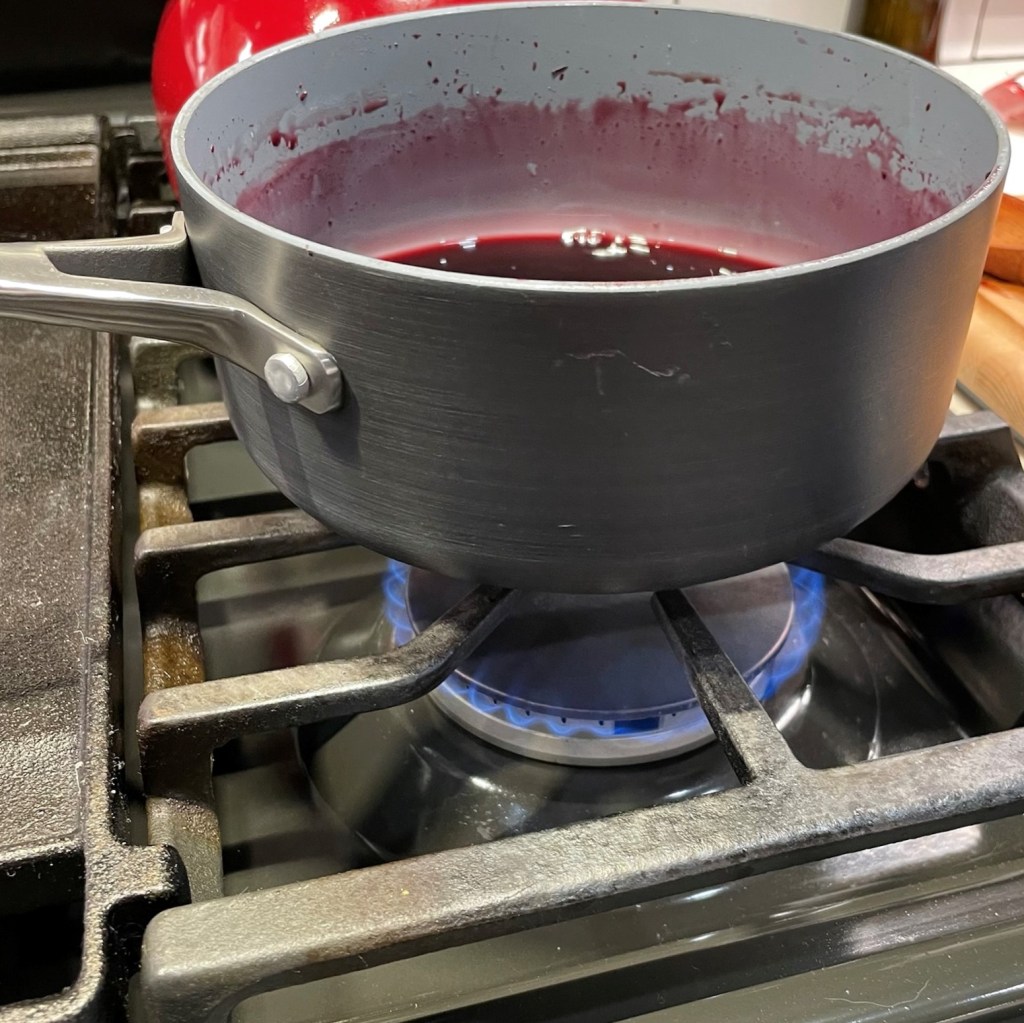
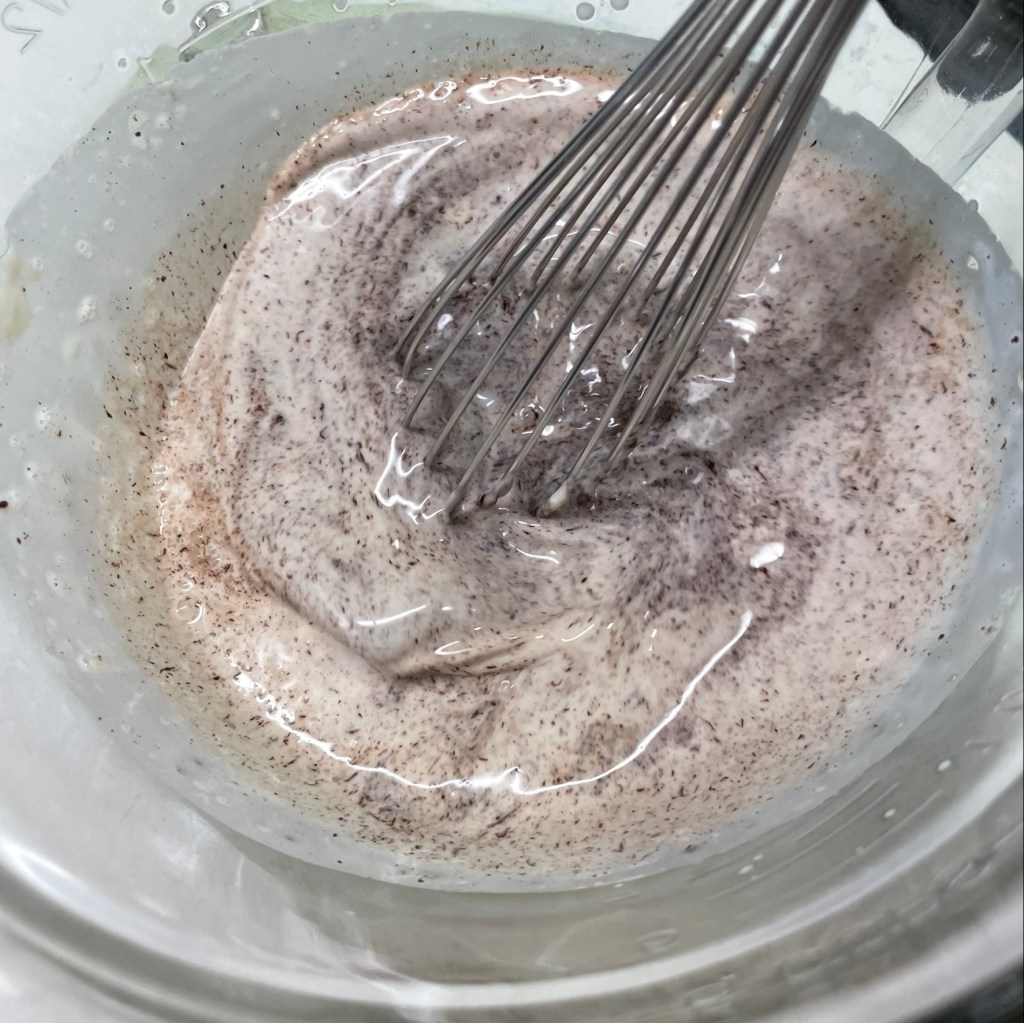
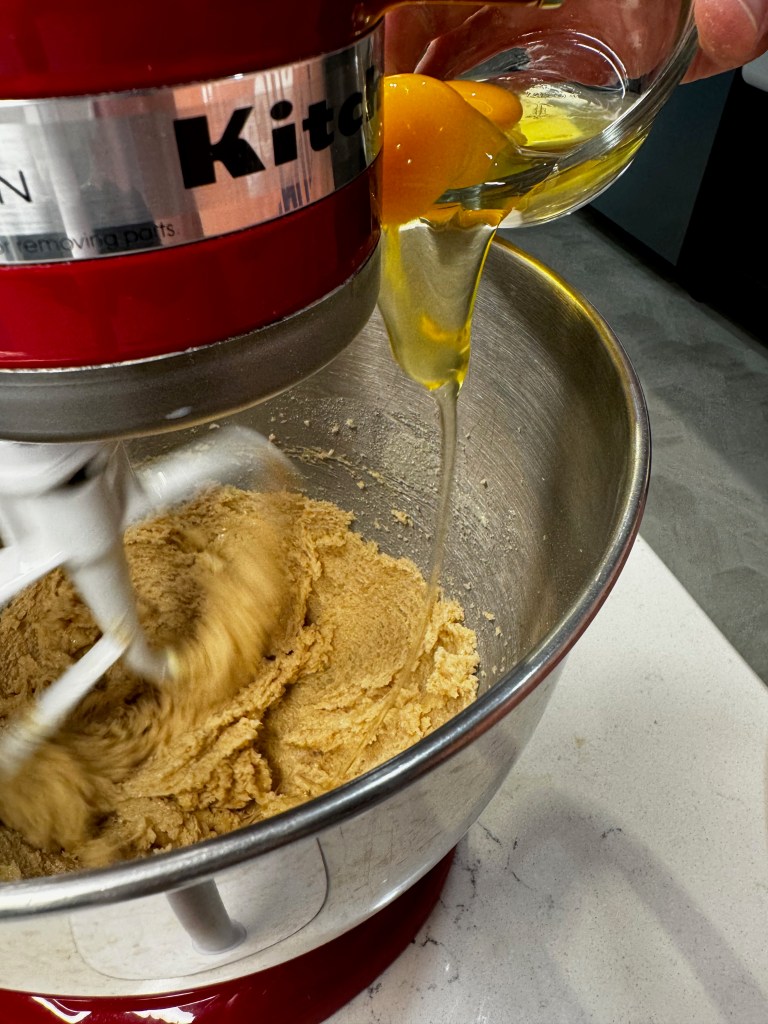
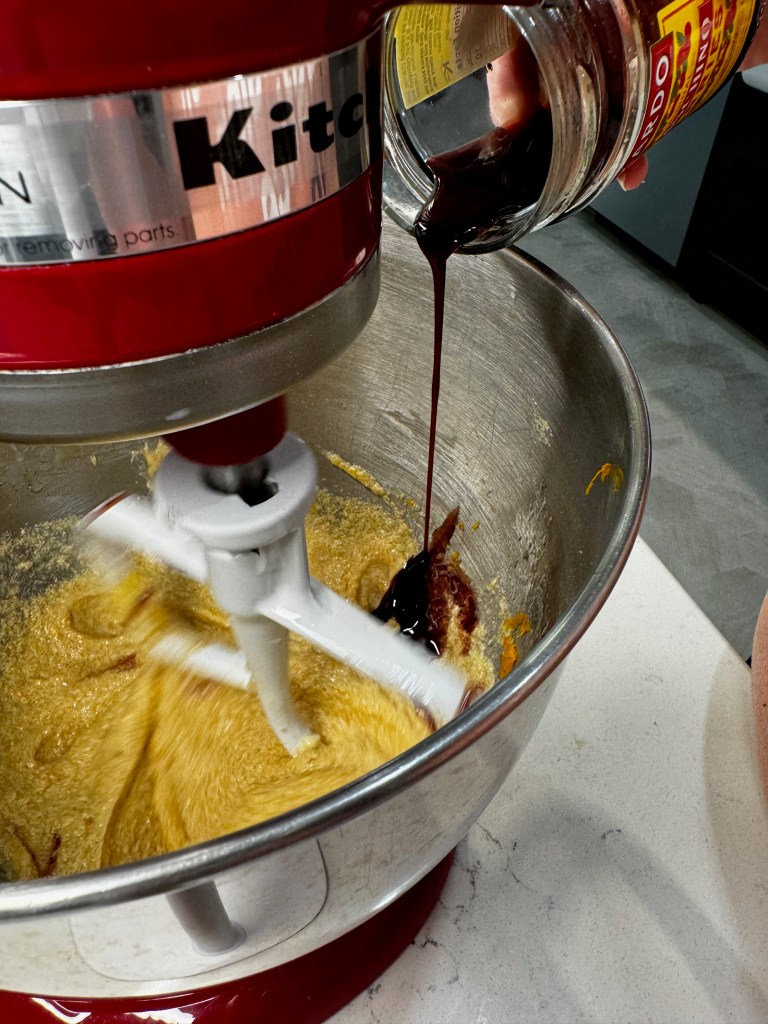
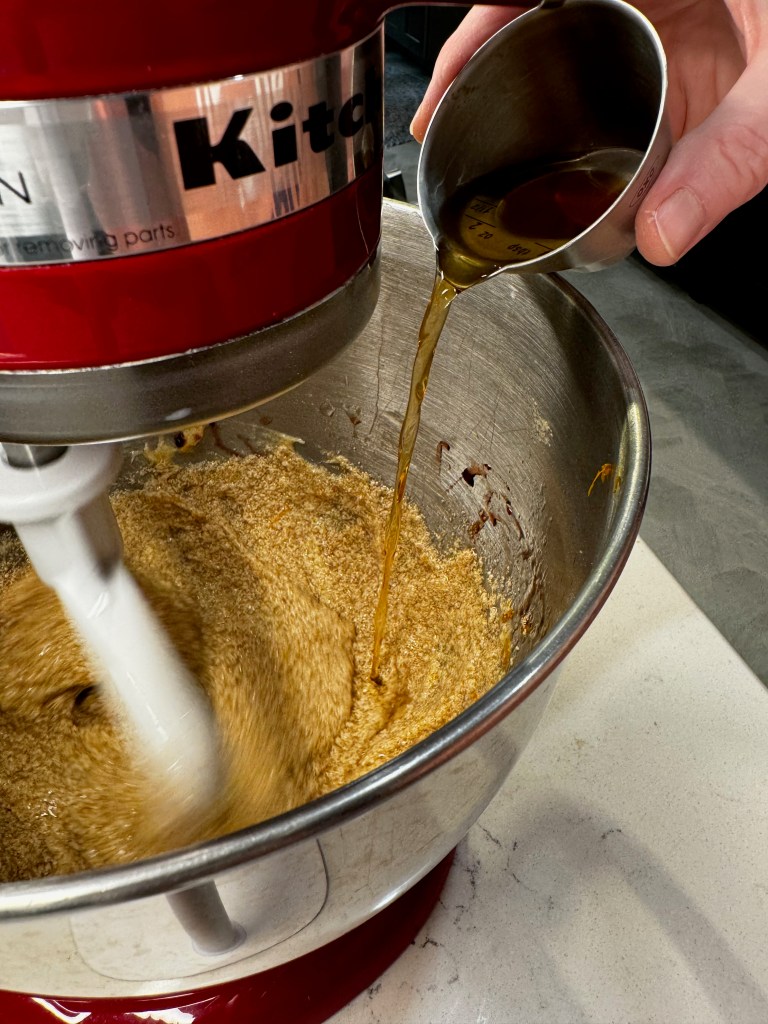
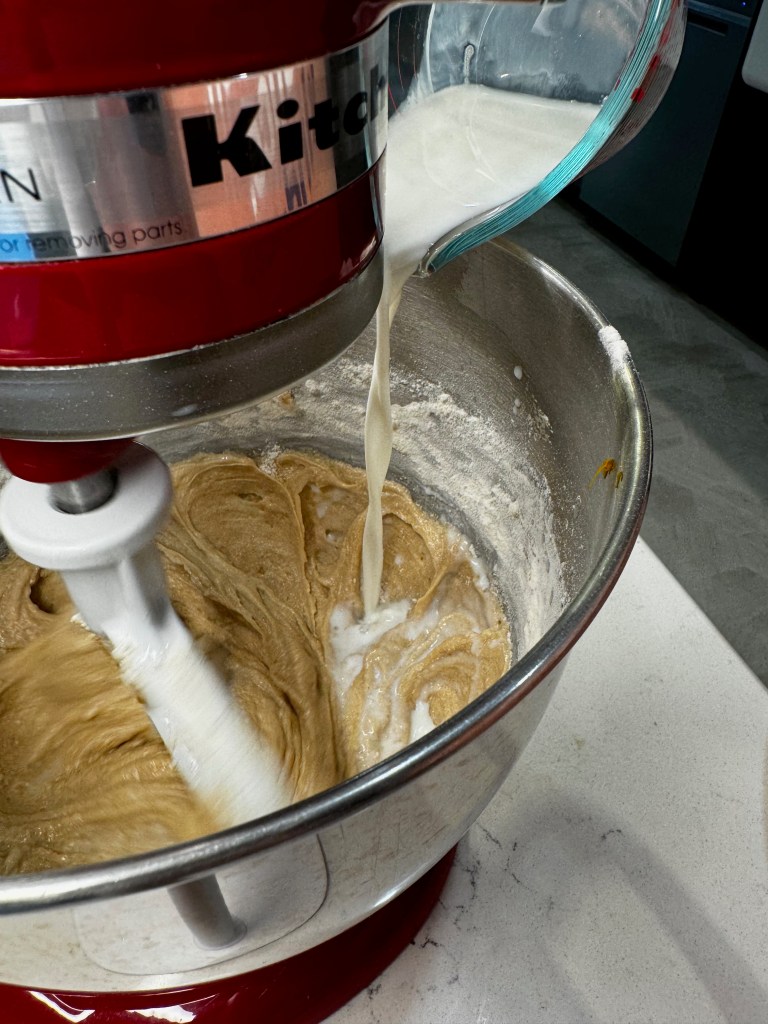
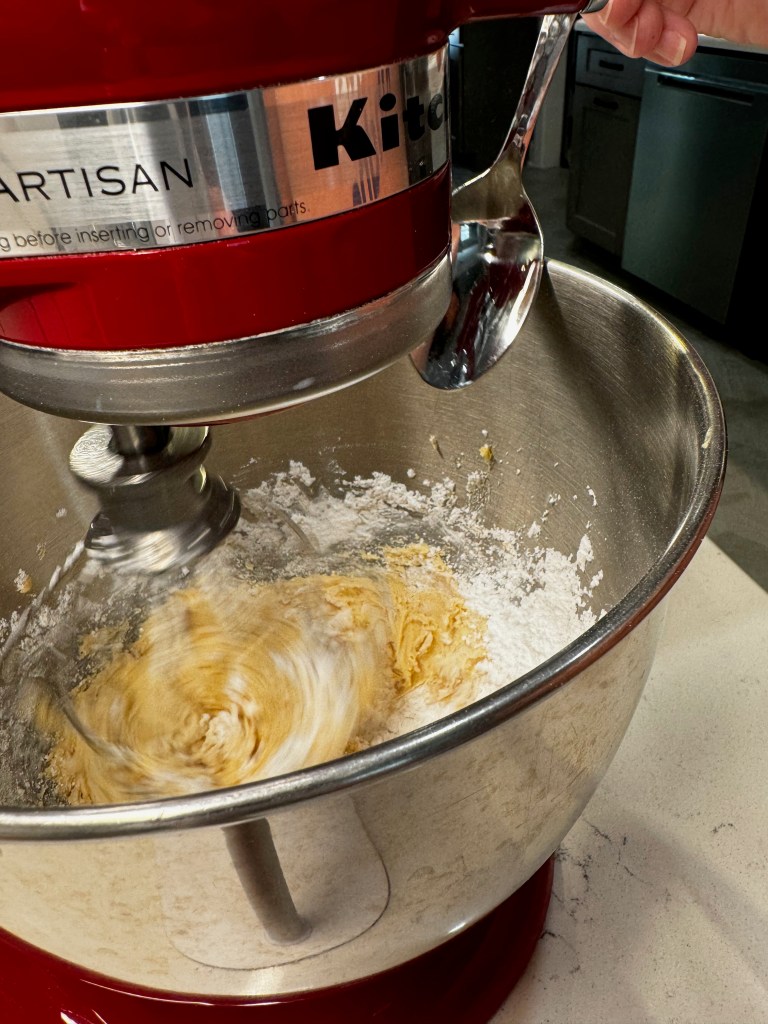
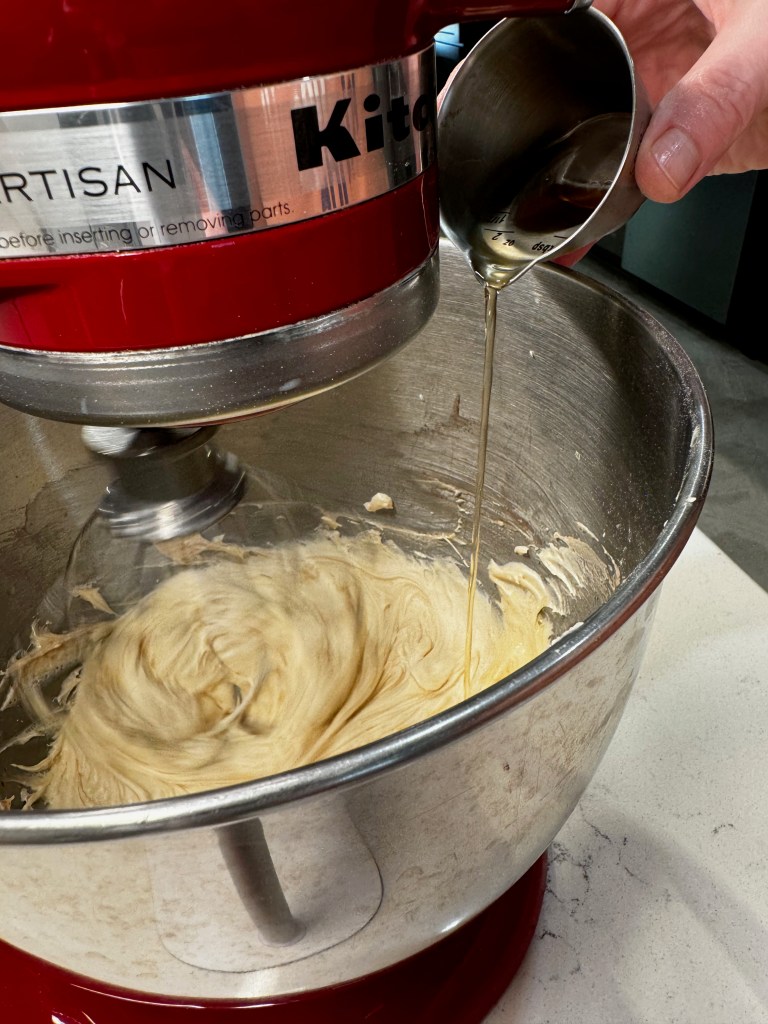
For these grownup-only treats, I followed the formula template of my mint julep cupcakes, but with different flavor enhancers. Butter, brown and white sugars, eggs. And then the old fashioned flavors, in the form of orange zest, cocktail cherry syrup and (obviously) the whiskey. Alternate the addition of dry and wet ingredients, a bit at a time, to ensure even mixing; too much of either at once and you’ll end up overmixing the batter.


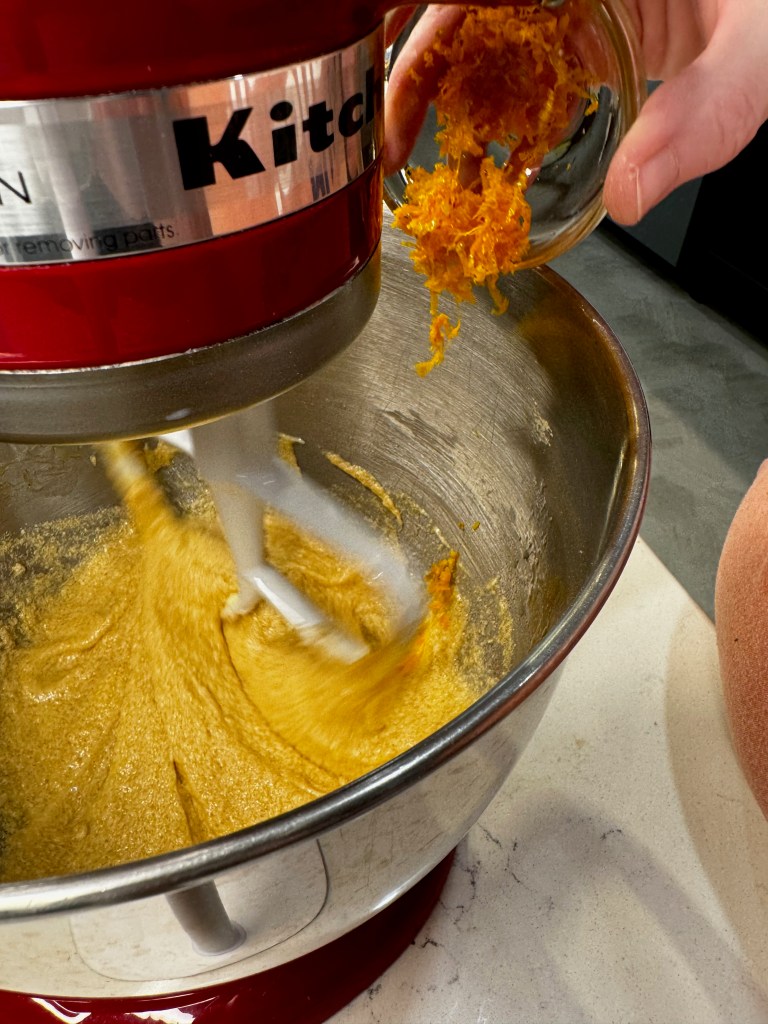
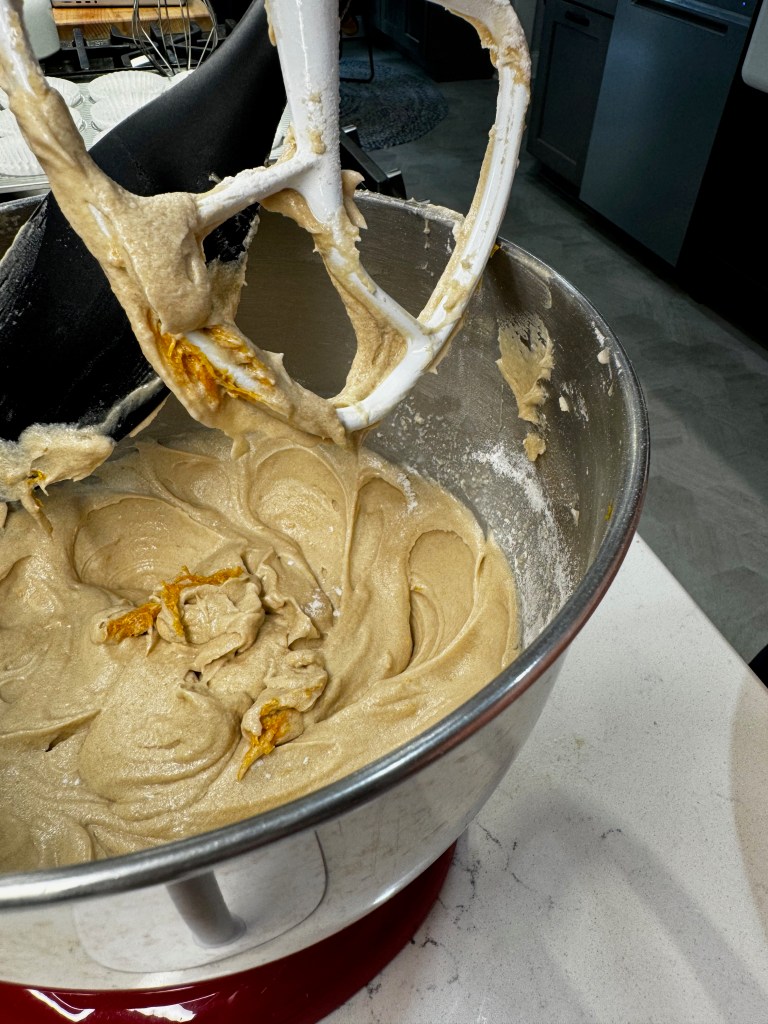
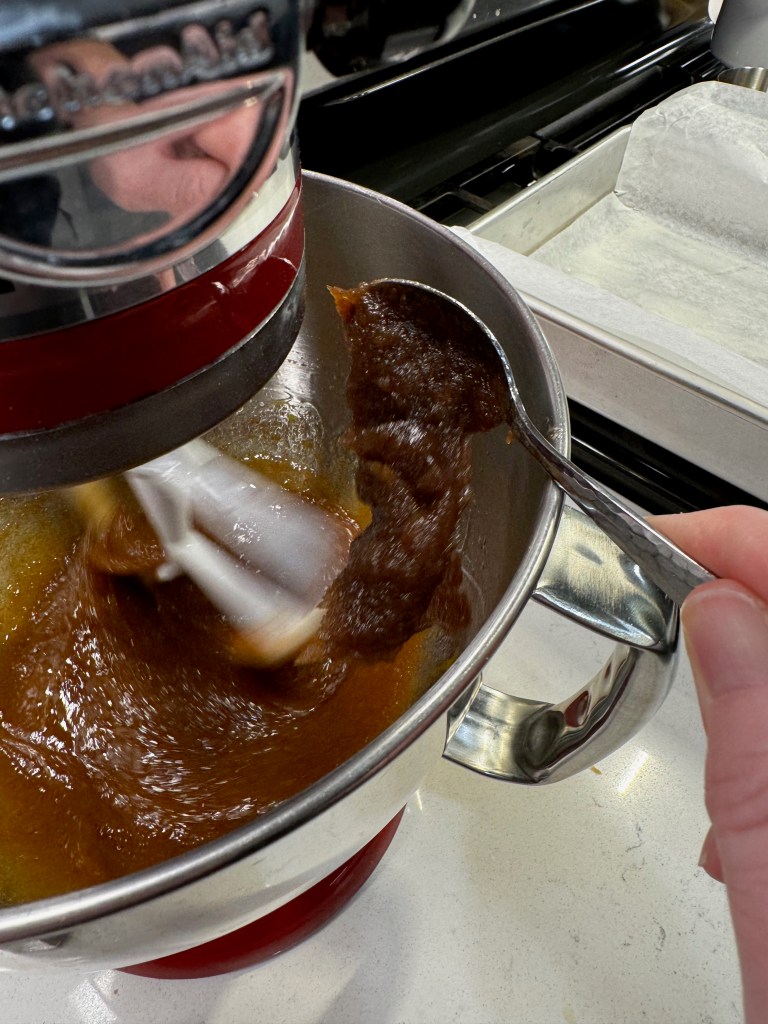
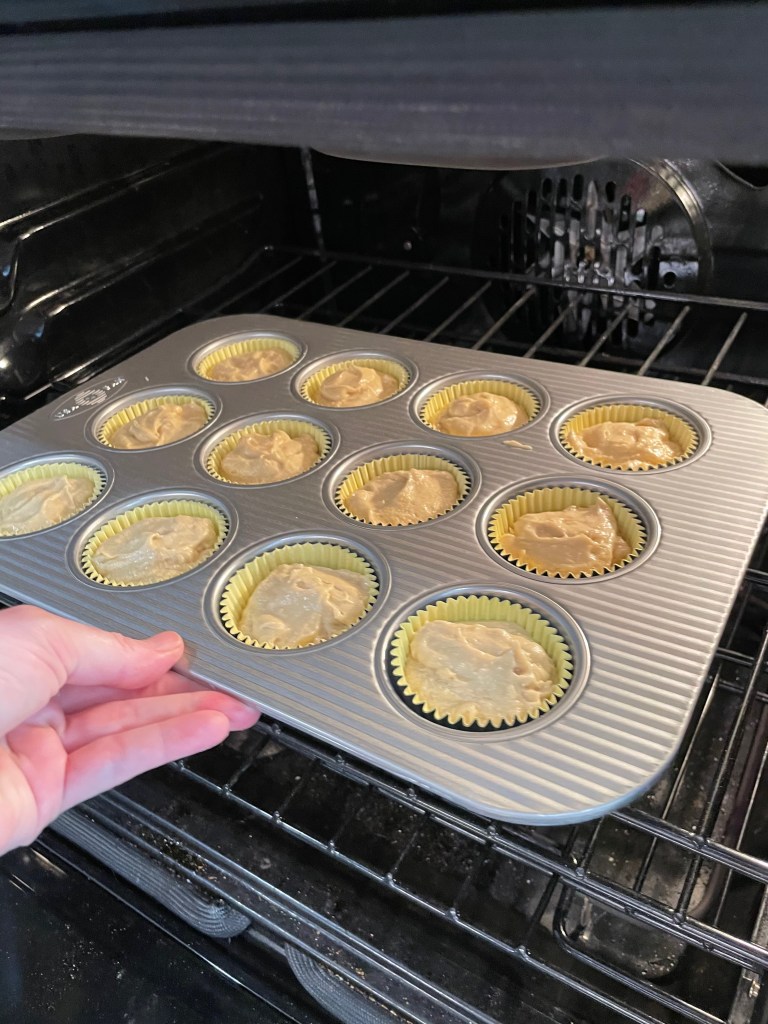
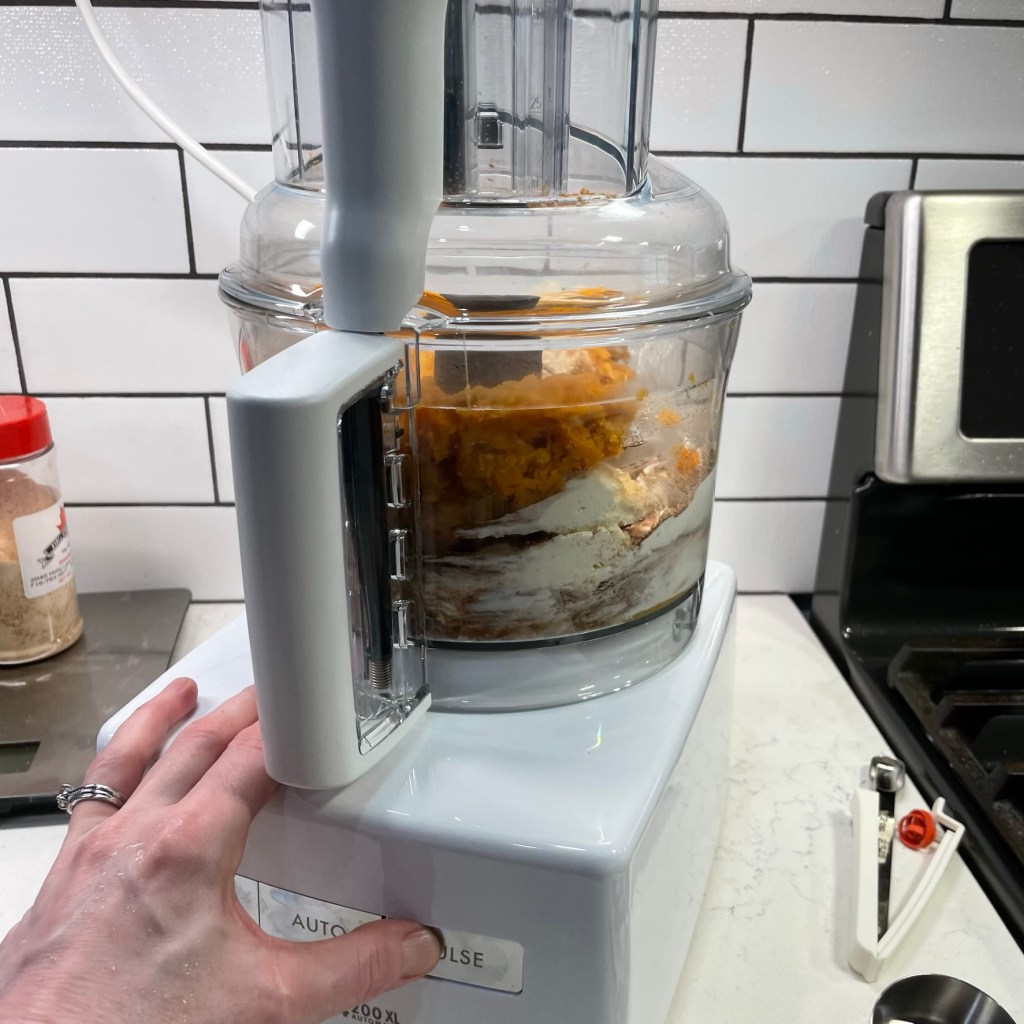
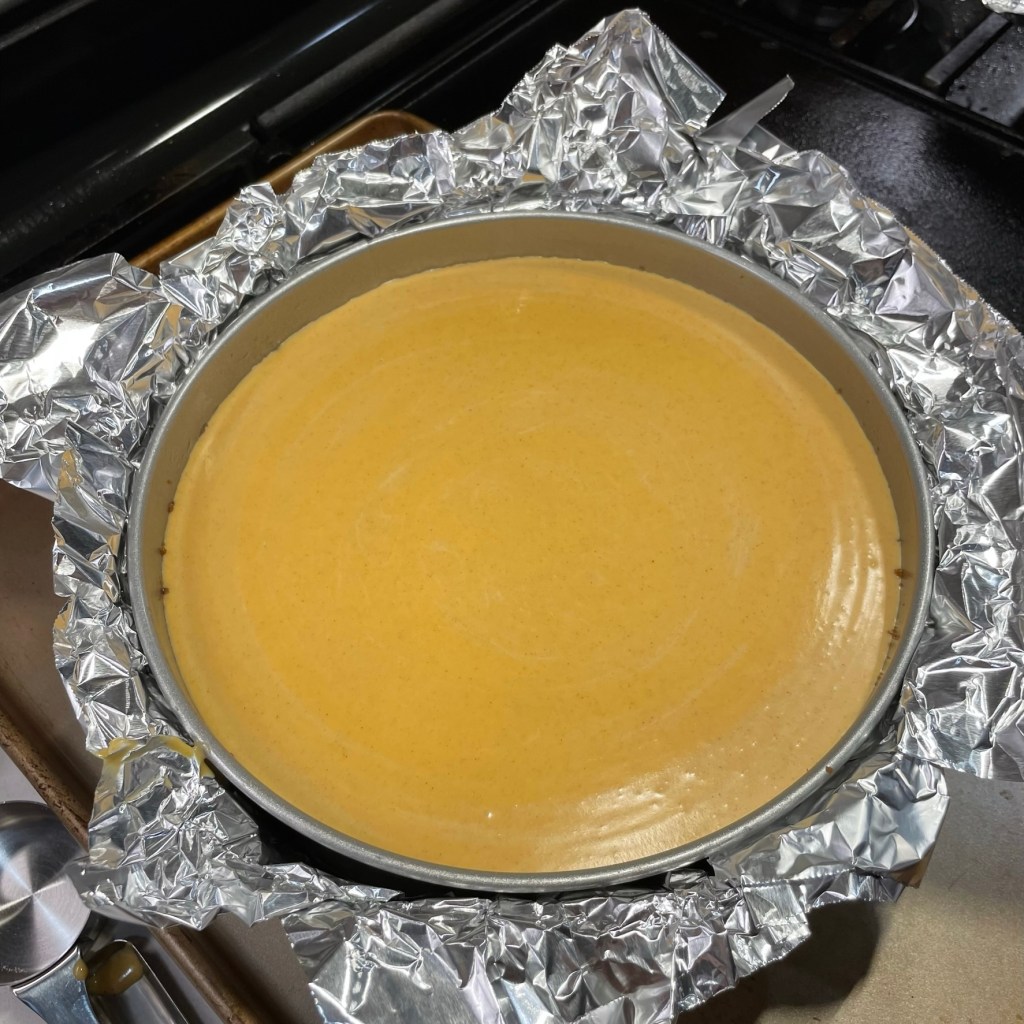
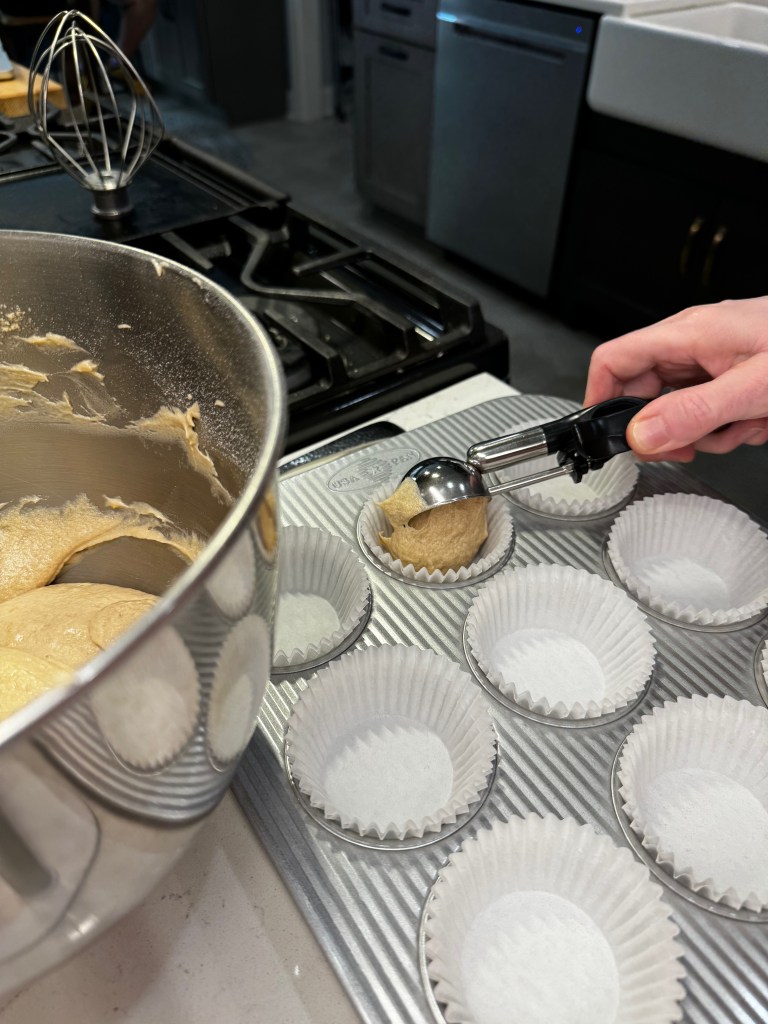
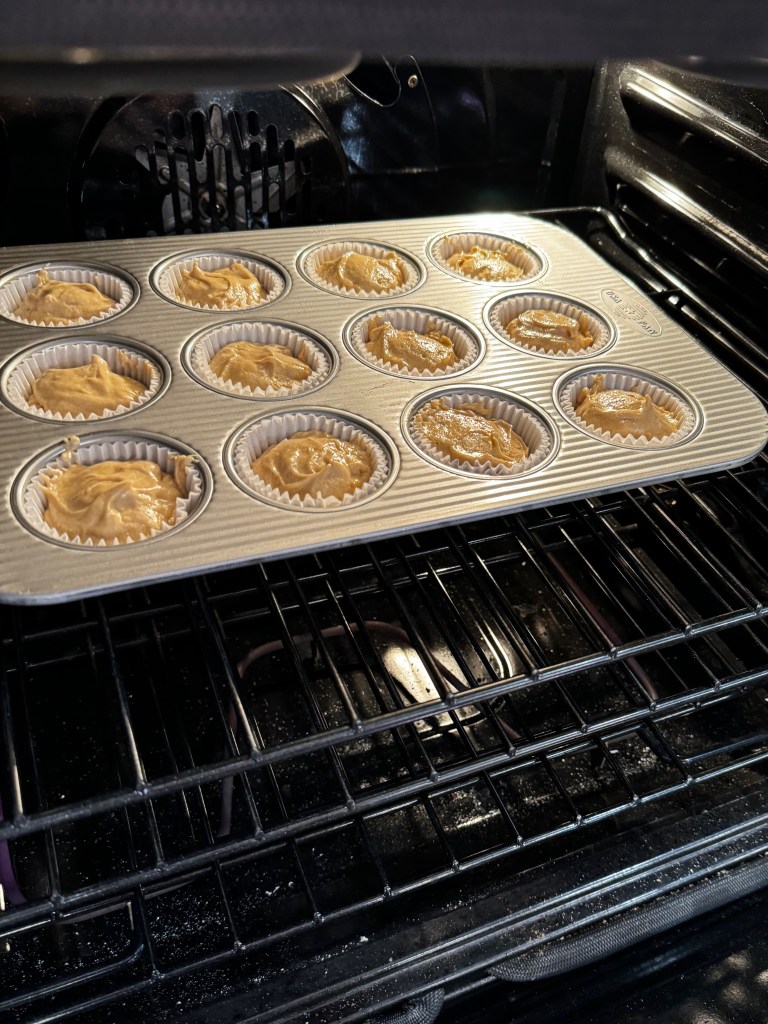
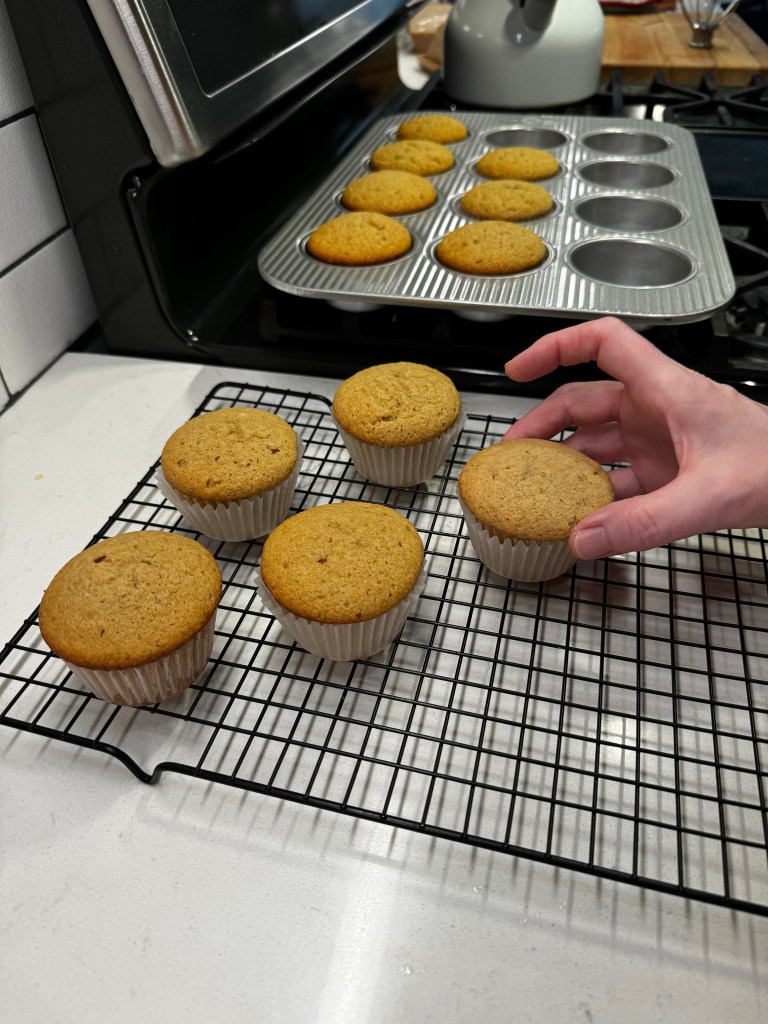
As an aside, do you see what my KitchenAid did with the zest? I guess it’s best to stir that in by hand at the end! Divide the batter evenly among the cupcake liners and bake, then cool for a bit before transferring them to a wire rack.


Why whiskey rather than bourbon?

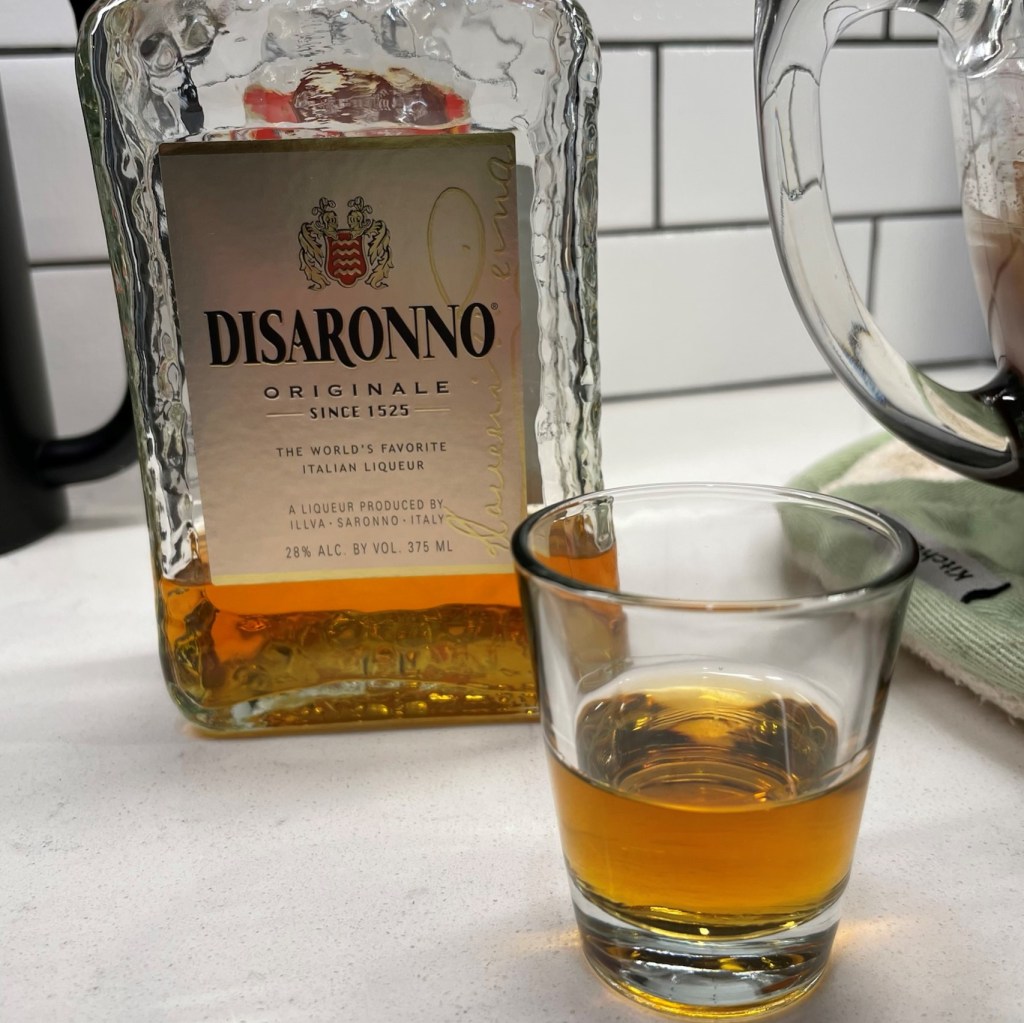
We’ve enjoyed many a cocktail with Gentleman Jack, and I got curious what kept it from being labeled as bourbon. It is, after all, 80% corn and aged in oak barrels, and obviously produced in the U.S., so it certainly qualifies to be called “bourbon,” but the folks at Jack Daniel’s like to point out that their whiskey is charcoal-mellowed, and they consider it to be superior in every way to bourbon.

I don’t necessarily agree, but Gentleman Jack is very easy on the palate, and lower proof (80) than most of the bourbons we usually drink, which makes it lovely with the sweetness of dessert. Boozy, but no harsh bite. Now, let’s talk about the caramel notes in this buttercream!

The icing on the (cup)cake

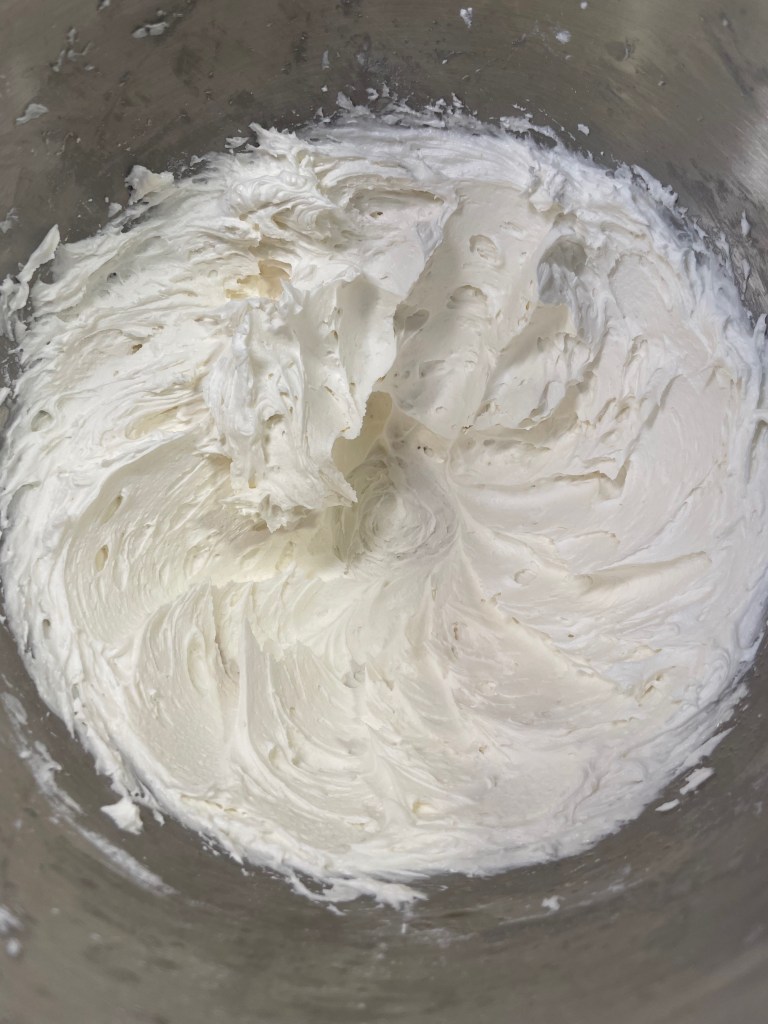
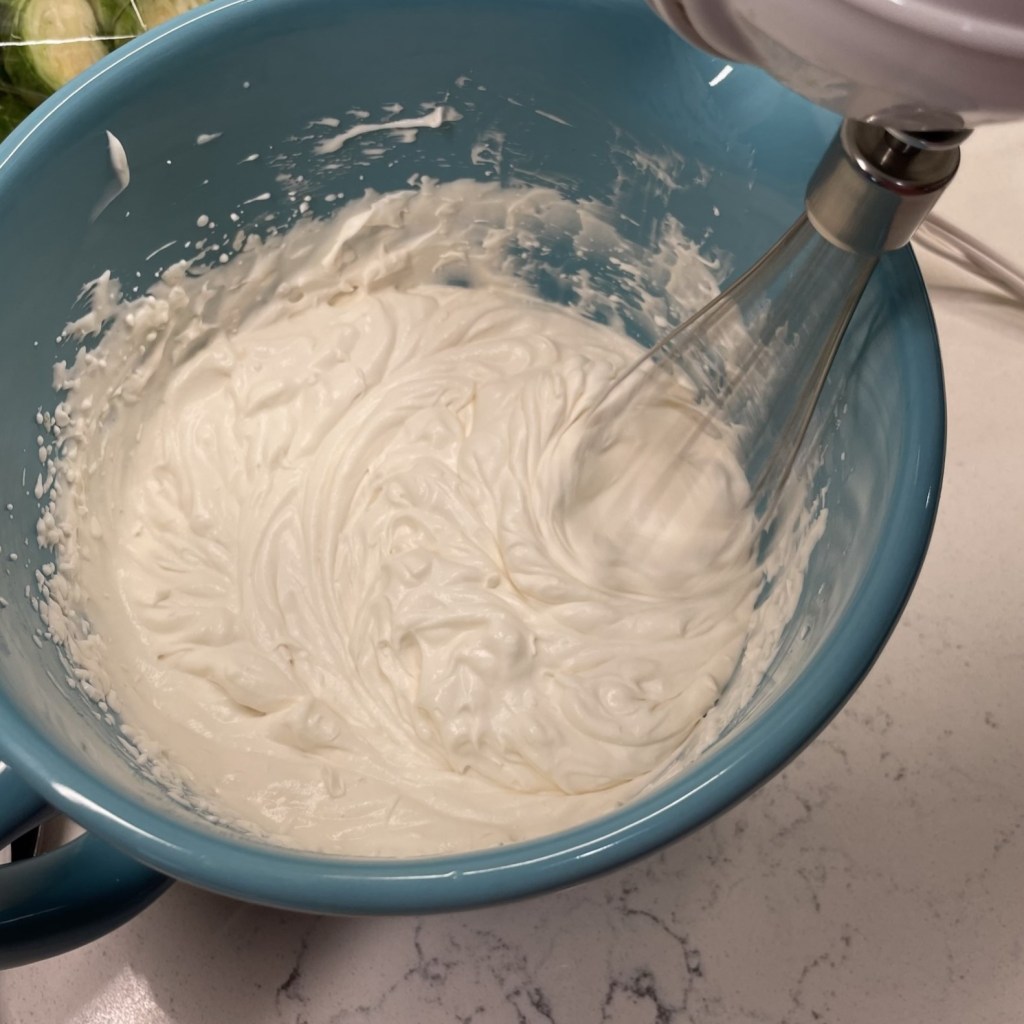
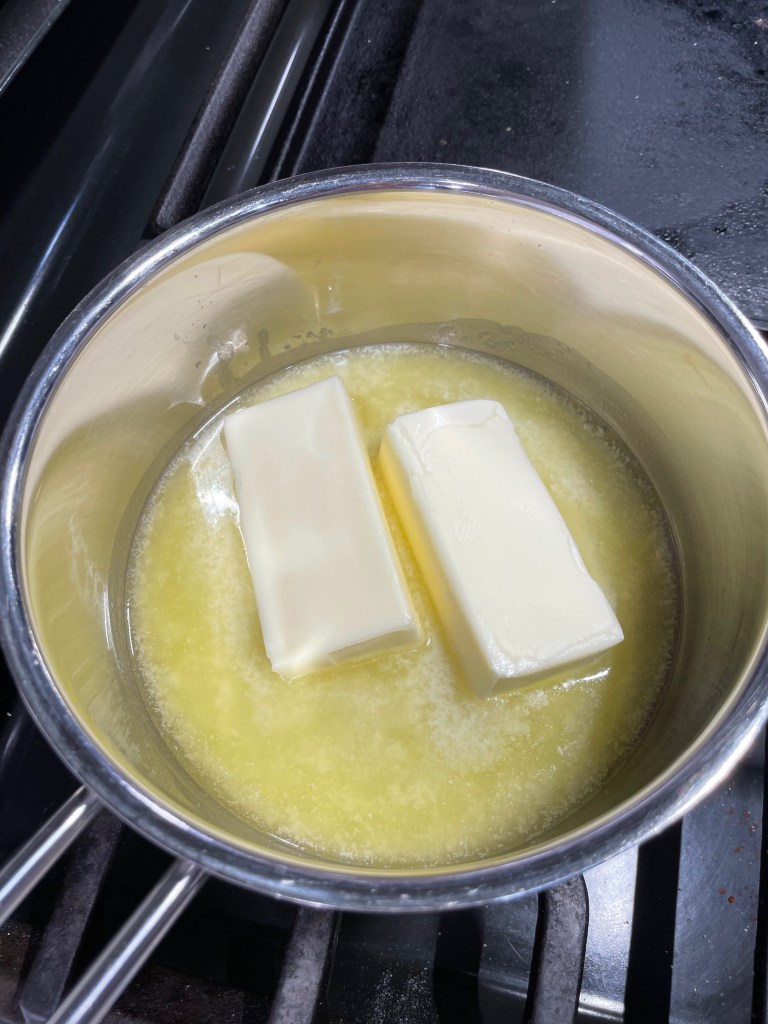
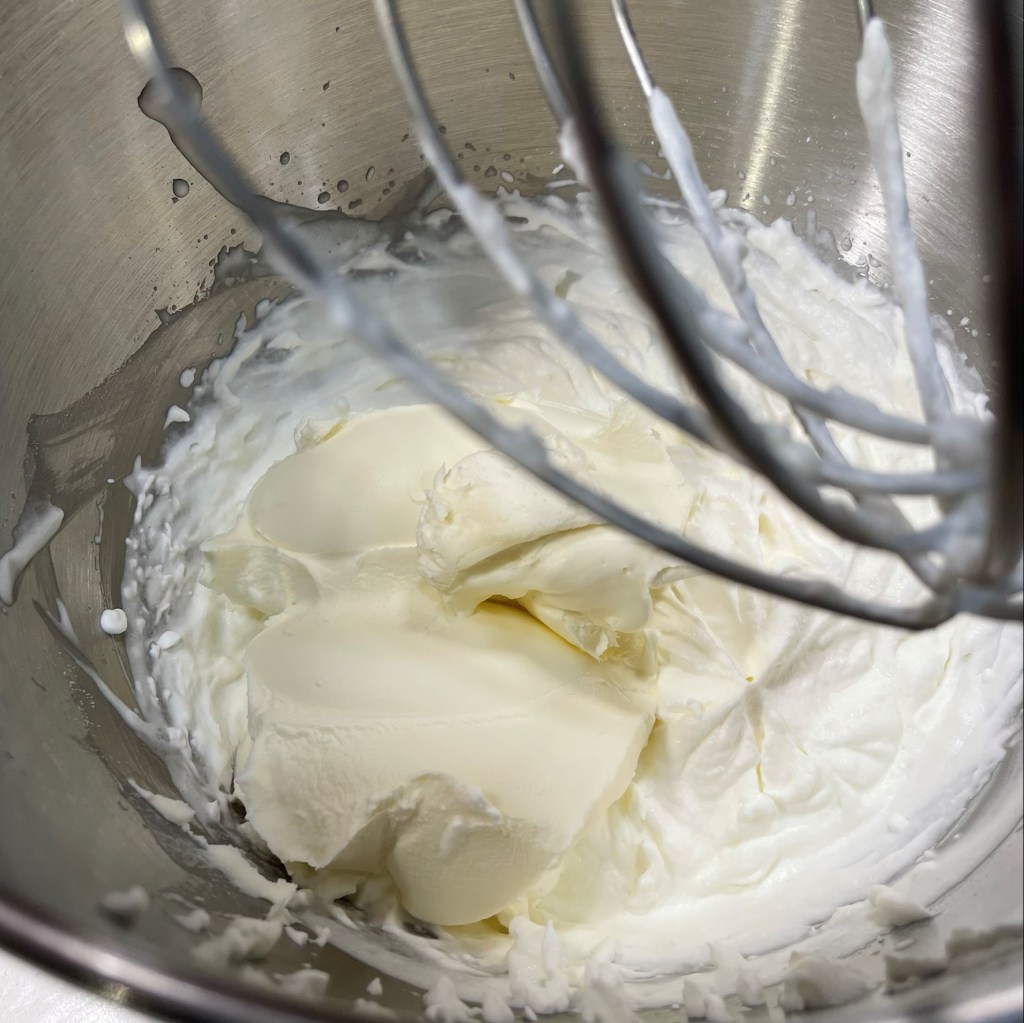
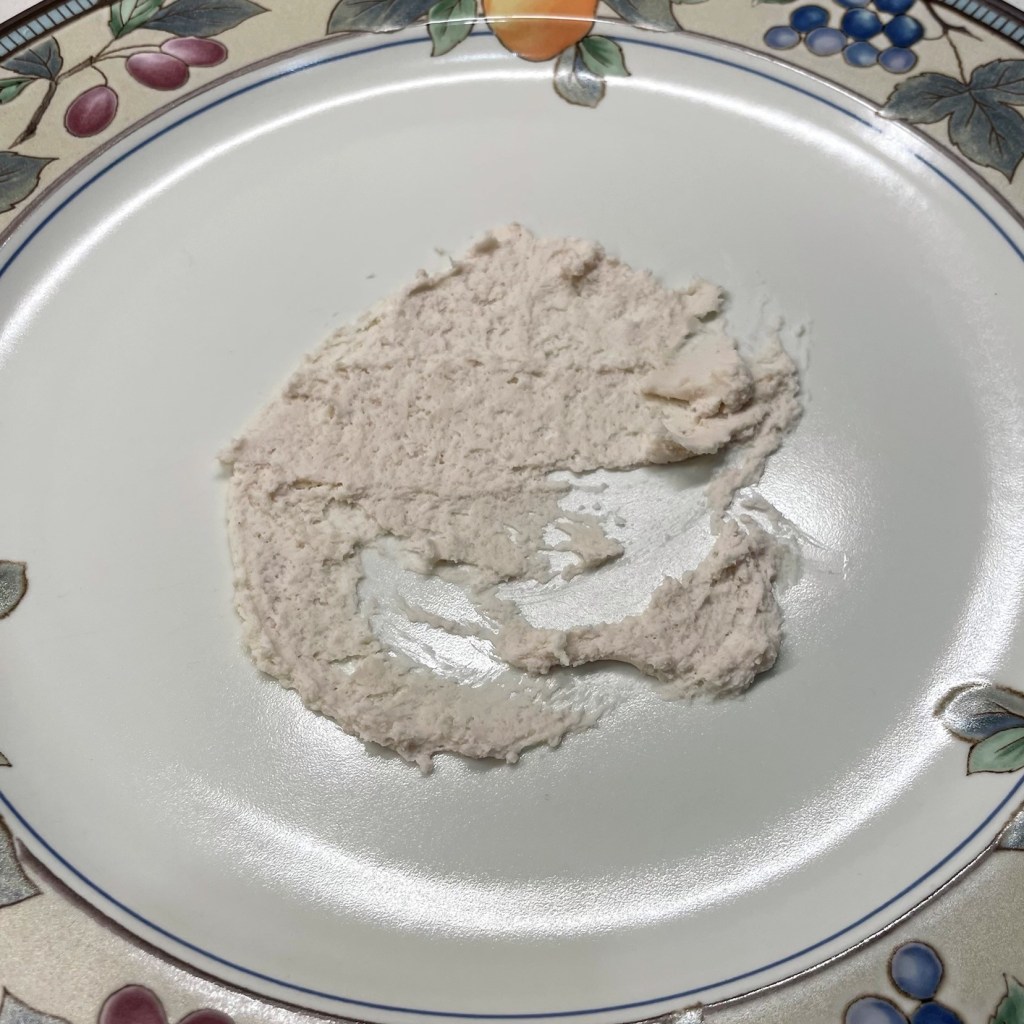
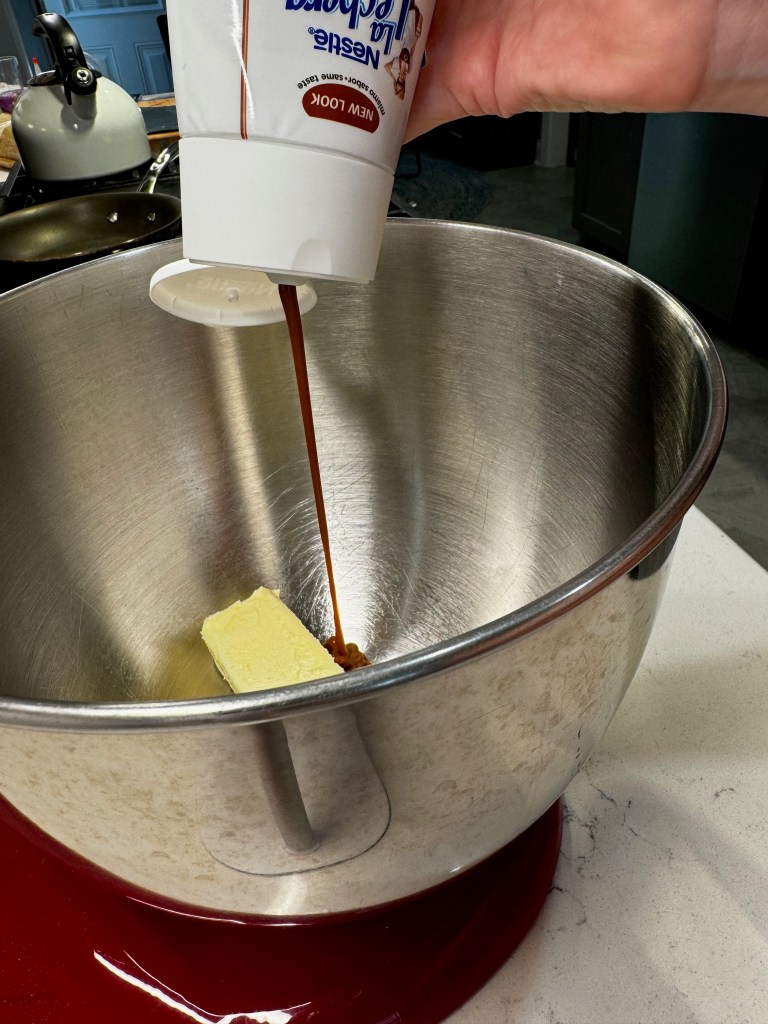
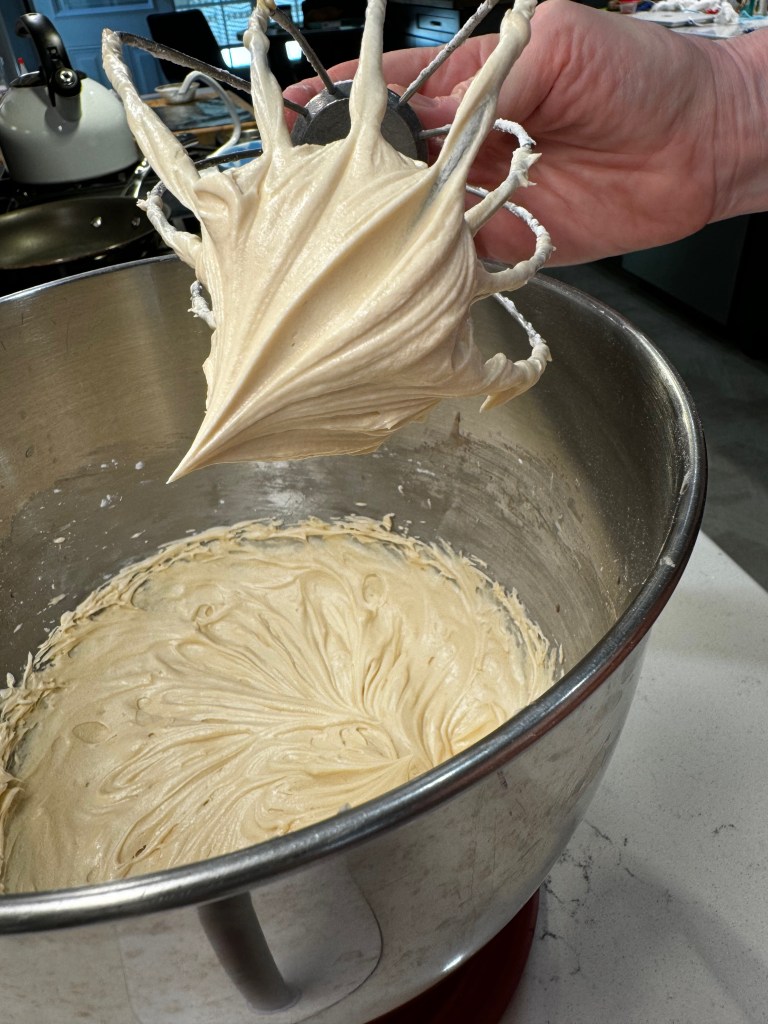
Buttercream is not as difficult as I once feared—at least, not the kind I make. The butter should be softened at room temperature for about half an hour, so that you can press a fork or finger into it and leave an indent without the butter losing its shape. I use salted butter to accent all the other flavors.

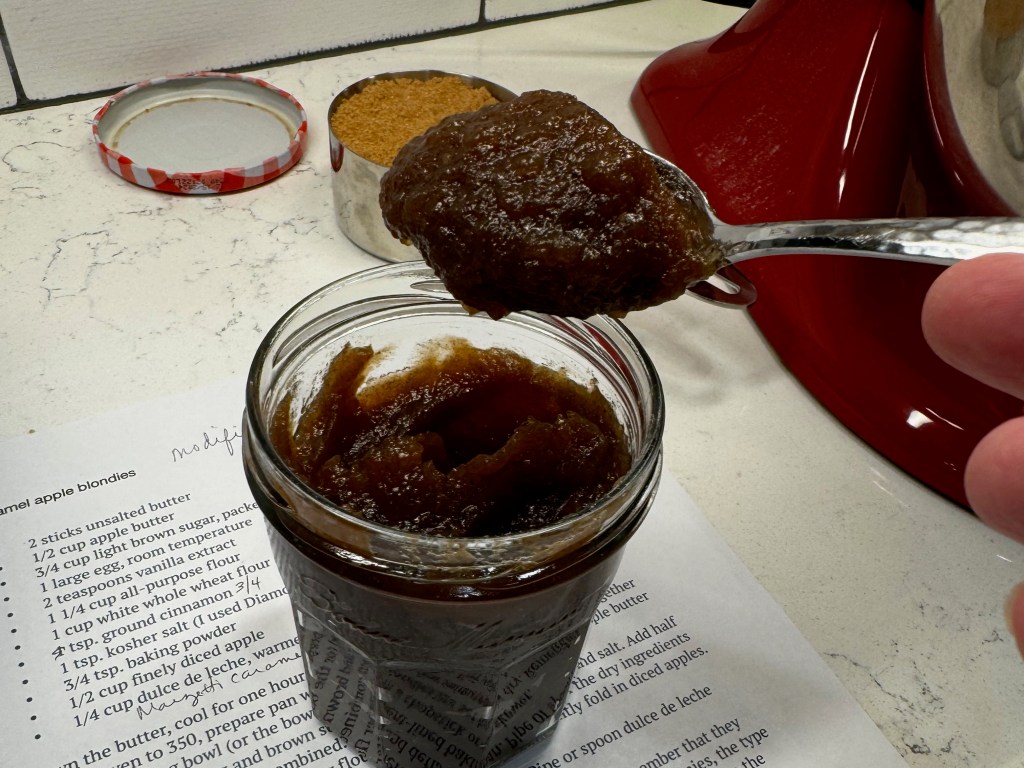
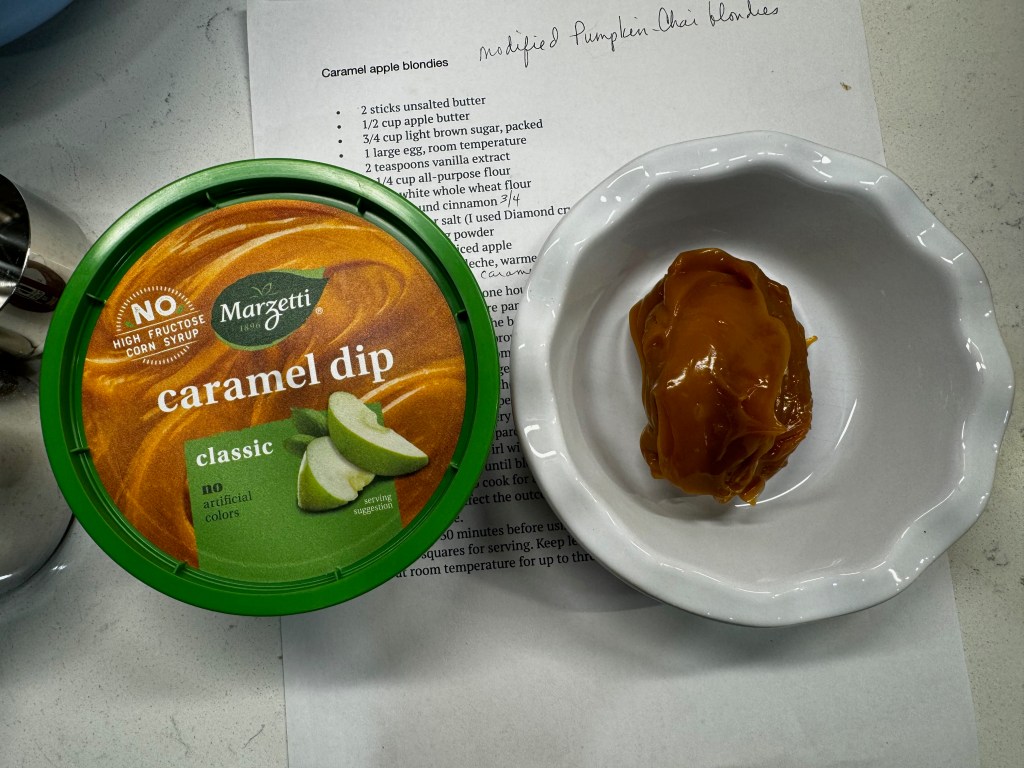
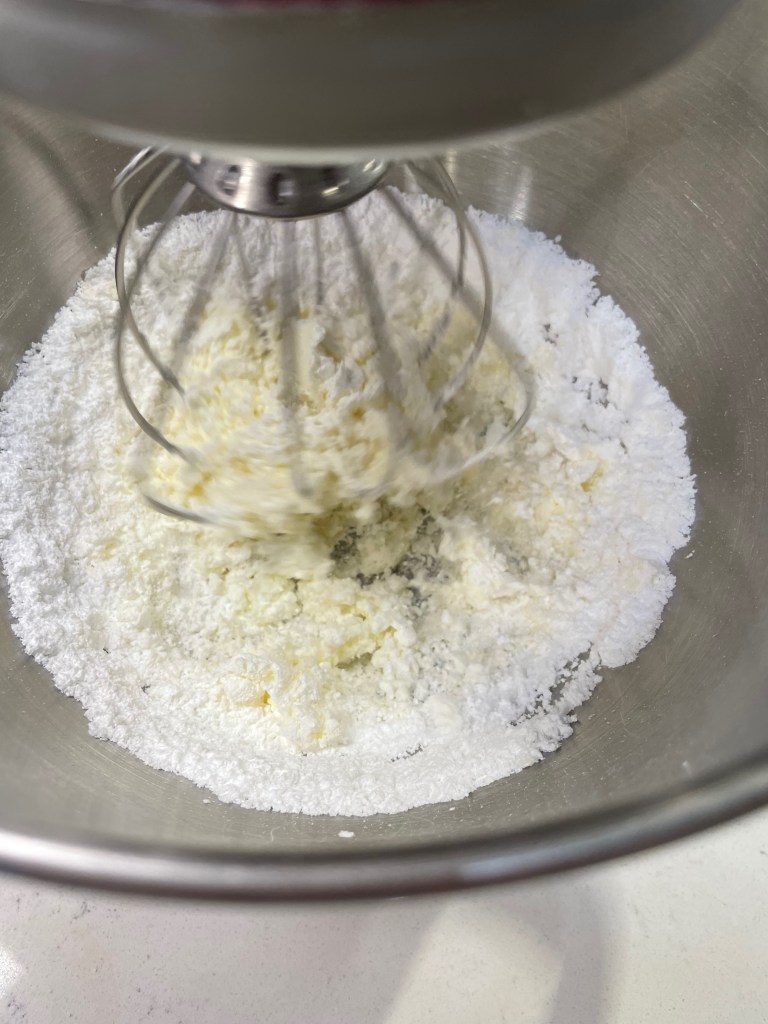
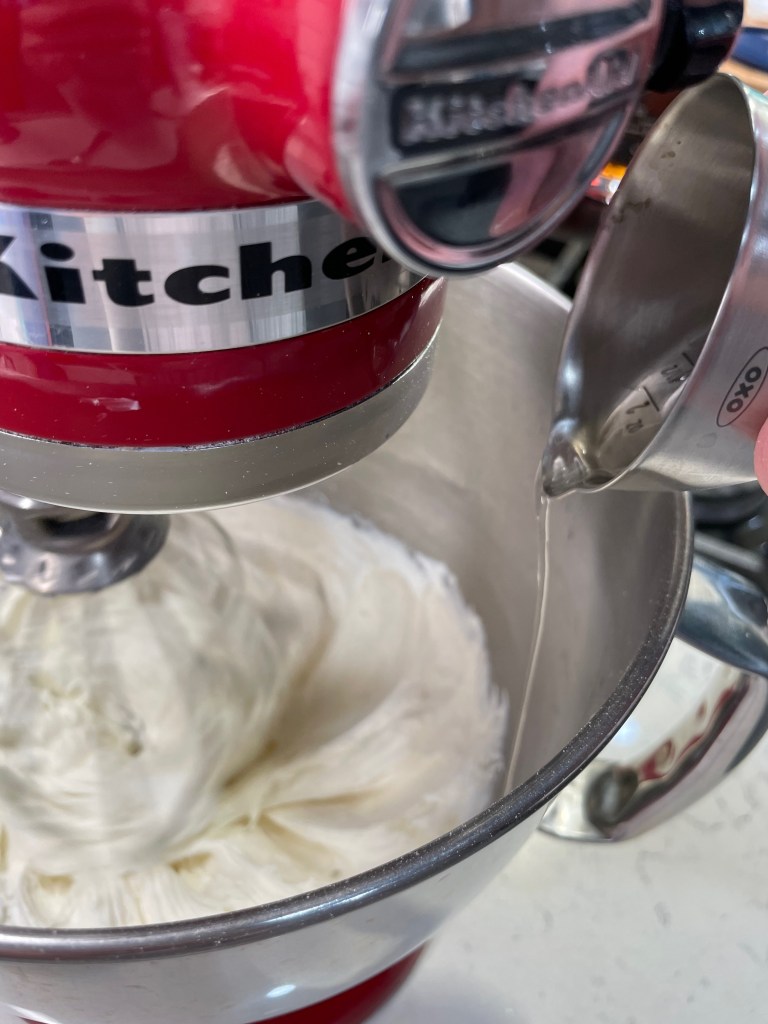
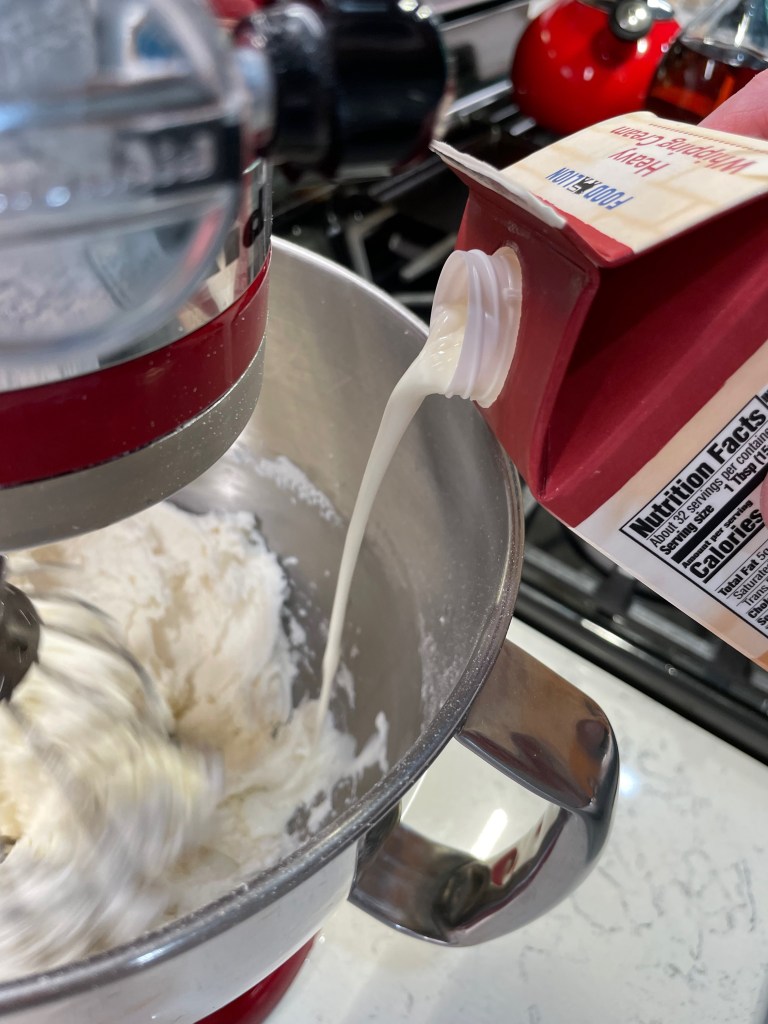
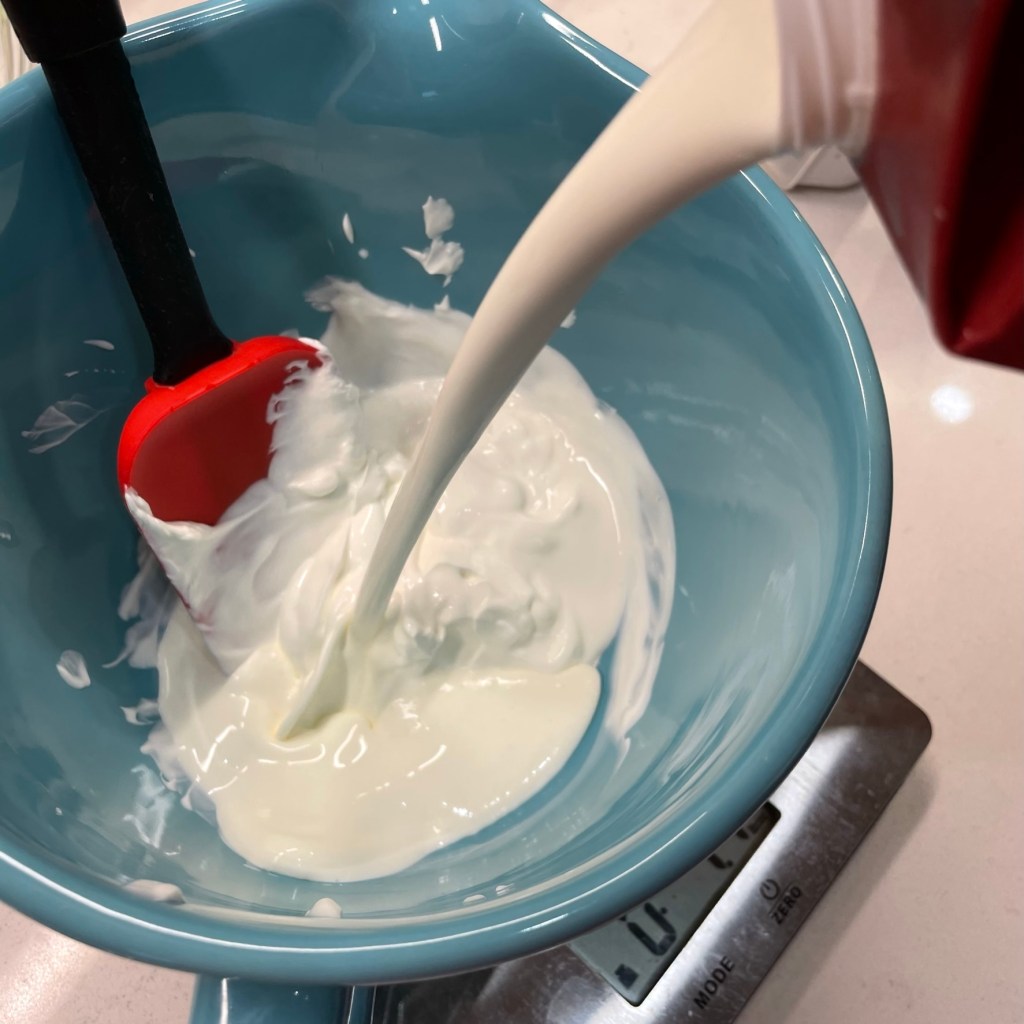
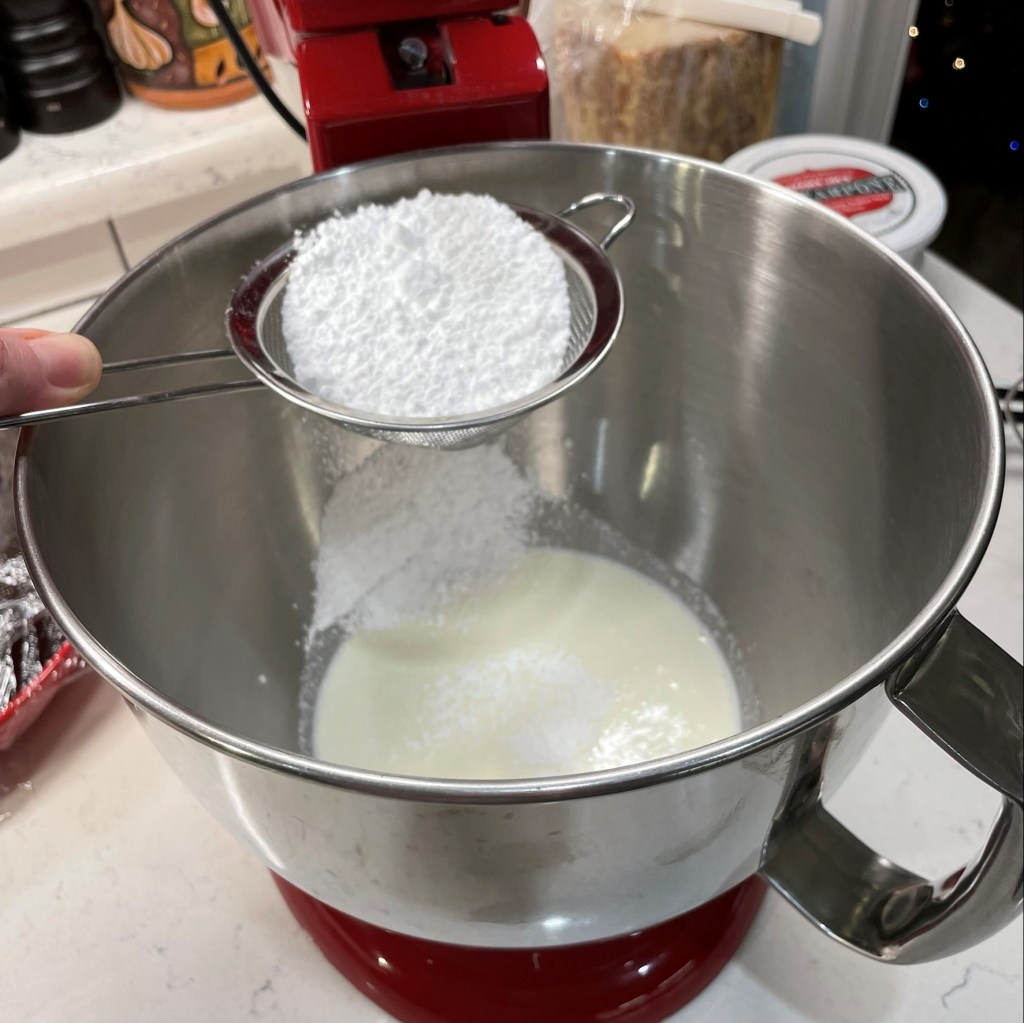
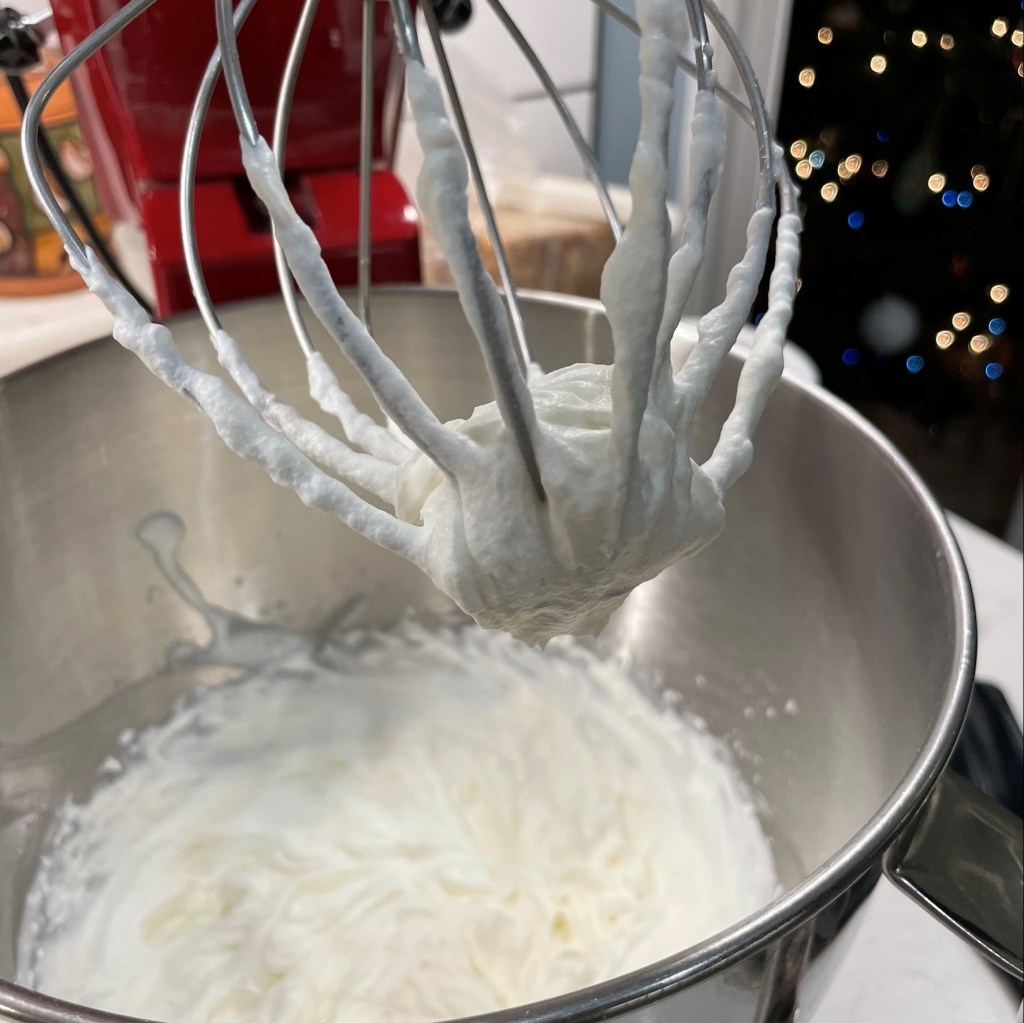
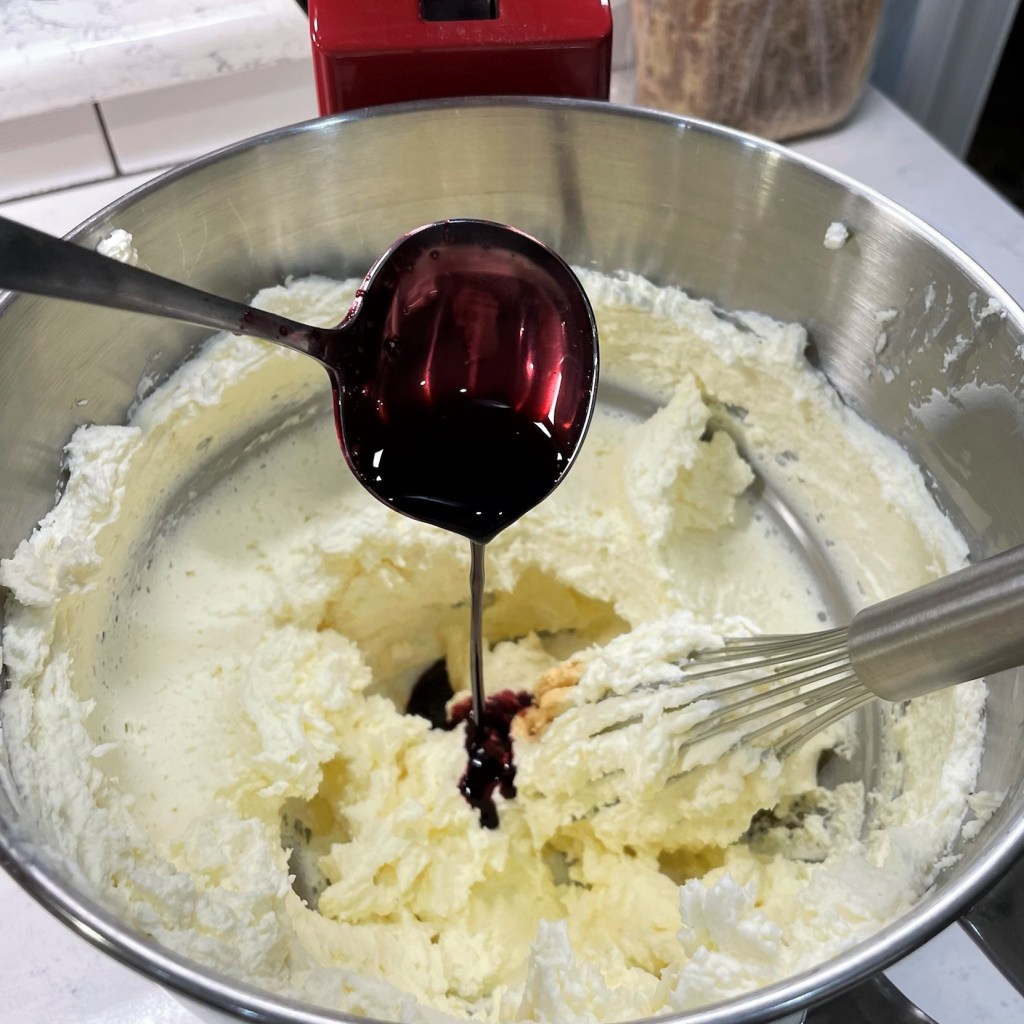
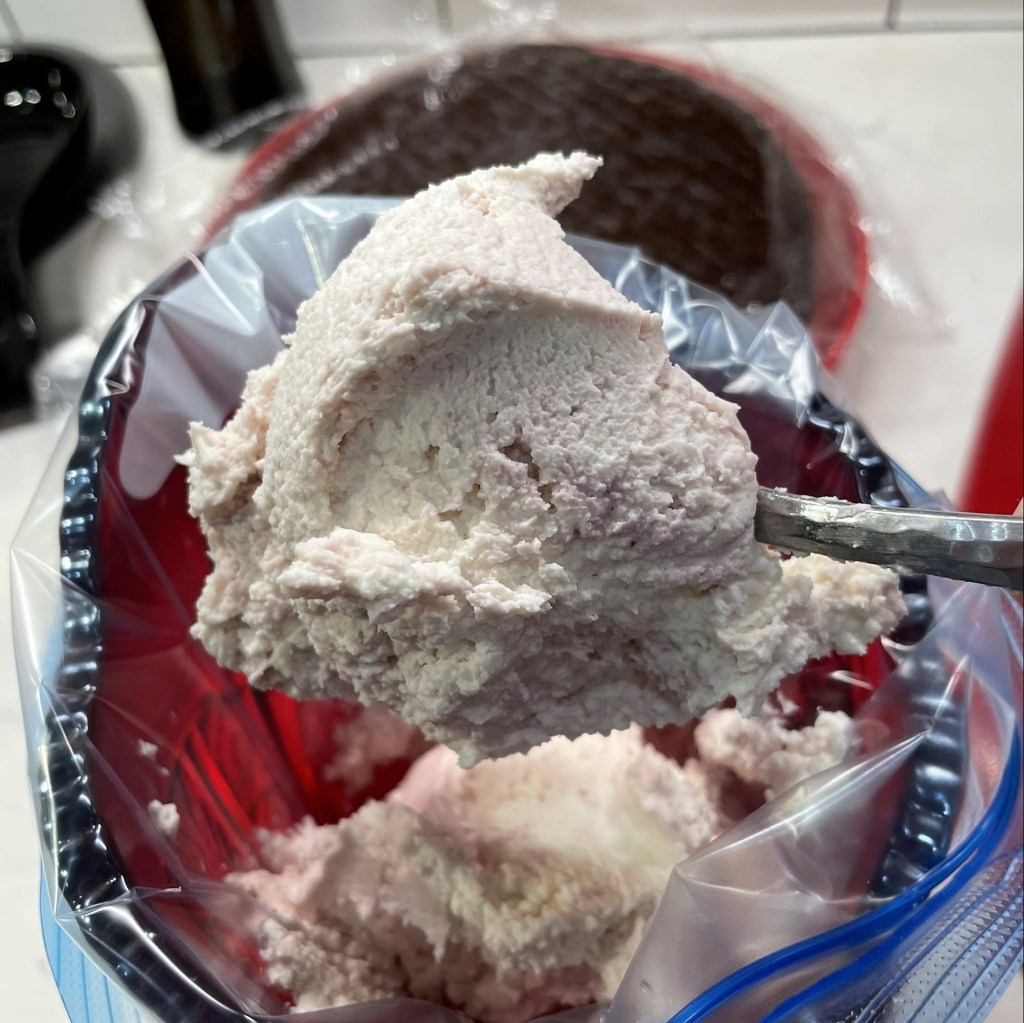
For an “old fashioned” vibe, I spiked the butter with dulce de leche to accentuate the warm caramel flavors of the whiskey. Whip those together with an electric mixer until it is soft and fluffy before adding the sugar. If you go too far with powdered sugar, you can smooth it out again with a few drops of cold heavy cream. You want it swirly, but stable.


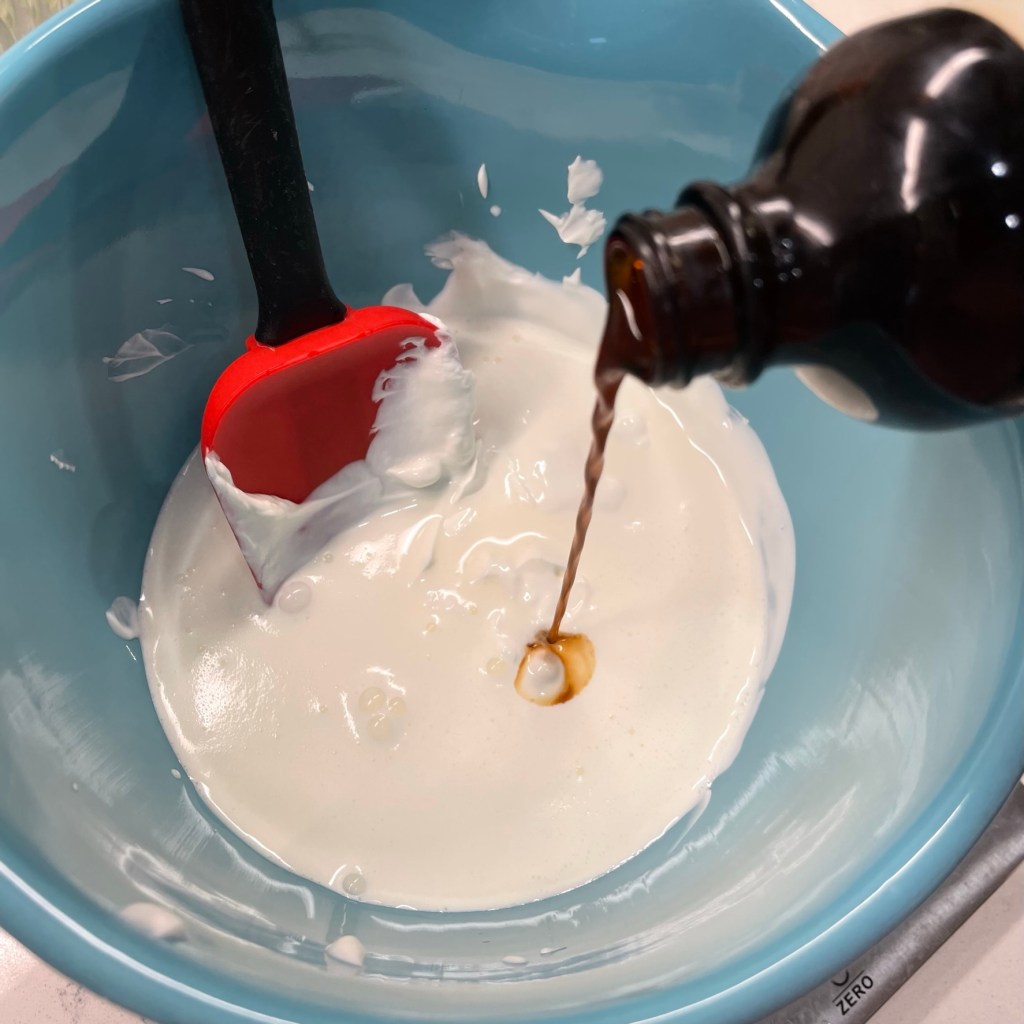
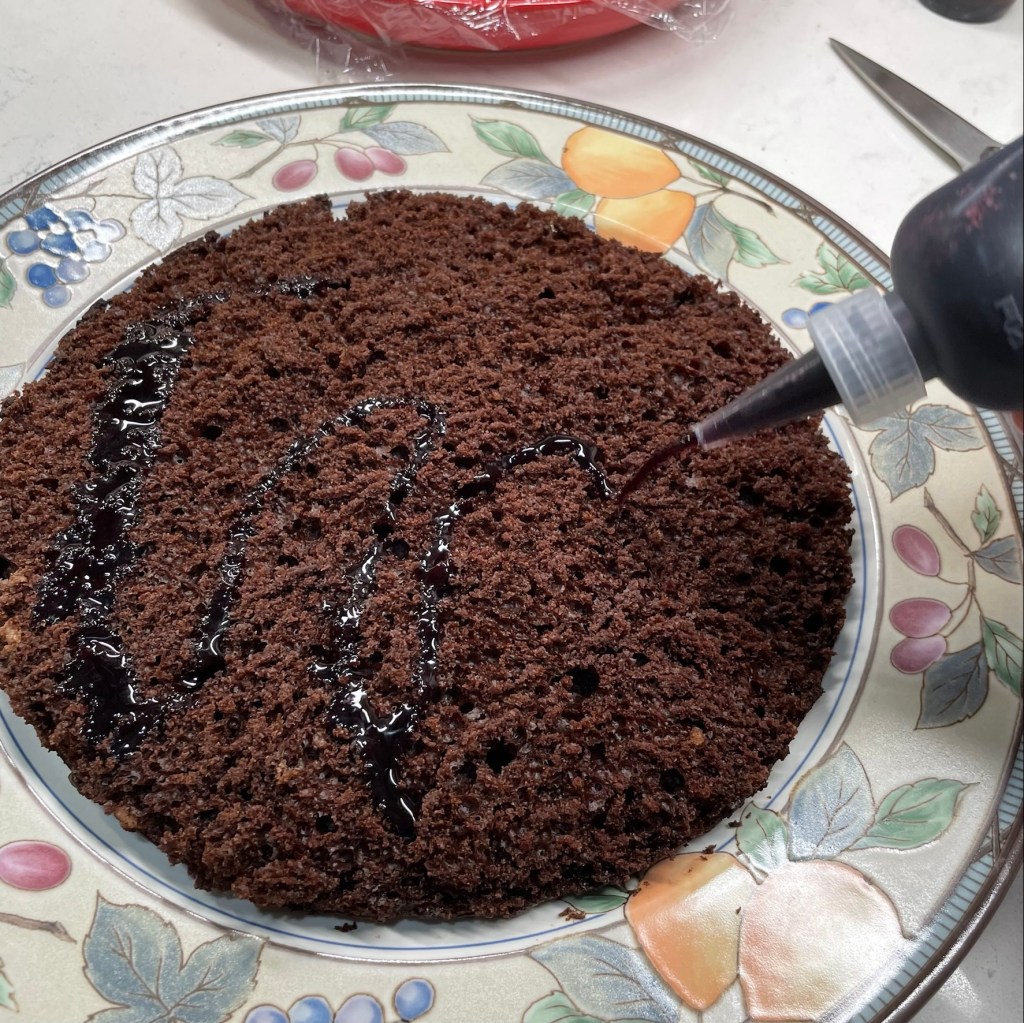
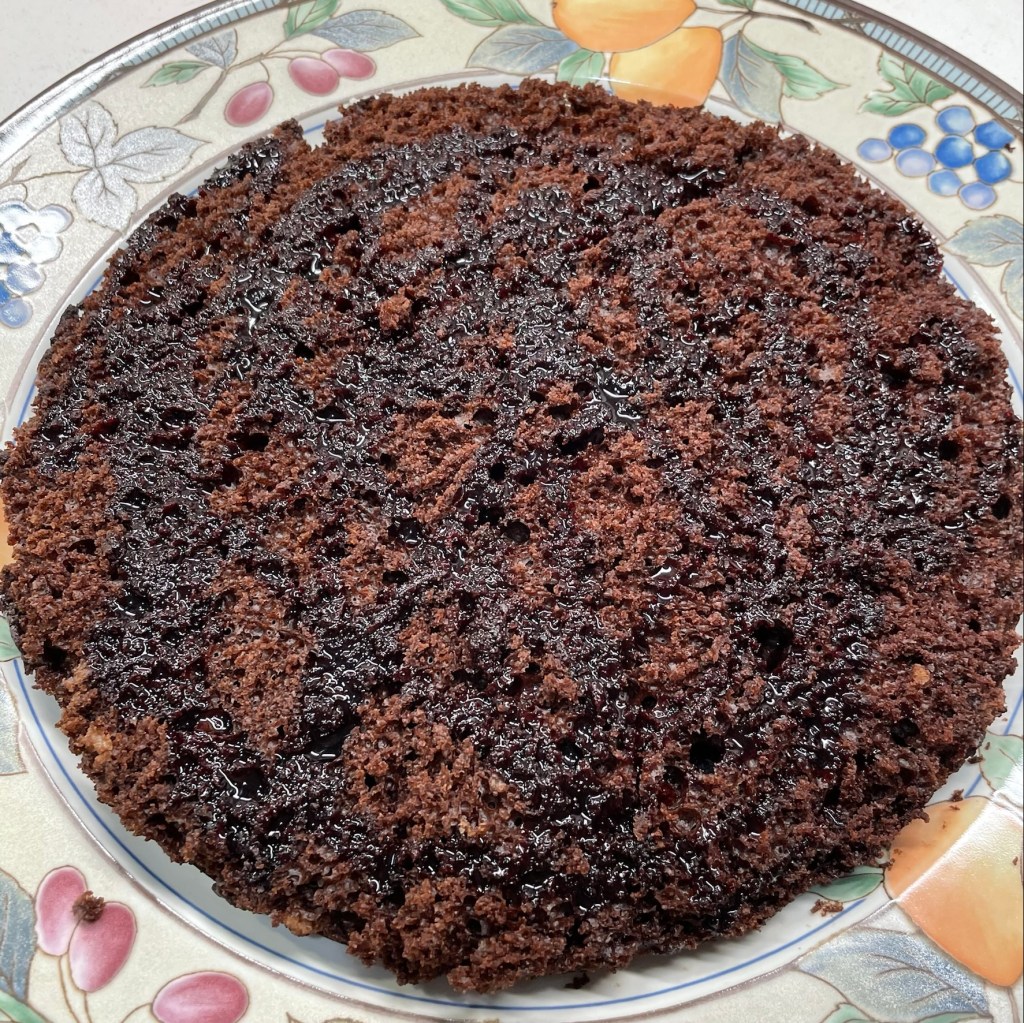
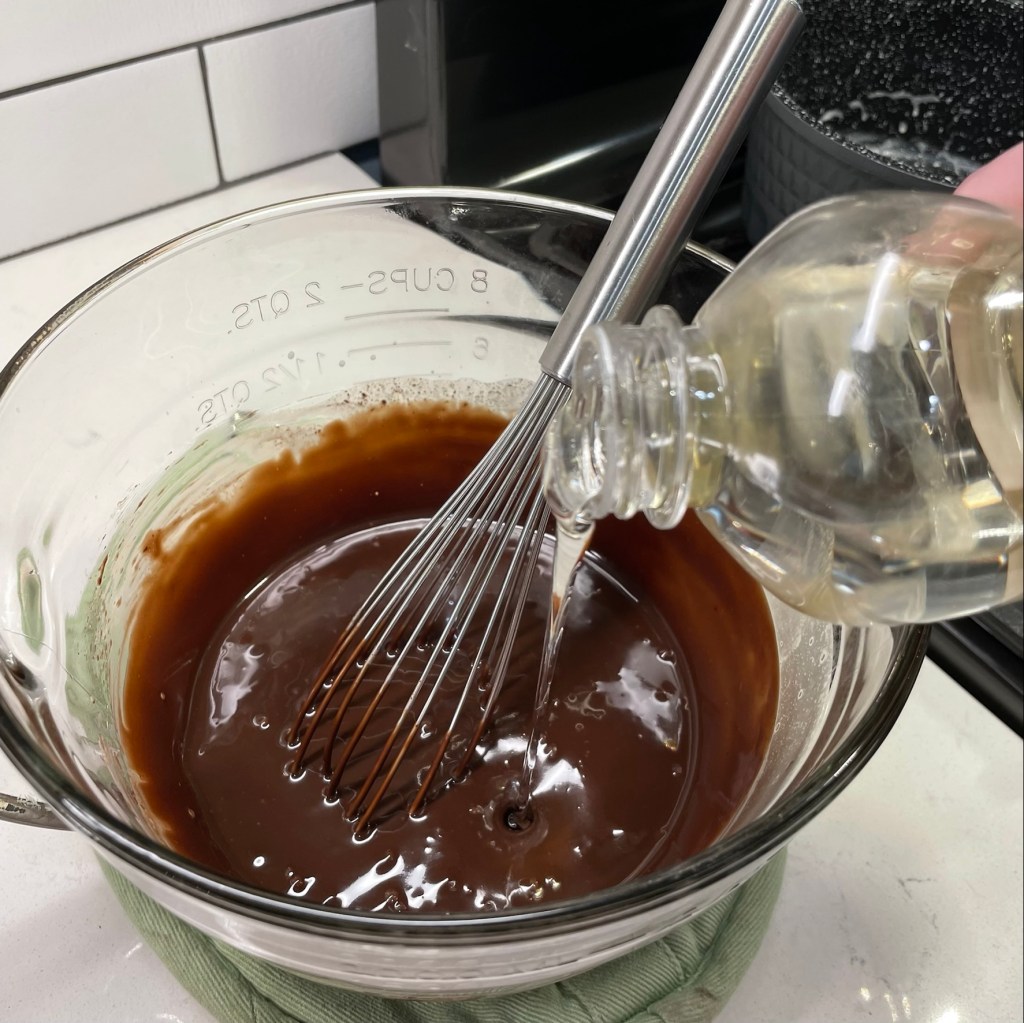
The finishing touch for my old fashioned cupcakes was a drizzle of Gentleman Jack and a spoonful of Stirring’s blood orange bitters. These are sold in a larger bottle than typical bitters, and they’re non-alcoholic, which makes them less intense. This is what really gives a “cocktail” flavor to the cupcakes, perhaps even more so than the star ingredient of whiskey. If you can only get regular, alcohol-based bitters, use half as much.


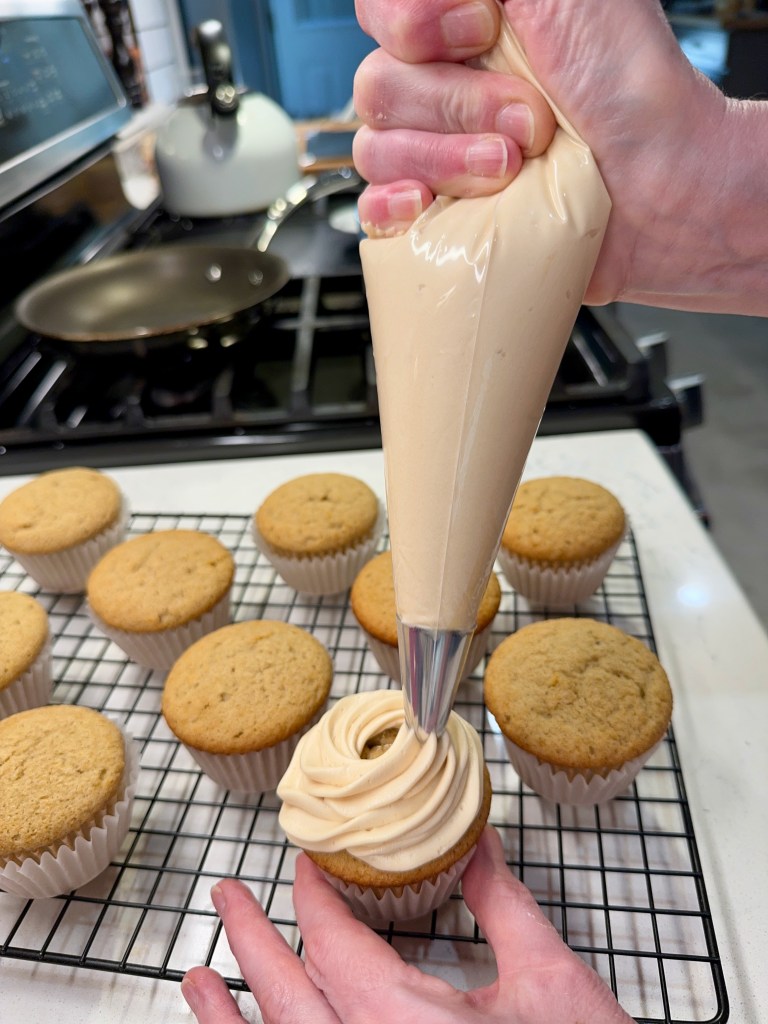
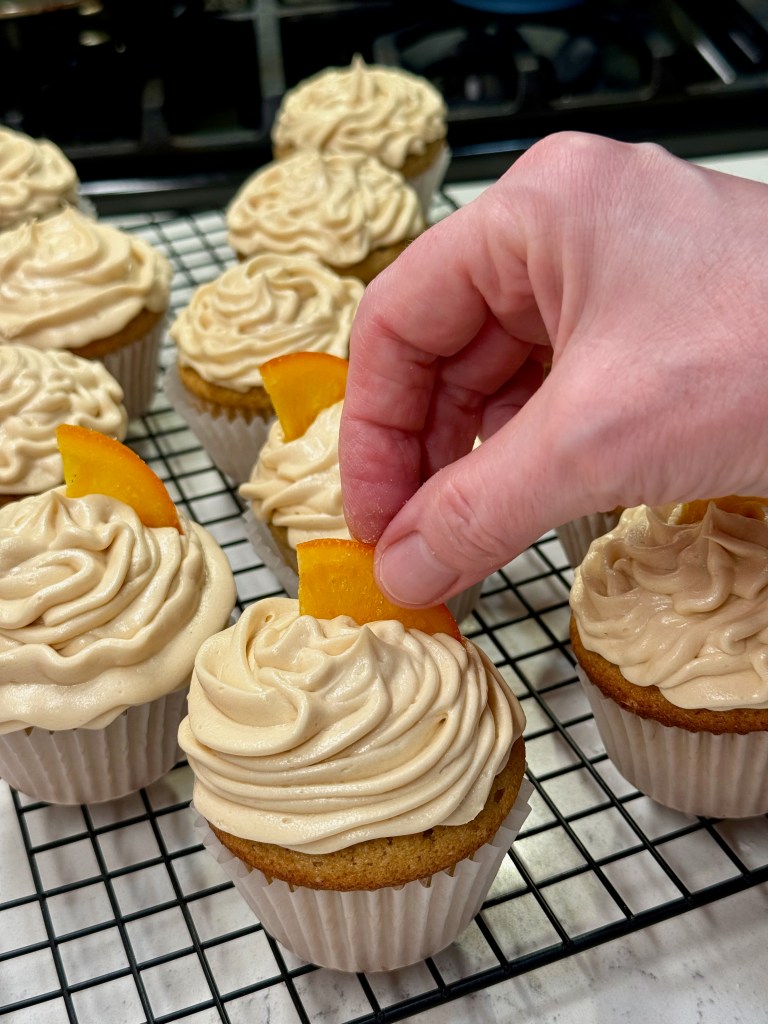
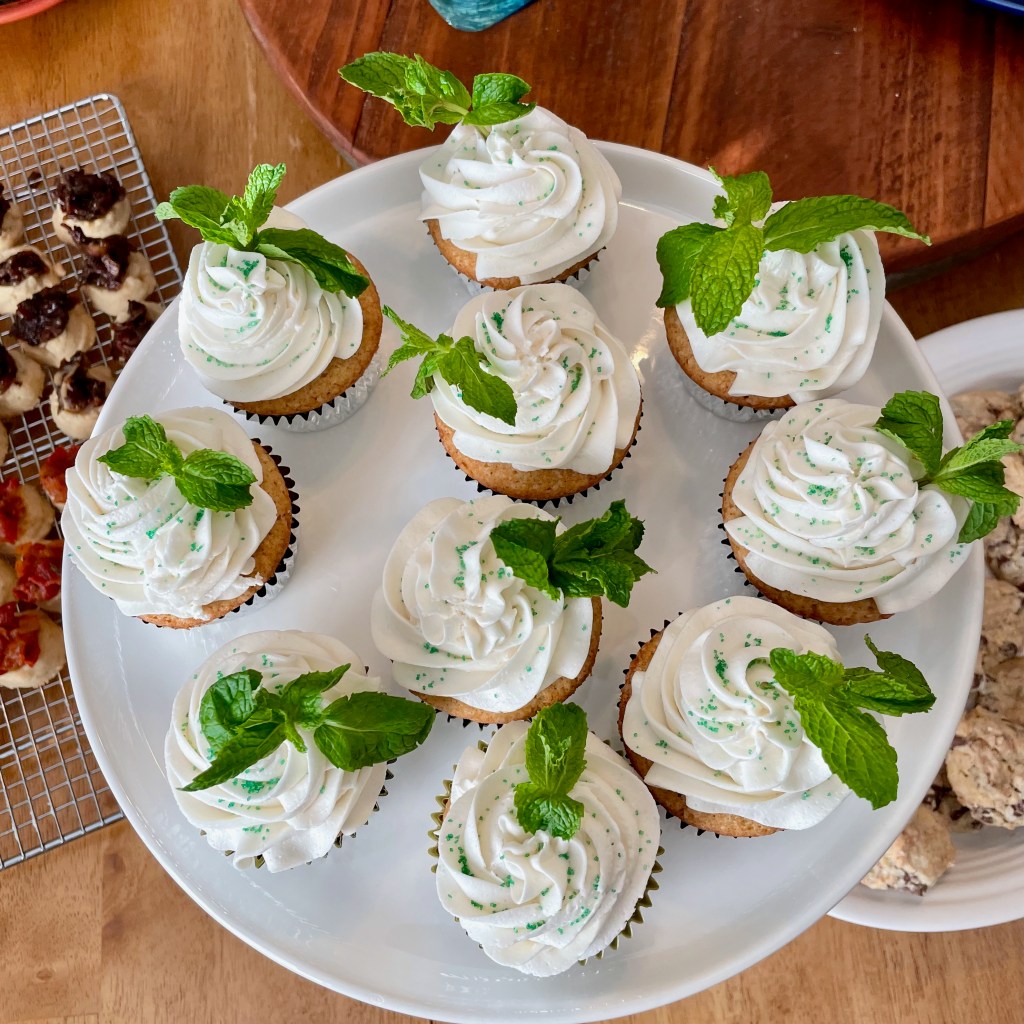
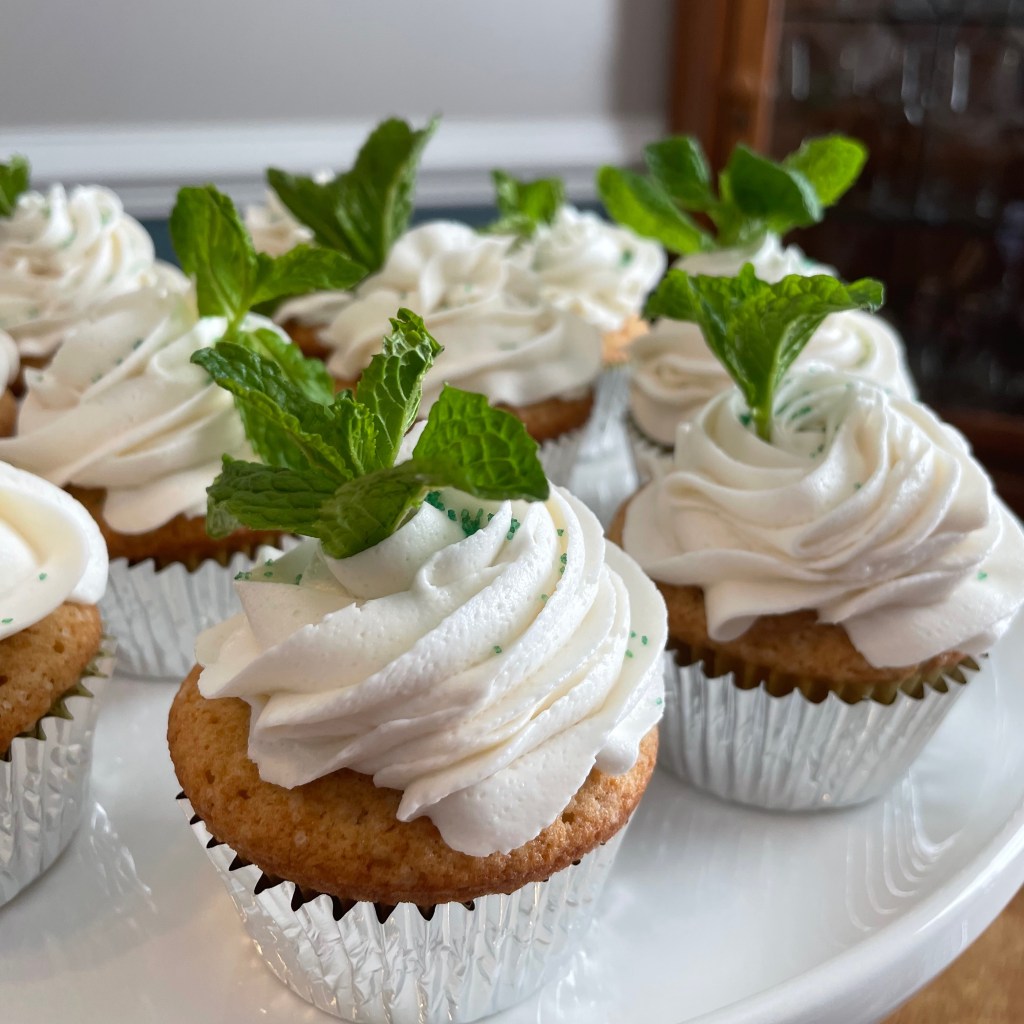
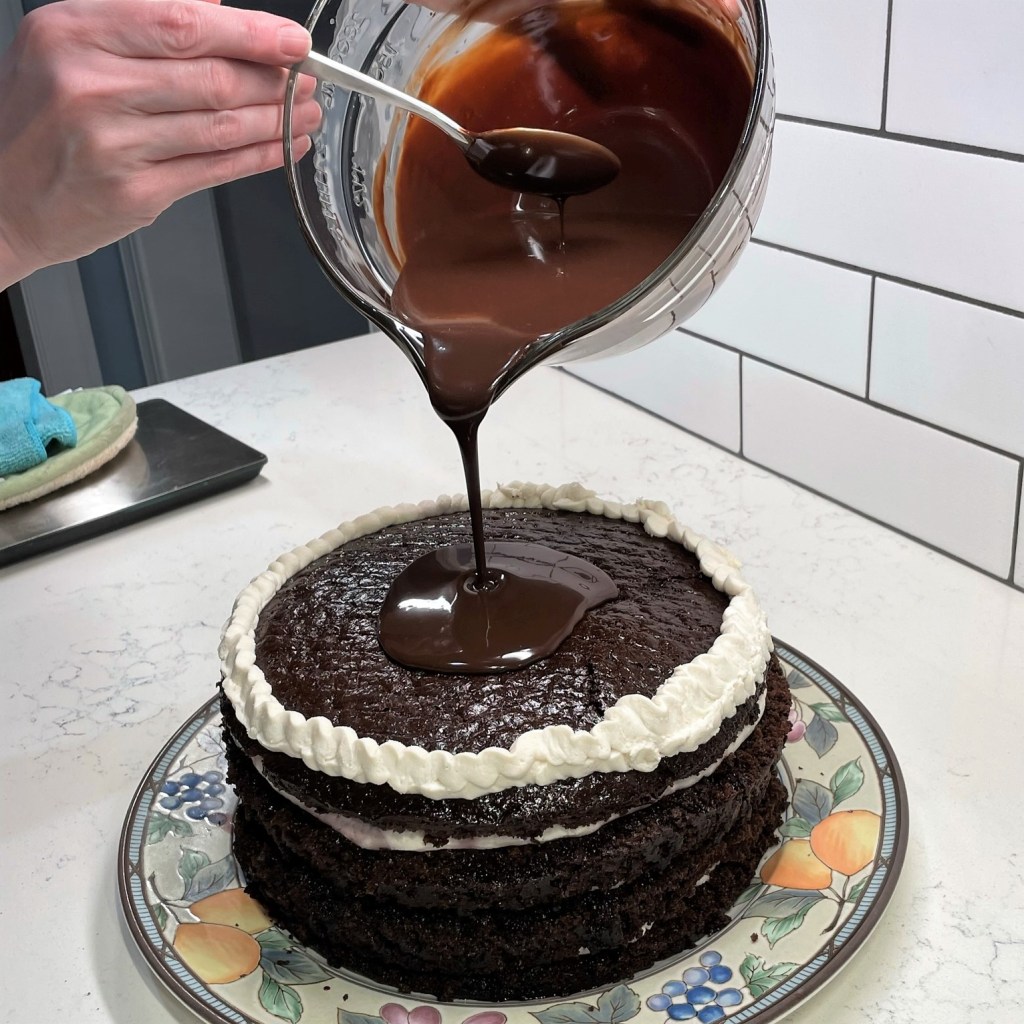
Decorating the cooled cupcakes is easy as well, and if you don’t have a piping bag with a star tip, don’t sweat it. Load up a zip-top bag and snip the corner. Or go old school and swirl a massive amount on with the back of a spoon. Just keep a stack of extra spoons on standby because, no matter how restrained you think you are, you’ll be licking them. Add the candied oranges and cherries when you’re ready to serve. Cheers!

Old Fashioned Cupcakes

  • Servings: One dozen
  • Difficulty: Average
  • Print

Whiskey, orange zest and cocktail cherries give these easy cupcakes a distinctive, 'old fashioned' flair, complete with orange bitters-accented buttercream and a cherry on top!


Ingredients

  • 1 1/2 cups all-purpose flour
  • 2 tsp. baking powder
  • 2 pinches kosher salt
  • 1/2 cup (1 stick) unsalted butter, softened
  • 1/2 cup sugar
  • 1/2 cup brown sugar
  • 2 eggs, room temperature
  • 1/4 cup Gentleman Jack Tennessee whiskey (or lower proof smooth bourbon)
  • 1 tsp. real vanilla extract
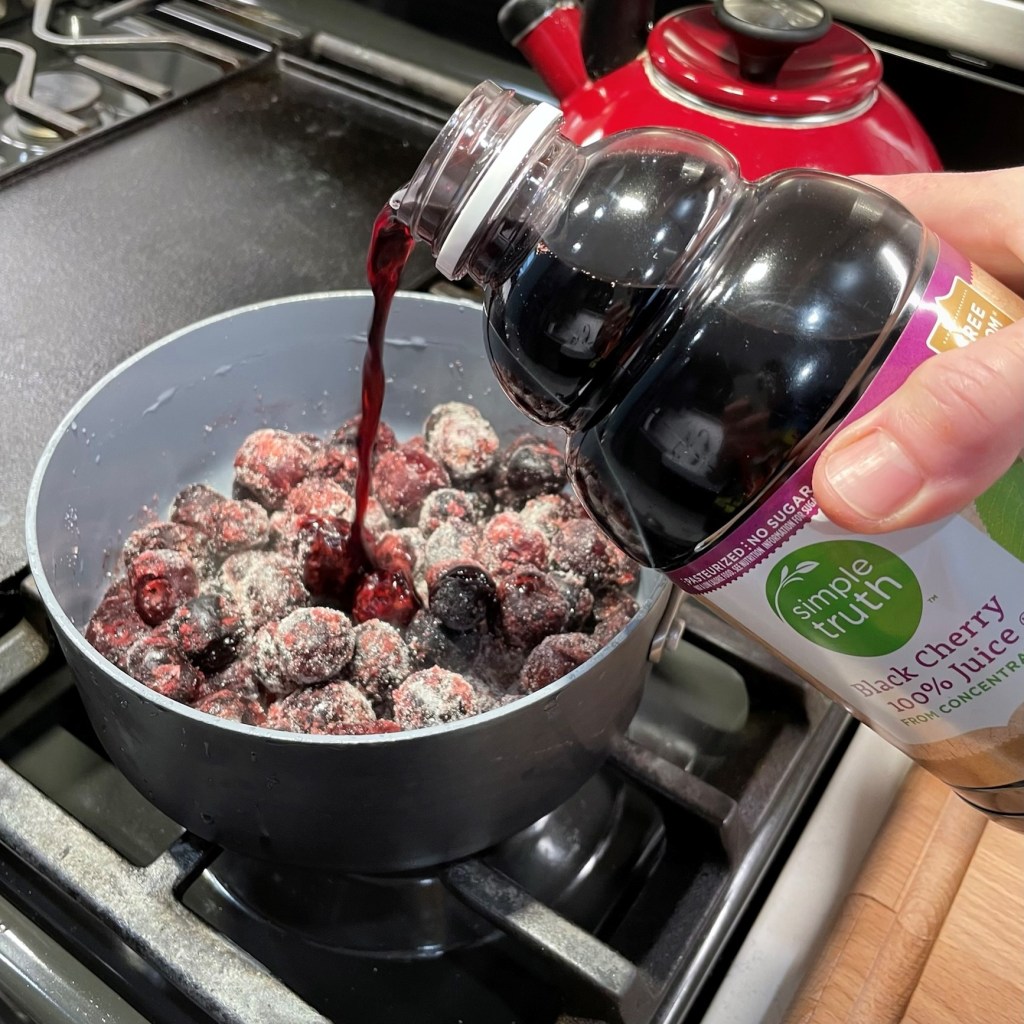
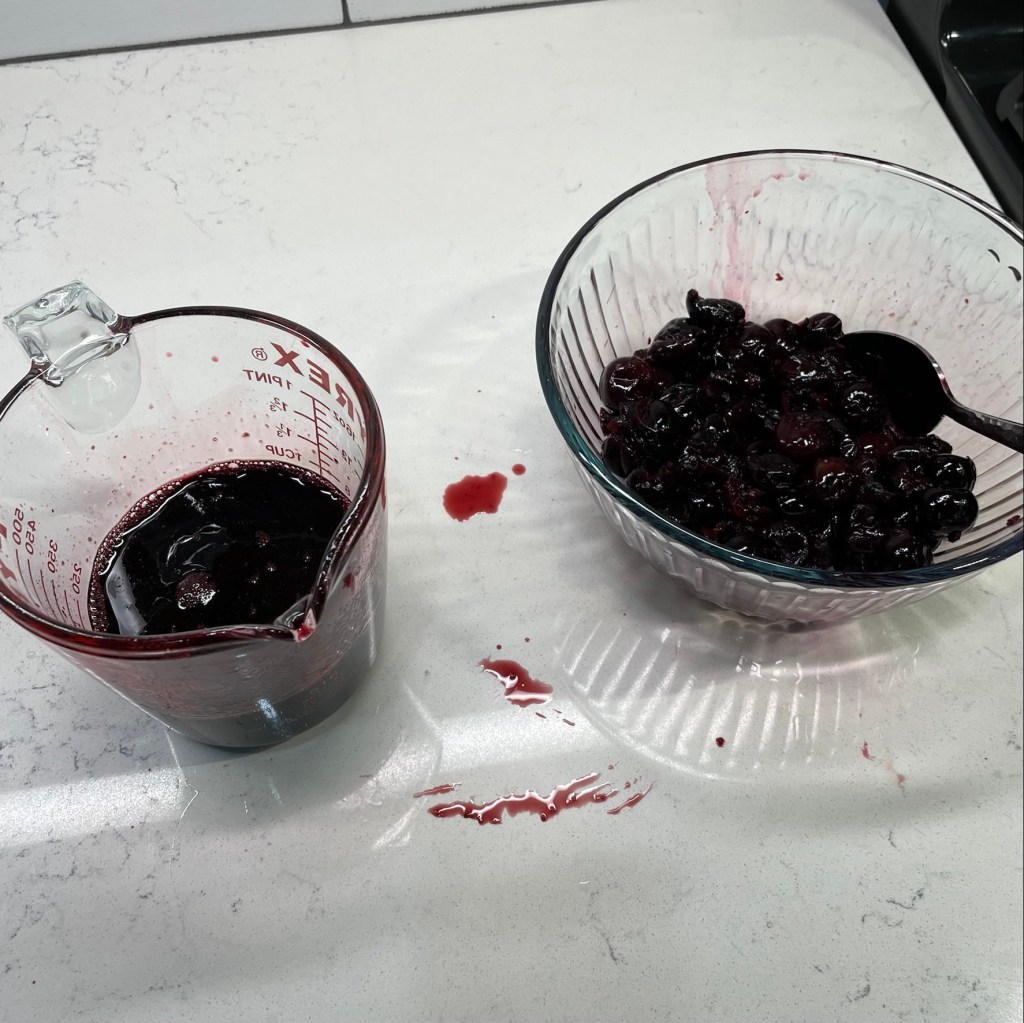
  • 1 Tbsp. Luxardo cocktail cherry syrup (see notes)
  • 1/4 cup whole milk, room temperature
  • 1 Tbsp. finely grated orange zest
  • 1 recipe orange bitters buttercream (below)
  • 4 candied orange slices, quartered (I found these at Trader Joe’s)
  • 12 cocktail cherries, blotted on paper towel

Notes: The cocktail cherry syrup I used is very thick, like pancake syrup. If using thin syrup, reduce amount of whiskey or milk.

Directions

  1. Preheat oven to 350° F, with oven rack in center position. Line 12-muffin tin with double cupcake papers.
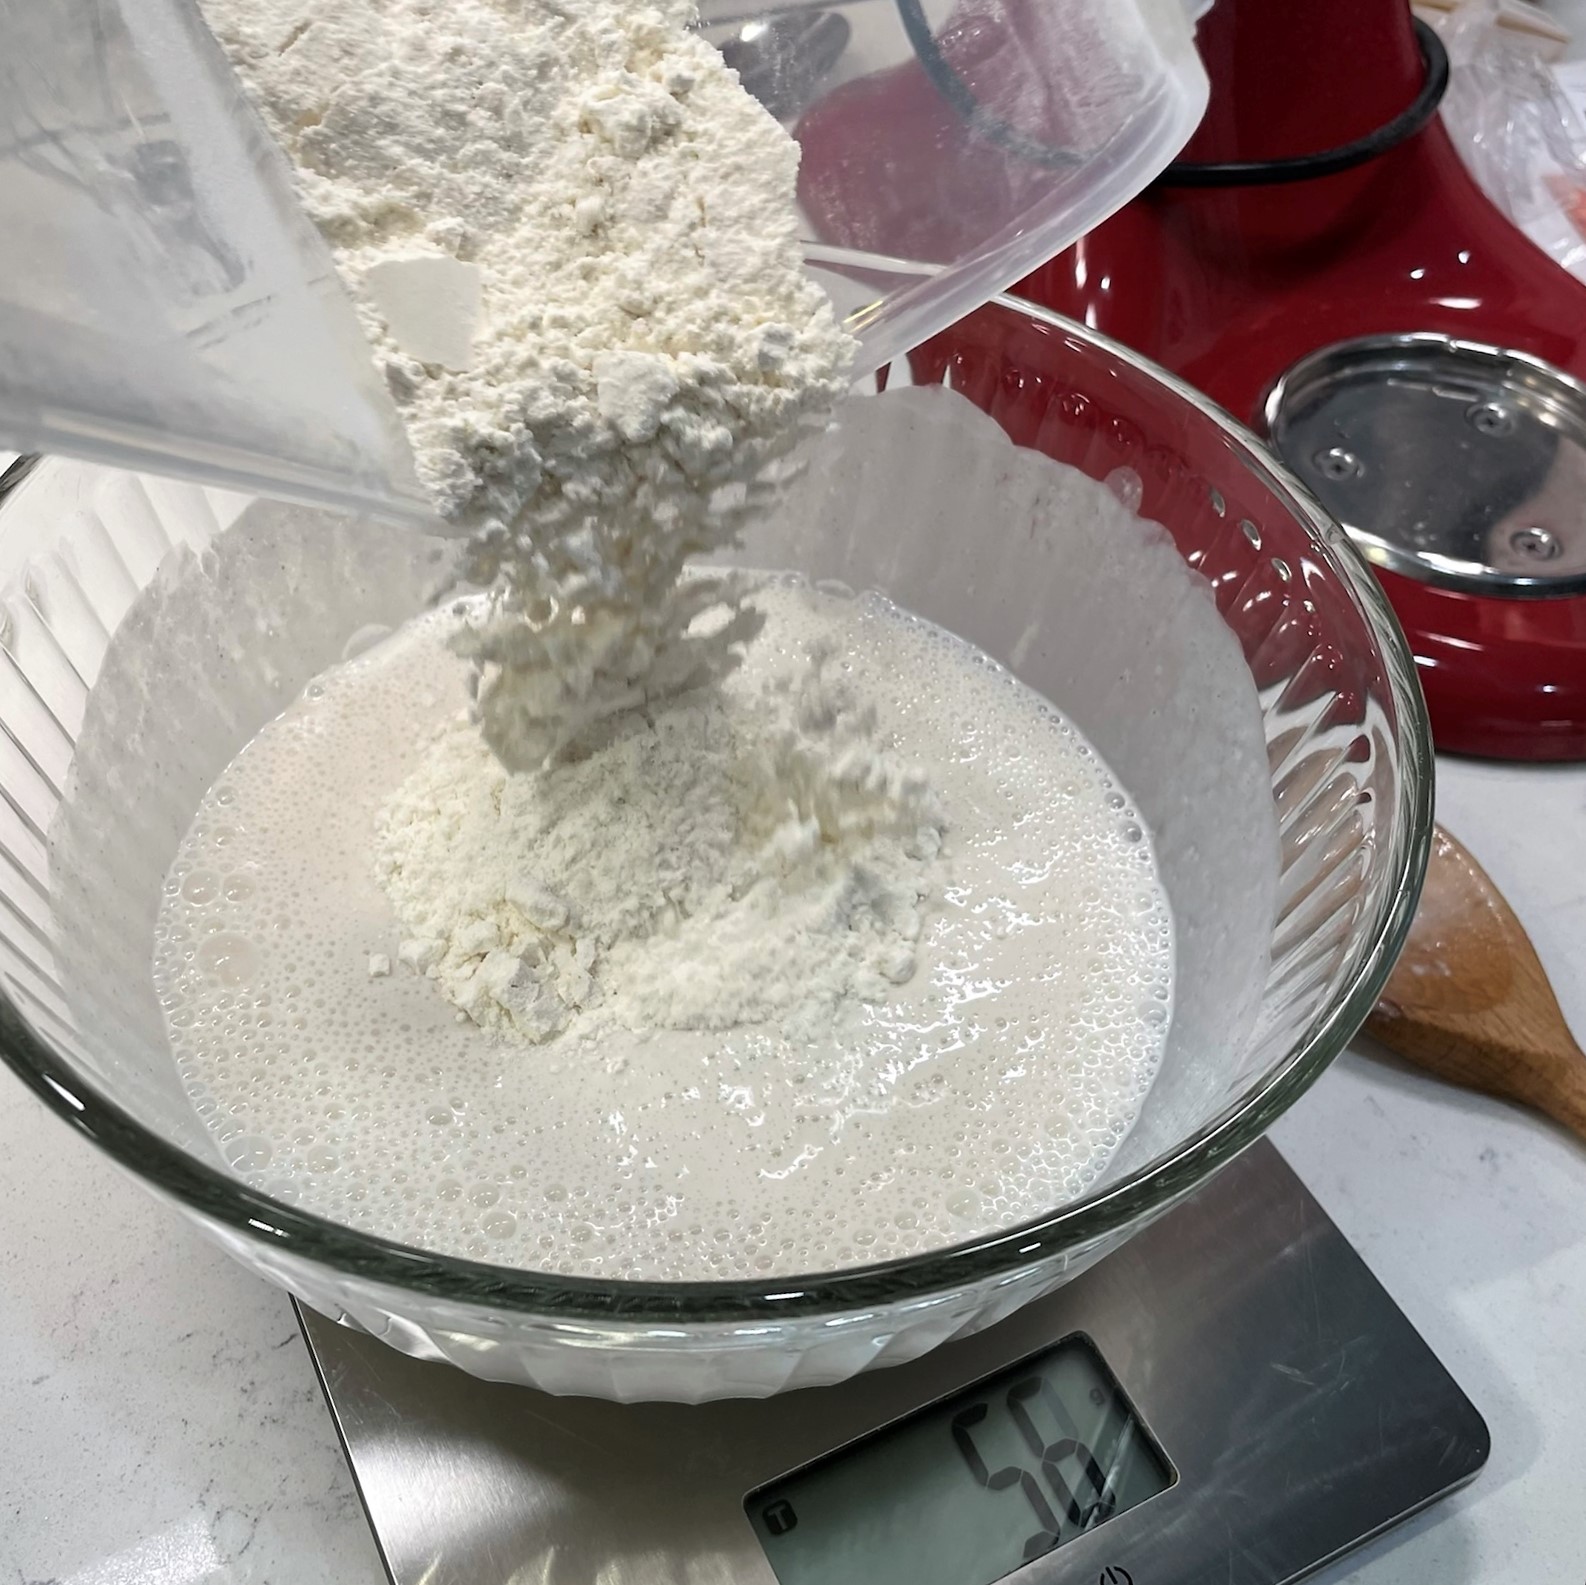
  2. Combine flour, baking powder and salt in a medium bowl and whisk to combine. Set aside.
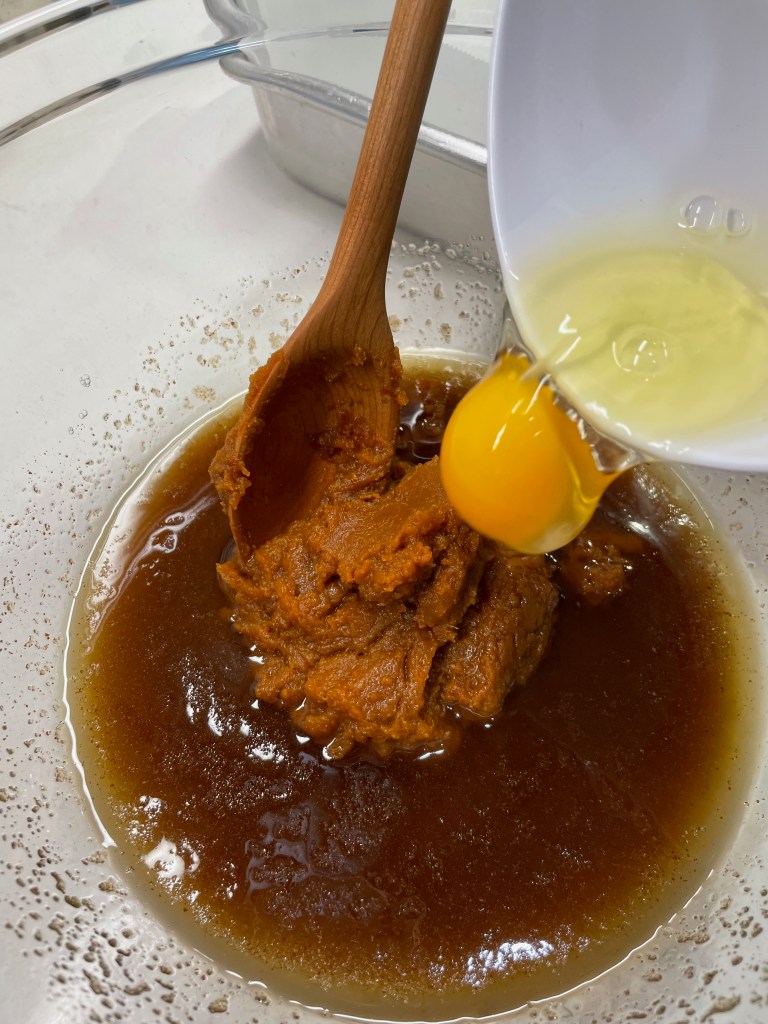
  3. In a stand mixer, or a bowl with hand mixer, cream butter until softened. Add brown and white sugars gradually, beating continually. Stop to scrape down bowl twice. Add eggs, beating after each. Stream in whiskey and cocktail cherry syrup. Scrape down bowl.
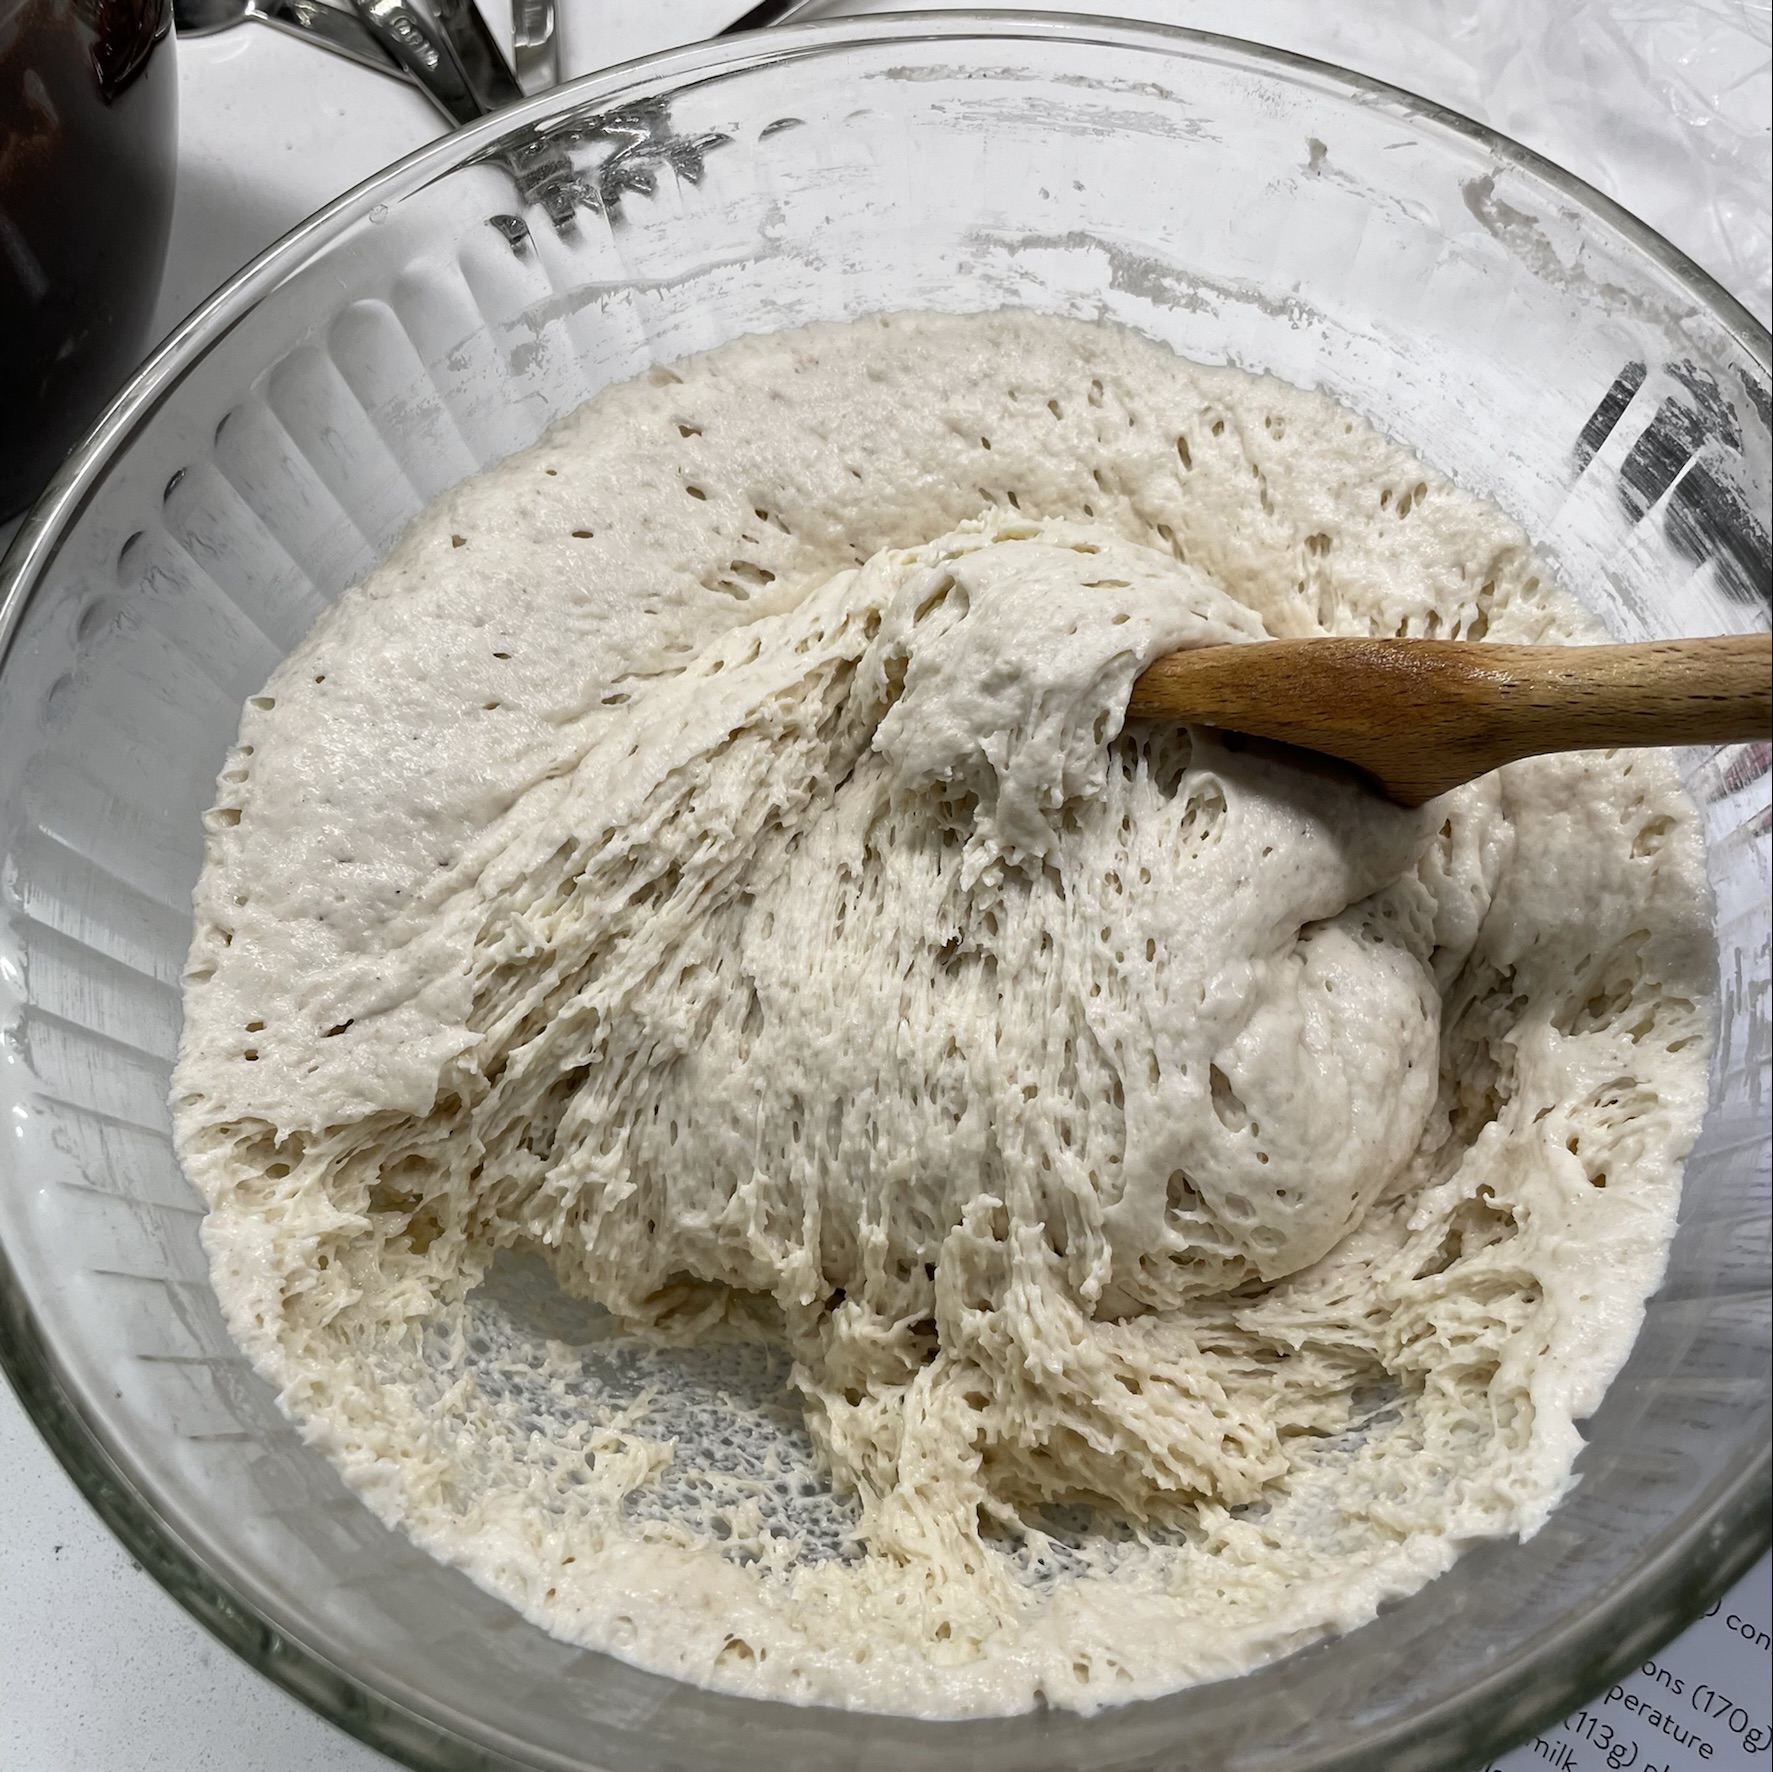
  4. Add 1/3 of the flour mixture and beat on low just until incorporated. Beat in half of the milk, then repeat with half of remaining flour, more milk, last of flour. Stop mixer and scrape down bowl, folding in the orange zest at the end.
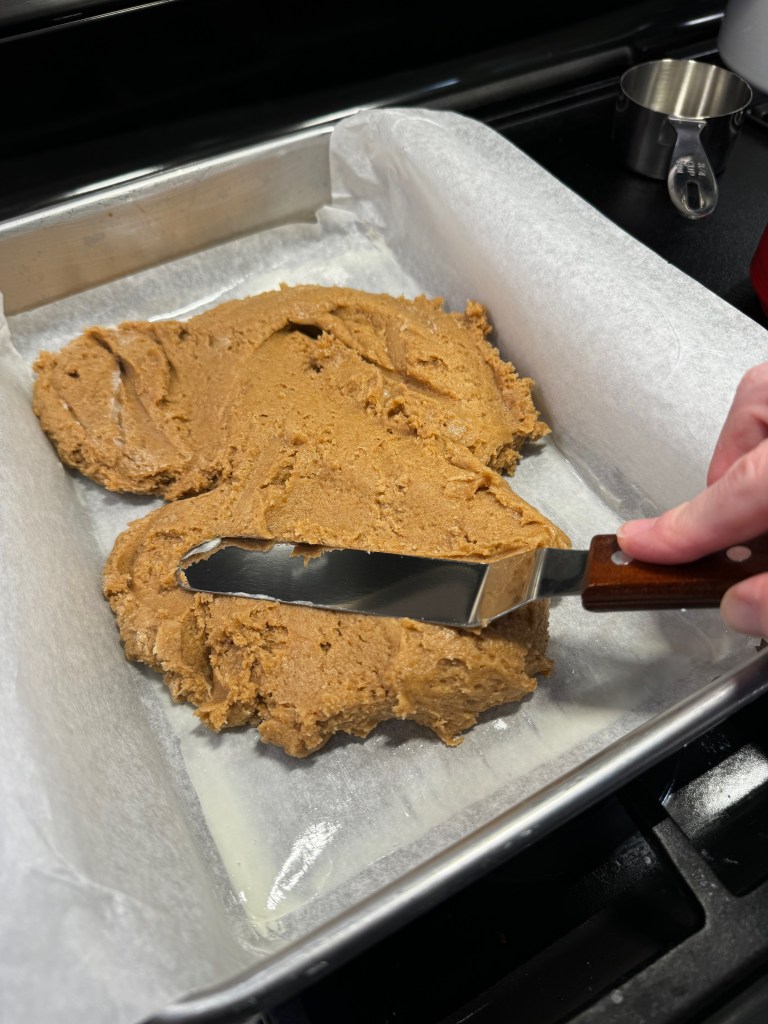
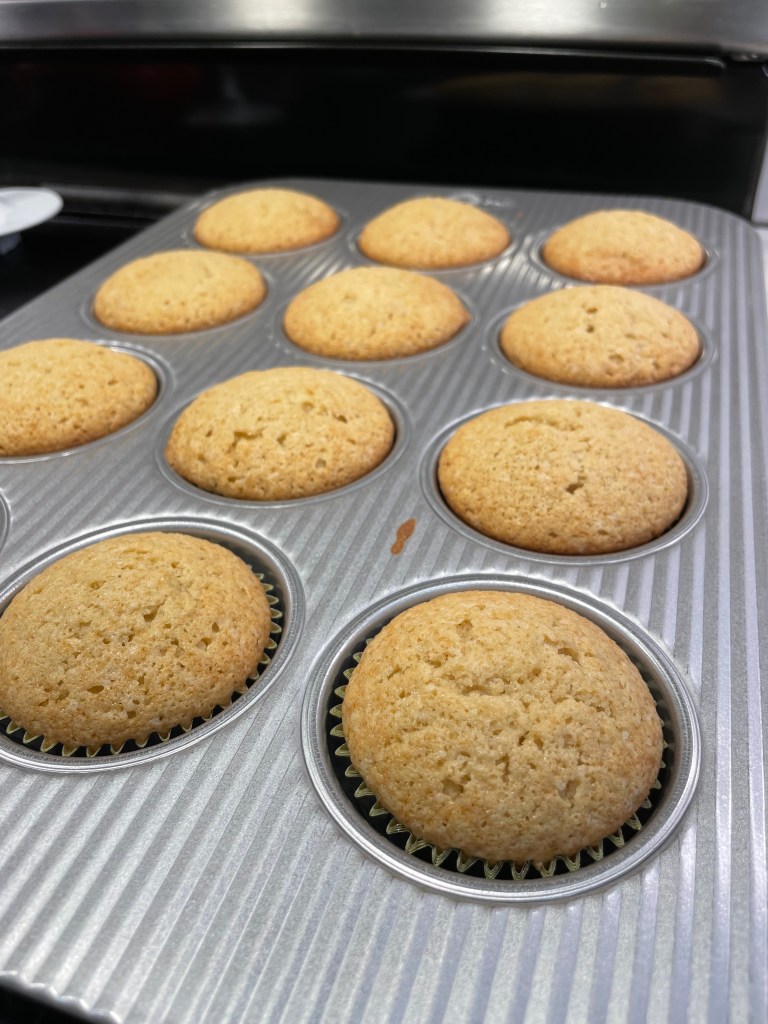
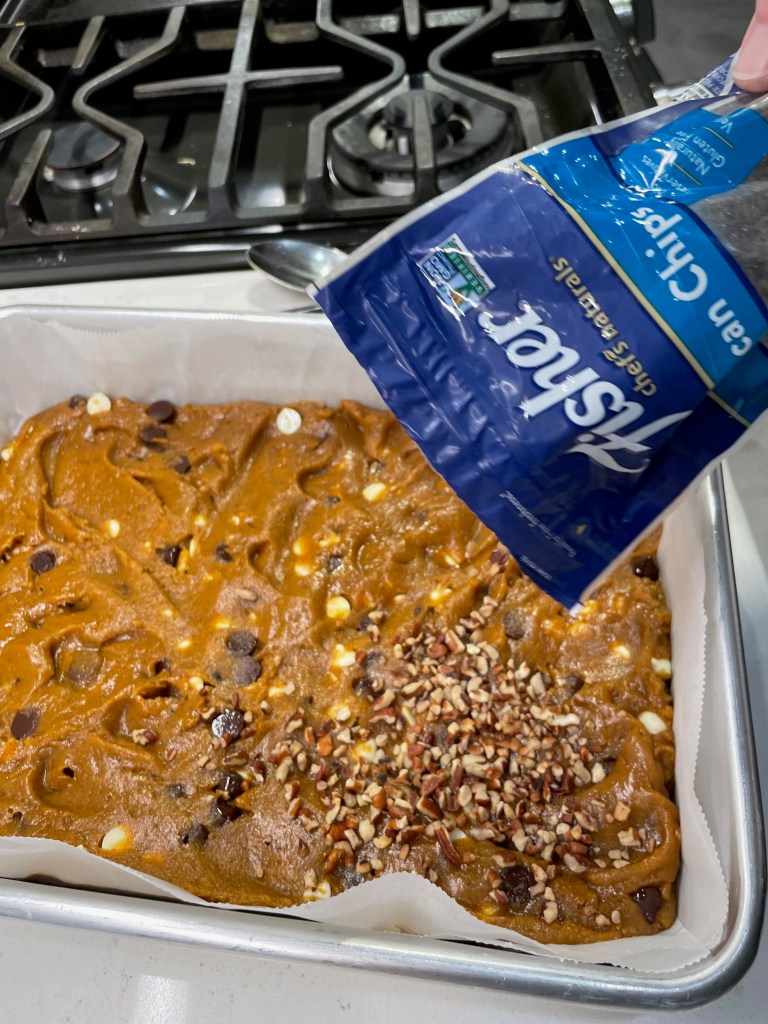
  5. Divide batter into lined muffin cups. They will be roughly 3/4 full. Bake 18 to 22 minutes; cupcakes are finished when they pass the toothpick test.
  6. Cool in pan for about 15 minutes before transferring to a wire rack to cool completely.

Ingredients

  • 1/2 cup (1 stick) salted butter, softened at room temperature
  • 2 Tbsp. dulce de leche
  • About 4 cups confectioner’s sugar (depending on desired consistency)
  • 3 tbsp. Gentleman Jack
  • 2 tsp. Stirrings blood orange bitters (or 1 tsp. regular orange bitters)
  • Heavy cream, if needed to thin icing to desired consistency

Look for dulce de leche in the canned milk aisle, or use a sticky caramel topping as a substitute. You could also omit this if you don’t mind giving up the caramel accent.

Directions

  1. Using the whip attachment of a stand mixer, or whip beaters of a handheld mixer, cream the butter and dulce de leche until soft and fluffy.
  2. Add half of the confectioner’s sugar and beat until incorporated, then stream in whiskey and orange bitters. Add remaining sugar a few spoonfuls at a time until you achieve desired consistency. If you overdo it, whip in a tablespoon or more heavy cream.
  3. Pipe or spoon buttercream onto cupcakes, and garnish them with the candied orange slices and cocktail cherries.


Caramel Apple Blondies

What is it about Autumn that everyone finds so appealing? It is easy to imagine that I’m among the majority when it comes to fall being my favorite season. Everyone I know seems to mention that it’s theirs also, so I did a little investigating to see if this is just confirmation bias or a birds-of-a-feather situation. Let’s see what the data says.

A survey reported by CBS says as many as 45% of Americans favor fall over the other three seasons combined. And another poll by Morning Consult—a business intelligence company that specializes in survey data— breaks it down into deeper demographics to reveal that Autumn is the clear favorite, especially among women, especially Gen Xers, and especially in the South. That’s me, on all three counts!

No wonder I get so excited about cooler temperatures, boots, sweaters and pumpkin spice. Indeed, this is my favorite time of year, and I’ve put a new spin on one of my own recipes to highlight one of the season’s best flavors, apple. And, in honor of all the state and county fairs that are happening this time of year, I thought it fitting to wrap a little caramel around the apple for even more nostalgia.

My caramel apple blondies are a deliciously sweet, caramel apple-y treat that’s perfect for a Halloween party, a gift for a favorite teacher or new neighbor, or just tucked into your grandkid’s lunch box.

It took great restraint not to cut into them straight from the oven!

What ingredients are in caramel apple blondies?

A blondie is essentially a cookie bar, with a dense, chewy texture and often includes some kind of fun mix-in, such as chocolate chips or nuts. Similar to a brownie, but without chocolate, a blondie is made from a dough that resembles the base of a chocolate chip cookie, with plenty of butter, brown sugar, egg, vanilla, flour and leavening, such as baking powder.

For this recipe, I’ve leveraged the same technique as in last year’s pumpkin chai blondies, using a concentrated paste of cooked down apples this time— otherwise known as apple butter— to give a distinct apple flavor without the high amount of moisture that would have been in fresh chopped apples. The caramel element is an easy grocery store item, the same stuff you pick up in the produce department for dipping apple slices. 


To keep these blondies a bit “healthy-ish,” I subbed in a half amount of whole wheat pastry flour. And in case you wonder why the melted butter is soooo dark in the pan in my ingredients photo, it’s because I tried a new (and very flavorful) trick when I made my browned butter.

Check out that very browned butter!

How to make browned butter even better

If you spend any time at all on social media or the internet, you may have seen this new trend of adding powdered milk to the butter as it browns. Given that it’s the milk solids that actually brown, it stands to reason that increasing the milk solids will amp up the flavor. And holy moly, it sure did! I used salted butter, by the way, though most baking recipes call for unsalted. Why? Because salt in desserts does the same thing as salt in savory dishes— it shoves the most important flavors to the forefront.


How do you make caramel apple blondies?

The rest of the recipe is very simple. Mix together the melted butter and brown sugar, then add the egg, apple butter and vanilla. Add the dry ingredients, half at a time, mixing only until all the flour is incorporated. 


Spread the batter evenly into a buttered, parchment-lined pan, then spoon and swirl a bit of warmed caramel dip over the top. Scatter a few tablespoons of Heath candy bits on top and bake until the blondies test done with a clean toothpick.


Cool the blondies completely before cutting them, and if you really want to push them over the top, serve them with a scoop of my easy cinnamon ice cream. We enjoyed them this way, and I got so excited, I completely forgot to take a picture. But you can imagine, right? 😉

Caramel Apple Blondies

  • Servings: 12 or 16
  • Difficulty: Average
  • Print

Caramel and apples reminds me of the treats I used to look forward to at the county fair. These blondies are just one of many reasons I'm excited about fall.


Ingredients

  • 2 sticks salted butter
  • 2 Tbsp. nonfat dry milk powder
  • 3/4 cup light brown sugar, packed
  • 1 large egg (room temperature)
  • 1 cup apple butter (homemade or store bought)
  • 2 tsp. real vanilla extract
  • 1 1/4 cups all-purpose flour (see notes for measure instructions)
  • 1 cup whole wheat pastry flour (or sub in regular all-purpose flour if desired)
  • 3/4 tsp. ground cinnamon
  • 1/2 tsp. kosher salt
  • 3/4 tsp. baking powder
  • 1/4 cup caramel dip (find in the produce section, near the apples)
  • 1/4 cup Heath candy bits (optional, sub chopped pecans if desired)

Notes: Unsalted butter can be used, if that’s what you have on hand; double the kosher salt if you go this route.

When measuring flour, use the “fluff, sprinkle, level” method rather than scooping directly into the bag or container.

Directions

  1. Place the butter in a heavy-bottomed sauce pan over medium heat. Stir frequently, and when melted butter begins to brown, add the dry milk powder. Stir constantly, as the browning will happen quickly at that point. Remove from heat as soon as the butter reaches a copper color. Transfer to a measuring cup to cool.
  2. Preheat oven to 350° F, with oven rack in center position. Prepare a 9 x 13″ baking pan with a buttered parchment liner, leaving flaps on the long sides for easy lifting of baked blondies.
  3. In a large mixing bowl (or the bowl of a stand mixer fitted with paddle), stir together browned butter and brown sugar until evenly blended. Add apple butter and egg. Beat until combined and somewhat fluffy.
  4. In a medium bowl, whisk together flours with cinnamon, baking powder and salt. Add half the flour mixture to the apple mixture, folding just until all the dry ingredients are incorporated. Repeat with remaining flour blend. The batter will be very thick and dense.
  5. Spread batter evenly over parchment. Warm the caramel dip slightly in the microwave for easier swirling. Pipe or spoon caramel dip over batter and swirl with a chopstick or spoon handle. Sprinkle on Heath candy bits.
  6. Bake for 25 minutes, or until blondies are set but not overly dry. Remember that they will continue to cook for a few minutes after removal. As with brownies, the type of pan may affect the outcome. For a glass pan, add a few extra minutes to the baking time.
  7. Cool for at least 30 minutes before using parchment flaps to lift blondies from the pan. Cut into squares for serving. Keep leftover blondies wrapped or in a sealed container at room temperature for up to three days.


Mint Julep Cupcakes

I have come to an important conclusion— that the only difference between me being a good baker or a bad one is my own level of commitment. How can anyone improve their skills without practice? Trial and error are an important part of the process, and I’ve seen plenty of that. Every once in a while, though, I land in the success column with both feet. Those are the good baking days!

These cupcakes are a beautiful addition to the Kentucky Derby table.

These cupcakes, which draw their inspiration from the Mint Julep, official cocktail of the Kentucky Derby, turned out so ridiculously good last year that my friend, Linda, practically demanded that I make them again this year. What makes these cupcakes so delicious— besides the obvious fact that, duh, they’re cupcakes— is that real Kentucky bourbon is added to both the cupcake batter and the icing. They are boozy, but not overly so. The sweet buttercream with accents of mint offsets any harshness that one might expect from the bourbon.


Kentucky Derby is an occasion that we enjoy for the theme as much (or more) than the horse race itself. It’s a rare event that gives me an excuse to wear a fancy hat, and I will try again this year to get my husband to put on a bow tie (we’ll see). My table will be filled with plenty of fancy finger foods, because it’s helpful to have one hand free to hold a mint julep or one of my other fun cocktails. When it comes to the mint julep cupcake— well, it’s another opportunity for me to have my cake— and drink it, too!

Did I sample two of the cupcakes before the party started? Maybe. 😉

Let’s Get Cooking!

If there’s one bit of advice I would offer for successful baking— to myself as well as anyone else— it would be to plan ahead, measure everything out and line things up before starting a recipe. Having my ingredients at the proper temperature is important as well, both for easy mixing and having a reliable baking time. For these cupcakes, the butter and eggs should be near room temperature, and the flour should be measured following the fluff, sprinkle, level method. Measure out the bourbon, too, so that you aren’t trying to guess the amount straight from the bottle. I used my cocktail measuring cup, which worked perfectly.

The cupcakes are definitely more substantial than a box mix cupcake, which makes a great base for piling on the sweet, minty buttercream. The batter includes both cane and brown sugar, which emphasizes those warm, caramel-like notes in the bourbon. I followed a typical method of creaming together the butter and sugar, then adding eggs and bourbon (in place of vanilla), and finally alternating additions of the flour mixture and milk. They baked up beautifully, and I cooled them completely before icing them.


This was my first time making buttercream, and I’m not sure if it was beginners luck or what, but it turned out so much better than I expected. I used salted butter rather than unsalted, because a touch of salt emphasizes whatever other flavors are around it, including sweet ones. I mixed in the powdered sugar, one cup at a time, and drizzled in the bourbon and mint extract somewhere in between the sugar additions. A little bit of heavy cream helped me achieve the right consistency, so that the icing would still have enough structure to hold its shape when piped onto the cupcakes.


Silver foil liners, a pinch of green sanding sugar and fresh mint sprigs put the perfect finishing touches on these delightful Kentucky Derby treats.


Mint Julep Cupcakes

  • Servings: 1 dozen cupcakes
  • Difficulty: Average
  • Print

These pretty cupcakes have bourbon in both the batter and the minty buttercream icing, making them a perfect finish to any Kentucky Derby party.


For the cupcakes, begin by measuring the flour by the fluff, sprinkle, level method. If you dunk a scoop directly into the flour, your batter will be too dense. Butter, eggs and milk should be near room temperature for best results.

Ingredients

  • 1-1/2 cups all-purpose flour
  • 2 tsp. baking powder
  • 2 pinches kosher salt
  • 1/2 cup (1 stick) salted butter, softened
  • 1/2 cup sugar
  • 1/2 cup brown sugar
  • 2 eggs, room temperature
  • 1/4 cup bottled-in-bond bourbon
  • 1/3 cup whole milk, room temperature

Directions

  1. Preheat oven to 350° F, with oven rack in center position. Line a standard cupcake tin with paper liners inside foil liners.
  2. In a medium bowl, whisk together flour, baking powder and salt.
  3. Using a stand mixer (with beater blade attachment) or electric hand mixer, cream together the butter and sugars until fully blended and somewhat fluffy.
  4. Add eggs, one at a time, beating well after each addition. Stream in bourbon and beat until fully blended.
  5. Add flour mixture, a little at a time, alternating with the milk. Beat after each addition, but only until blended.
  6. Divide batter among prepared cups; each cup will be approximately 3/4 full. Bake for about 18 minutes, until cupcakes are golden and a toothpick inserted into the center of a cake comes out clean. Cool in the cupcake pan for 15 minutes before transferring to a wire rack to cool completely.

For the buttercream icing, you’ll want the butter softened to near room temperature. Make this while the cupcakes are baking, then refrigerate the icing in a piping bag until the cupcakes are completely cooled.

Ingredients

  • 1/2 cup (1 stick) butter, softened to room temperature
  • 4 to 4-1/2 cups confectioner’s sugar (depending on your sweet tooth)
  • 2 tbsp. Bottled-in-bond bourbon
  • 1 tsp. pure mint extract
  • Up to 1/4 cup heavy cream, as needed to loosen the frosting
  • Fresh mint leaves and green sanding sugar, for garnishing

Directions

  1. Using a stand mixer (fitted with whisk) or an electric hand mixer, beat butter until smooth and creamy. Add confectioner’s sugar, one cup at a time, beating until smooth after each addition. Drizzle in bourbon before the final addition of sugar.
  2. Beat in mint extract and enough heavy cream to loosen the icing to desired consistency. Transfer icing to a piping bag and refrigerate until shortly before you will be ready to serve the cupcakes. Pipe onto cupcakes with a flower tip. Sprinkle each with a pinch of green sanding sugar (if desired) and garnish each cupcake with a sprig of fresh mint.


Sweet Potato Cheesecake

If there’s one aspect of Thanksgiving dinner that is a conundrum for me, it’s dessert. As much as I love to cook and entertain and shake up interesting cocktails, I have an irrational fear around making pastry dough. And wouldn’t you know it? All the classic Thanksgiving desserts are pies. 

My personal preference for dessert leans toward the fruity, nutty crumble or cobbler kinds of things or lighter, citrusy things, such as key lime pie, with a crumb crust that doesn’t require rolling out a flaky dough. 

But certain flavors and textures are expected on Thanksgiving, so when I bumped into this sweet potato cheesecake recipe last year, I found it to be a perfect mashup of holiday tradition and ease of preparation. It was pretty darn delicious, too.


The original recipe for this cheesecake is on The Kitchn, and my version of it is similar enough that I’m happy to send you there for the details. I made very few adjustments as follows:

A zestier crumb crust

Rather than graham crackers in the base, I used Biscoff cookies— you know, the ones they give you on the airplane? They are crispy, buttery (though there’s no butter in them) and very cinnamon-y, a nice backdrop to the creamy sweet potato filling in the cheesecake. The cookies were sweet enough that I also reduced the sugar called for in the crust, and I skipped the extra cinnamon altogether.


Another favorite seasonal flavor

I also substituted real maple sugar in place of the regular sugar called for in the recipe, in keeping with the season and also because I happen to love the maple flavor. Everything else about the recipe was the same— roasted sweet potato, cream cheese, sour cream, vanilla and warm spices. Then free-range eggs, one at a time, and into the pre-baked crust— gently, of course, so as to not disturb the no-fuss crust.


Topping on the side, please

Next, I did not spread the sweetened sour cream topping over the entire cake before serving. The Kitchn version of this cheesecake was gorgeous, but we had a small gathering and I knew we would need to store the leftovers in the fridge. I made the topping— also with maple sugar— and saved it to dollop onto the individual pieces at serving time.


The dreaded water bath!

Finally, and this was the big one for me, I found a way around the usual “water bath” that is recommended for baking cheesecake. The process of wrapping up a springform pan with layers and layers of aluminum foil so that it can be surrounded with two to three inches of hot water in the oven is nothing but a big fat hassle. If even a small tear happens in that foil, water gets in and ruins the whole expensive thing. I wonder why, after so many years of springform pan baking, hasn’t someone developed a leak-proof version? Can we bring in the engineers who figured out the walk-in bathtub? That’s the technology we need here. 

If they can do this, WHY can’t they make a leak-proof springform pan?

So, in my frustration, I did some research on the water bath method for cheesecakes and here’s what I learned: it isn’t the hot water that keeps the cheesecake from splitting or overbaking, it’s the steam! The cheesecake needs a very humid environment for slow and gentle cooking, but the cheesecake doesn’t need to actually be in the water for the steam to work. Though I had already wrapped my pan in foil, I went rogue at the last minute with a gigantic steam pan underneath my cheesecake, and watch what happened.


My cheesecake was perfect! As with any cheesecake recipe, the instructions said to bake it until the filling was set but the center was “still slightly wobbly,” and I cooled it in the oven for about an hour before taking the thing out. There was no water in my cake, no drama trying to lift it from the water bath, and no cracks on top. 

All in all for me? A Thanksgiving dessert that was, dare I say, a piece of (cheese)cake.


Where’s the recipe?

This is where you’d usually find a click-to-print recipe on my blog, but today I’m comfortable redirecting you to the original source. My adjustments, though meaningful to me, were slight, and I found the tips and instructions on The Kitchn to be clear and helpful. If you’re feeling inspired, go get it!

Happy Thanksgiving to my friends, followers and visitors!

https://www.thekitchn.com/sweet-potato-cheesecake-recipe-23421088


Pumpkin Chai Blondies

Is it fair to call these autumn-hued bar cookies “blondies?” Unlike classic blondies, which have a light golden color and are basically just chocolate chip bar cookies, these stunningly brilliant treats practically scream fall, with a deep orange color born from half a can of pumpkin puree. What else shall we call them— russets? Auburns? 

They are still in essence a “blondie,” which is meant to have all the delightfully chewy texture of brownies, just without the cocoa. But these have a lot more going on, with add-ins of white and dark chocolate chips and crunchy pecan bits on top (well, half of it, anyway). There’s a lot to love here, and I have no doubt there are many other add-ins that would be great.

What do you think— maybe dried cranberries or butterscotch chips?

Let’s start with the fact that they satisfy any craving for pumpkin and spice— though this recipe does incorporate a more assertive spice blend than most “pumpkin spice” foods. To kick these up a few notches, I used equal parts Vietnamese cinnamon and chai spice, an Indian-inspired blend of cinnamon, ginger, cardamom, anise and black pepper (yes, really). The bold spices gave these blondies an edge over some of the too-sweet, ordinary desserts you find in a supermarket bakery, and the flavor is still familiar but with a little special something.

I’ve been looking for ways to sneak pumpkin into so many things.

The downside of baking with pumpkin puree is that most recipes I’ve tried tend to be more cake-like than chewy— which is great when you want a cupcake, but not so much if you crave a cookie or blondie— and this is because of the high moisture content of the canned pumpkin. To counter this, I pulled a trick from the King Arthur Baking playbook, which is to cook the pumpkin puree until it is somewhat caramelized. The result is a thicker, more concentrated pumpkin flavor and a denser, more fudge-like texture of the finished auburns— er, blondies. I cooked mine with a bit of the brown sugar from the recipe, and the result was almost like pumpkin butter. So good! 


For additional autumn-inspired flavor, this recipe leans on browned butter, which is very easy to make though I don’t recommend trying to do it while multitasking the other components of the recipe. Browning butter takes very little effort but quite a bit of attention. Look away long enough to measure out your flour or caramelize your pumpkin, for example, and you may just find that the butter has turned to a charred, blackish liquid. I guess you can tell that I’m speaking from experience! 🤷🏻‍♀️


My second attempt went much better!

Other than that, it’s a typical dessert recipe— flour (I used part whole wheat), baking powder, egg, sugar (light brown, in this case), splash of vanilla and some white and dark chocolate chips just for fun. For a little extra something, I also scattered pecan bits over half of the blondies after spreading it out into the baking pan. This is optional, and if you have any guests who cannot digest nuts, follow my lead and sprinkle the nuts on half. Everyone wins!


This was a fun fall dessert that would be nice for a casual Thanksgiving meal, the kids’ table, a brunch with friends, a treat for a special teacher or perhaps a snack for visiting grandkids that’s a bit healthier without them knowing it! As for us, we enjoyed it warmed 30 seconds in the microwave with a small scoop of ice cream. Delish!

It’s one more reason to love autumn!

Pumpkin Chai Blondies

  • Servings: 12
  • Difficulty: Average
  • Print

Cooking the pumpkin puree before mixing the batter keeps this autumn-hued blondies nice and chewy, and the flavor will make you wish for fall to linger a little longer.


Ingredients

  • 2 sticks unsalted butter
  • 1 cup pumpkin puree
  • 1 cup light brown sugar, packed
  • 1 large egg, room temperature
  • 2 teaspoons vanilla extract
  • 1 1/4 cup all-purpose flour
  • 1 cup white whole wheat flour
  • 1 tsp. ground cinnamon
  • 1 tsp. ground chai spice blend
  • 1 tsp. kosher salt (I used Diamond crystals)
  • 3/4 tsp. baking powder
  • 1 cup white chocolate chips
  • 1 cup dark chocolate chips
  • 1/2 cup pecan bits (optional, or 1/4 cup for half the blondies)


Directions

  1. Melt the butter in a saucepan, swirling frequently and watching carefully to prevent burning. Cook melted butter until it takes on a deep golden color and has a nutty aroma. Allow it to cool for about half an hour.
  2. Meanwhile, add pumpkin puree and a few tablespoons of the brown sugar to a second saucepan. Cook over medium heat, stirring almost constantly, until sugar is dissolved and pumpkin puree has reduced slightly. Cool completely before proceeding.
  3. Preheat oven to 350° F, with oven rack in center position. Line a 9 x 13 baking pan with parchment paper, keeping a little extra to overhang for easy lifting of the blondies from the pan after baking.
  4. In a large mixing bowl (or the bowl of a stand mixer fitted with paddle), stir together browned butter and remaining brown sugar until evenly combined. Add reduced pumpkin puree and egg. Beat until combined.
  5. In a medium bowl, whisk together flours with spices, baking powder and salt. Add half the flour mixture to the butter mixture, folding just until all the dry ingredients are incorporated. Repeat with remaining flour blend. Gently fold in chocolate chips. The batter will be very thick and dense.
  6. Spread batter evenly over parchment-lined baking pan. Sprinkle pecan chips over all or half the blondies, if desired. Bake for 30 minutes, or until blondies are set but not overly dry. Remember that they will continue to cook for a few minutes after removal. As with brownies, the type of pan may affect the outcome. For a glass pan, add a few extra minutes to the baking time.
  7. Cool for about 30 minutes before using parchment to lift blondies from the pan. Cut into squares for serving. Keep leftover blondies wrapped or in a sealed container, at room temperature for up to three days.
  8. These warm up beautifully in the microwave (give them 30 to 45 seconds on high), and they are delicious served with a scoop of ice cream.


Vermont Maple & Blueberry Bread Pudding

When the 5 o’clock bell rang at the end of my fourth and final King Arthur Baking class— and I’m speaking figuratively, because there actually was no bell— I felt an overwhelming sense of accomplishment at having baked the equivalent of 12 loaves of bread. “Equivalent,” because my classmates and I were taught shaping technique not only for loaves, but also for different kinds of rolls, and by the end of my deep-dive into the “principles and practice” of bread, my arms were filled with a brioche braid, a loaf of basic white, a whole wheat braid, a multi-grain boule, Nutella twist, cinnamon rolls, a whole wheat loaf with cinnamon-raisin swirl, two kinds of dinner rolls and three (count ’em, three) loaves of crusty French bread. Oh, and a ball of wet pizza dough in a plastic bag. Holy freakin’ moly.

I had produced enough baked goods to fill a Toyota Corolla, and I wasn’t sure what I’d do with all that bread.

Most of my classmates were headed home, so theirs was an easy decision. But I had packed up my rental car that morning for the third and final leg of my solo summer adventure, and that would lead me north, through the driving rain, farther from home rather than nearer. I would be a weekend visitor in the home of someone I’d never met in person before— what in the world was she going to think when I rolled up, looking like a drowned rat, in my rented Corolla with bread piled up to the windows?! Well, she wasn’t mad! 🙂

Meet Dorothy, from The New Vintage Kitchen! 🙂

Speaking from experience, if you ever need help breaking down too many loaves of bread, you want to be spending the weekend with Dorothy from The New Vintage Kitchen! Dorothy’s blog followers know that one of her mottos in the kitchen is “waste nothing,” and she showed me how she lives by it. That first evening, we enjoyed some steamer clams and a lovely nicoise salad with freshly grilled tuna. I suppose you can guess who brought the bread?


Our Friday was spent“foraging” for ingredients at some of Dorothy’s favorite farm stands, and the experience was all that I had imagined and more! We found terrific local produce, farm-fresh eggs, beautiful handcrafted items (like the wooden spoon that practically leapt into my hand) and adventure at every turn. And yes, we broke down that bread, one item at a time. Some of the loaves and rolls were stale before I even got to her house, and those ended up as bread crumbs, which are always in demand in a kitchen as busy as Dorothy’s.


She taught me her method of making anchovy croutons, using up the rest of the French bread loaves I brought. And of course, there was the title bread pudding, which was my own contribution to Friday night dinner, where I was pleased to meet Dorothy’s daughter, son-in-law and adorable granddaughter. They received the whole wheat raisin swirl loaf as a door prize. Thank goodness!


This bread pudding was exactly the right thing, because it brought me full circle from my grandmother’s kitchen, where nothing was wasted, including all the little this-and-thats of bread that she would have tucked into the freezer until she had enough to make a batch of her perfect bread pudding. As luck would have it, I had plenty of bread options and it was a very efficient (and delicious) way to finish up the braided brioche, some of the braided whole wheat and about four of the un-iced cinnamon rolls. It was roughly six cups of crumbs.


The base recipe was Gram’s, but there were a few fun twists— first of all, we used fresh, plump blueberries rather than the usual dried fruit. Real Vermont maple syrup supplemented the sugar for a warm touch of sweetness. The vanilla was homemade (of course, because this is Dorothy’s kitchen!) and we baked it up in her incredible, radiant-heat AGA range. My Gram would have loved everything about this, and she would have genuinely appreciated Dorothy’s no-nonsense, no-waste approach to cooking and entertaining. Truly, I could not have felt more welcome! Dorothy’s husband had something to do with that as well—he was always right there, topping off my French press coffee—and their two sweet dogs treated me like a member of the family, too! I got a little misty-eyed when it was time to leave, but I know I’ll be back!

After the click-to-print recipe, check out my whirlwind recap of the fun weekend we enjoyed, despite All. That. Rain!


Vermont Maple & Blueberry Bread Pudding

  • Servings: About 10
  • Difficulty: Average
  • Print

When you're in Vermont, you have to sneak a little bit of maple into everything! This version of my Gram's bread pudding also uses fresh blueberries, and it worked beautifully!


Ingredients

  • About 6 cups dry, stale bread pieces
  • 2 1/2 cups milk
  • 3 beaten eggs
  • 1/4 cup melted butter
  • 1/2 cup sugar (reserve a tablespoon to sprinkle over top)
  • 2 teaspoons vanilla extract
  • 1 teaspoon ground cinnamon
  • 1/4 teaspoon ground cardamom
  • 1 cup fresh blueberries
  • 1/4 cup Vermont maple syrup
  • Whipped cream for serving

This recipe works best with bread that is stale but not bone dry. Tear up the pieces rather than cubing them, and allow them to dry out on the counter overnight (or all day, while you’re foraging for dinner’s ingredients). The bread pudding requires a water bath during baking, so put on a tea kettle to boil when you’re ready to move the pudding to the oven.

Directions

  1. Preheat oven to 350 F, with oven rack in center position. Butter a 1 1/2 quart baking dish.
  2. Add stale bread pieces to a mixing bowl that will be large enough to toss with liquid ingredients. Whisk together milk, eggs, sugar, melted butter, vanilla, cinnamon and cardamom. Pour milk mixture over bread and gently fold with a spatula or wooden spoon to evenly coat bread. The mixture will initially seem too wet, but the bread will continue to soak in the liquids. Allow the pudding to rest about 20 minutes to absorb the custardy liquid.
  3. When most of the liquid has been absorbed, fold in fresh blueberries and maple syrup. Transfer mixture to buttered baking dish, and place the dish inside a larger dish with room for boiling water on all sides. Heat water to boiling in a tea kettle. Sprinkle reserved tablespoon of sugar all over the top of the pudding.
  4. Carefully pour boiling water into larger dish, about halfway up the sides of the bread pudding dish. Bake approximately one hour, until pudding is set and top is golden browned and crispy.


Fig Butter Cranberry Apple Galette

I am good at a few things in the kitchen, but pie crust is not one of them. I can make the pastry dough, no problem, and I usually use the food processor to speed things along. Getting the thing inside the pan in one piece, especially for a deep dish pie, is quite another story. Yes, I have seen all the tricks, from folding it into quadrants and then unfolding it into the pan, to rolling it up around the rolling pin and transferring it that way. The problem is, by the time I finish monkeying around with patching cracks and moving it (especially if it sticks to my roll-out surface and it always does), I have usually either let it get too warm so that it loses its flakiness or I have overworked the dough to the point that it becomes tough rather than tender.

Thank goodness for this easy-peasy alternative— the galette!


At first glance, a galette might seem like a fancy-schmancy dessert. Not quite a tart, which usually has egg in the pastry dough and requires a special shallow, fluted pan. Also not quite a pie because it only has one piece of pastry, there’s no blind baking involved and it doesn’t require a pie pan at all. Just a cookie sheet or pizza pan, and almost everyone has one of those. 

This rustic dessert has all the familiar comfort factor of a pie, but without the fuss. You roll the dough out directly onto parchment, then add your filling, fold up the edges and slide the whole thing right onto your baking sheet. I would not recommend trying a galette for a pie that requires any kind of loose, wet filling, but for uncooked apple slices and raw cranberries, the stars of this dessert, it was perfect.

I ended up using only three of the apples and still had a few slices left over.

My recipe is adapted from one that King Arthur Baking Company released just before Thanksgiving. Their version was called Apple Butter Apple Galette, and it did not include cranberries or the tiny flecks of fresh rosemary that I added to adorn the outside of the pastry. I swapped out cinnamon for cardamom because I love the flavor with apples, and I didn’t have apple butter on hand (nor the time to make my own), so I subbed in pre-made fig butter from Trader Joe’s. King Arthur’s recipe already calls for mostly whole wheat flour in the pastry, which makes the dessert feel even more rustic and fall-like.


The pastry dough itself is somewhat unusual as there is no water in the mix; rather, the typical cold butter-and-flour mixture is moistened with sour cream, of all things. That inclusion lent a tangy note that was a nice contrast to the slight sweetness of the apple-cranberry filling. The dough needs a good long rest in the fridge, so it’s best to make it the night before and then shape it up when you have the filling ready.


Shaping the dough goes about the same as any pie crust. It helps to use the end of a rolling pin to slightly beat the dough disk into a slightly flattened shape first, then roll it out onto parchment paper for final assembly of the galette.


The fig butter is spread out onto the rolled pastry, serving as a base for the apple filling. The apples, which I didn’t even bother to peel, were halved top to bottom, then sliced into half-rings for even appearance and easy arranging. A little lemon juice preserved the color and a good sprinkling with maple sugar and a bit of cardamom added warmth and sweetness. I tucked in the cranberries here and there, including up under a few edges of the folded-up pastry dough, and dotted it with butter, just as you would with an apple pie. A little egg wash and the sugar-rosemary embellishment, and off it went into the oven!


This was a terrific dessert that would work for any meal during the rest of the holiday season. The fig butter, apples and cranberries were a great combination. The sparkling sugar and rosemary made it festive enough to serve for a special meal, but it would be equally nice for a casual weeknight dinner.


Fig Butter Cranberry Apple Galette

  • Servings: 8
  • Difficulty: Average
  • Print

Not quite a tart and not quite a pie, a galette is a quick and simple, rustic dessert, and this fig-apple-cranberry combo is just right for the holidays!


Ingredients

  • 1 cup (113g) King Arthur White Whole Wheat Flour
  • 1/2 cup (60g) King Arthur Unbleached All-Purpose Flour
  • 2 Tbsp. granulated sugar
  • 3/4 teaspoon salt
  • 12 tablespoons (170g) unsalted butter, cold; cut into 1/2″ cubes
  • 6 tablespoons (85g) sour cream

Ingredients

  • 3 medium apples, peeled (or not) and sliced about 1/8″ thick
  • juice of 1/2 lemon (about 1 tablespoon)
  • 2 Tbsp. light brown sugar or maple sugar (see ingredient note below)
  • 1/4 tsp. ground cardamom
  • pinch of salt
  • 1/2 cup prepared fig butter
  • 1/2 cup fresh (or frozen) cranberries
  • 1 tablespoon cold butter, cubed
  • 1 large egg, beaten with 1 tsp. cold water (egg wash)
  • coarse sparkling sugar
  • 1 tsp. finely chopped fresh rosemary

Ingredient note: Adjust sugar to taste, depending on the sweetness of your apples. I used Granny Smith and Arkansas Black, both of which are crisp and tart, so I amped up the sugar a bit. If you are using sweeter apples, feel free to back off the sugar accordingly.

Directions

  1. For the pastry dough, combine flours, sugar and salt in a bowl. Pinch cold butter cubes into the flour mix until the whole bowl is filled with crumbs ranging from pea-size to almond-size. Add cold sour cream and blend with a fork just until evenly blended. Shape the pastry dough into a composed disk and wrap tightly in plastic wrap. Roll the edges along the counter to seal it for easier rolling later. Refrigerate overnight.
  2. Preheat oven to 425 F, with oven rack in center position. Prepare apples and squeeze lemon juice over them, tossing to help prevent browning. Sprinkle with brown sugar, salt and ground cardamom. Toss to distribute.
  3. Unwrap pastry dough and place it on a lightly floured countertop. Use the end of a rolling pin to gently “pound” the disk so that it flattens slightly. Transfer pastry to parchment paper and roll it out to about 1/8″ inch thickness, approximately 14″ across.
  4. Spread fig butter evenly over pastry dough, to about 1 inch from the edges of pastry dough. Arrange sugared apple slices in concentric circles over the fig butter, approximately 3 inches from the edges. Make radial cuts, about 3 inches apart, from the outer edge of the pastry dough toward the apple filling.
  5. Fold up cut edges of the galette, overlapping as needed to close up the pastry over the filling. Tuck fresh cranberries into layers of apple and under edges of the pastry. Place galette in freezer for 10 minutes to re-chill pastry dough.
  6. Arrange dots of cold butter over the sliced apples. Brush egg wash all over exposed pastry. Sprinkle with sparkling sugar and minced rosemary.
  7. Bake for 30 to 35 minutes, until pastry is deep golden brown all over and apples are tender when pierced with a fork.
  8. Cool to room temperature. Cut into wedges and serve with ice cream or whipped cream.


Black Forest Cake

Before we get into it, I’d like to issue my own disclaimer about the inauthenticity of this recipe as a “Black Forest” cake. Any purist would quickly point out that a true, German Schwarzwälder Kirschtorte would be more of a spongy chocolate cake, soaked with kirsch (a clear cherry liqueur) and decorated with whipped cream, sour cherries and shavings of chocolate. But when is the last time you remember me sticking to tradition?

My version of this cake is a departure in almost every category, save for the chocolate and cherry flavors. Cake baking is not in my wheelhouse, so I went for a recipe that I knew I could count on—a sourdough chocolate cake from King Arthur Baking that has served me well before—and I adjusted the fillings to match it. My whipped cream filling is enhanced with mascarpone, making it more substantial to support the sturdy cake. The cake itself is not super sweet, so the cherries had to be. And kirsch liqueur (or any cherry liqueur, for that matter) is nowhere to be found in our liquor stores, so I reached straight for what’s plentiful at our house—bourbon, and that was a very good call.

The cake is not difficult to make, but it is fussy enough that it deserves a special occasion. I was going to save this until the week of Valentine’s Day, but my husband heard on his favorite sports talk show this morning that today is National Chocolate Cake Day, so, heck yeah! We might as well get a jump start on swooning over it. 😉

Every slice has a great balance of cherry and chocolate. Who cares if it isn’t a true Black Forest cake? 🙂

We splurged on this decadent, multi-layer dessert to finish our New Year’s Eve meal of White Clam Pizza and our newest addition, the Oysters Rockefeller Pizza, and the cake was delicious for the occasion (and, remarkably, just as good later as leftovers straight from the fridge).

Frosting a cake requires patience that I do not have (especially at the holidays), so I went for a more rustic appearance, which also afforded us a glimpse of the yumminess that was to come, in the form of mascarpone cream and cherries hanging out the sides. There was no whipped cream wrapped around the outside of my cake and no shavings of chocolate, as one would find on a true Black Forest Cake. But it was delicious, with a capital D.

My layers were a little uneven, but the flavors were phenomenal.

So, is it authentic Black Forest Cake? No, but “Sourdough Dark Chocolate Cake with Bourbon-Soaked Cherry and Mascarpone Filling with Ganache Topping” is a mouthful. Plus, it didn’t fit in the title box. 😉


Ingredients

1 recipe Sourdough Chocolate Cake | King Arthur Baking, baked in 9-inch layer pans* (see instruction notes)

Bourbon Cherries and Syrup

1 lb. bag frozen dark sweet cherries

1/2 cup organic cane sugar

1/4 cup unsweetened black cherry juice

2 oz. bourbon

Mascarpone Filling

1 cup heavy cream

8 oz. tub mascarpone

1/4 cup powdered sugar, sifted

1 tsp. real vanilla extract

Ganache Topping

8 oz. dark melting chocolate wafers

1 cup heavy cream

1 oz. amaretto (optional)

8 bourbon cherries or morello cherries, with stems (for decorating cake top)


Instructions

Bake the cake as instructed on King Arthur website. I followed the instructions with one ingredient adjustment; I replaced half of the natural cocoa with KA’s Double Dark Dutch Cocoa. I am crazy about the deep, dark color and chocolate flavor! Also, I baked it in two buttered and cocoa-dusted 9-inch layer pans rather than the 9 x 13 that was suggested, and the cake was done in 30 minutes. Cool the cake layers completely before removing them from the pans.

Not riding the sourdough train? No problem; use any other dark chocolate cake recipe you like, provided the layers are sturdy.

For the cherry syrup, mascarpone filling and shiny ganache topping, I’ll provide a visual walkthrough, and you can scroll to the bottom of the post for a printable recipe if you want to give it a go in your kitchen. Happy Chocolate Cake Day! 🙂


This is my Black Forest cake.


Rhubarb-Berry Crunch

For at least three weeks, I had been watching all the markets I shop, waiting and hoping to see fresh stalks of spring rhubarb. It doesn’t seem to be a very popular item here in the South, or at least not as much as in my old stomping grounds in upstate N.Y., and there’s good reason—the winter soil is too warm in North Carolina. Rhubarb thrives in areas that have very cold winters, making it a common plant in the snow belt. Some folks around here have never even had the pleasure of tasting it.

When I was young, I remember my Gram always had rhubarb growing near a small outbuilding shed behind her house, and plenty of it. To find it locally, however, takes patience. When I do see it here, it is usually a small quantity, quite expensive, and often placed in one of the obscure sections of the refrigerated case, near the other “weird” produce items (think horseradish root and kohlrabi). I had even checked at the local farmer’s market, to no avail. One grocery produce manager, when asked about the expected arrival of rhubarb, looked puzzled and asked, “what does it look like?”

I always look forward to seeing these red beauties in the spring!

By the time rhubarb makes it to the supermarket, the leaves have been stripped, and just as well—they are loaded with oxalic acid, so they are inedible and even toxic. The stems, which range in color from bright red to pink to pale green, look like smooth celery stalks and they are equally crisp in texture. I am hard-pressed to describe the flavor of rhubarb other than to say that it is tart, maybe like a cross between a green apple and a lemon. Although technically a vegetable that can be eaten raw, most people cook rhubarb with sugar and use it as a fruit, especially in pies, crumbles, jams and preserves.

My Gram made a delicious rhubarb sauce that was as delicious to me as any applesauce, and I remember asking for it as a topping on vanilla ice cream. In the summer of 2011, on my last visit with my grandmother, who had relocated to Montana to be near my aunt, we enjoyed this dessert together. Lucky for me, my aunt happily shared her recipe for this yummy dessert, which is very adaptable to include other fruits, especially strawberry. Aunt Joy and I were reminiscing the other day about the times I visited her house when I was young, and she made memorable, mouthwatering strawberry-rhubarb jam. It’s a fantastic flavor combination!

Just a couple of days before my mandoline accident, when I decided to shave that extra 1/8” off the end of my finger, I had been overjoyed to finally find fresh rhubarb in one of the markets I shop. My usual time in the kitchen has been abbreviated by my injury (which is driving me crazy, if you want to know the truth), but I have a wonderful and willing husband, Les, who has been my “hands” for some the kitchen tasks that are tricky for me right now. I won’t say that it has all been smooth sailing (I am a bit of a bossy britches), but we are getting better at working together to make some great food, including this fabulous dessert. Les did all the washing and cutting of fresh ingredients, and I did more of the mixing.

The filling is perfectly cooked and slightly sticky, and the oat topping is crunchy in all the right places. Served warm with vanilla ice cream, this is springtime heaven for my taste buds!

This delicious crunch was Les’s first-ever taste of rhubarb, so I leaned a little heavier on the strawberry than I otherwise would. I expected that his sweet tooth might reject the tartness of rhubarb on its own, but he really enjoys the flavor, so next time, I will go all-in with rhubarb. Assuming, of course, I can find it. 😊


Filling Ingredients

1 1/2 cups fresh rhubarb, cleaned and diced

1 1/2 cups strawberries, cleaned and halved

1/2 cup cane sugar

1/2 cup brown sugar* (see notes)

3 Tbsp. all-purpose flour

1/4 to 1/2 tsp. ground ginger


Topping Ingredients

1/2 cup brown sugar

1/2 cup rolled oats

1/2 cup all-purpose flour

1/4 cup whole wheat pastry flour* (see notes)

1/2 tsp. ground cinnamon

1 stick (8 Tbsp.) salted cold butter

Pinch of kosher salt


*Notes

My aunt’s original recipe calls for 1 cup sugar, but I split the amount between regular and brown sugars. I use brown sugar in strawberry shortcake and love the rich, warm flavor. Use all regular sugar if you prefer.

I like to use some portion of whole wheat flour in all my baked goods, but if you don’t have whole wheat pastry flour, increase the amount of all-purpose to 3/4 cup.


Instructions

  1. Preheat oven to 350°F, with rack in center of oven.
  2. Toss together rhubarb, sugar, flour and ginger transfer into a buttered 8 x 8 glass baking dish.
  3. Use a pastry blender or pulse with food processor to combine flour, brown sugar, cinnamon and butter until mixture appears as crumbs. Toss or lightly pulse with oats just to combine.
  4. Spread oat topping over rhubarb filling. Sprinkle the top with a pinch of kosher salt.
  5. Bake at 350° for about 40 minutes, until oat topping is browned and crunchy, and filling is bubbling up around it.
  6. Serve warm, perhaps with vanilla ice cream. Store leftovers in the refrigerator, and reheat for additional servings.
I especially loved serving this in my Gram’s dainty, vintage dishes. Aunt Joy sent these to me after Gram passed away.


Cherry Amaretto Upside-down Skillet Cake

A great meal deserves a sweet, delicious ending, and this one showcases the plump and luscious dark red cherries that were everywhere this summer. The cake is moist and flavorful, rich with buttermilk, almond flour, eggs and real butter, and the buttery brown sugar topping is a little on the boozy side, plus the deep, dark sweet cherries. And the whole thing is elegantly draped with a dollop of amaretto-spiked whipped cream.

YUM!

If you aren’t wild about cherries (or maybe you aren’t wild about knocking out the pits), substitute fresh peaches, plums, nectarines, blackberries—well, I think you get the idea. But these cherries!

Fresh and sweet dark cherries

To tackle the unenviable job of pitting the cherries, I purchased a nifty device that gets the job done, six cherries at a time! If you’ve ever tried pitting cherries without a tool, you know that it cannot be done without making a huge mess. In previous attempts, I’ve balanced the cherries—one at a time, of course—on the neck of an empty wine bottle, then held the cherry while shoving the end of a chopstick through it. It left holes in the cherries, the pits inside the bottle, and red juice stains all over everything else in the room, including me. It’s the reason that, for the most part, I’ve relied on frozen cherries whenever I wanted to make a cherry dessert. I adore fresh cherries, but I’d only bought them to snack on, and only when I was flying solo because the whole spitting-out-the-pits part conjured memories of the 1987 film The Witches of Eastwick. There’s just no way to do it gracefully.

Suffice to say, this $15 tool has changed the game for me. After rinsing the cherries and pulling off the stems, I loaded them into the tray and pressed the top down. Boom!

And just like that, the pits are pushed out the bottom and into a receptacle, leaving the cherries intact but devoid of pits. I finished the entire bowlful in about 8 minutes. I’m not prone to give kudos for “uni-task” tools, but this one really took the pain out of what would otherwise make me choose a different dessert. Besides, as I reminded my husband, Les, this will also come in handy when I need to pit whole olives (which I’ve never tried but now I can).

After the cherries were pitted, I got busy making the topping, which goes into the skillet first. This part of the recipe felt familiar because I’ve made a similar upside-down skillet cake with peaches. I start by melting butter with brown sugar, then adding amaretto to the mix for a subtle almond flavor that echoes what will be going on later in the cake batter. The cake is easy to make, too—cream together the sugar and butter, add the eggs and flavor enhancers, and then alternate the dry ingredients with buttermilk until it’s ready to spread over the topping. The rest of the delicious magic happens in the oven.

It’s best to invert the cake onto a plate while it’s still warm, but be careful handling the hot skillet!

This cake has a dense, but not heavy texture, and the warm almond flavor permeates every layer while the soft, juicy cherries satisfy the sweet tooth. It keeps well, too, which is always a bonus in our empty nest household. As odd as it may sound, Les and I found that we enjoyed this cake even more a couple days after I baked it—ice-cold, straight from the refrigerator. The cake part remained moist (thank you, buttermilk!), and the cherry flavor was more pronounced.

Leftovers. The cake remained moist in the fridge, and the deep cherry color seeped further into the cake. This is a delicious dessert for late summer!

Ready to make it?


Ingredients

4 Tbsp. butter

1/2 cup brown sugar

1/4 cup cane sugar

1.5 oz. amaretto* (see notes)

About 3 cups pitted fresh dark cherries

1 cup all-purpose flour*

3/4 cup almond flour

1 tsp. baking powder

1/2 tsp. baking soda

1/2 tsp. salt

1/2 tsp. ground cinnamon

3/4 cup cane sugar

1 stick unsalted butter, softened but not melted

2 large eggs

1 tsp. vanilla extract

1 tsp. almond extract

1 Tbsp. amaretto (optional)*

1 cup buttermilk*

Whipped cream for serving, if desired


*Notes

Amaretto is an Italian, almond-based liqueur. It is lower proof than whiskey or vodka, slightly sweet and plays very nicely with cherries. If you avoid alcohol, you can get close to this flavor with almond extract. Drizzle 1 teaspoon over the cherry mixture and increase to 2 teaspoons in the cake. Real almond extract, by the way, also usually contains alcohol as a suspension for the almond flavor, but the amount will be minimal.

Remember the rule for measuring flour? In baked goods such as this, using the correct amount will really make a difference. Dipping your measuring cup straight into the flour container is a sure-fire way to have a dry and crumbly cake. I trust a kitchen scale for most of my baking, but if you don’t have one, follow the simple “fluff, sprinkle, level” method—fluff the flour with a whisk or fork, sprinkle it over the dry measuring cup to overflowing, level it off with the back of a knife.

Don’t be tempted to substitute regular milk for the buttermilk in this recipe. The acidity in the buttermilk will lend a subtle tanginess to the cake, and it also reacts with the baking powder and soda for leavening.


Instructions

  1. Preheat oven to 375°.
  2. Place a 10” cast iron skillet over medium heat. Melt the butter, then add the brown sugar and cook until the sugar is dissolved, and the mixture appears lightly foamy.
  3. Pour in the amaretto and swirl gently to evenly distribute throughout the butter and sugar mixture. Remove from heat and arrange the cherries close together over the mixture.
  4. In a medium bowl, whisk together flour, almond flour, baking powder, soda, salt and cinnamon.
  5. In a mixing bowl, beat together the butter and sugar until it’s evenly combined and fluffy. Add one egg and beat until smooth, repeat with the second egg. Then, beat in vanilla and almond extracts, plus additional amaretto, if desired.
  6. Beat in 1/3 of the flour mixture, blending only until dry ingredients are thoroughly incorporated. Beat in half the buttermilk until smooth. Repeat with flour and buttermilk, then the remaining flour.
  7. Pour the batter evenly over the cherries in the skillet. Smooth the top with a rubber spatula to evenly distribute the thick batter.
  8. Slide the skillet into the oven and bake about 50 minutes, or until a toothpick comes out clean.
  9. Allow cake to cool at least 15 minutes before inverting it to a large serving platter. To do this successfully, first slide a butter knife around the edges of the cake, to loosen any areas where it might be sticking. Center the plate, face-side down, over the skillet, then carefully hold the skillet and plate together and turn them over. I’ve found this to be easy, as long as you don’t allow the cake to cool too long. If it sticks too much to release, turn the pan right side up again and briefly heat it over a low burner. This will melt and soften the butter again for easier release.

Allow the cake to cool completely. Cut into wedges and serve with a dollop of freshly whipped cream (spike with amaretto, if you wish).

Store leftovers in the fridge, covered with foil or plastic wrap.

This recipe makes about 8 servings, and a dollop of fresh whipped cream is a perfect topper.

Want to print this dessert recipe?