It doesn’t take much more than a glimpse out the window to know that it’s January. For the past two mornings, our yard has awakened to a thick, shimmering layer of frost, and they say we’ll get walloped with snow this weekend. The days are beginning to get longer, but that doesn’t help when they are all so gray, slow and dreary. In my neck of the woods, the temperature has been all over the place, so everyone is sick, or they have been, or they will be. Compound all of that with the relentless feed of disheartening (or infuriating or sometimes terrifying) news, and it’s a recipe for despair. This has been the kind of month that I just want to stay in bed with my cats and pull several layers of fluffy blankets over my head. You know what I need right about now, besides common decency, compassion and our democracy back? A big pot of comfort food.
Obviously, a great meal won’t fix things beyond our immediate physical hunger and perhaps the satisfaction of moving a culinary goal to the done column. But the intentional process of leaning into a slow recipe does offer temporary solace, and my overstimulated nervous system could use a break. Call it kitchen therapy, if you wish. And in this case, it also happens to be delicious. I made this meal a few weeks ago and the flavors are still echoing across my memory. It was a 4-pound batch of chile verde, yet somehow not enough.
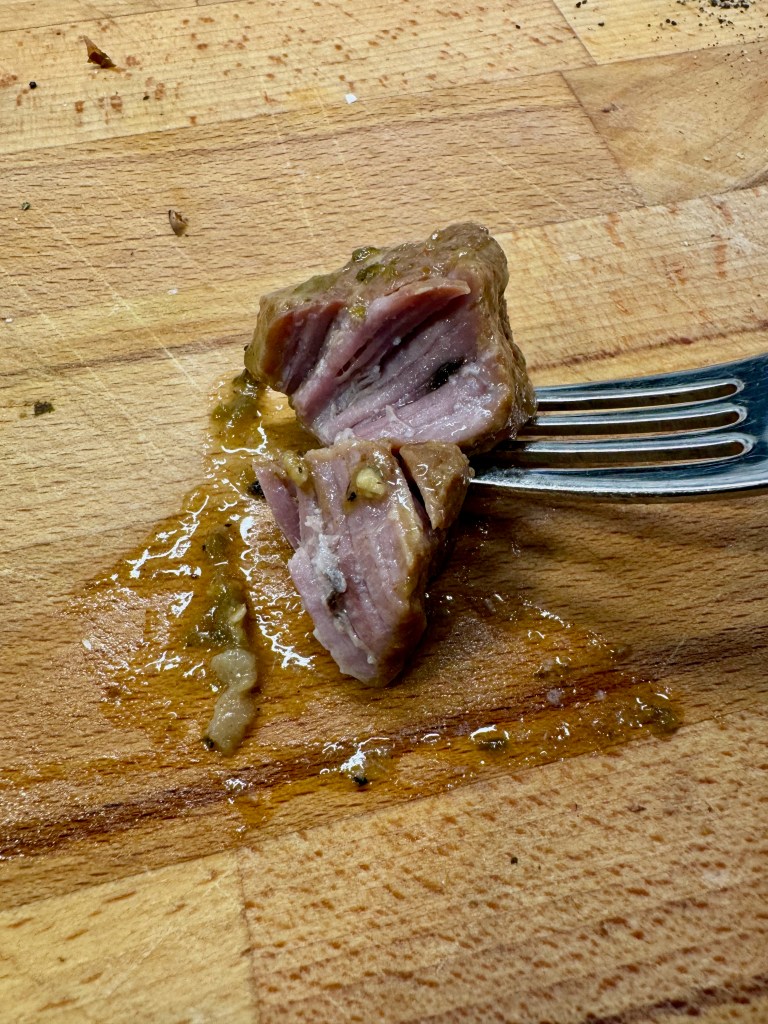
If there is one positive thing about these long, gray days, it’s that we are smack in the middle of what I call “Sunday supper season,” when all-day comfort foods take center stage. Chile verde is not a complicated meal to make, but it is a commitment to patience— the slow rendering of fat from pasture-raised local pork, the blooming of pungent ground spices, the roasting and blending of peppers, garlic and onions, and the quiet simmering of chunks of pork in the robust sauce until they are so tender that they nearly melt in your mouth. It’s well worth the time and effort.
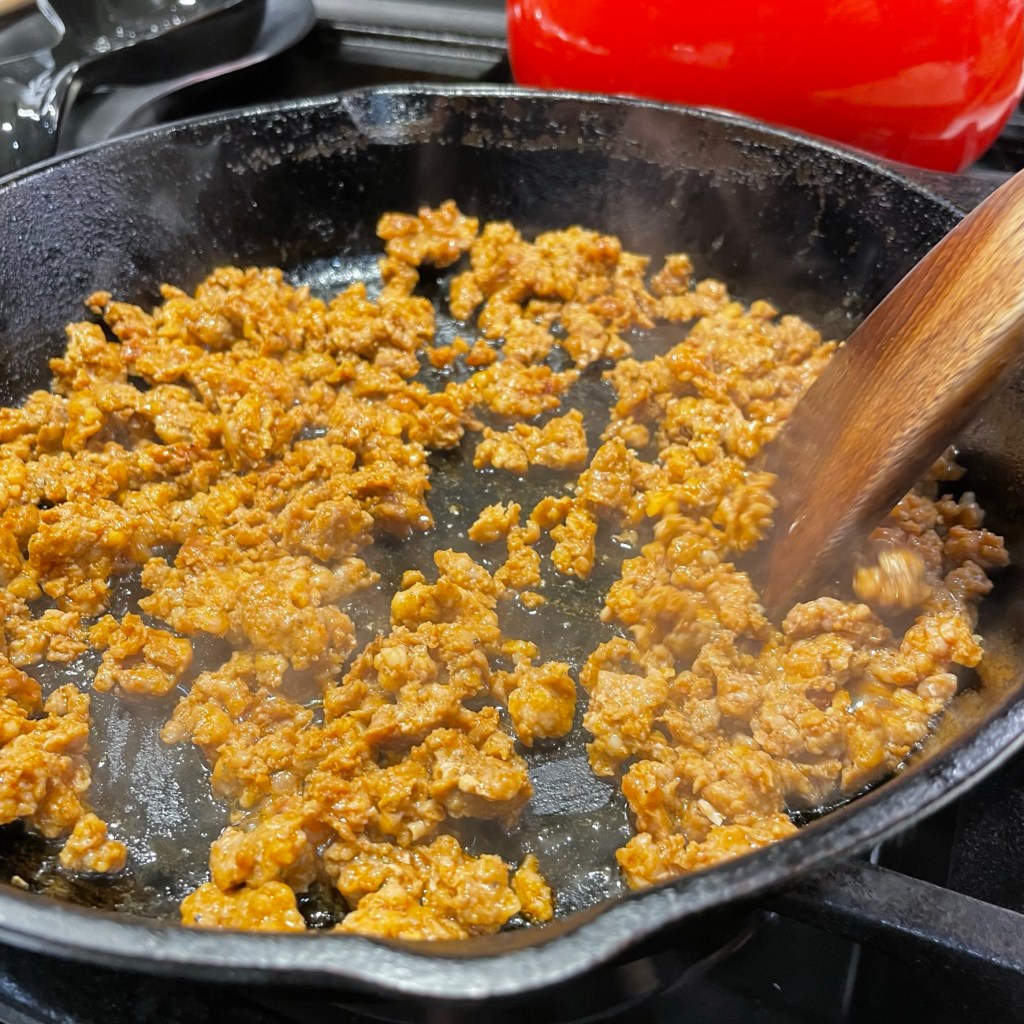
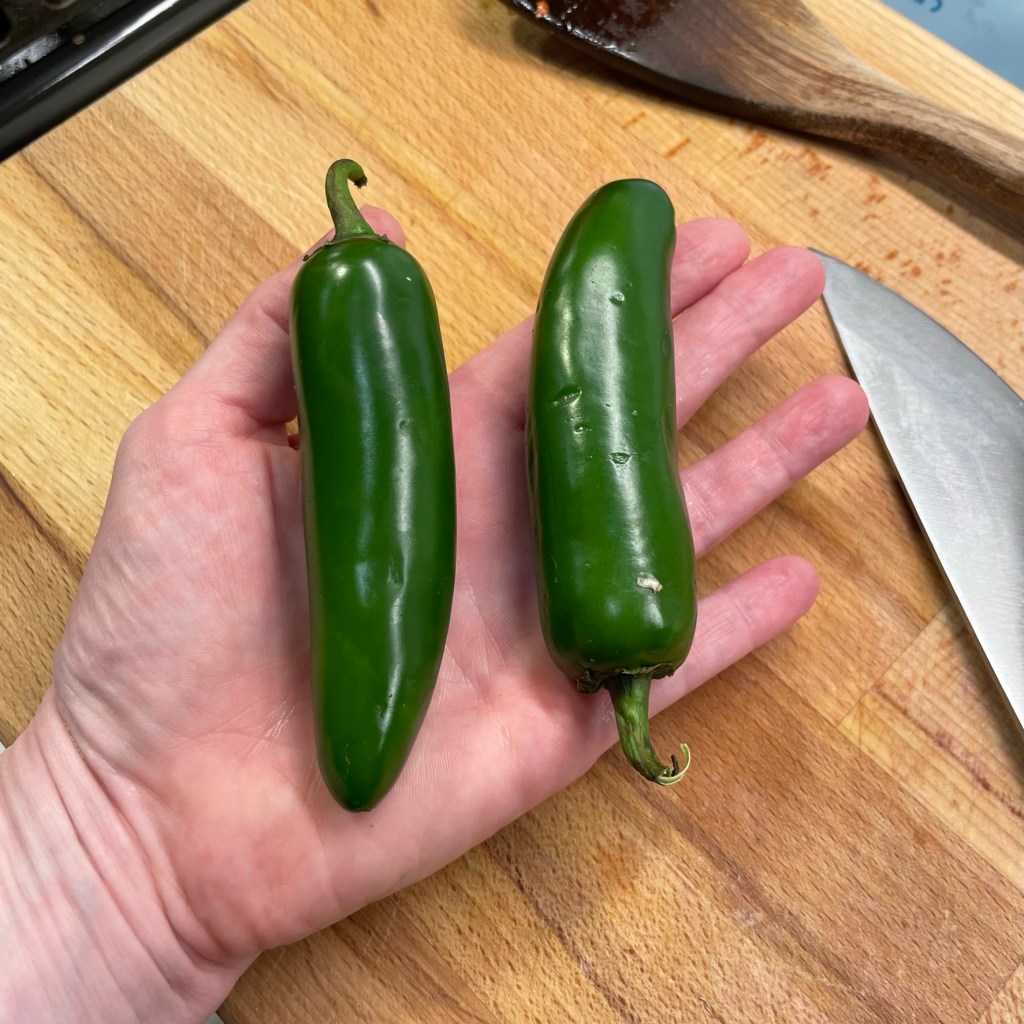
Now, if you’re thinking,“Haven’t I already seen this recipe on Comfort du Jour?”— I’d point out that this is not the same as I make for my green chili burritos. That recipe begins with ground pork or sausage, and uses a flour-thickened broth base to create a chili that is more soup-like. This chile verde is more of a stew and is all about the meat and the chiles— in this case, marbled pork shoulder and poblanos, with some jalapeño for extra kick.
My first step for this meal was a stop at my favorite local butcher shop, where I only needed to mention the dish I wanted to make, and went home with the right stuff: a fat package of fresh pork shoulder that was already chunked and ready for the task. I love that my butcher “gets” me, and the quality of pasture-raised local pork is far superior to anything I’d find in a supermarket. If you don’t already support your local butcher, I highly recommend it. If you don’t have a purveyor in your community that offers this kind of quality meat, do an internet search for “pasture-raised” or “heritage” meats. You’ll not only enjoy the exceptional flavor of meat raised the right way, as our grandparents did, but you’ll be supporting a more humane experience for animals and a better environmental outcome. As a side benefit, I have made some really cool friends on the other side of the meat counter.
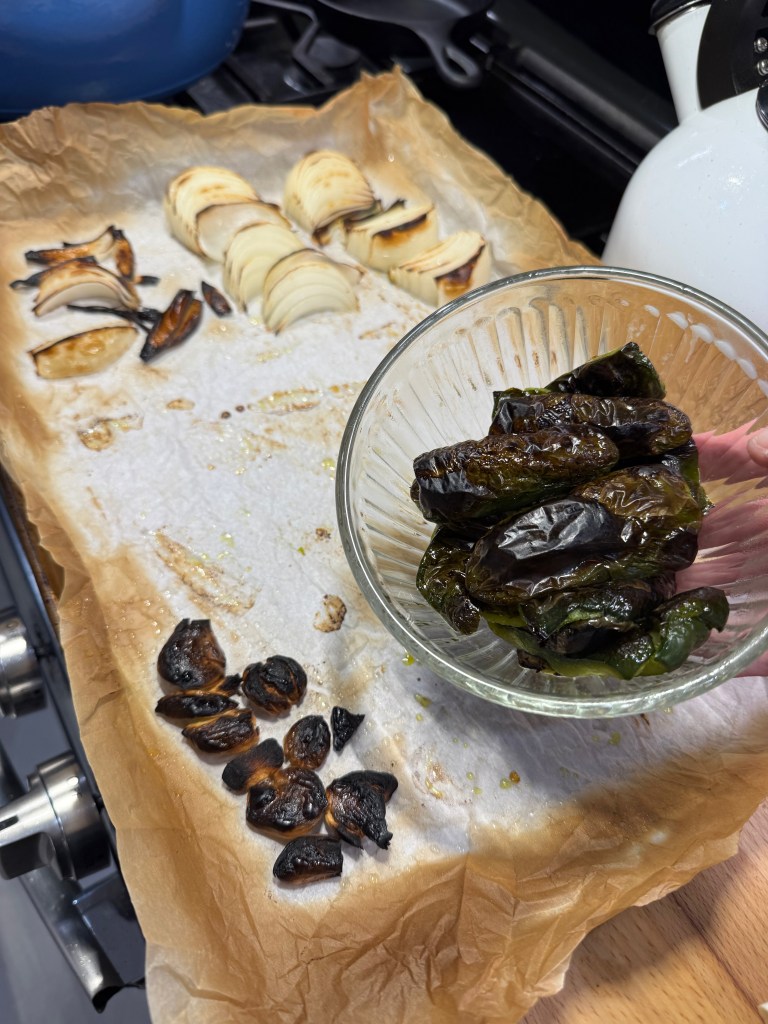

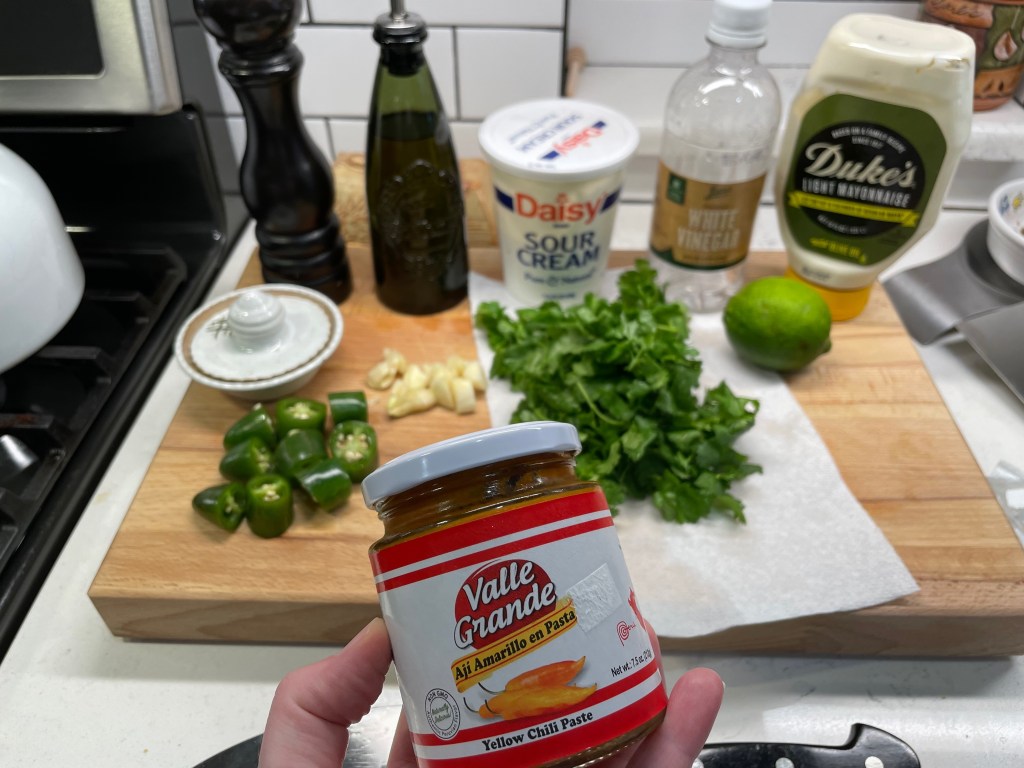
I took two shortcuts on this dish, and only one of them worked out. First, I tried roasting individual cloves of garlic alongside my other veggies, which proved disastrous (they were black as night by the time everything else was done), so I had to circle back to roast a whole bulb the right way, and that cost me almost an hour. Live and learn! The other shortcut involved a full jar of roasted tomatillo salsa, which was a win. Fresh tomatillos can be hard to come by in North Carolina, but the salsa made from tomatillos worked so well that I will make it my standard for this recipe. It brought a tangy, acidic balance to the heat of the peppers, and also served as the braising liquid.

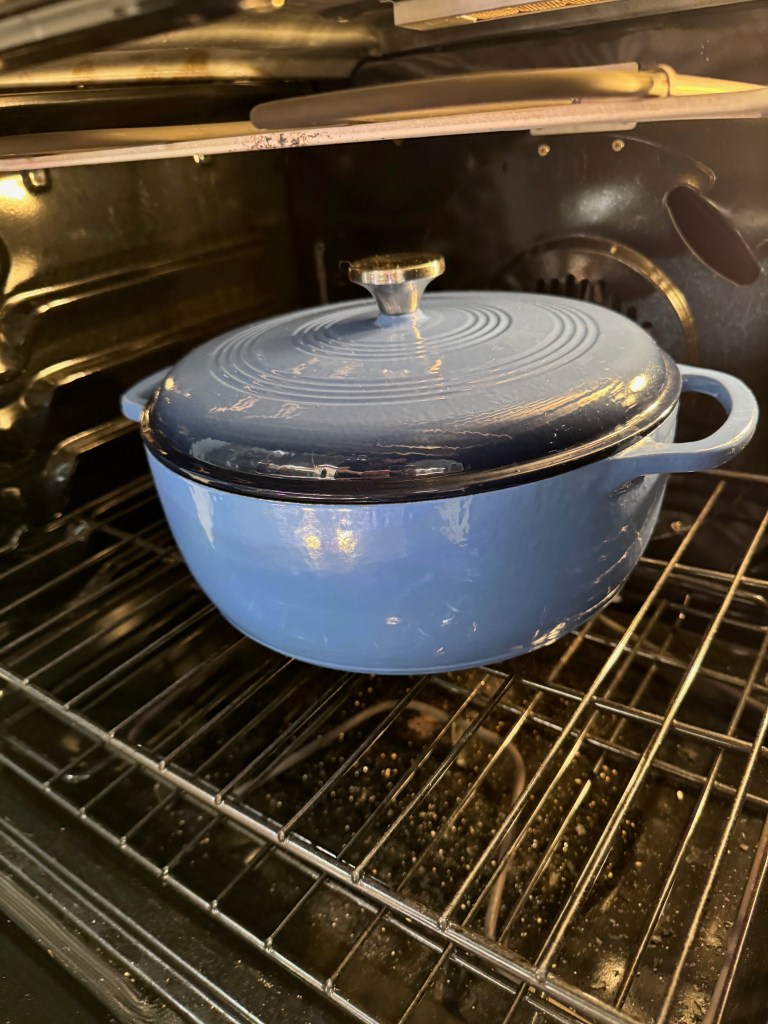
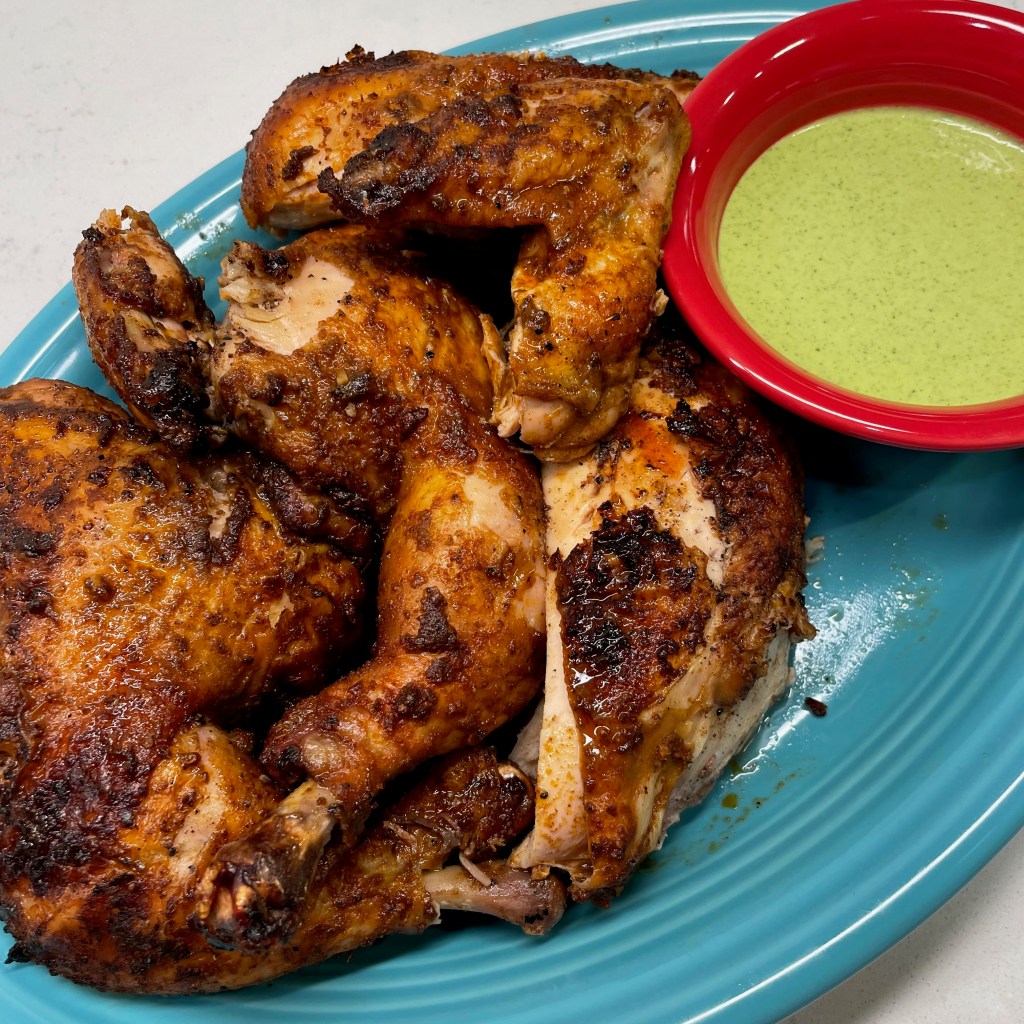
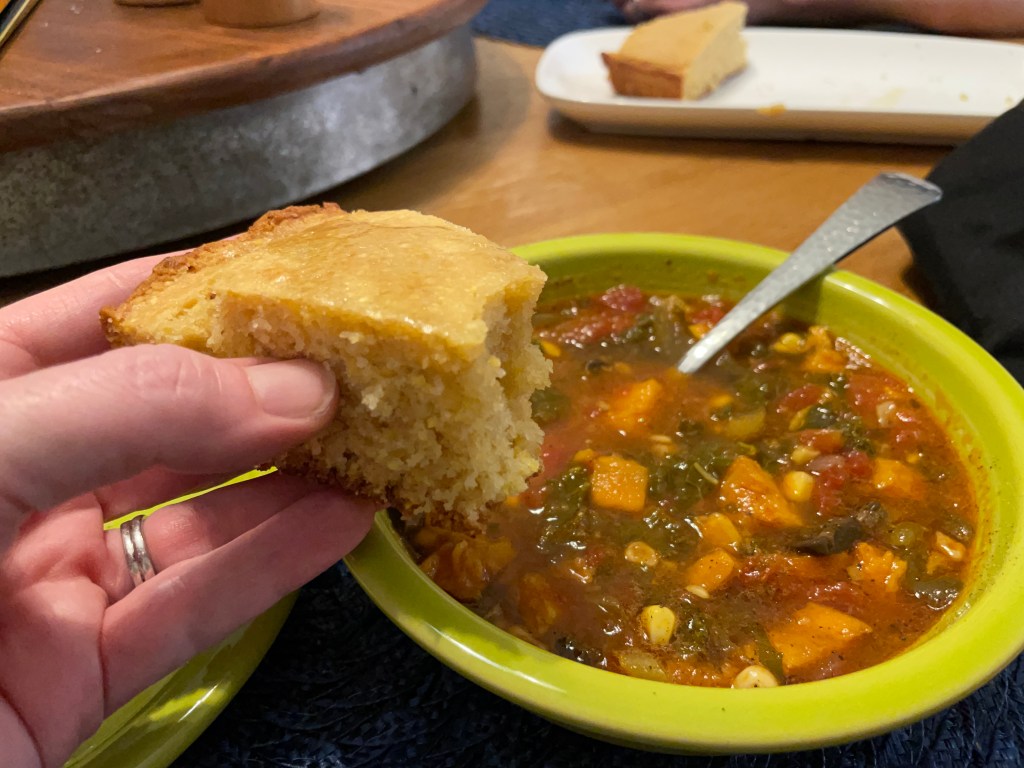
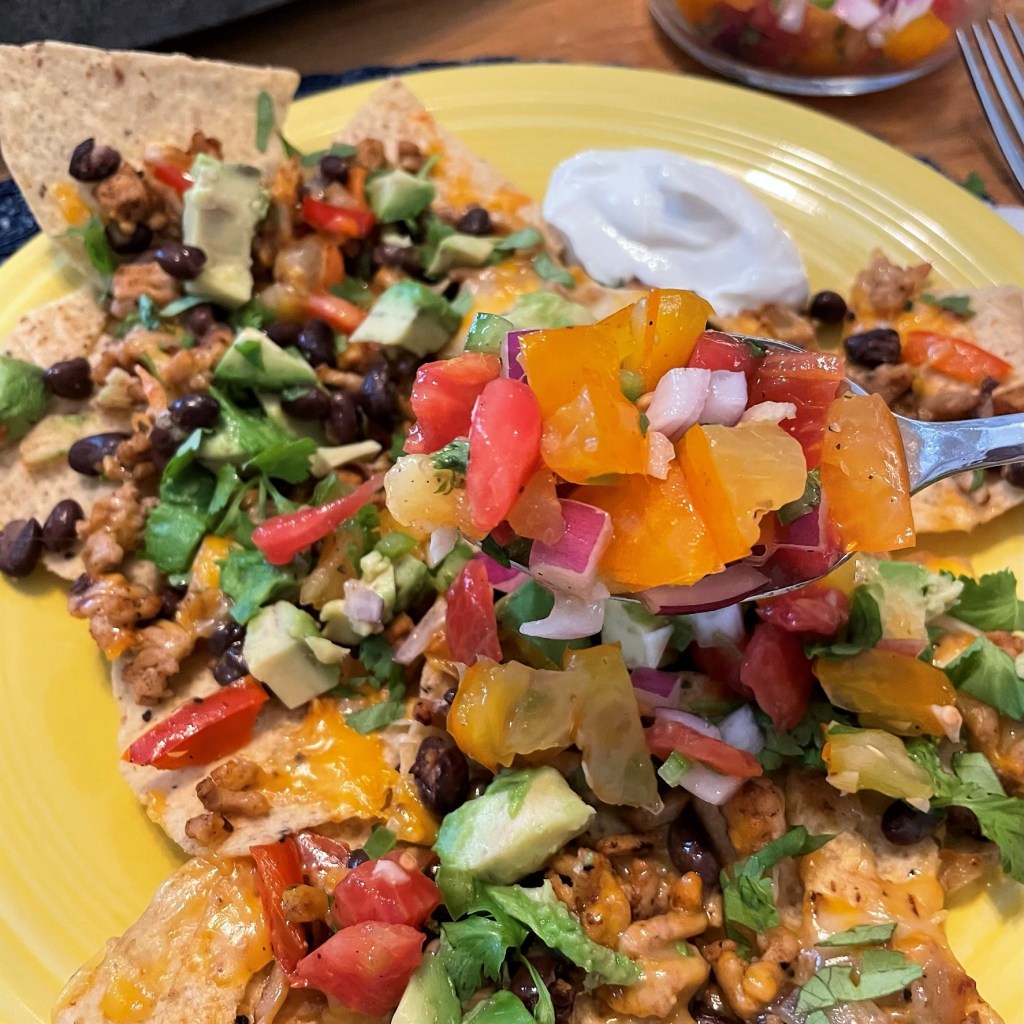
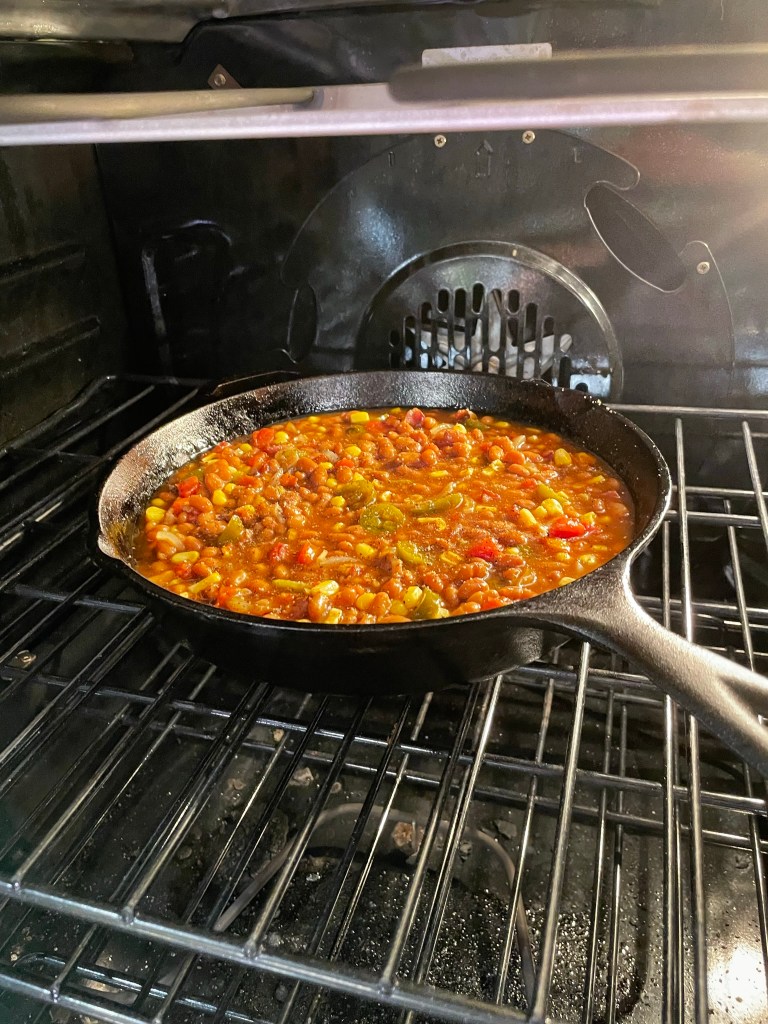
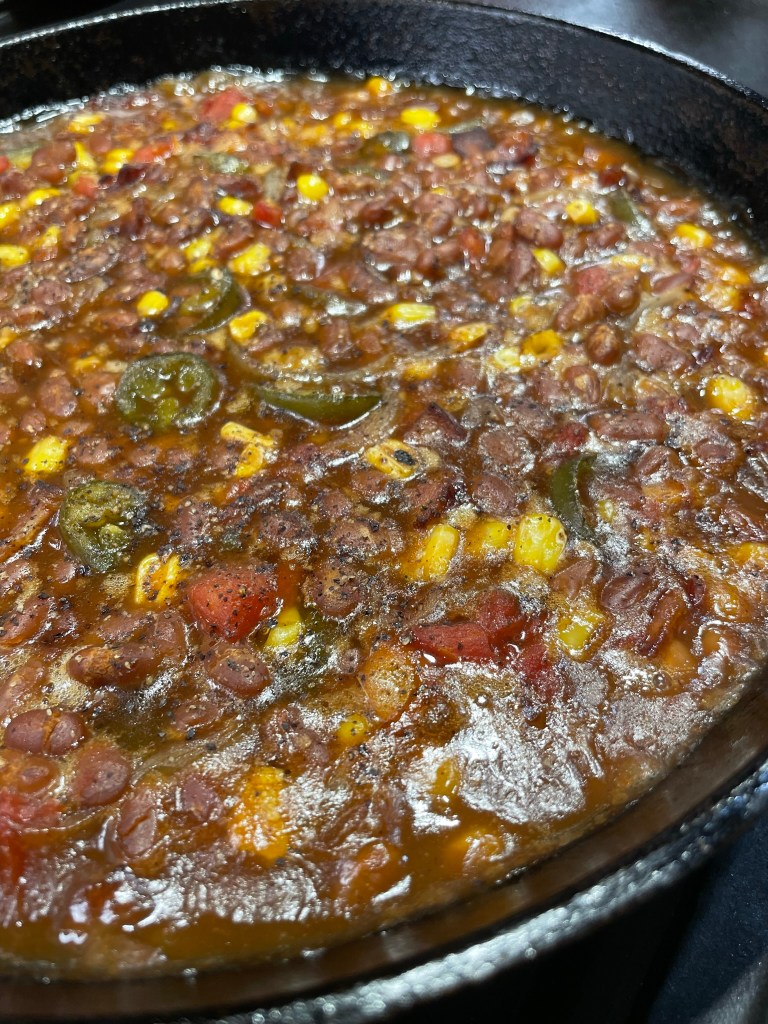
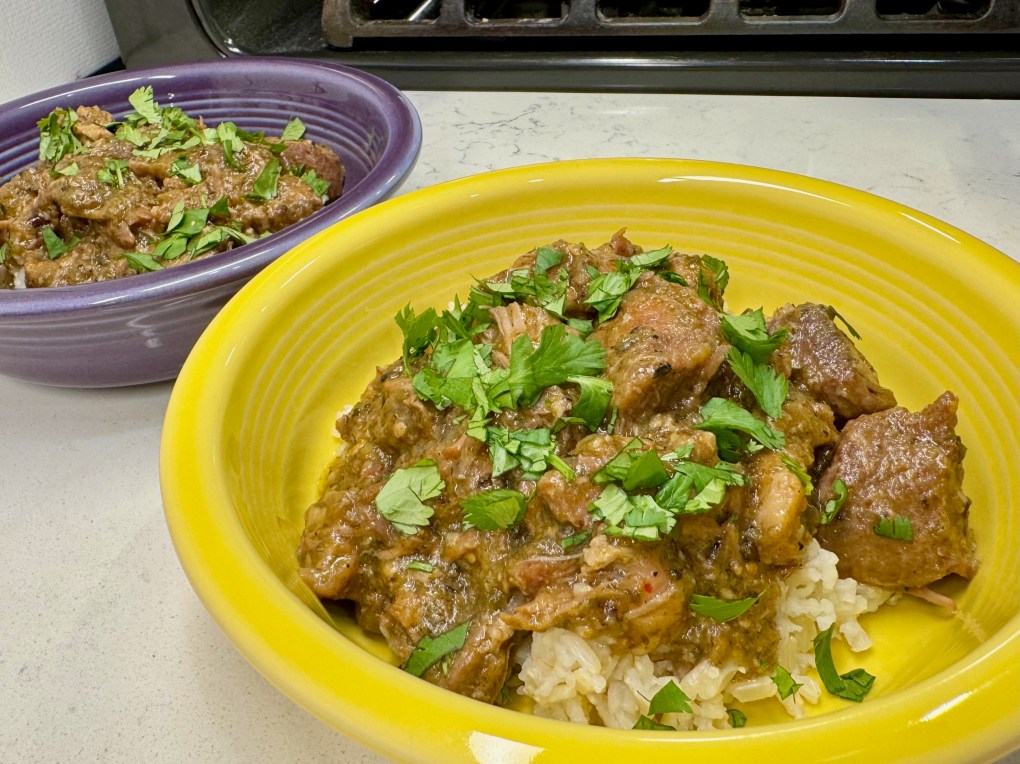
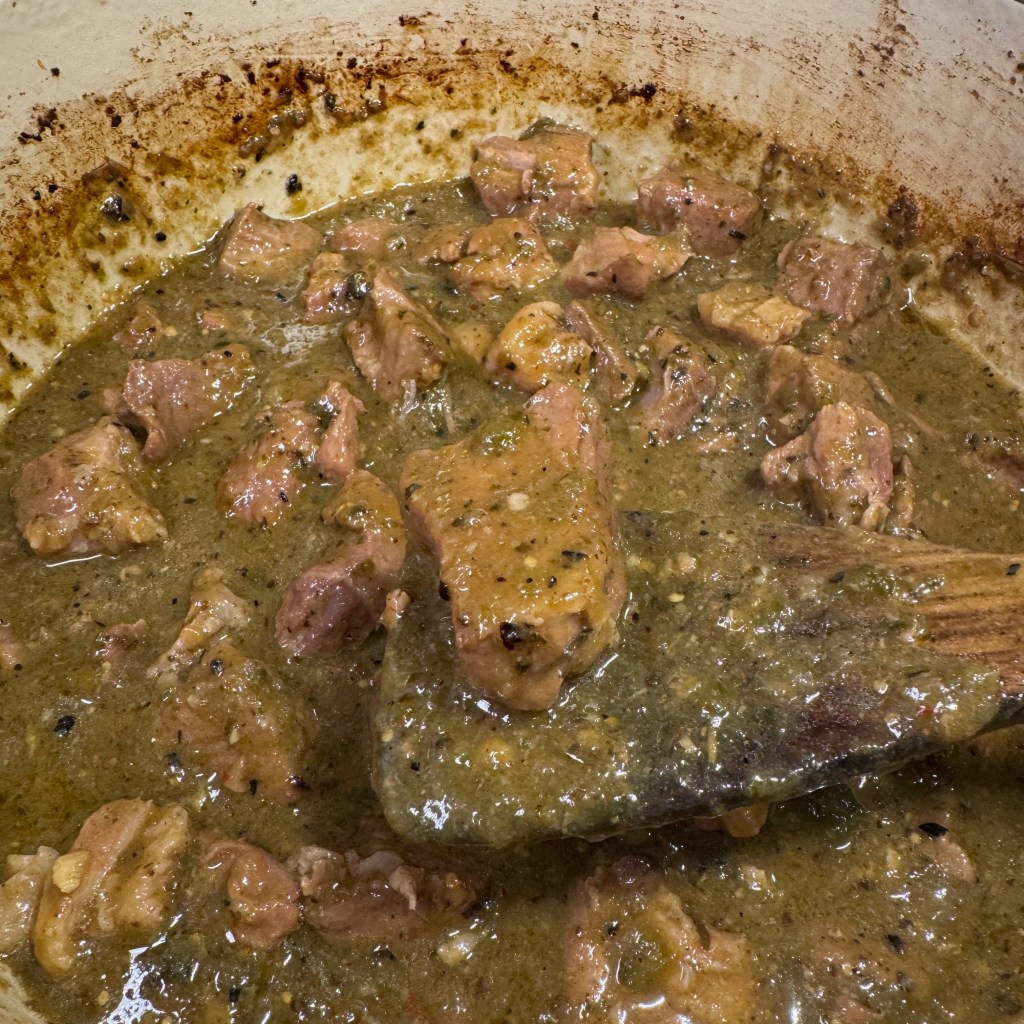
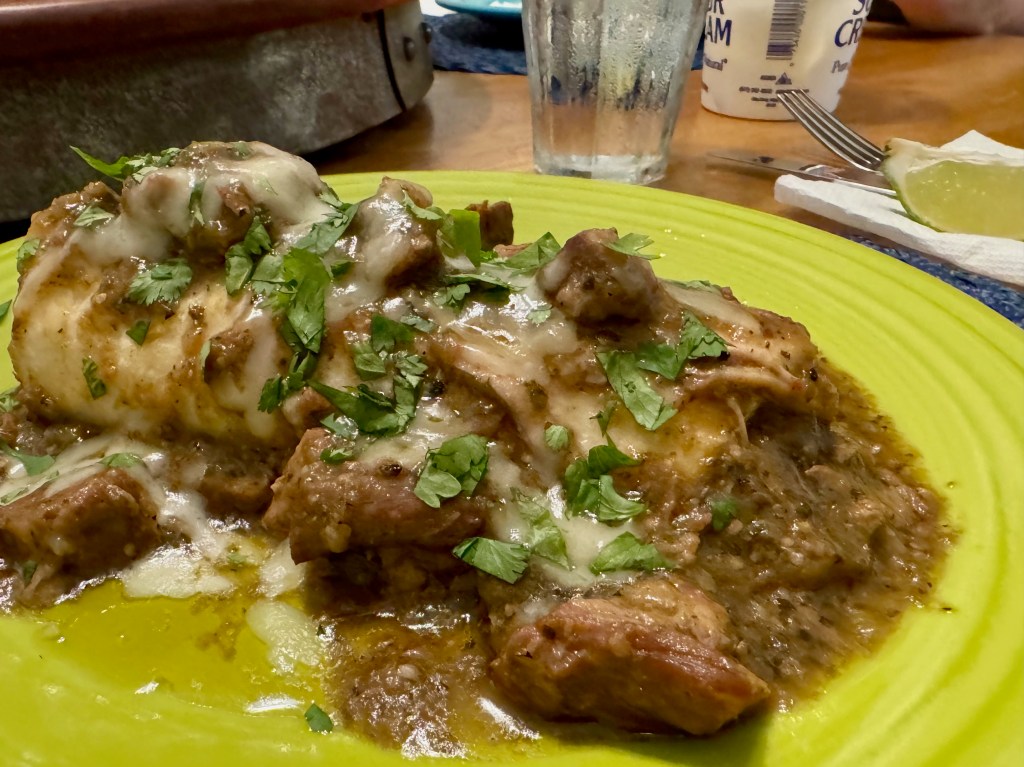
I wish I had the right words to describe the aroma that filled the air as this chile verde stewed low and slow in the oven for a few hours. The only thing more satisfying than the fall-apart texture of these tender tidbits was the flavor! We enjoyed our chile verde three ways— first draped over bean-filled tortillas, second as a stew on top of hot rice with cilantro, and again all by itself in a bowl with a dollop of sour cream and crispy corn tortillas chips. There’s no wrong way to enjoy it, but I may have to make it again this winter, just to be sure.
Chunky Chile Verde

This is an all-day meal, perfect for cold and dreary January days. Take your time with each step and you'll be rewarded with the most flavorful, melt-in-your-mouth pork you've ever tasted!
Ingredients
- 4.5 pounds heritage pork, cut into chunks and trimmed (reserve fat pieces)
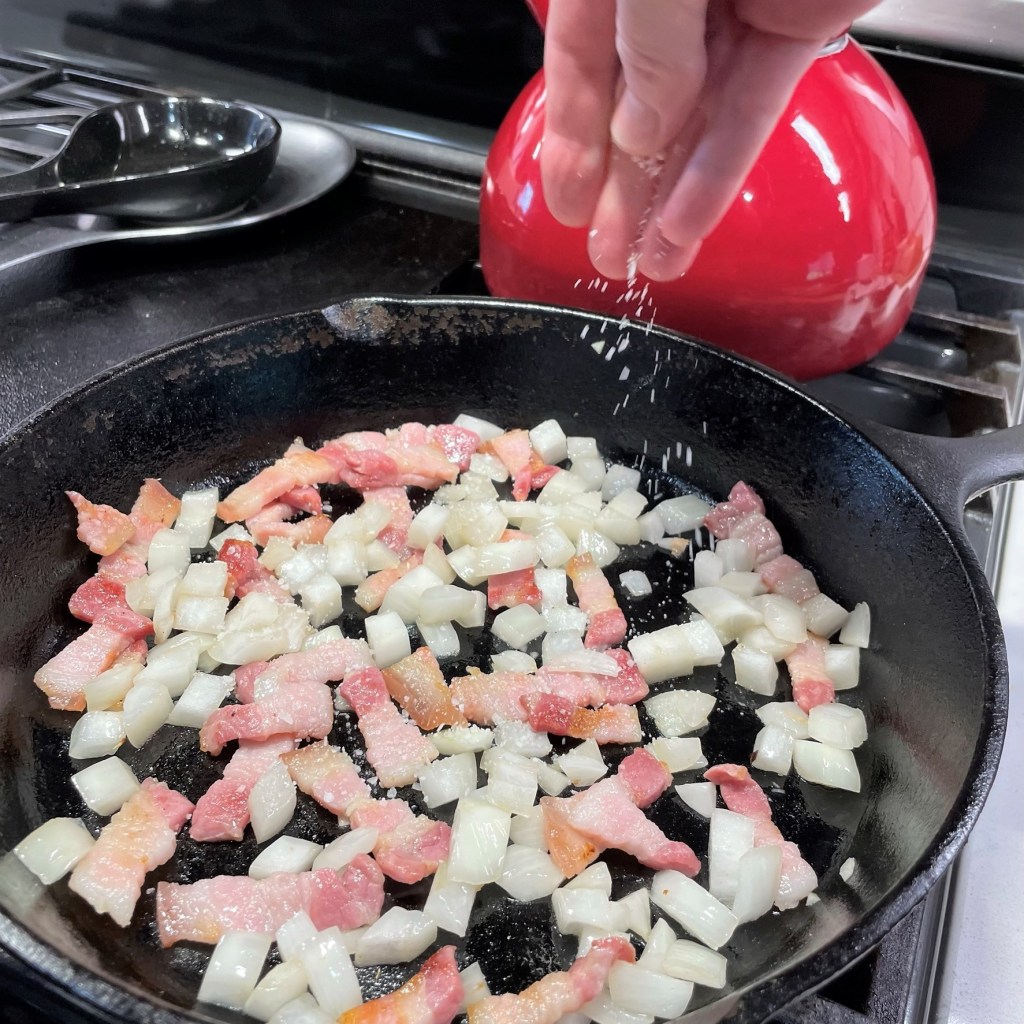
- 4 tsp. kosher salt
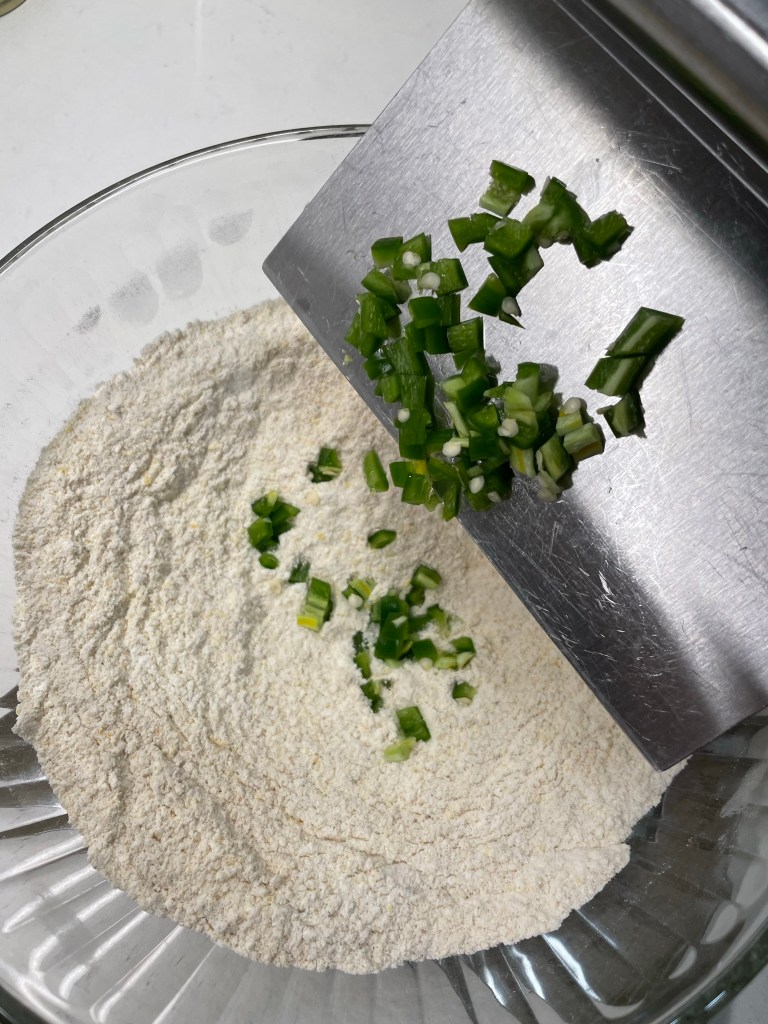
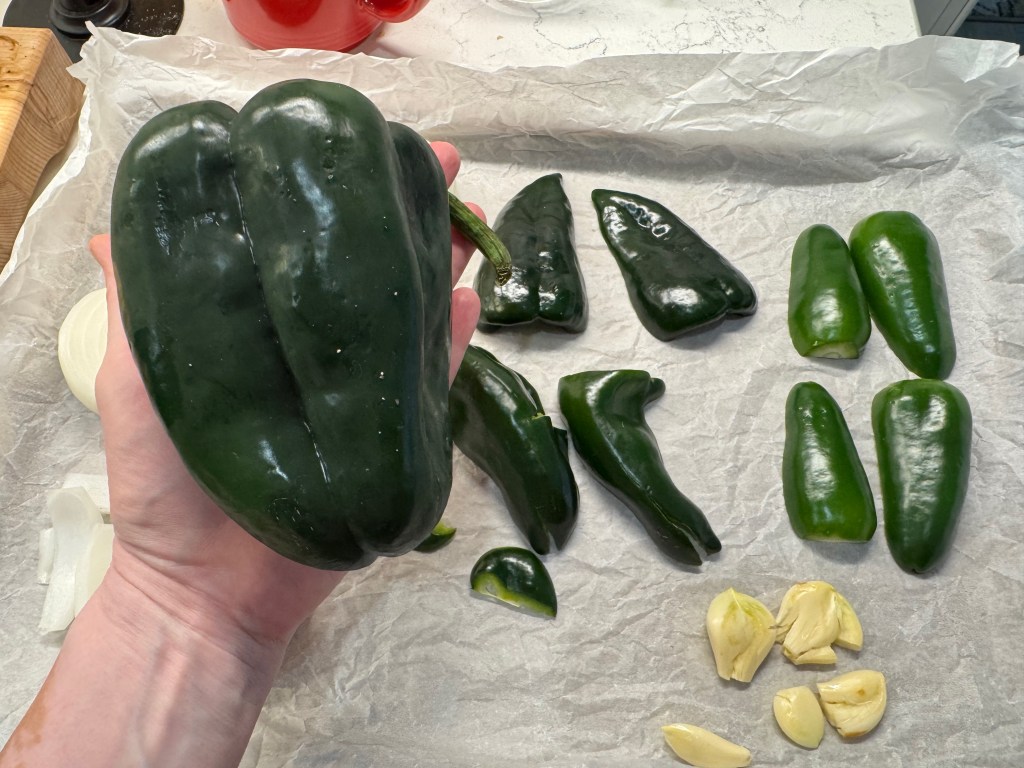
- 1 pound poblano peppers, seeded and cut into pieces
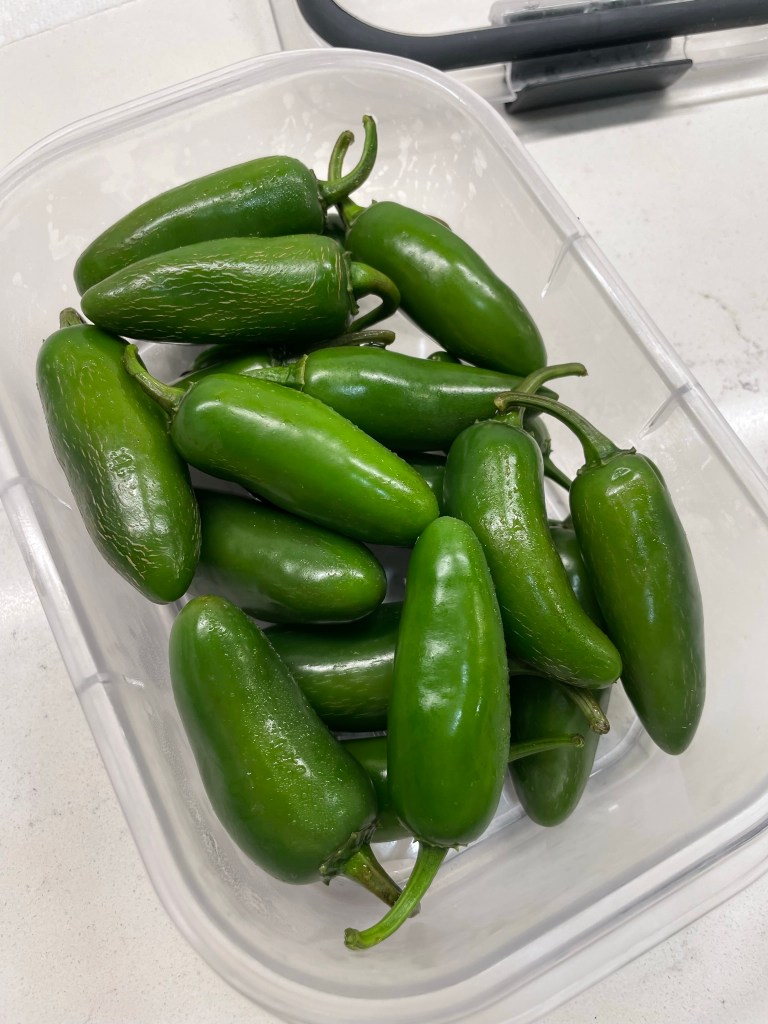
- 2 jalapeños, seeded and cut lengthwise
- 1 sweet onion, cut into wedges
- 1 bulb roasted garlic
- 3 cloves raw garlic
- 12 oz. jar Herdez roasted salsa verde (or another similar sauce made primarily with tomatillos)
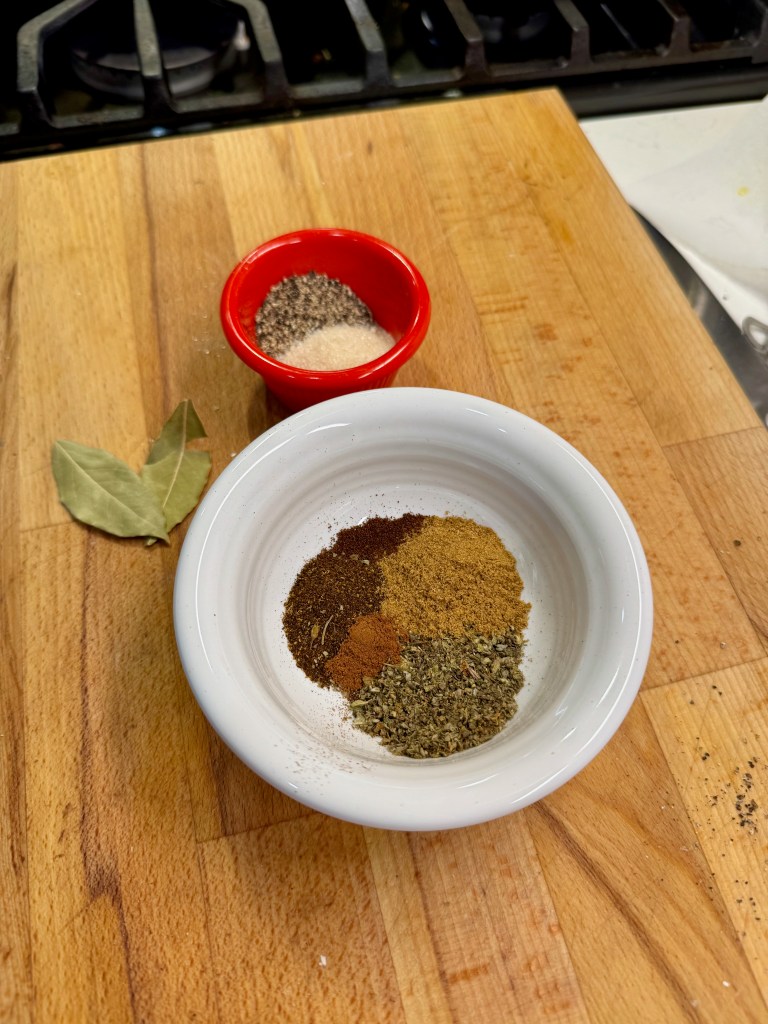
- 1 1/2 tsp ground cumin (if you have whole seeds, toast them first in a dry skillet, then grind into powder)
- 1 tsp. Mexican oregano
- 1/2 tsp. ancho chile powder
- 1/8 tsp. ground cinnamon
- 1/8 tsp. ground cloves
- 1 1/2 tsp. ground black pepper
- 2 tsp. cane sugar
- 2 bay leaves
- Cooked rice and fresh cilantro, for serving
Directions
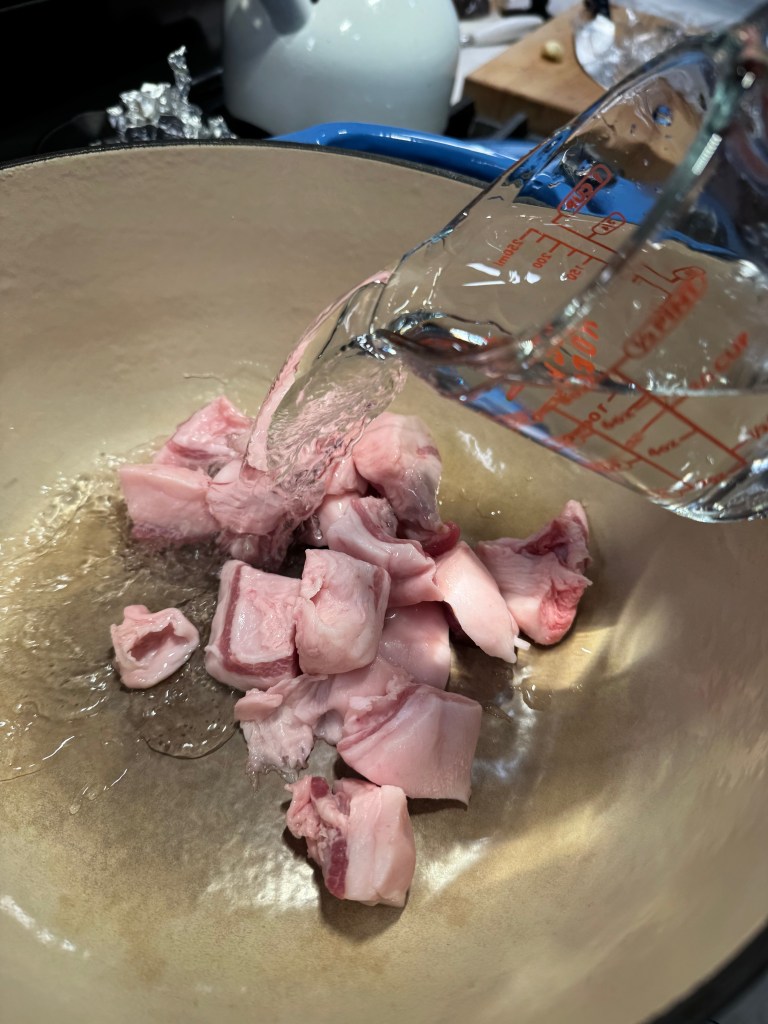
- Arrange the trimmed pork chunks on a parchment-lined cookie sheet. Sprinkle all over with kosher salt and toss the distribute the salt evenly. Set aside the pork fat trimmings for rendering. Cover the cookie sheet tightly in plastic wrap and refrigerate the salted meat overnight.
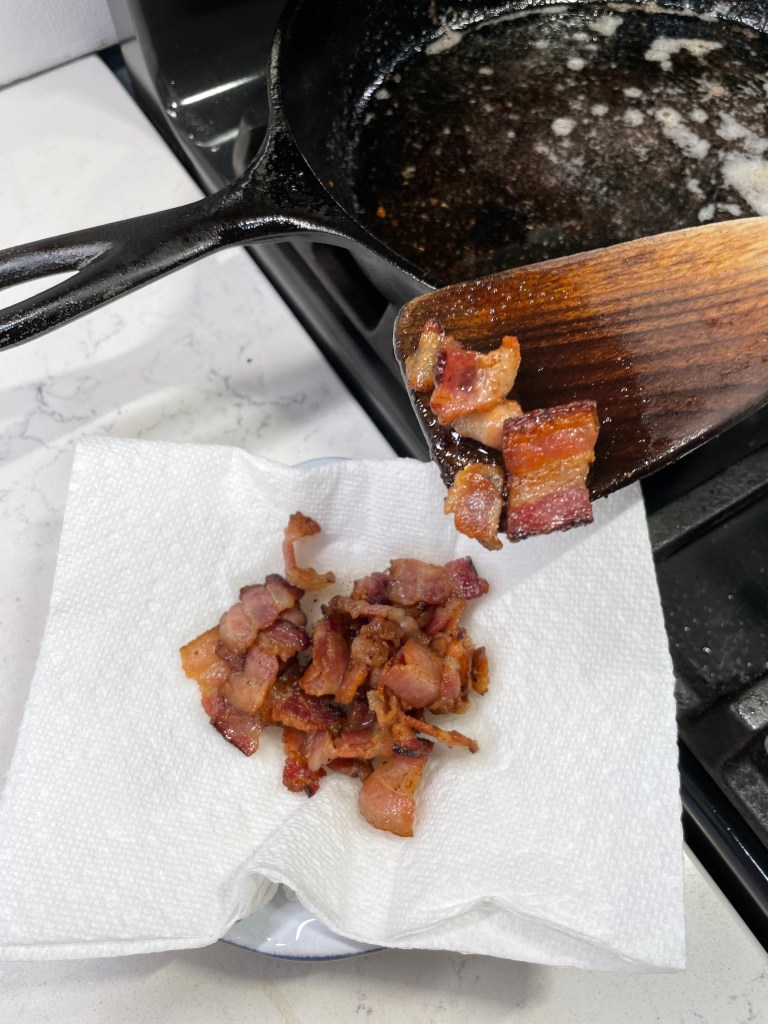
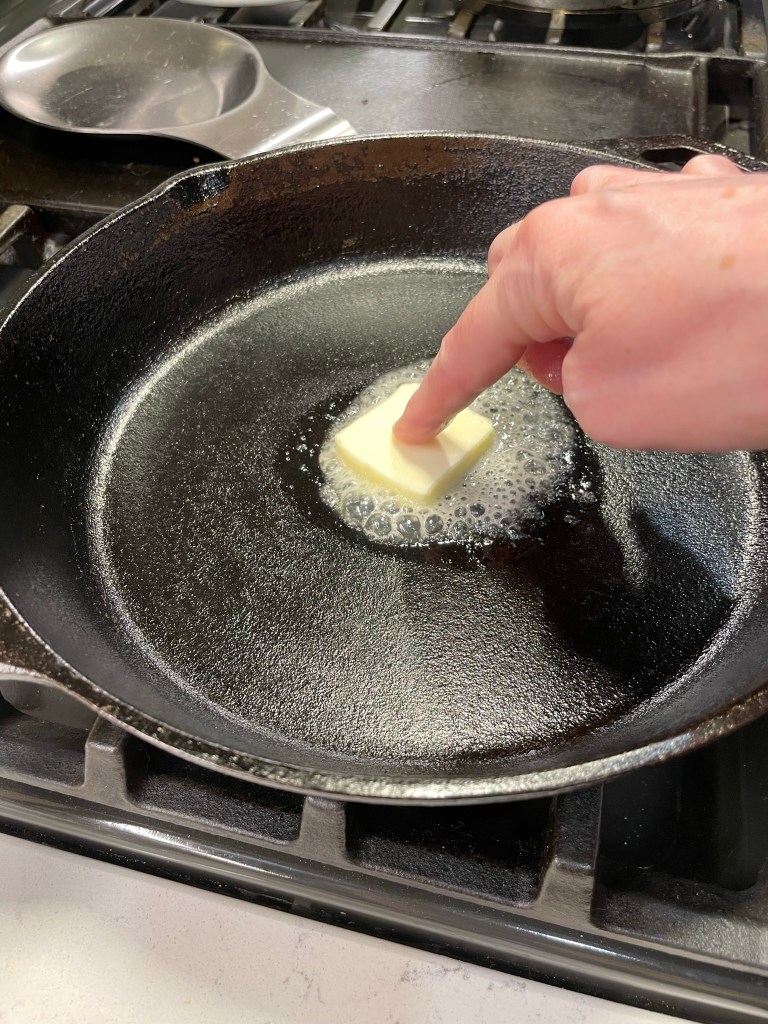
- Heat a heavy-bottomed pot or Dutch oven over medium-low heat. Add reserved pork fat trimmings and one cup of water to the pot. Bring to a low boil, stirring a few times, until the fat renders. The water will evaporate after about 10 minutes. Continue to cook until the fat pieces are crispy, which will take about 30 minutes total. Discard crispy fat and pour off all but three tablespoons of the fat, reserving it to make tortillas or another meal.
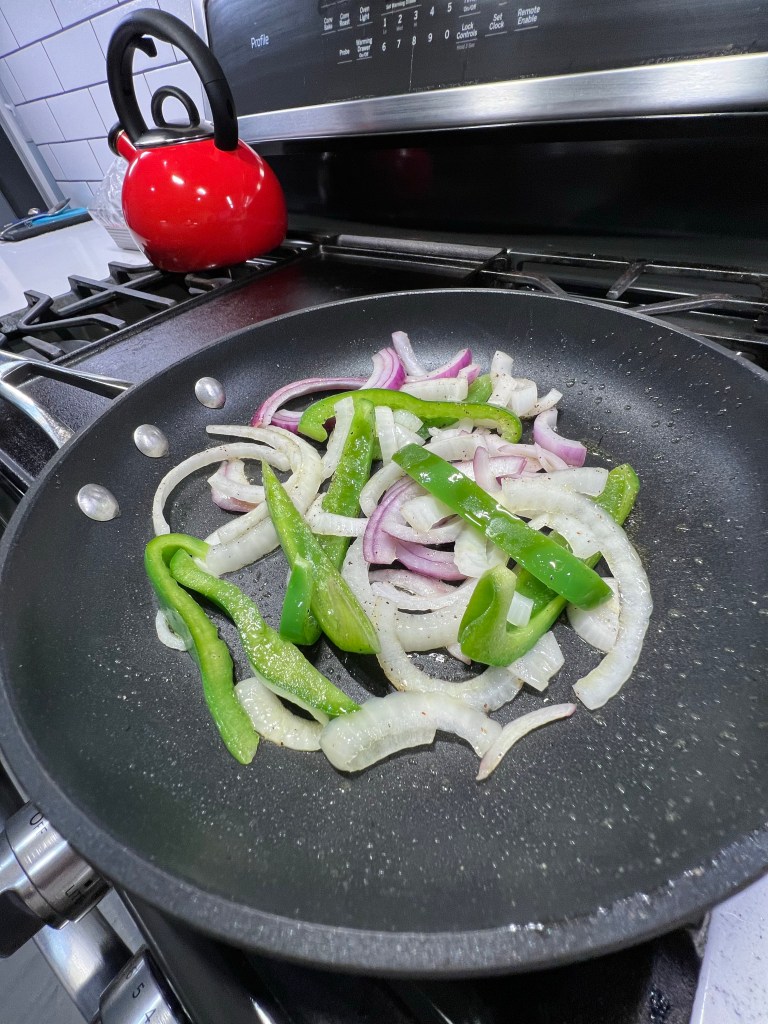
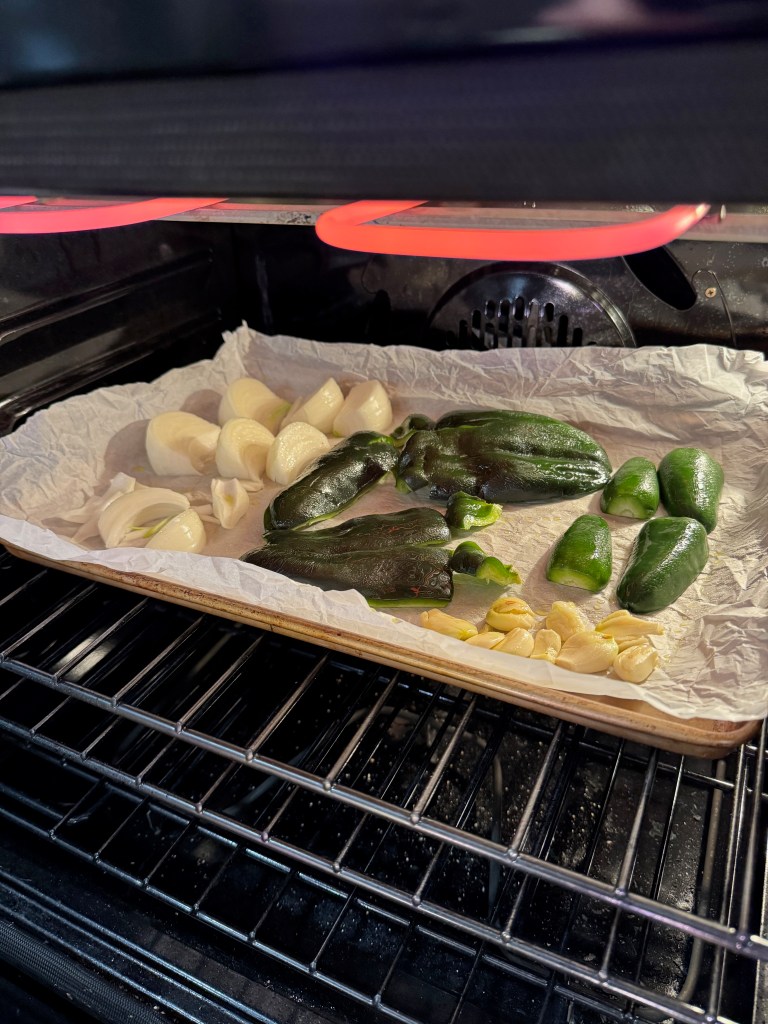
- Meanwhile, preheat oven to 400° F with rack in the center position. Arrange poblanos, jalapeños and onions on a parchment-lined baking sheet. Spray lightly with olive oil spray and roast until the onions are charred and the peppers are blistered all over, about 20 minutes. Transfer peppers to a covered bowl for 20 minutes to loosen skins.
- Reduce oven heat to 300° F, and remove top rack to make room for your stew pot.
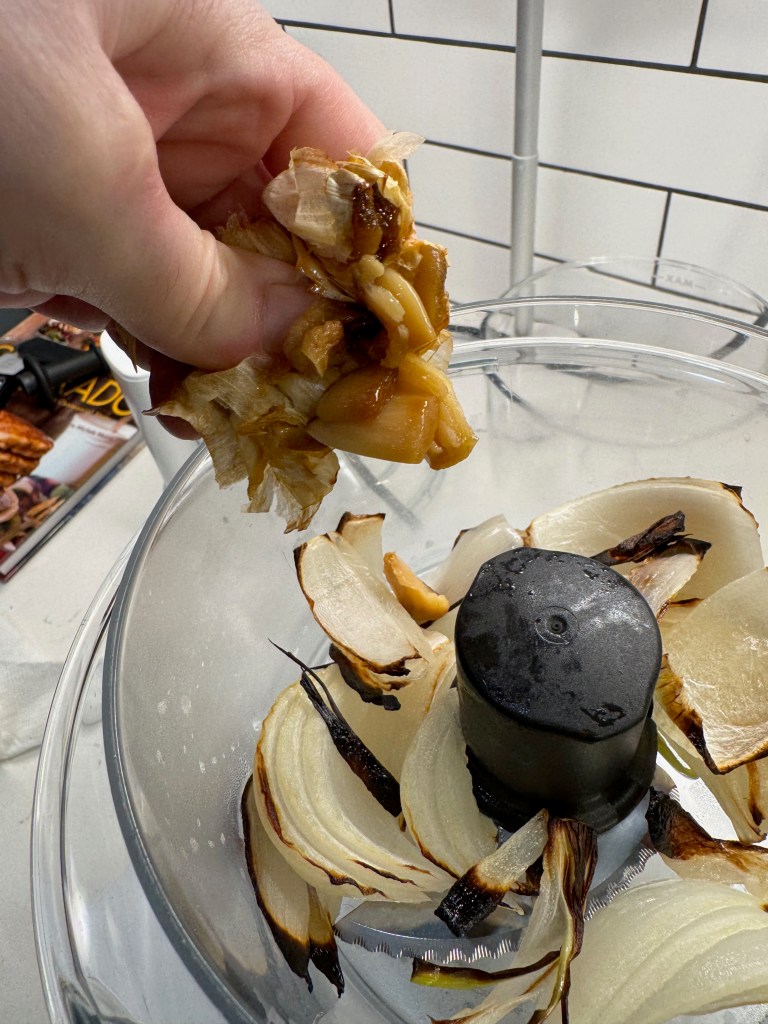
- Add peeled peppers, onions, roasted garlic and raw garlic to a food processor bowl. Pulse a few times to break things up into smaller pieces. Add the tomatillo salsa and process until evenly combined.
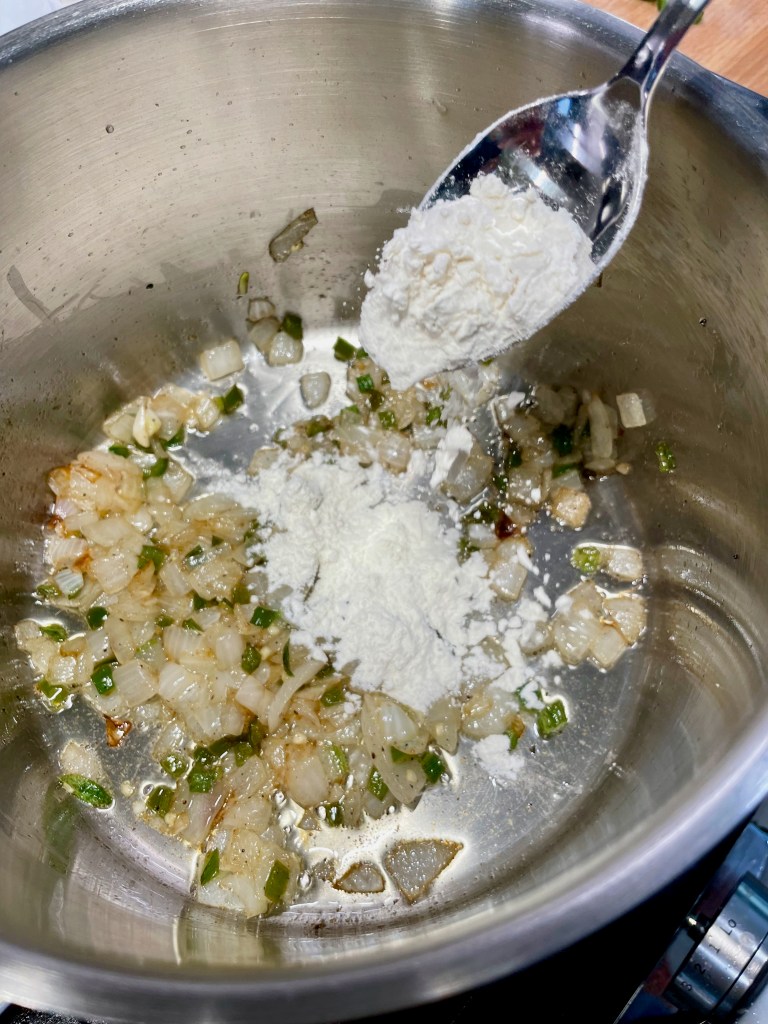
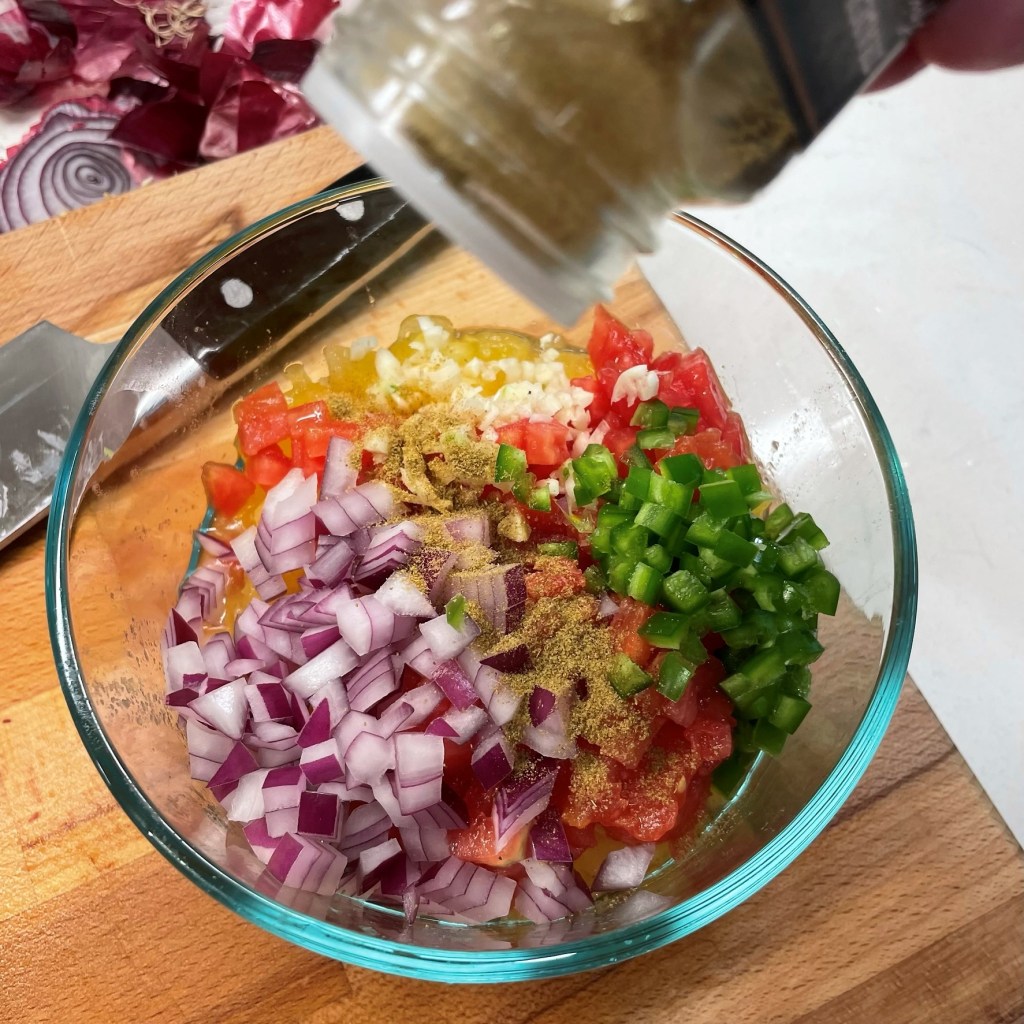
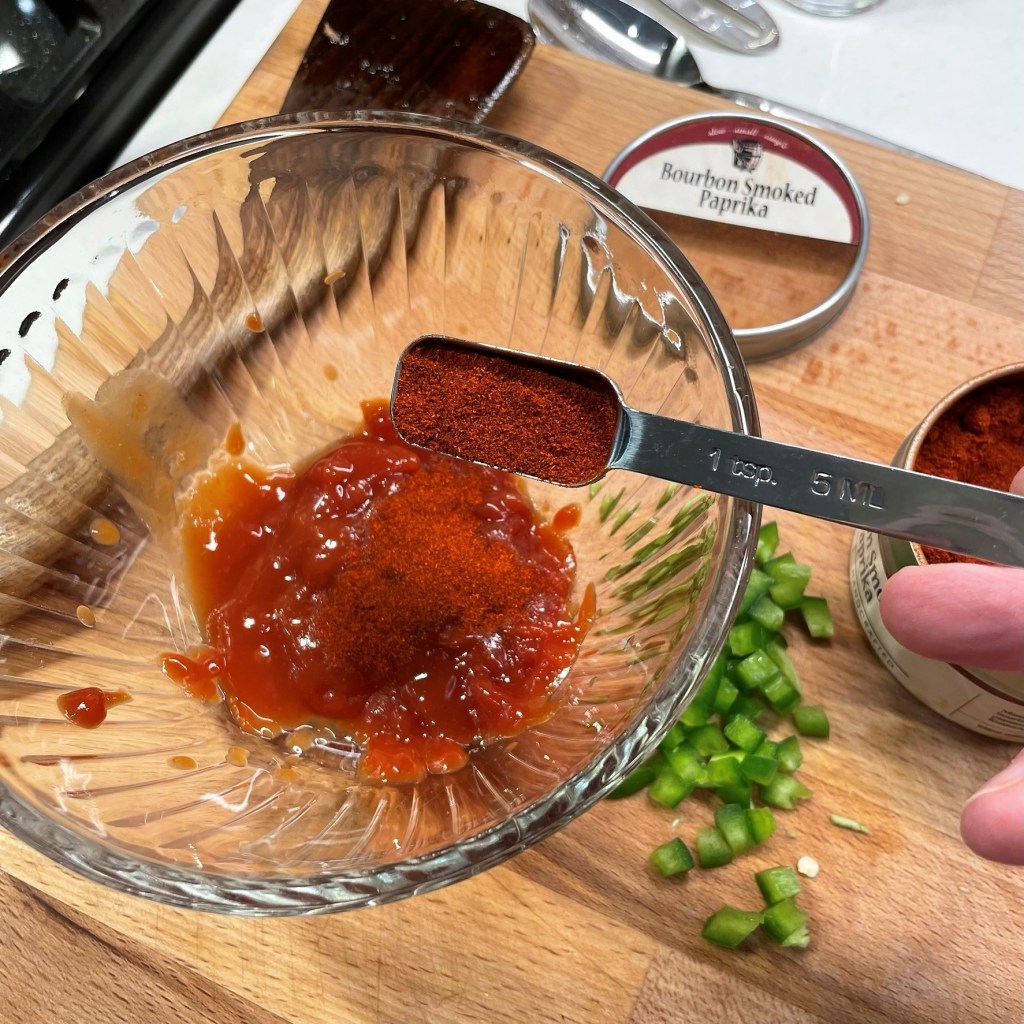
- Combine cumin, oregano, ancho Chile powder, cinnamon and cloves in a small bowl. Add them to the hot fat in the pot and cook until very fragrant, but be careful not to let it burn. This will only take a minute or so. Add the processed salsa to the pot, then stir in the black pepper, sugar and bay leaves.
- Add the salted pork chunks directly to the pot with the salsa and toss to coat. Put a cover on the pot and slide it into the oven for at least 2 1/2 hours (three is better). Check and stir the stew occasionally during cooking time.
- Pork is finished when it is fall-apart tender. Serve piping hot over cooked rice with a fresh sprinkling of cilantro.