It’s no secret that fall is my favorite season. We are still a few weeks away from cozy sweaters, but the “official” arrival of the season has me feeling inspired. And to make things even more fun, this also Negroni Week, a fundraiser that benefits the Slow Food Movement, a cause that aims to make the world a better place with a focus on sustainability, equity and education around food and drink. Savvy bartenders get excited about Negroni Week because it gives them reason to flex their creativity with the classic Italian cocktail that is the event’s namesake.
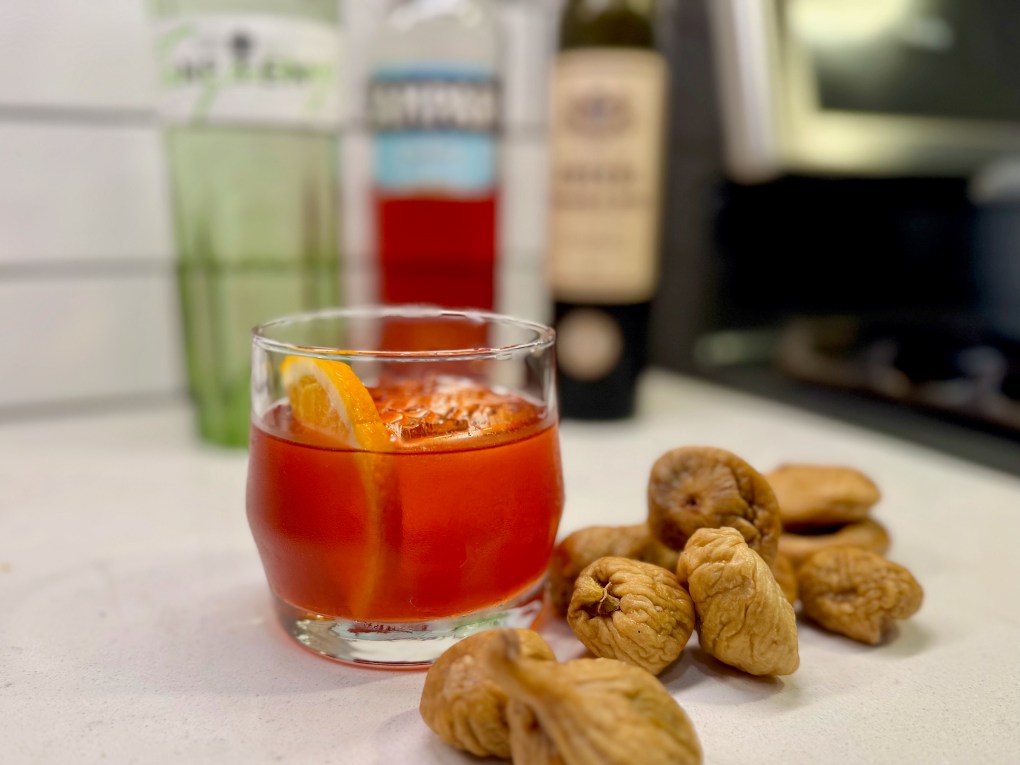
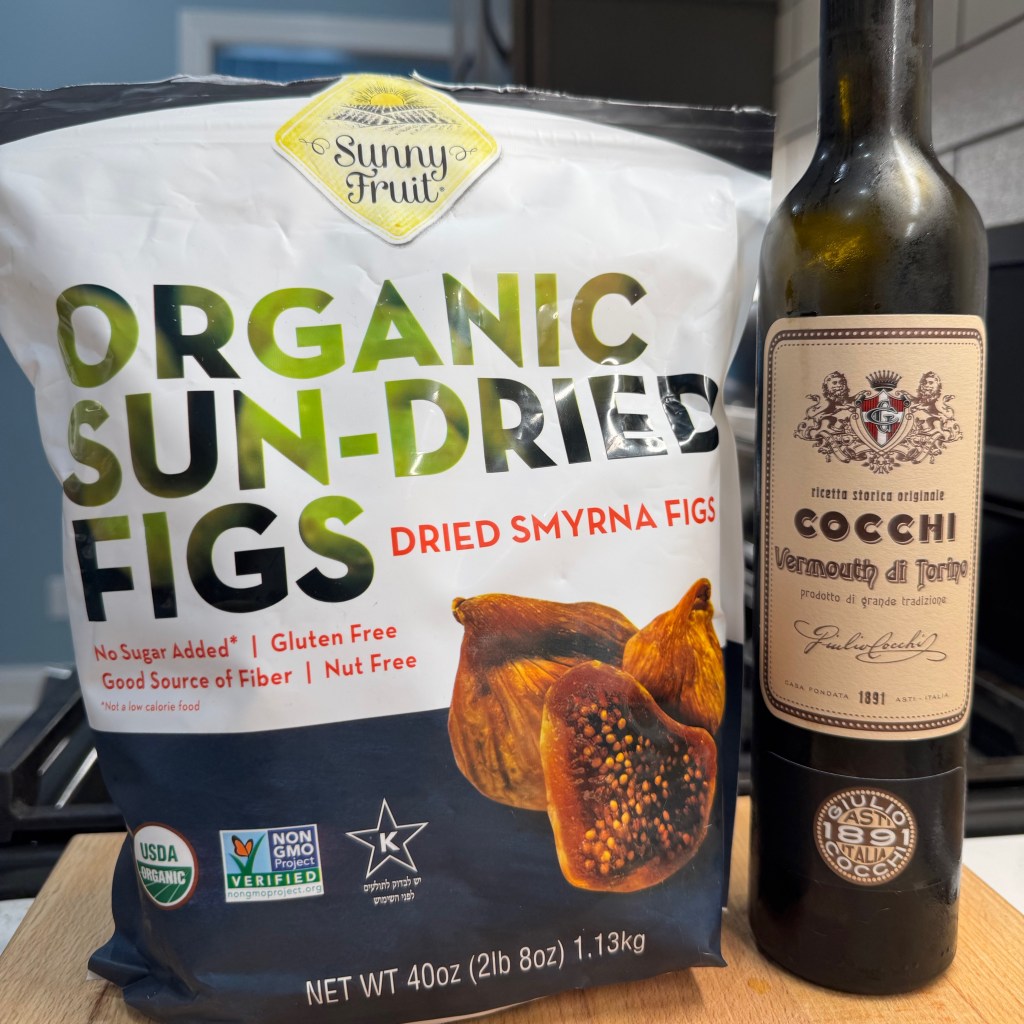
If I had my own bar— and believe me, I’ve pondered it— this is the twist I would serve for Negroni Week. Traditionally, a Negroni is an equal parts drink made with dry gin, sweet vermouth and Campari, the red bitter liqueur that makes Italy proud. Mine is all of that, plus an easy infusion of sweet, earthy fig.
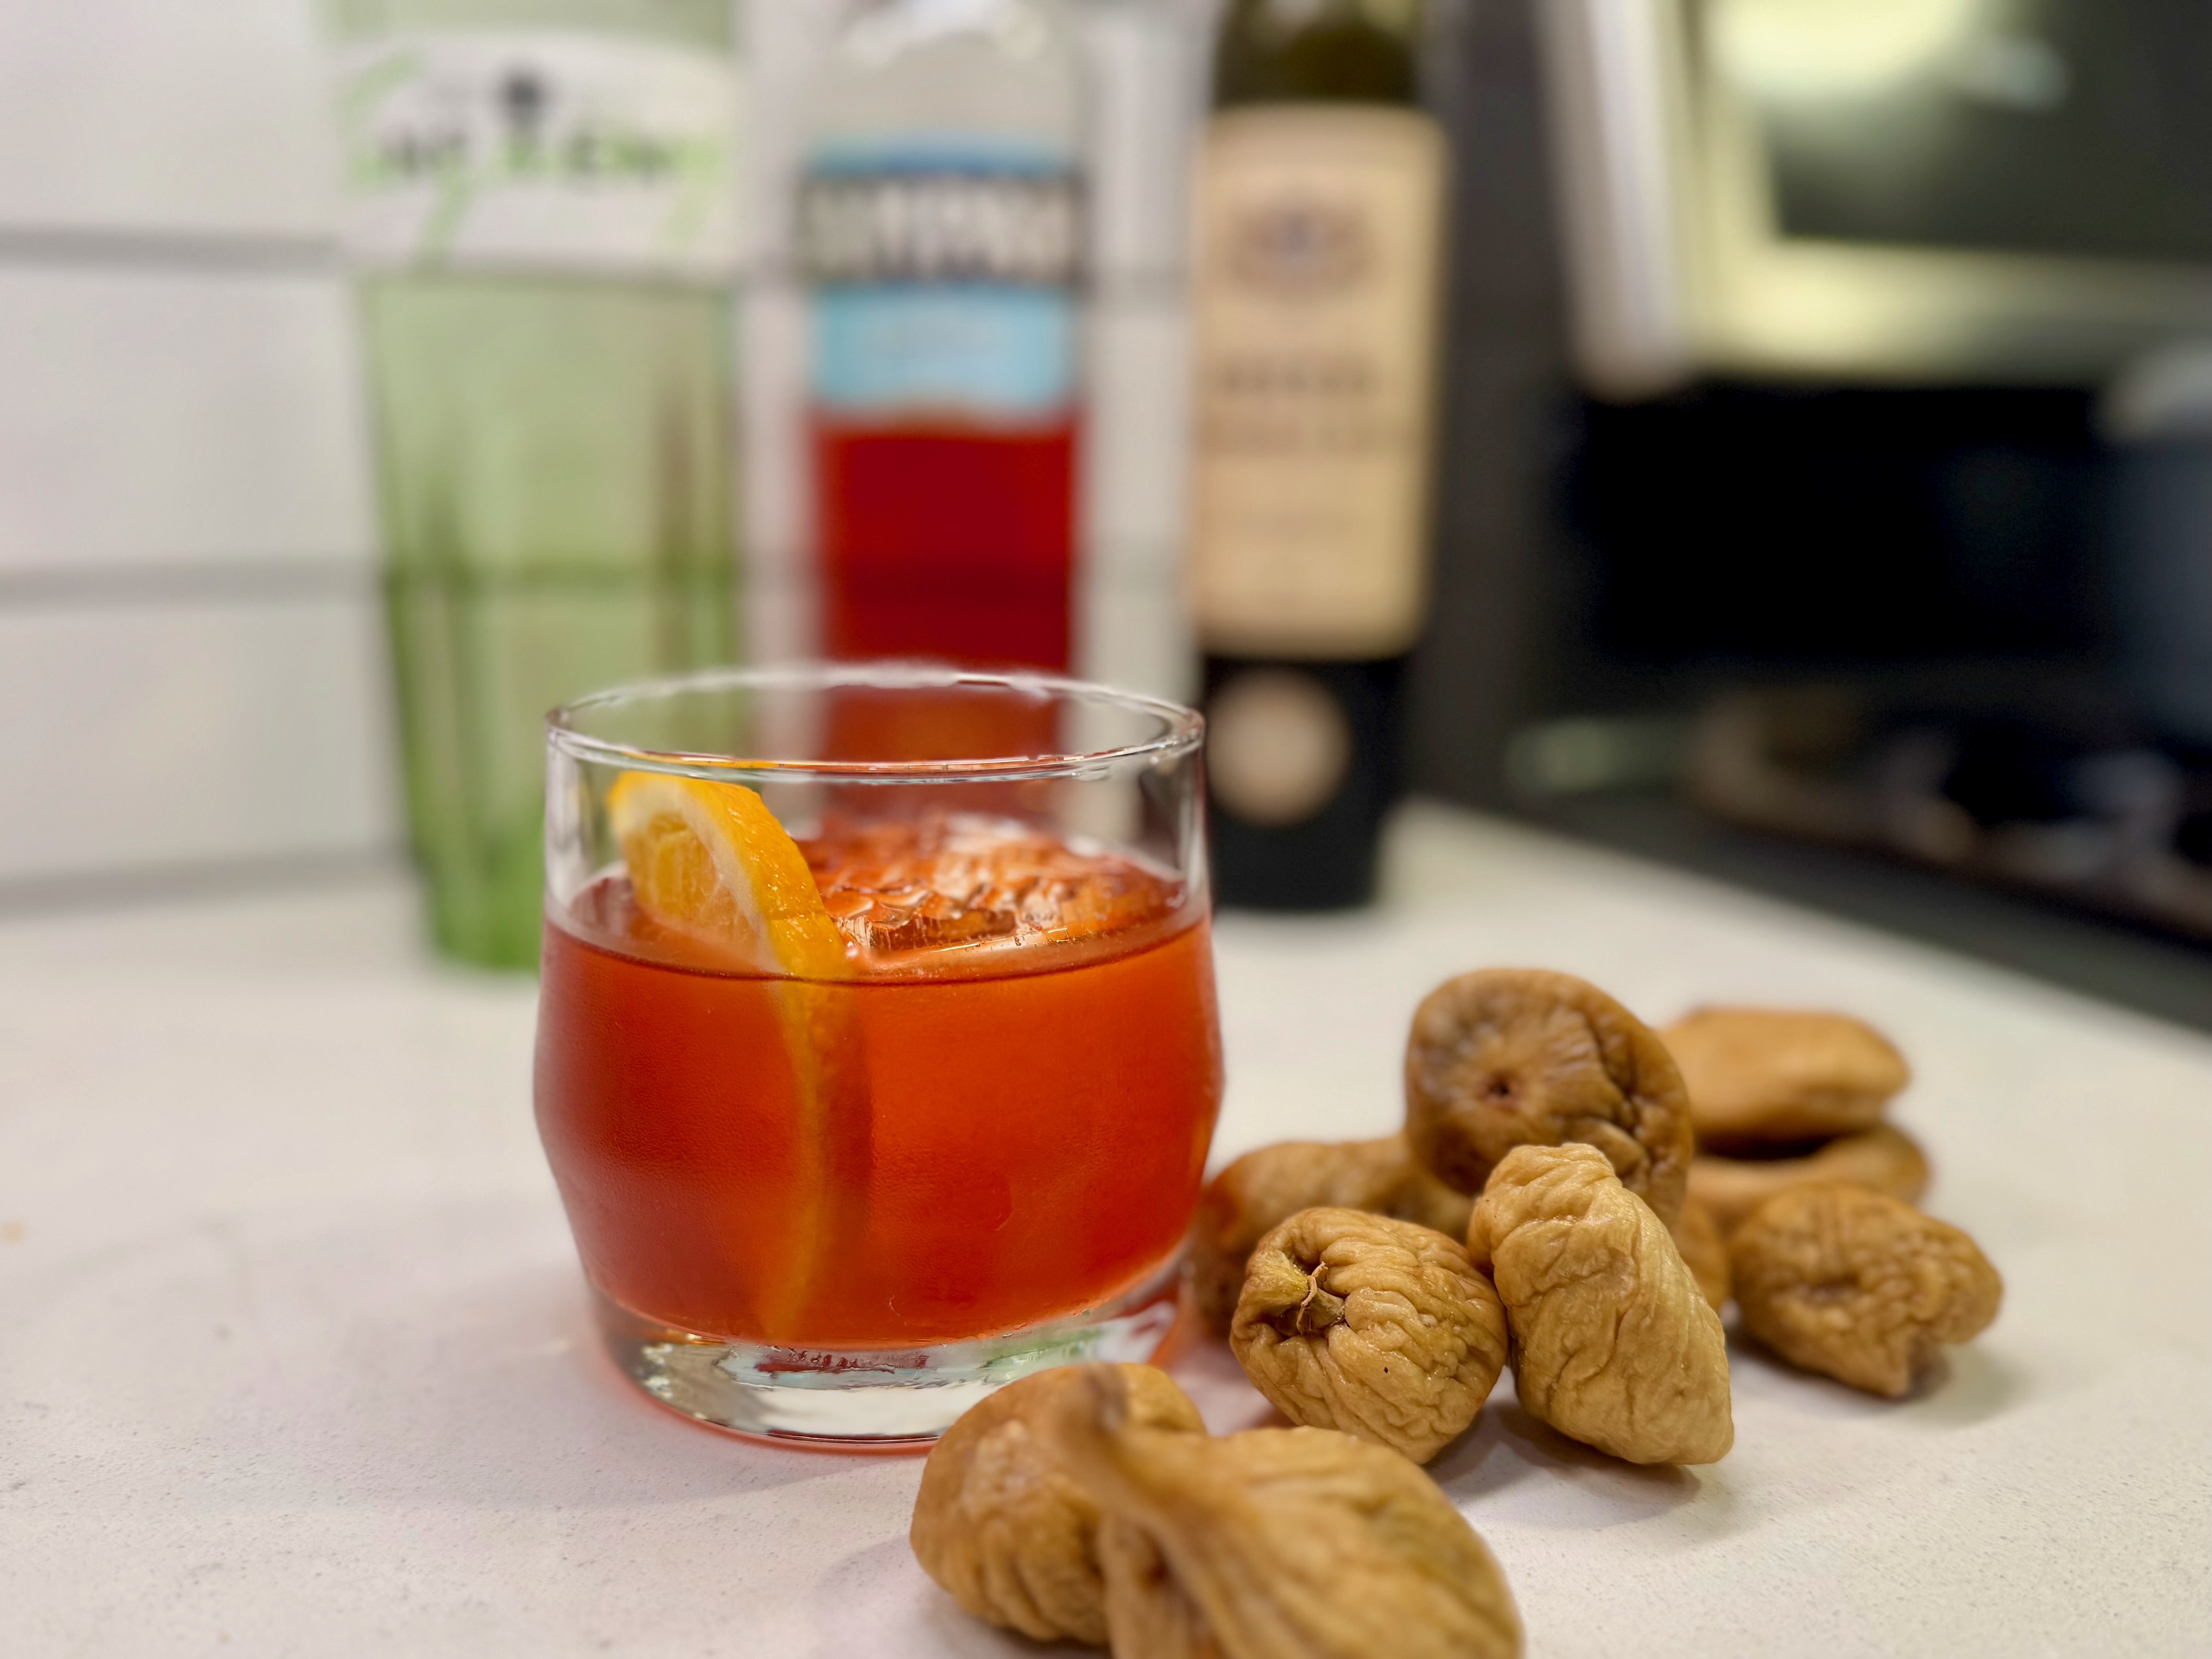
These flavors feel so right for fall, layered and complex, leaning more toward slow savoring than refreshment. This drink fits right in with cooler temperatures, gentle breezes and the first few leaves making their annual drift toward the ground. It makes me long for sweaters and cozy socks and conversation around our Solo stove. Negroni is delicious with cured meats, cheeses and olive trays, so this one gets high marks as a cocktail for casual entertaining.
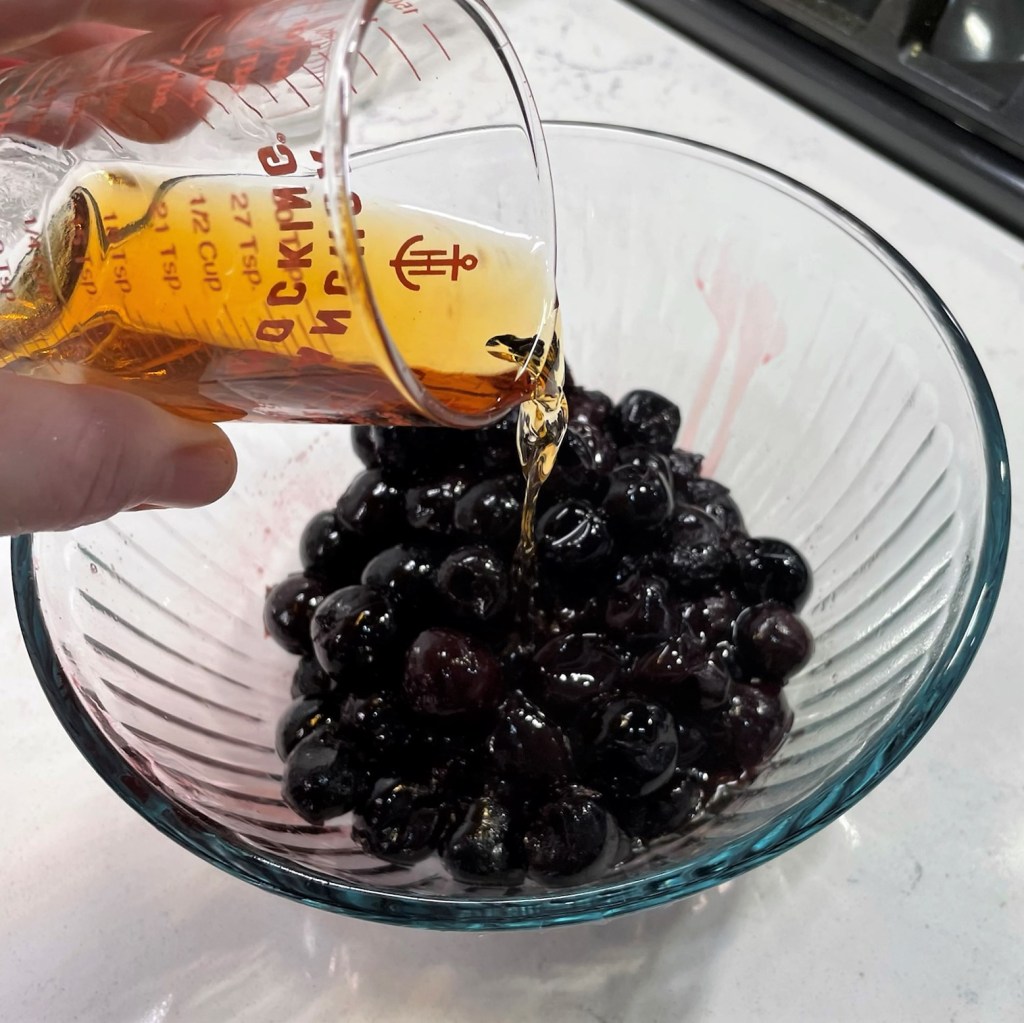
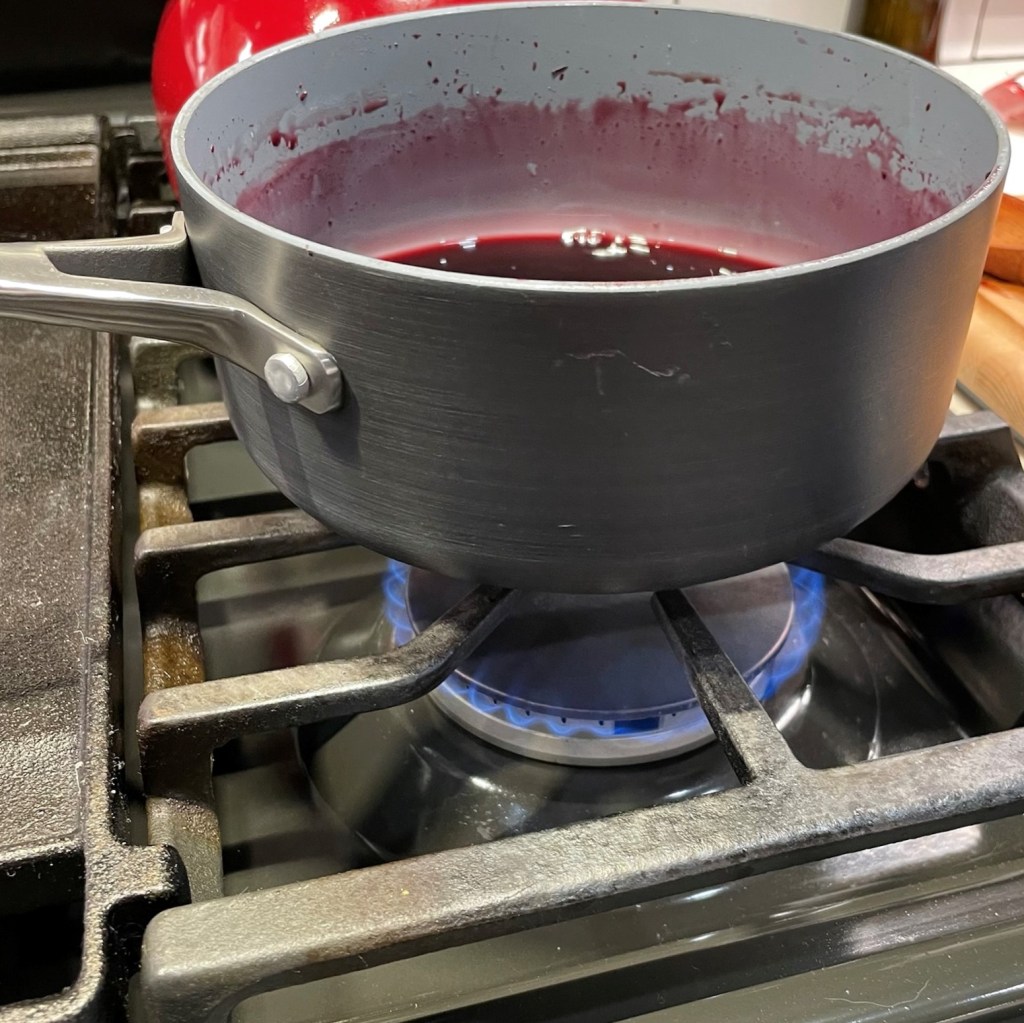
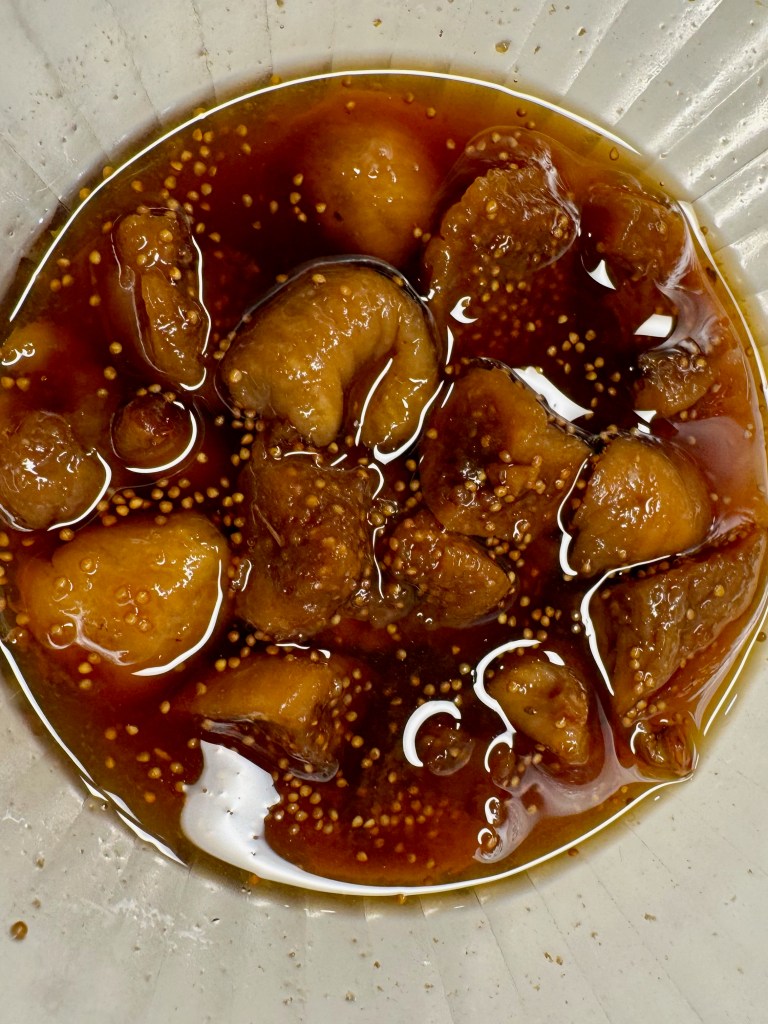
To maximize the fig flavor, I chose to infuse with dried figs rather than fresh. The drying process leaves a concentrated sweetness and intensity behind, and soaking the figs in sweet vermouth pulls that flavor into the spirit without watering it down.
Why infuse the vermouth?
My decision to infuse the vermouth rather than the gin or Campari was quite intentional. Gin is the highest proof spirit of Negroni and I didn’t want to mess with that. I also knew that some of the booze would soak into the figs that I would repurpose— most likely in a bread pudding— and I couldn’t wrap my mind around the thought of Campari-stained figs, so the vermouth won out by elimination. It also bears mentioning that I wanted to try the fig-infused vermouth in a Manhattan, too; alas, I used it all up in my Negronis, so I’ll have to make more. Had I realized how much the figs would soak up the vermouth, I’d have made a double batch! Let this be a lesson to you.
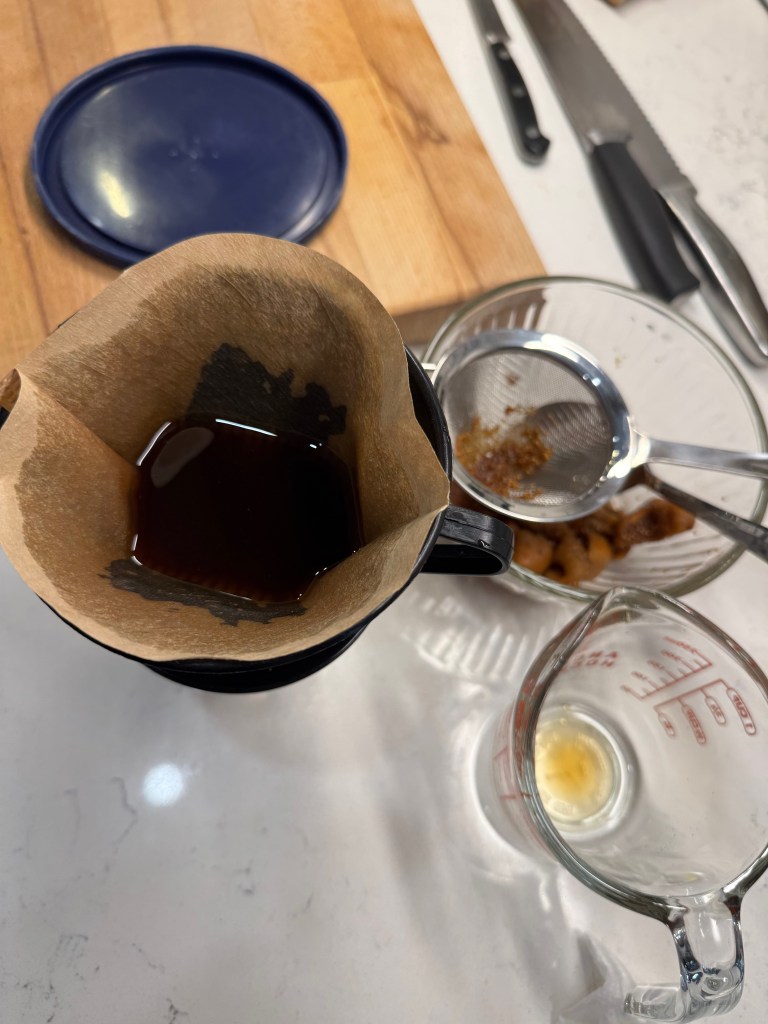
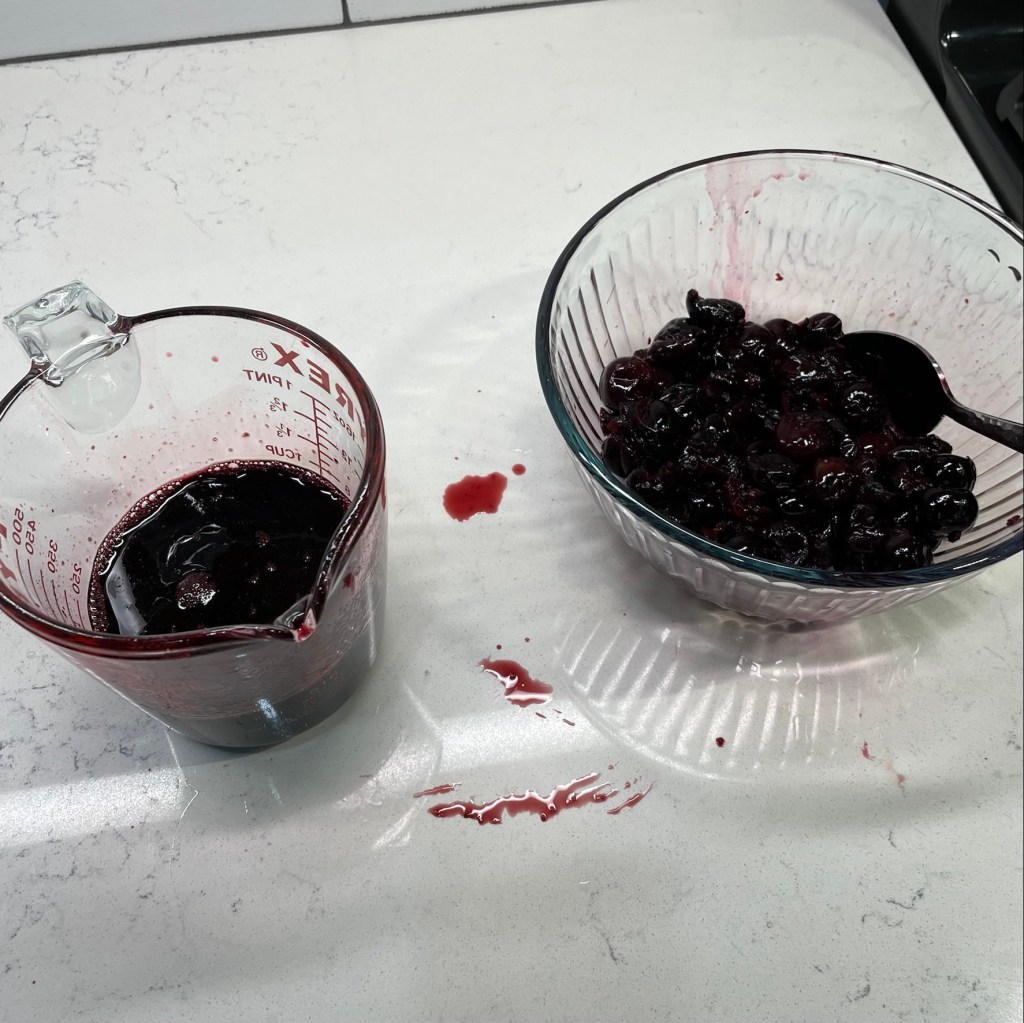
Straining through a coffee filter was near-impossible, so I shifted to a fine mesh strainer.
All things being equal
Negroni is one of the simplest cocktails to make because it is equal parts of only three ingredients, plus an orange slice. This means, no math! If you want a small drink, use 3/4 of an ounce of each— gin, Campari and sweet vermouth. For a longer sip, go for a full ounce of each. Living abroad where ounces aren’t a thing? Use whatever measure makes sense to you, and make it the same for all three ingredients. Simple is good.
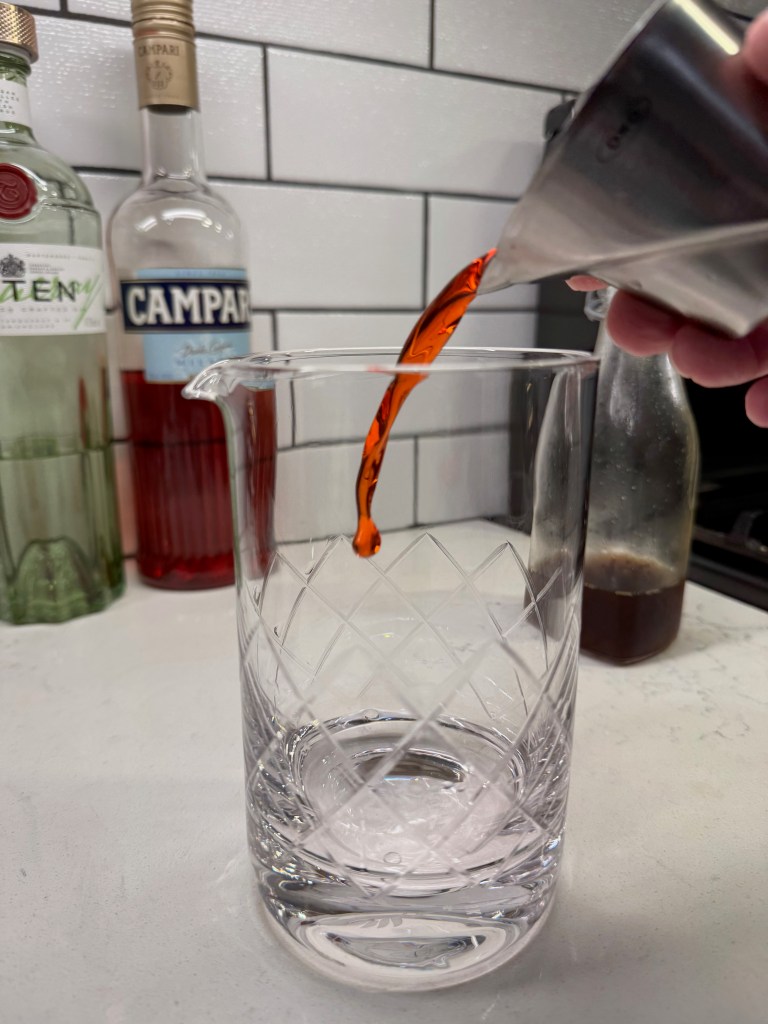
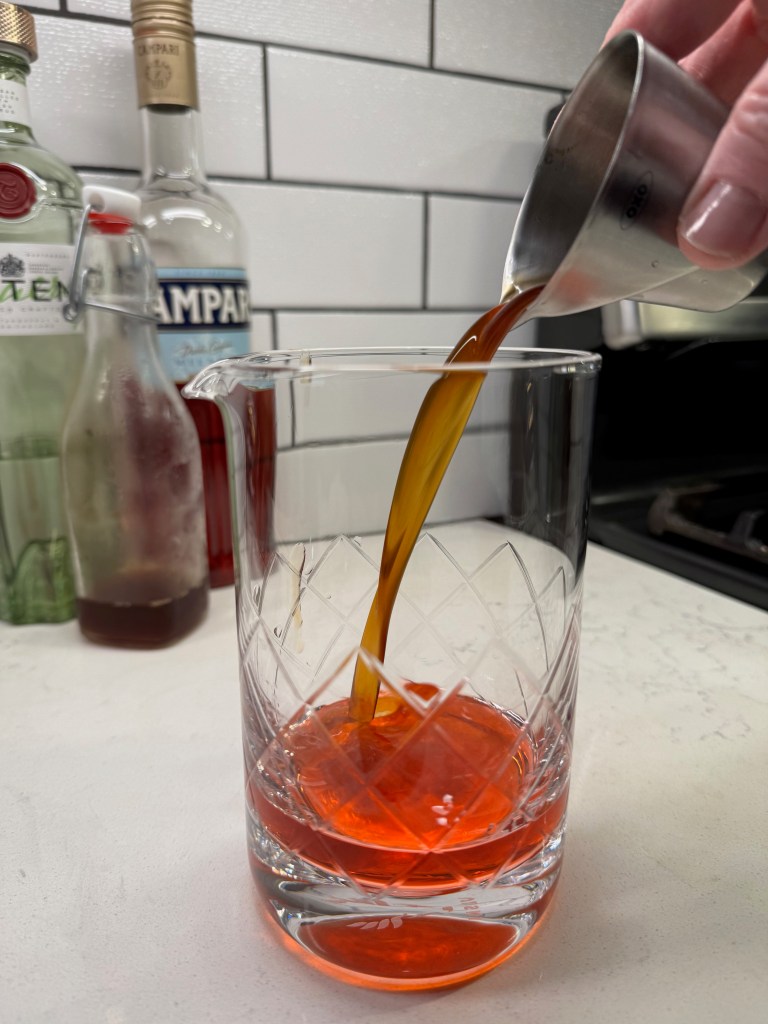

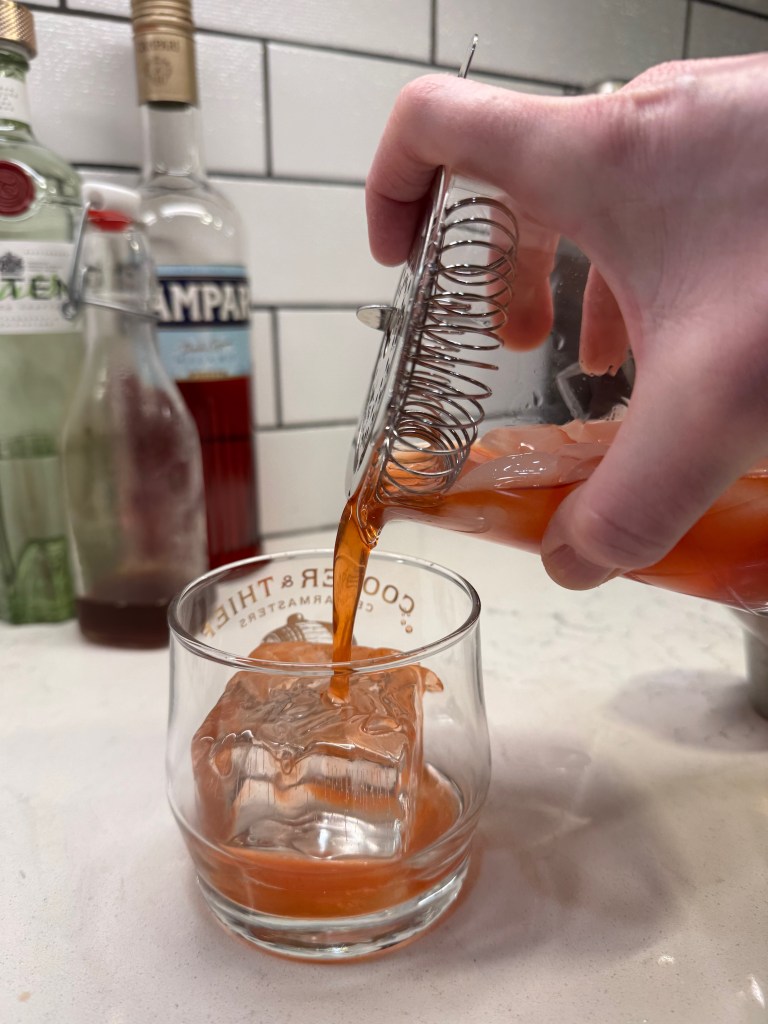
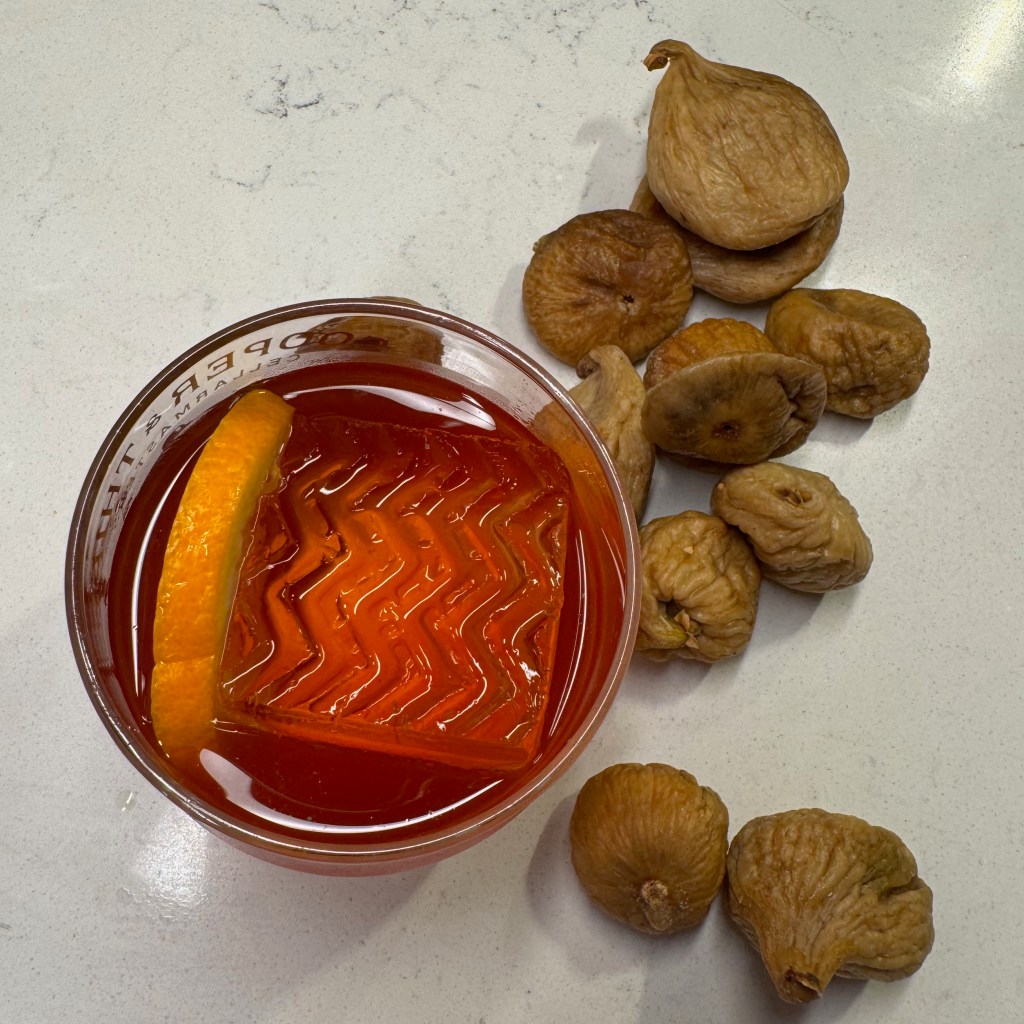
A classic Negroni is made directly in the glass, but I like a little dilution on mine to wake up the nuances of the booze. Plus, the dried figs have turned my vermouth into a thin syrup and I want to be sure it mixes well, so my ingredients went into a cocktail mixing glass with a large cupful of ice. You could use a shaker, I suppose, but don’t actually shake it; just pour it back and forth with ice a couple of times. Strain it over a giant ice cube and garnish with a juicy orange slice.

Would I make another round?
Absolutely! I found this cocktail to be a real charmer that has lingered in my mind long after the fig-infused vermouth ran dry. If you already like Negronis, you’ll love it. If you’re on the fence or you typically find Negronis to be harsh, I can confirm that the figs soften those bitter edges in a pleasant way. Fig also happens to pair very well with orange, so the classic orange garnish is right at home. You may notice that I also used Tanqueray 10 for this cocktail; it’s distilled with tons of citrus, and that’s working great here.
If you’re into Negronis, I hope you’ll seek out a bar or restaurant in your area that is supporting Negroni Week, going on through Saturday. If not, then encourage your favorite watering hole to participate next year, and at least take a moment to learn more about the Slow Food Movement, which benefits us all, cocktail or no cocktail.
Cheers!
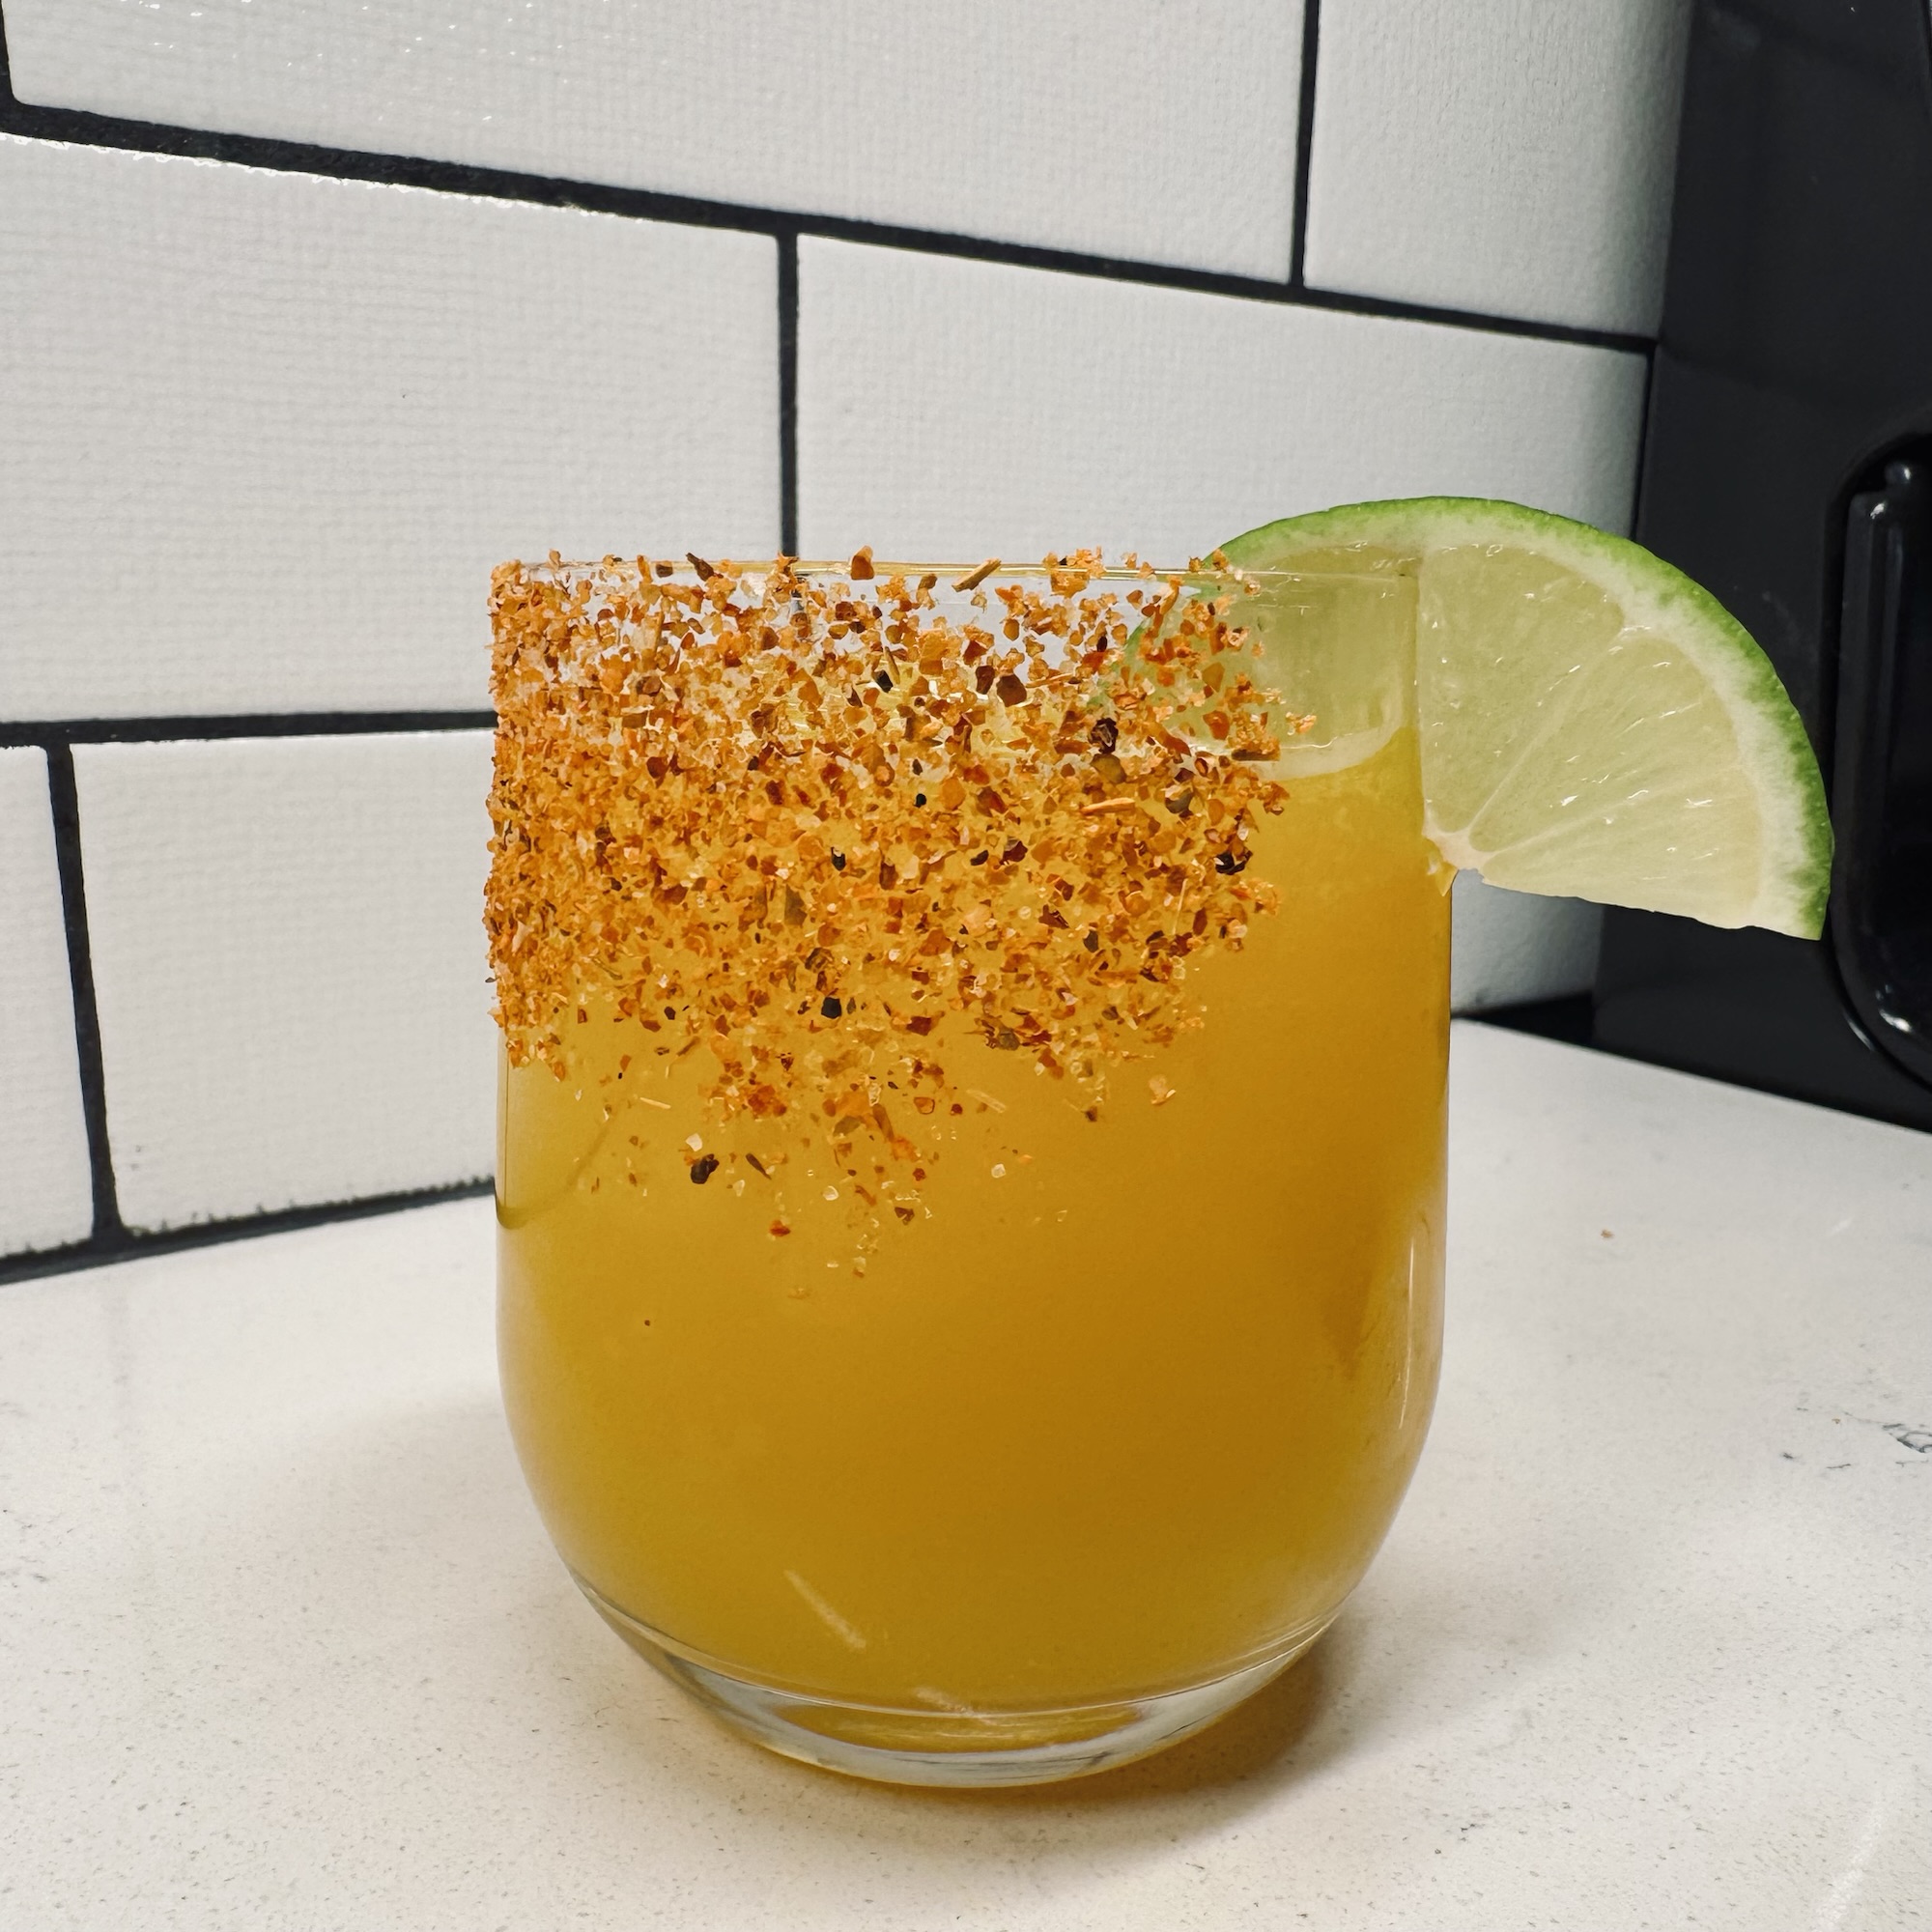
Figroni
Sweet, earthy figs lend their flavor to one of the most classic apertivo cocktails, making this a fun twist for Negroni Week.
Ingredients
- 1 oz. citrus-forward gin, such as Tanqueray Ten
- 1 oz. Campari
- 1 oz. fig-infused sweet vermouth (details below)
- Stir all together and garnish with an orange slice
Directions
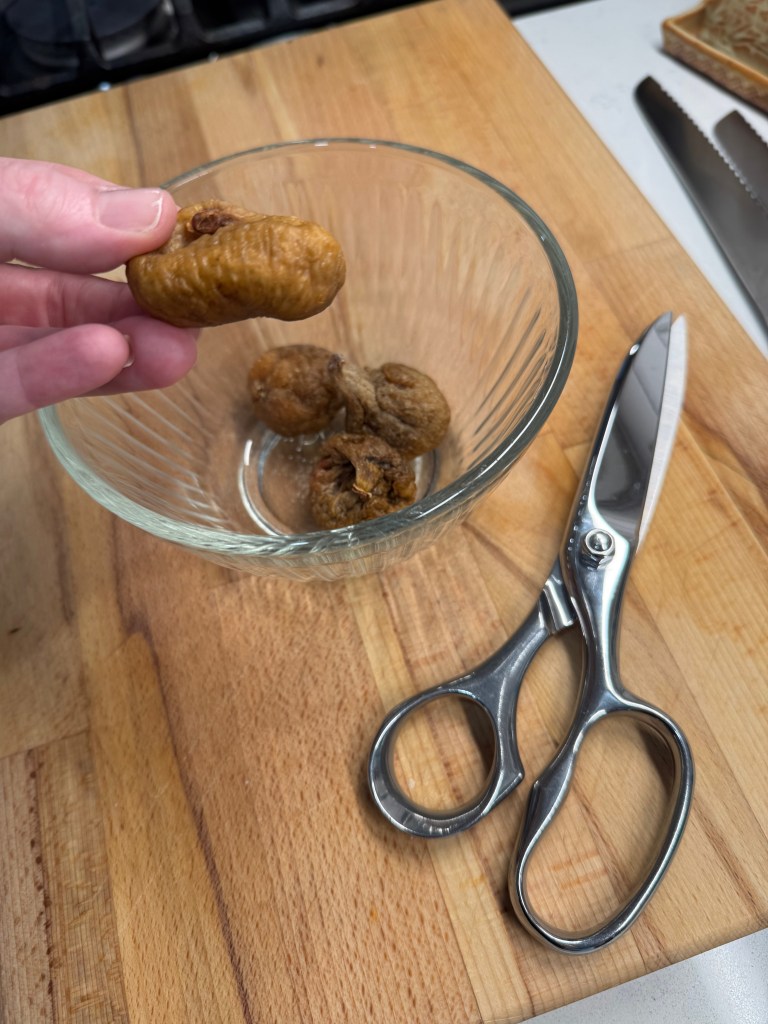
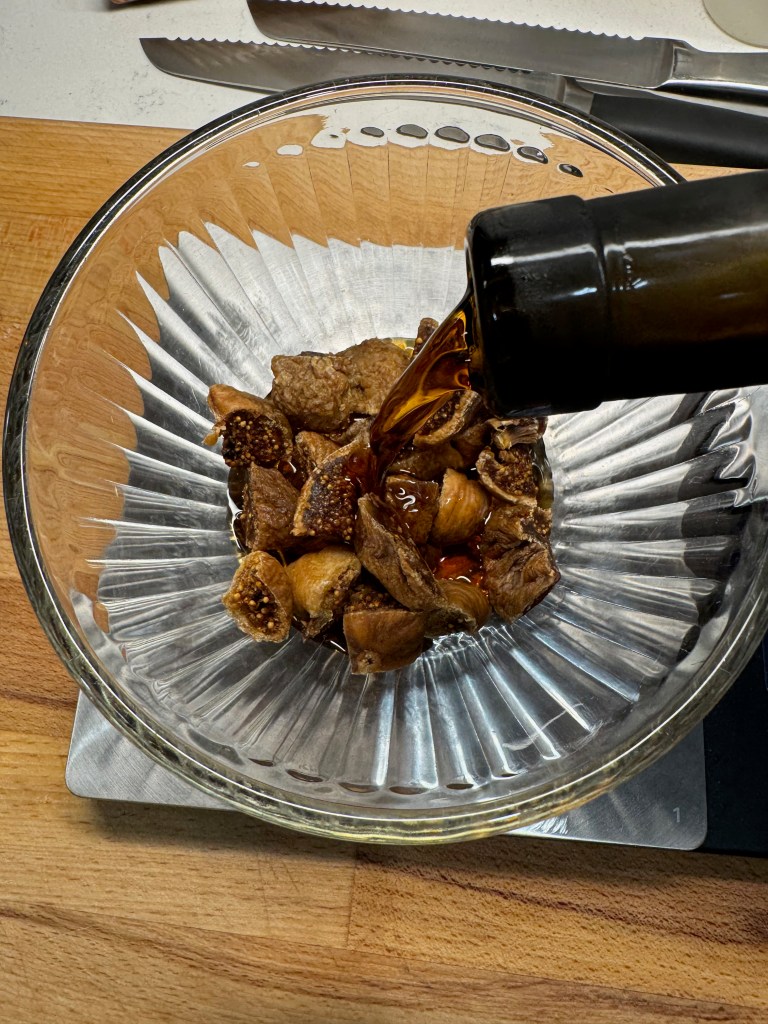
- Cut up about two cups worth of dried figs (mine were Smyrna figs, which are light in color) into a medium bowl, and pour enough sweet vermouth to fully cover them. This should be a little over one cup.
- Let them rest at room temperature a few hours or overnight before stirring and transferring to the refrigerator for 24 hours.
- Strain out the solids through a fine mesh strainer and transfer to a bottle. This will keep in the fridge for two weeks, and should make enough for at least four cocktails. Save the vermouth-soaked figs for another use, such as bread pudding or quick bread.