Ratatouille Shakshuka

How is it possible that the simplest combination of ripe-at-the-same-time ingredients turns out to be such a mouthwatering flavor explosion, no matter how you put it together?

Any way you plate it, this is a great combo!

I never get tired of rearranging ratatouille—eggplant, zucchini, red bell pepper, onions and tomatoes—and this time, I married the classic Provencal stew with a classic Jewish breakfast dish, shakshuka.

The first time I heard of shakshuka was during a pre-wedding meeting with Rabbi Mark, who formerly led Temple Emanuel in Winston-Salem, where my then-fiancé, Les, is a member. When our ceremony-planning conversation took a detour toward food and cooking (as literally every conversation with me eventually does), Mark asked if I’d ever made shakshuka, the Middle Eastern dish that is a breakfast staple in many Jewish households. I was stumped because I had never even heard of this dish, let alone made it. But that changed quickly, and it has become an occasional favorite at our house.

Shakshuka is a humble and hearty, tomato-based skillet meal, and a great way to use up whatever other vegetables you have on hand, with eggs simmered right into the sauce. It is very similar to a dish the Italians call “eggs in purgatory.” I especially appreciate how simple it is to pull together when I have had a busy week with little time to plan a menu. Up until now, I have made it only with the spicy flavors that are traditional to the northern African region, where shakshuka originated—cumin, paprika, hot pepper, garlic and oregano.

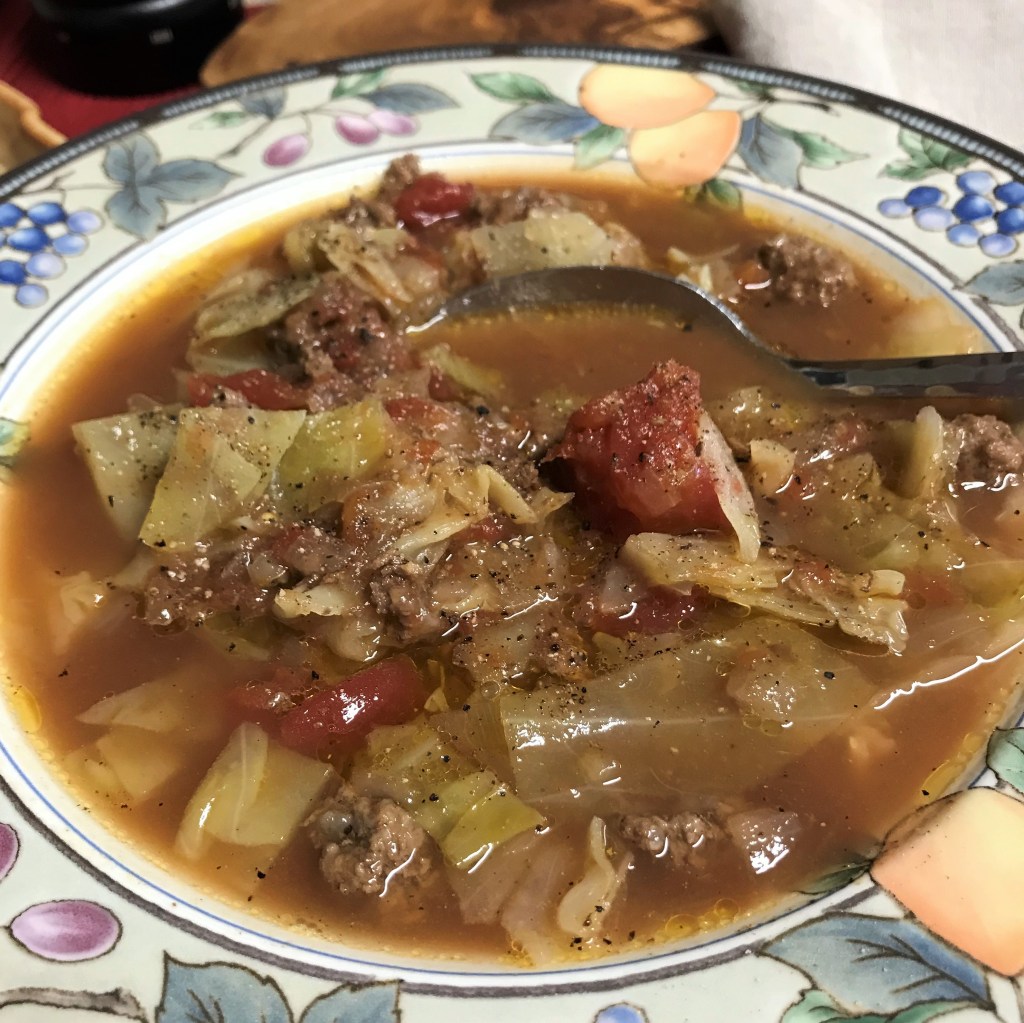
But this time, I took the concept of shakshuka northward across the Mediterranean Sea, into the south of France, using Herbs de Provence alongside all the beloved vegetables of ratatouille. The result, as you can see, was awesome!

Served with a light sprinkle of Parm-Romano blend cheese at the table.

There was so much nourishing comfort in the stewed vegetables, which simmered long enough to become soft and melded, and the delicate herbs were just right. I’m already craving it again!

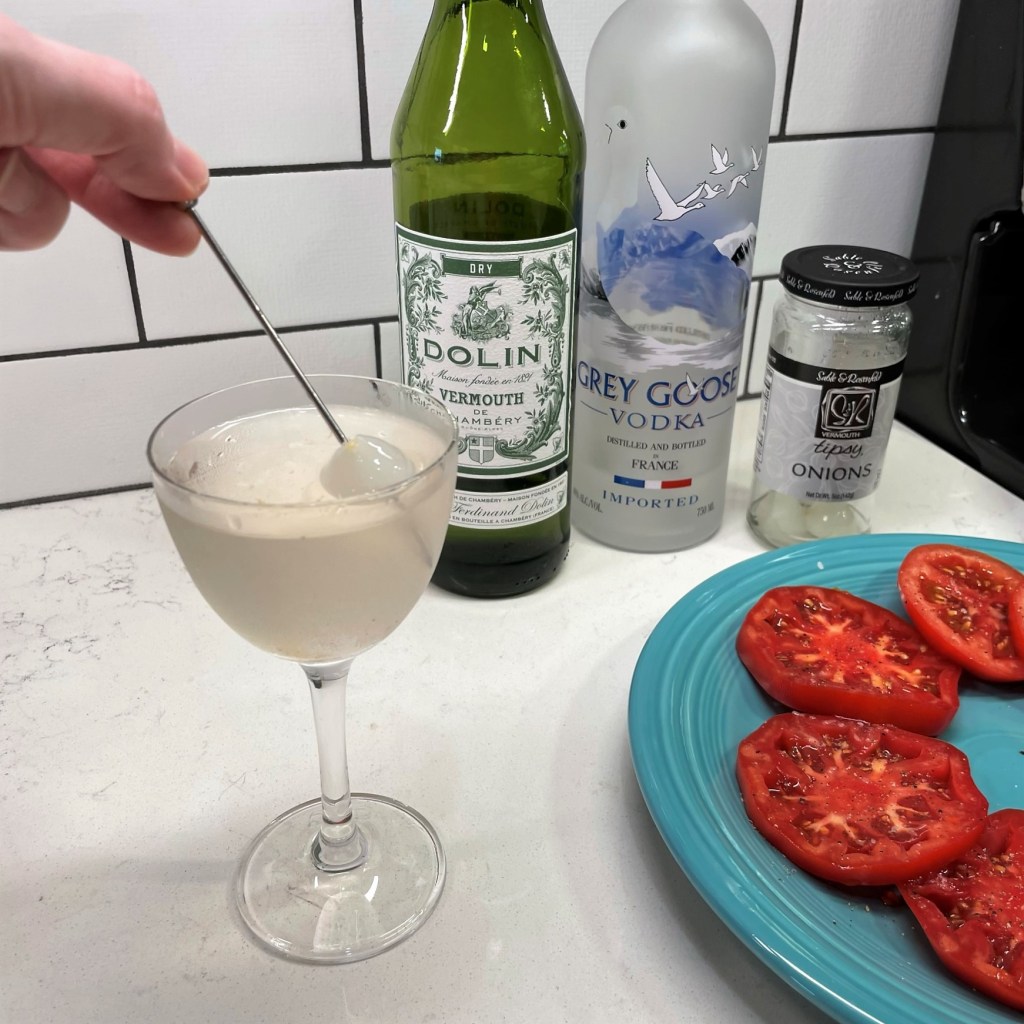
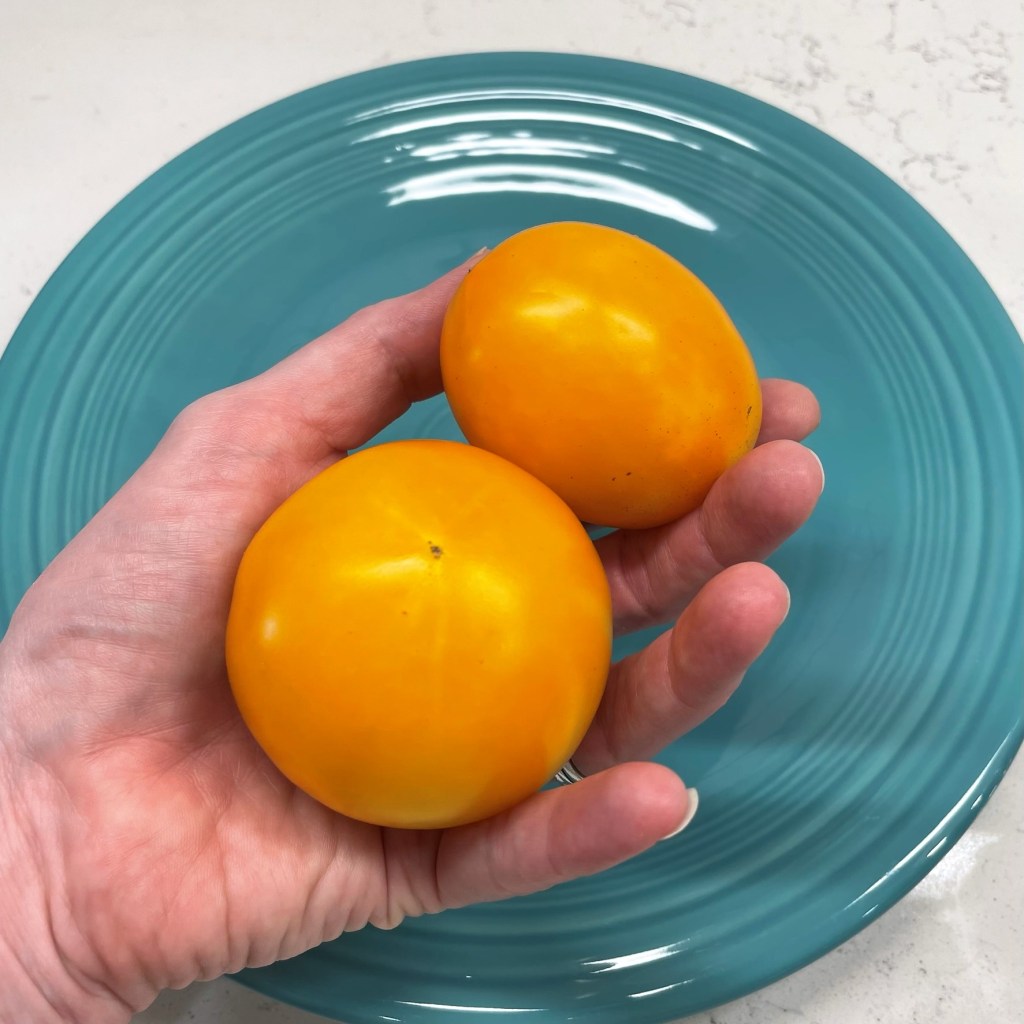
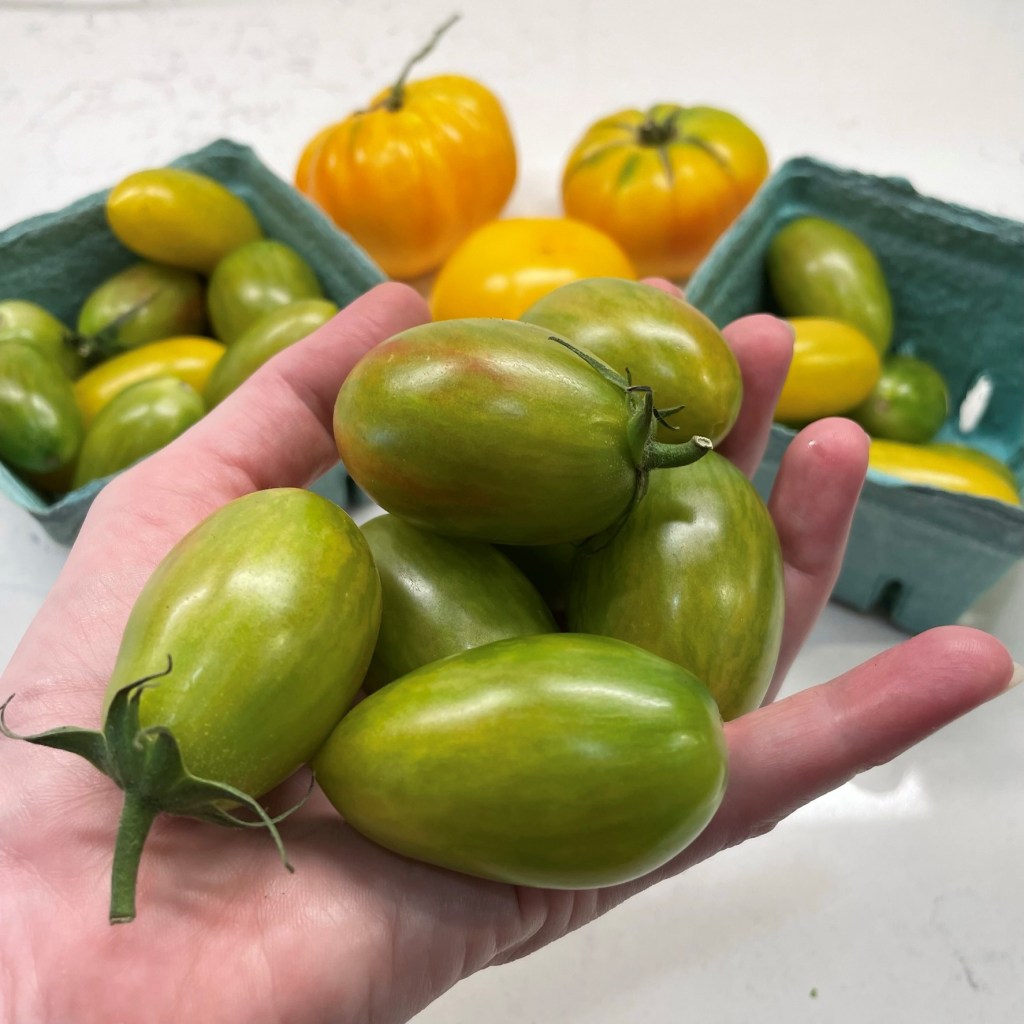
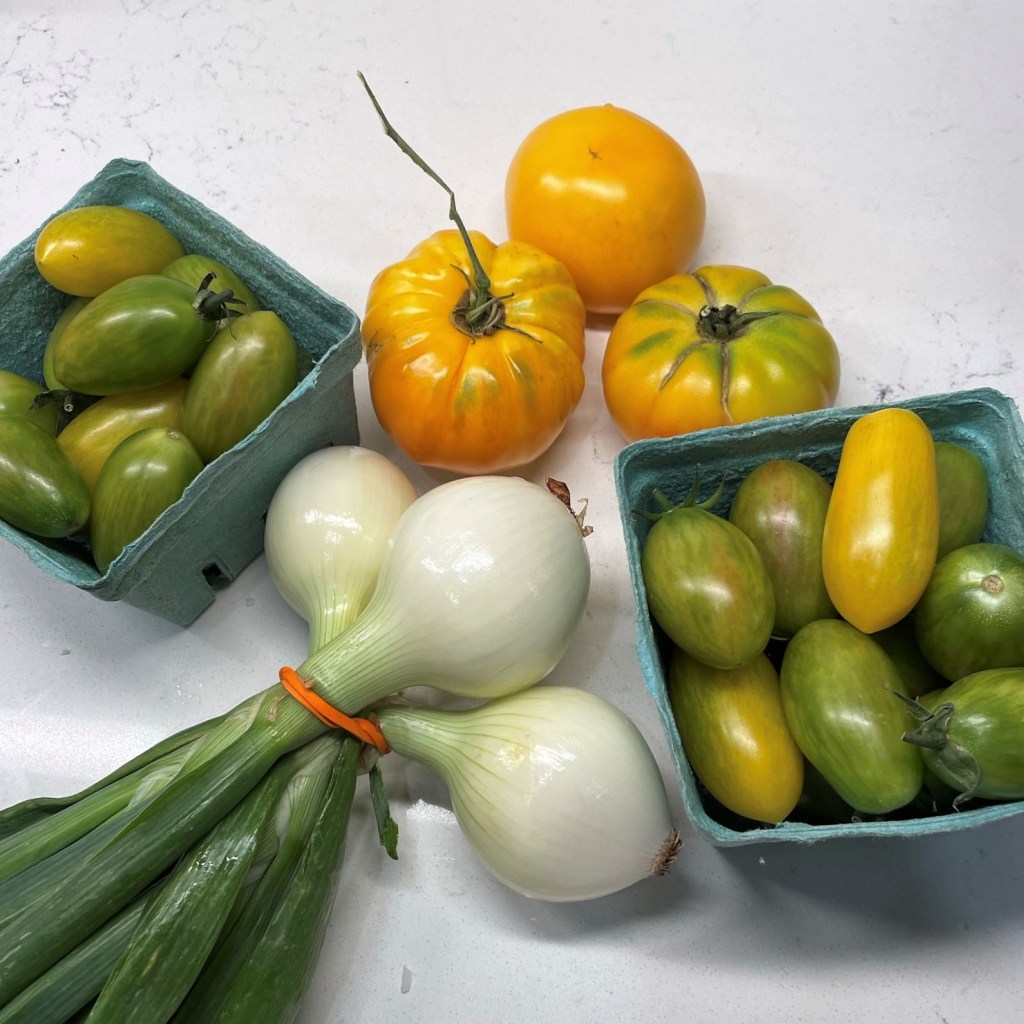
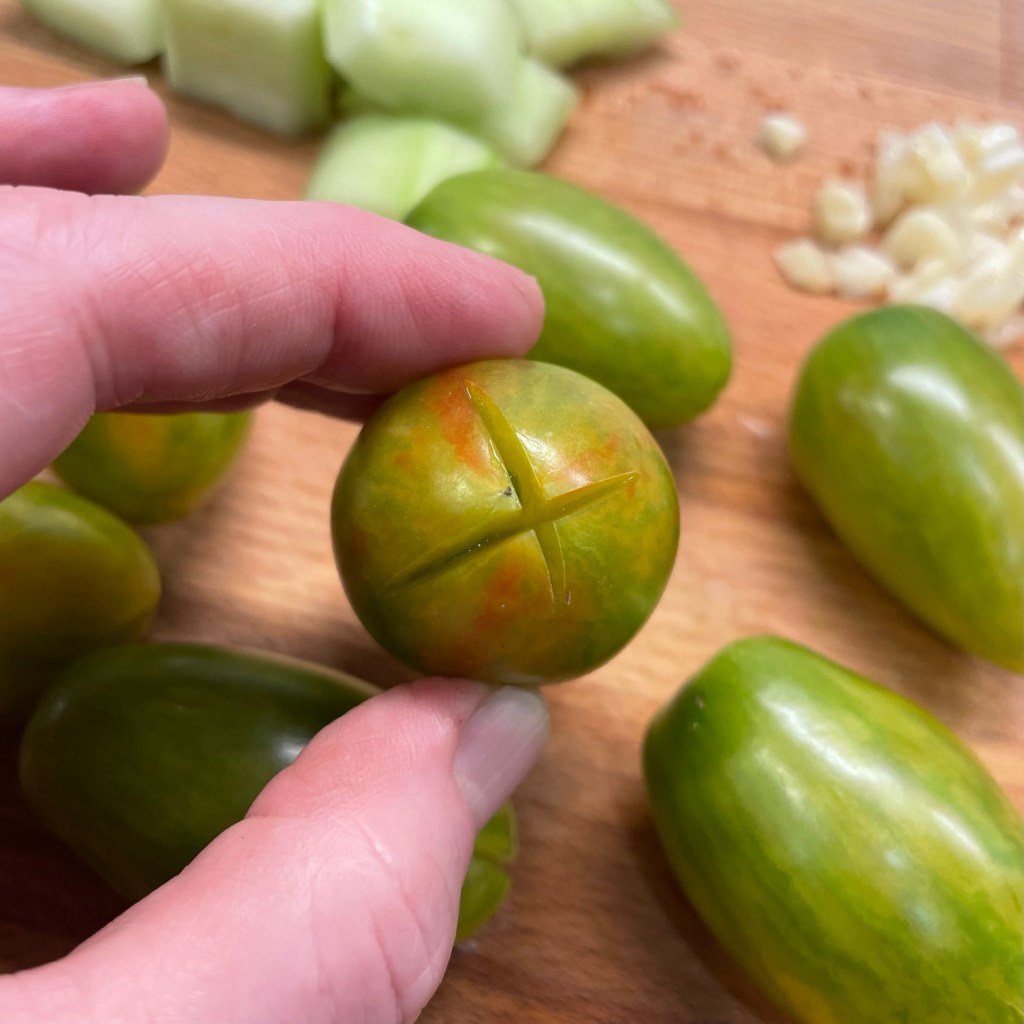
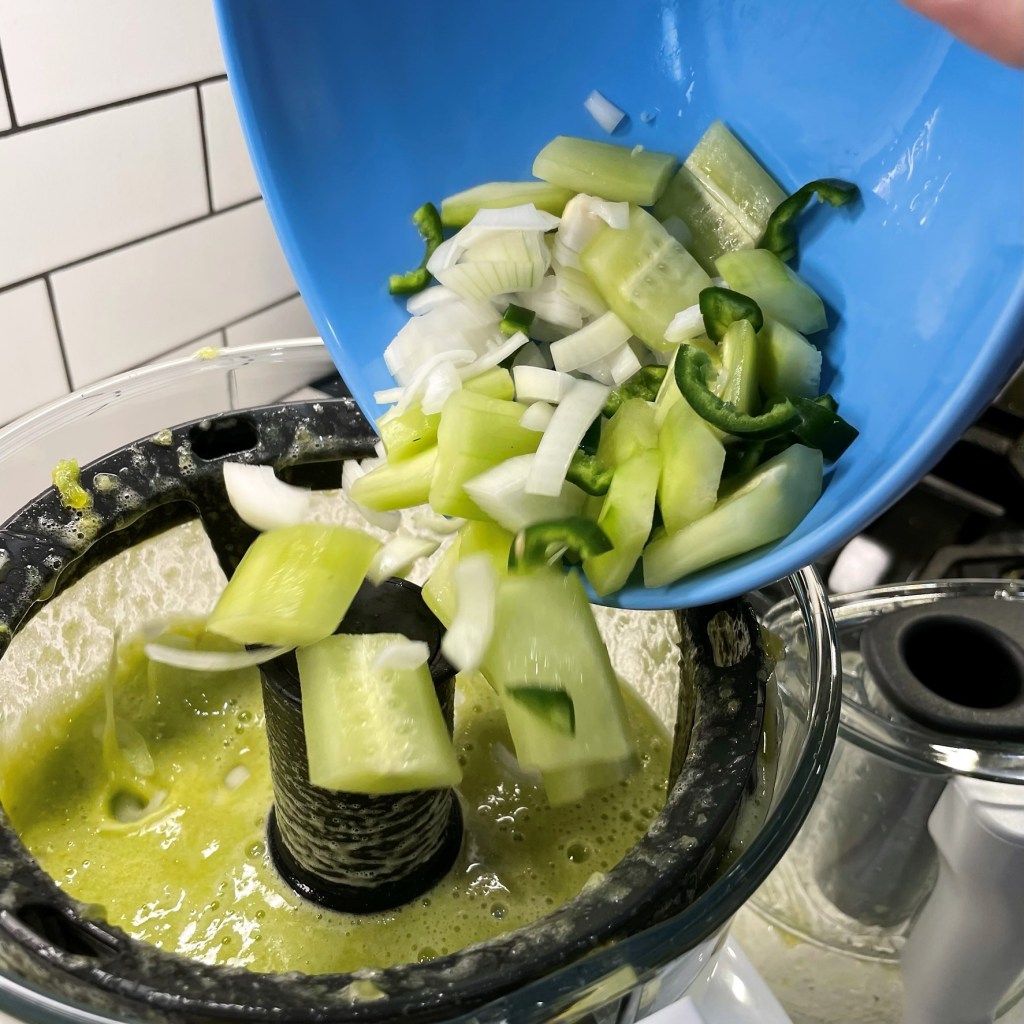
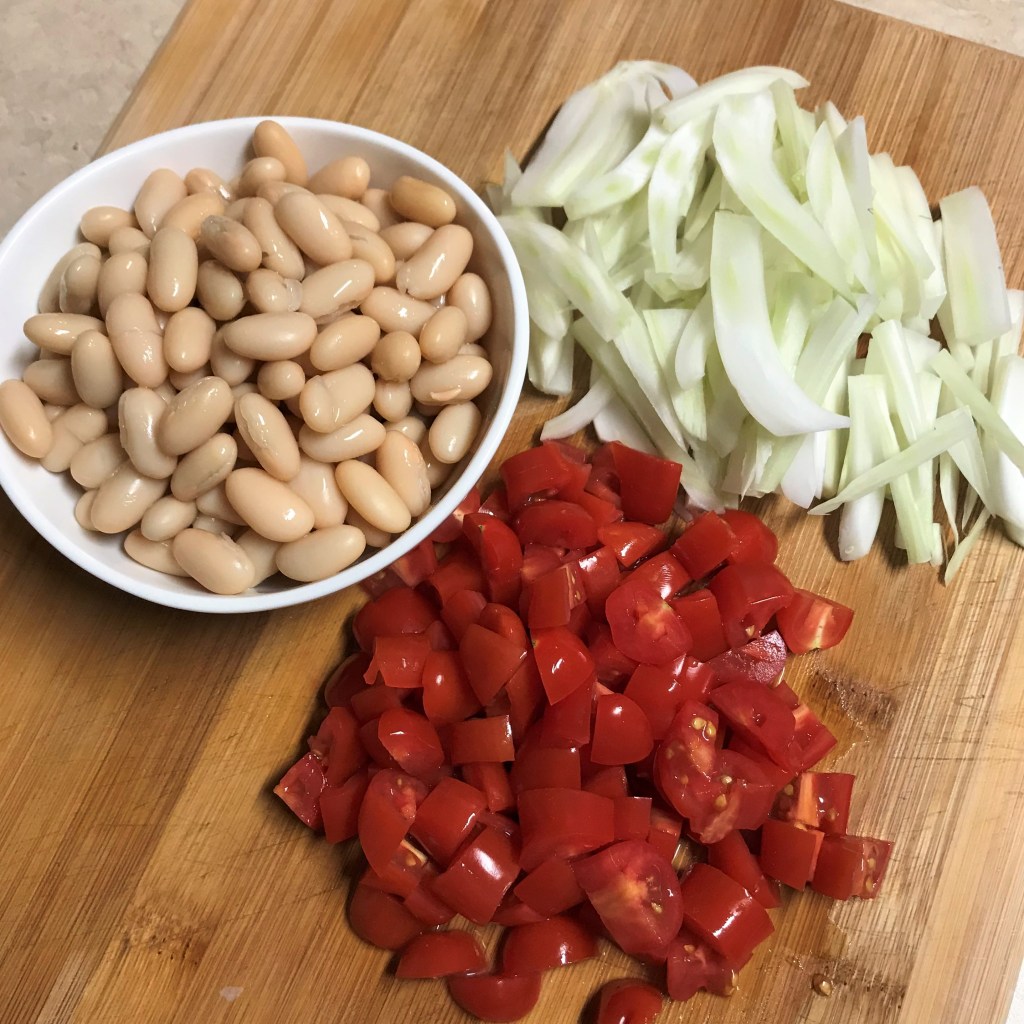
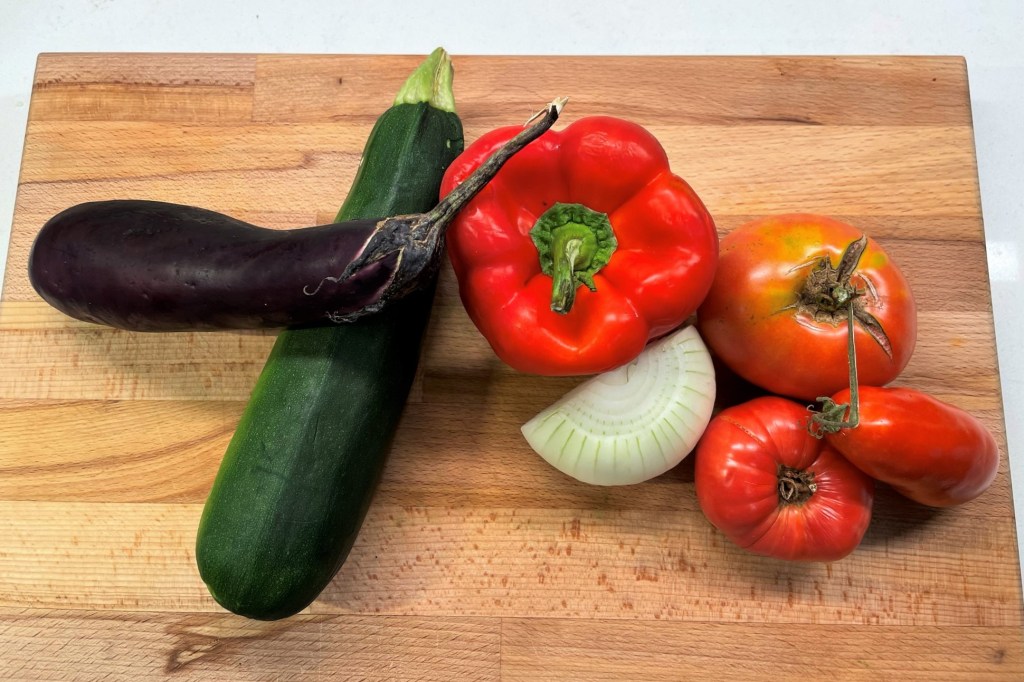
As with most recipes, it’s helpful to have all your ingredients chopped and ready before you begin. For any stew, I like to cut up the vegetables into roughly similar size. This ensures more even cooking, and also makes it possible to get a little bit of everything in each delicious bite. I used a large zucchini, a large “millionaire” eggplant (the slender, Japanese variety), half of a large onion, half of a huge red bell pepper and three fresh, red tomatoes from my garden. In addition to the fresh ingredients, you’ll need a 15 oz. can of tomato sauce, a splash of dry white wine (I used dry French vermouth), a pinch or two of Herbs de Provence, and up to six eggs.

We’re going to need a bigger pot!

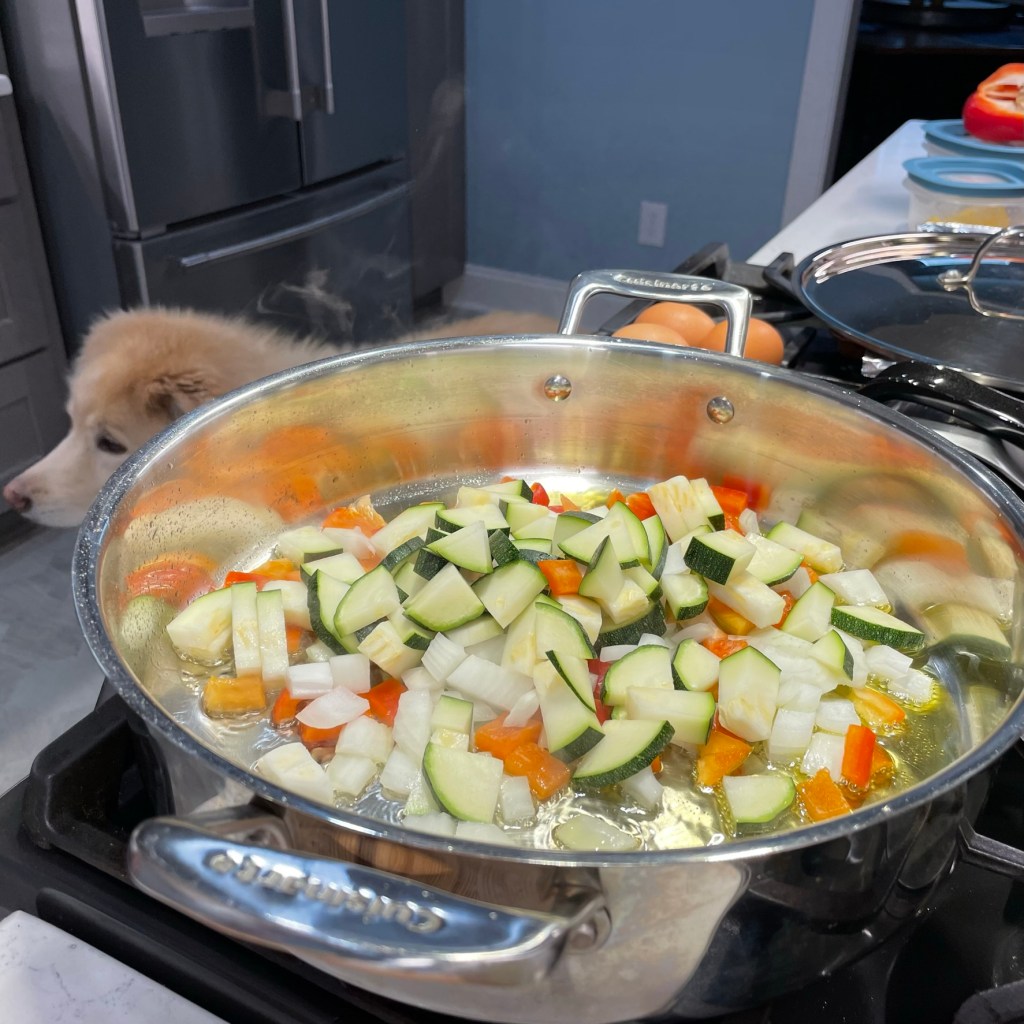
That’s a lot of veggies! I made this version of shakshuka in a larger pot than usual because I knew that tossing all of these fresh vegetables in my go-to cast iron would be a serious challenge, and I wanted to avoid making a big mess. The ratatouille also needs to be stirred as it cooks, so be sure your cooking vessel can handle the volume of ingredients as well as the mixing requirement. Choose a pot that has a snug-fitting lid, as this will be important for simmering.

The width of the pot is what matters, so you’ll have plenty of room to place the eggs.

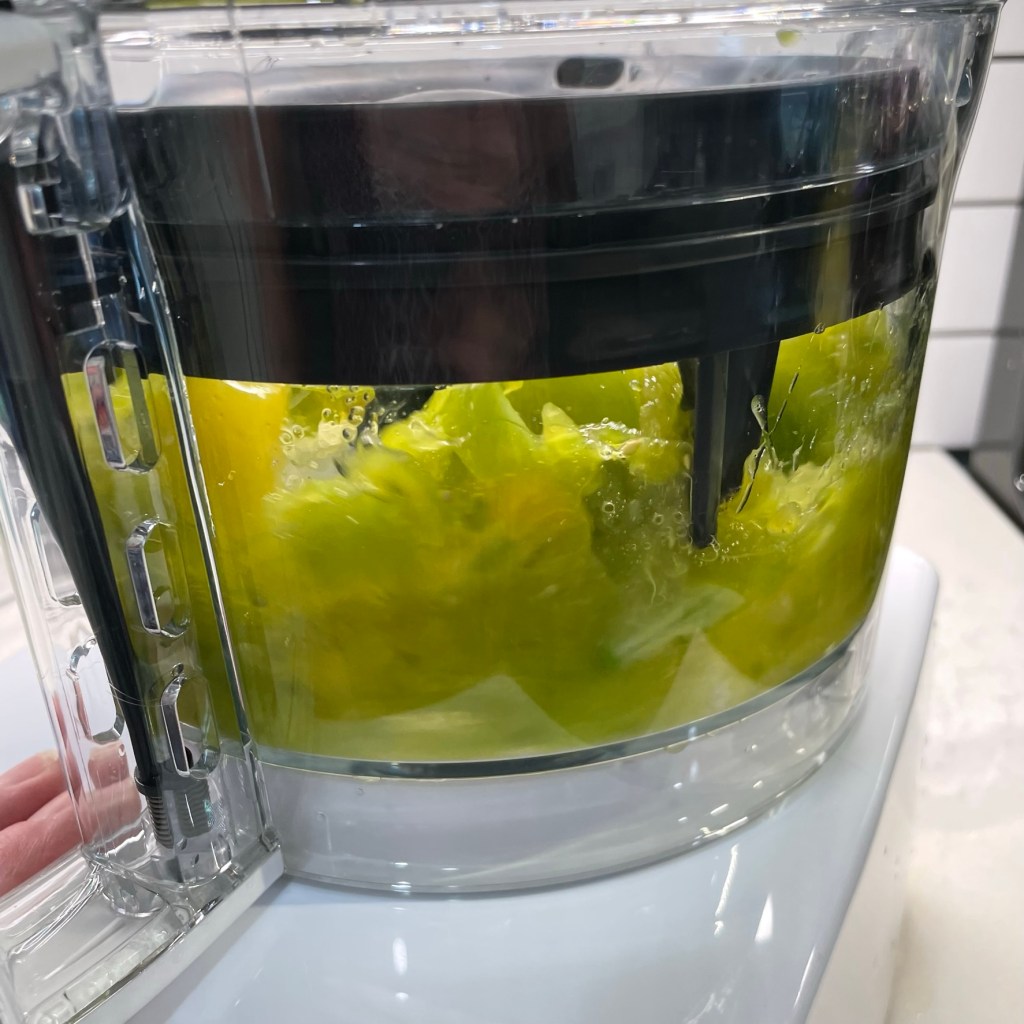
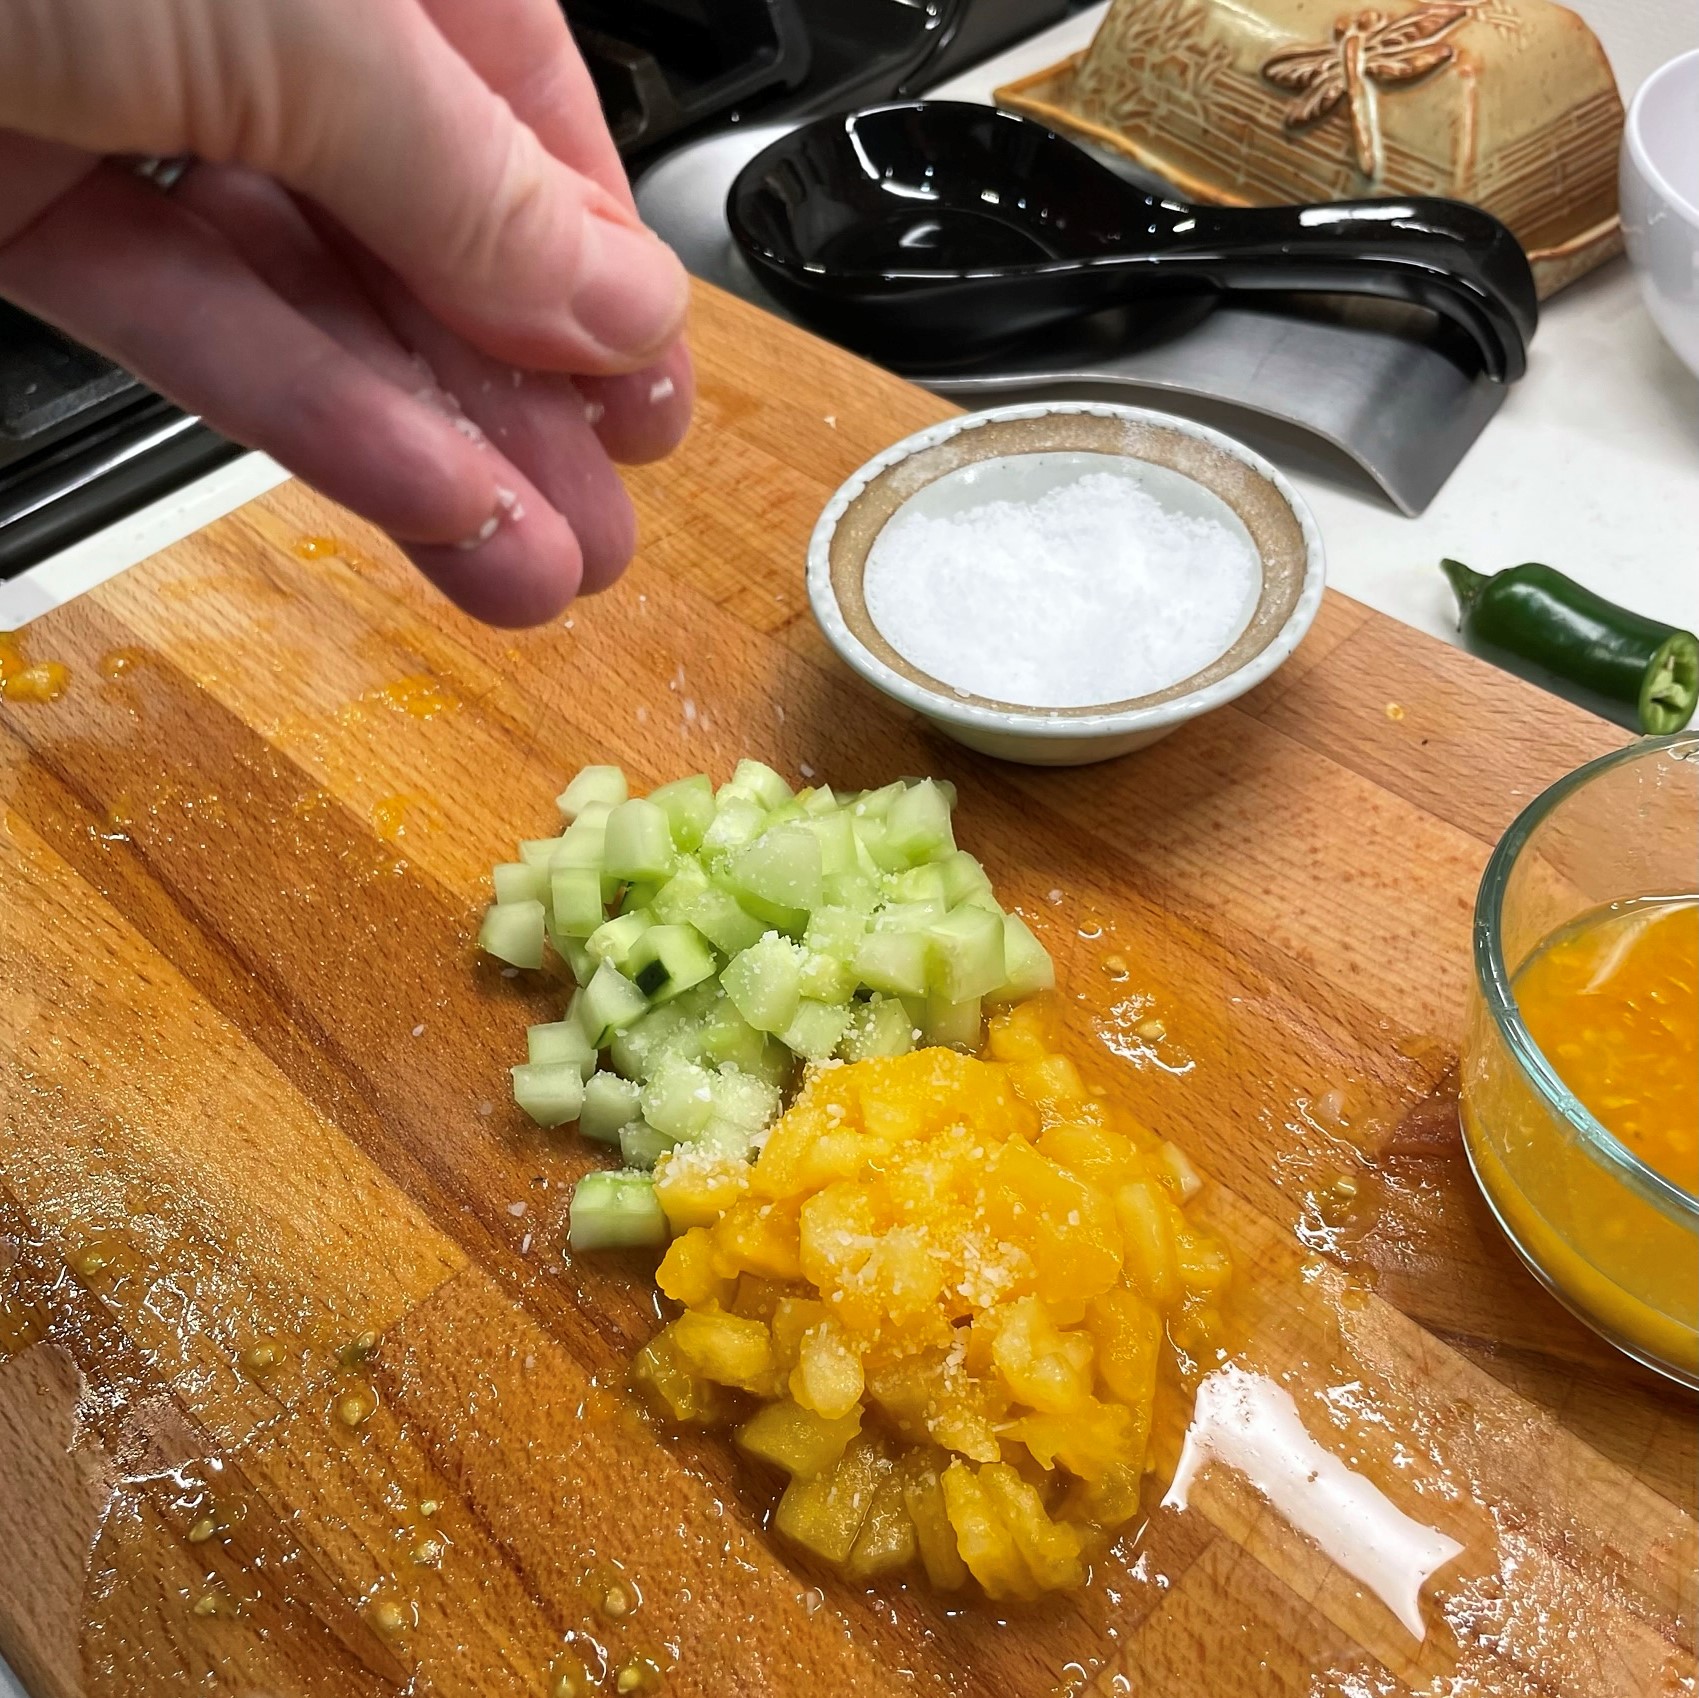
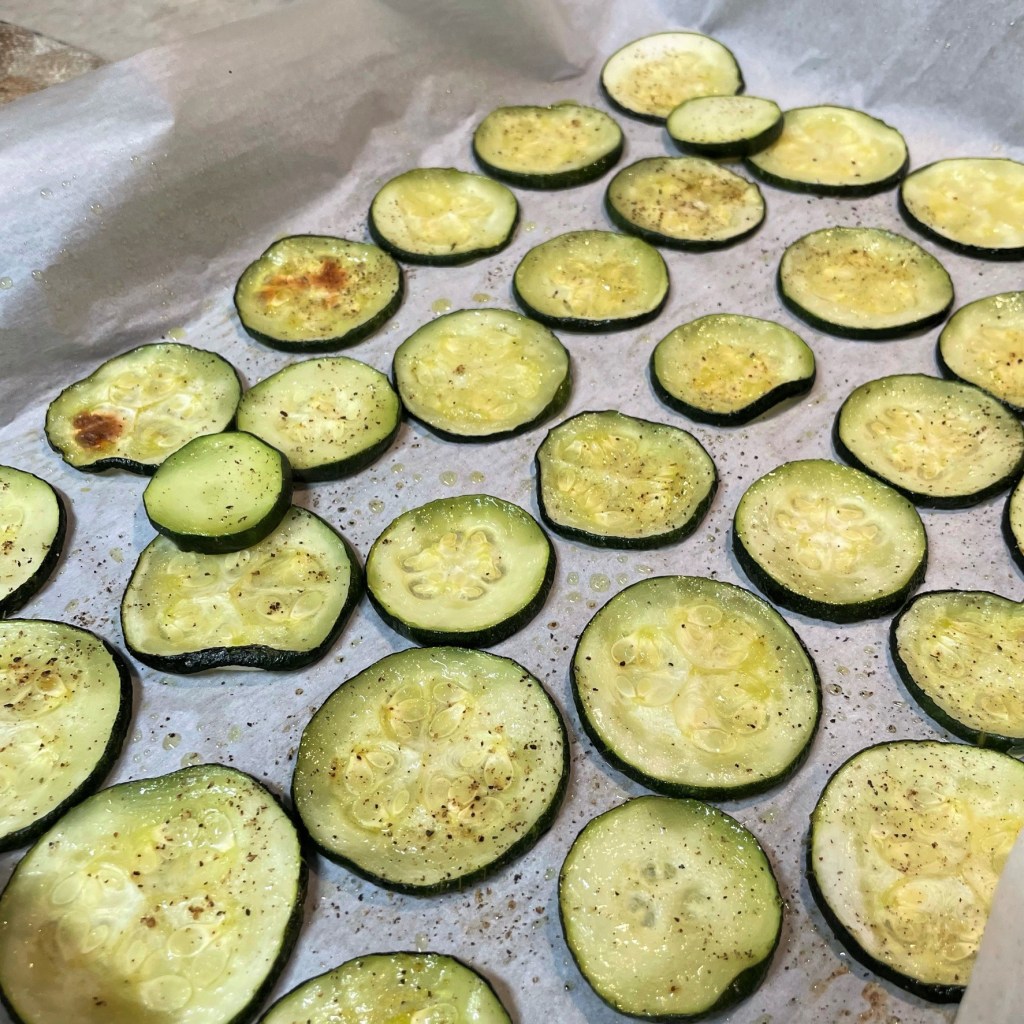
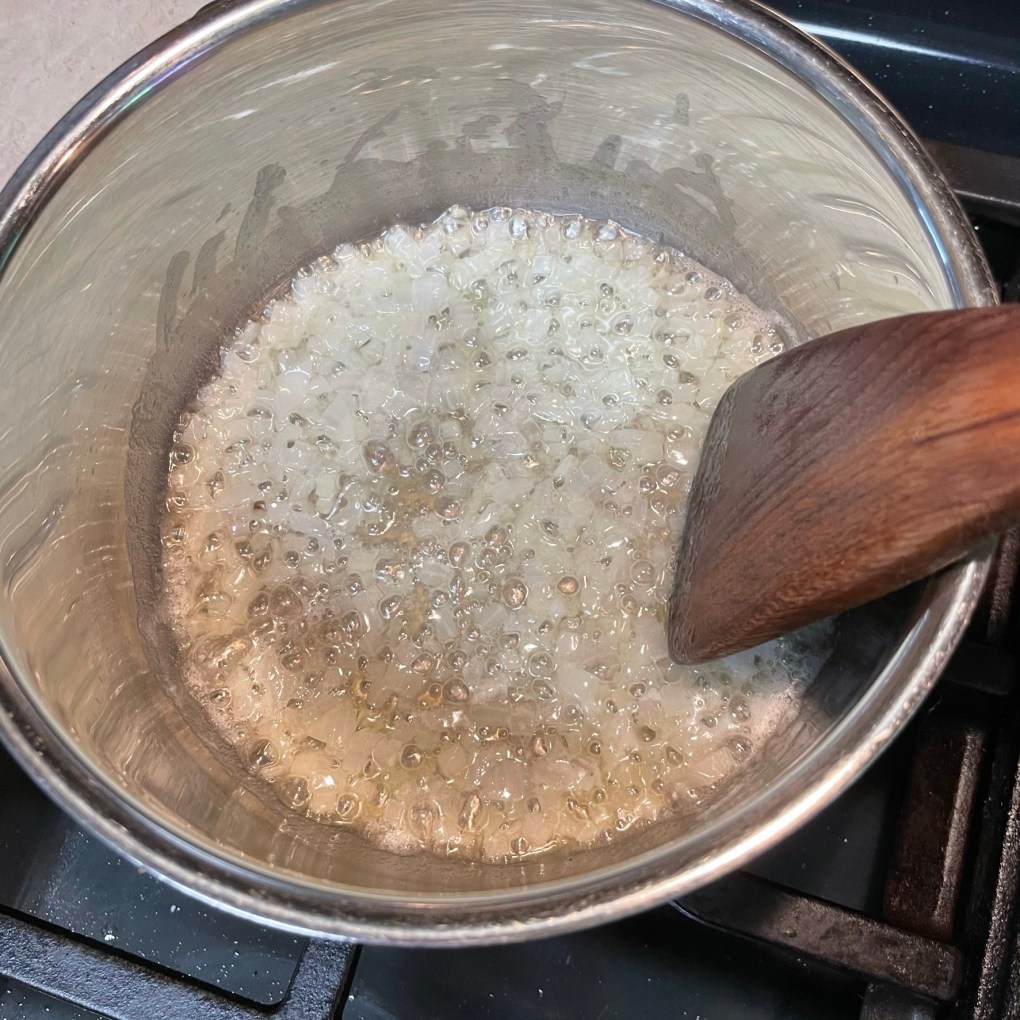
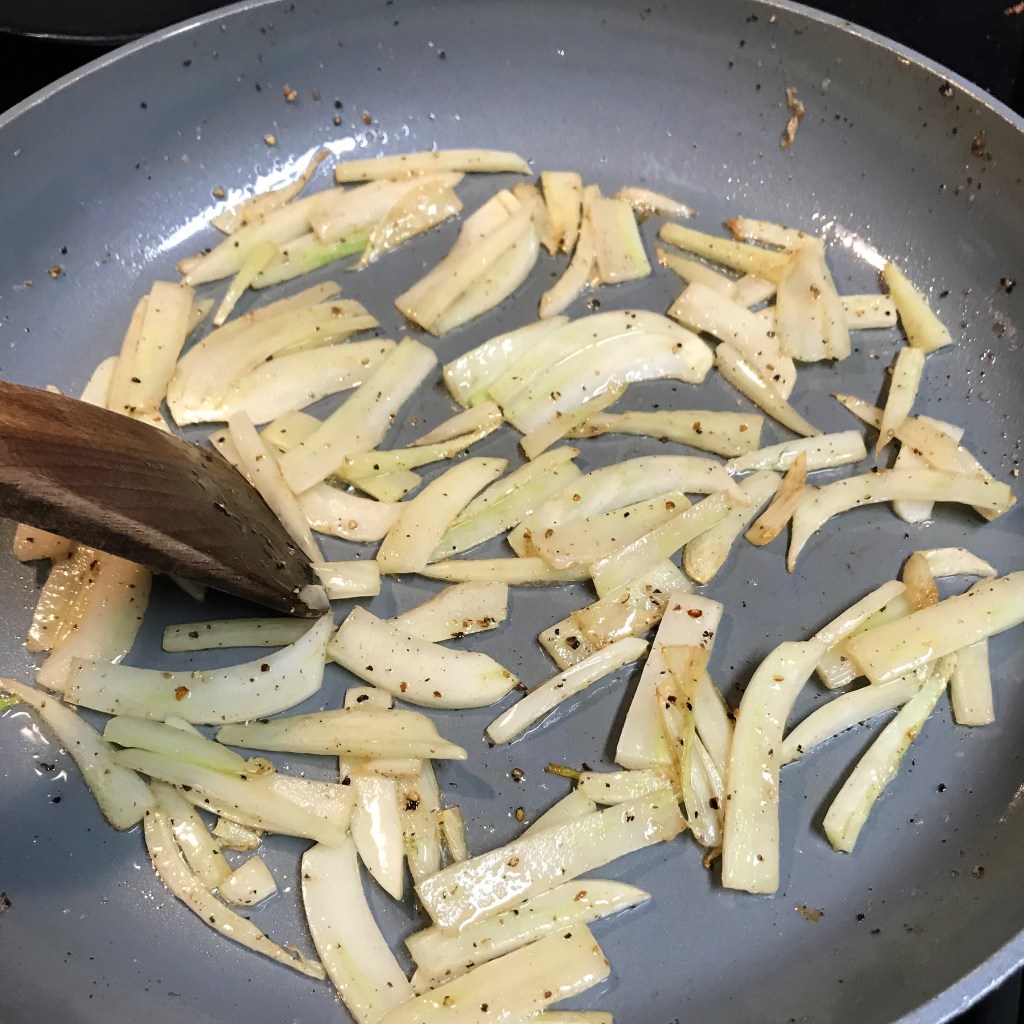
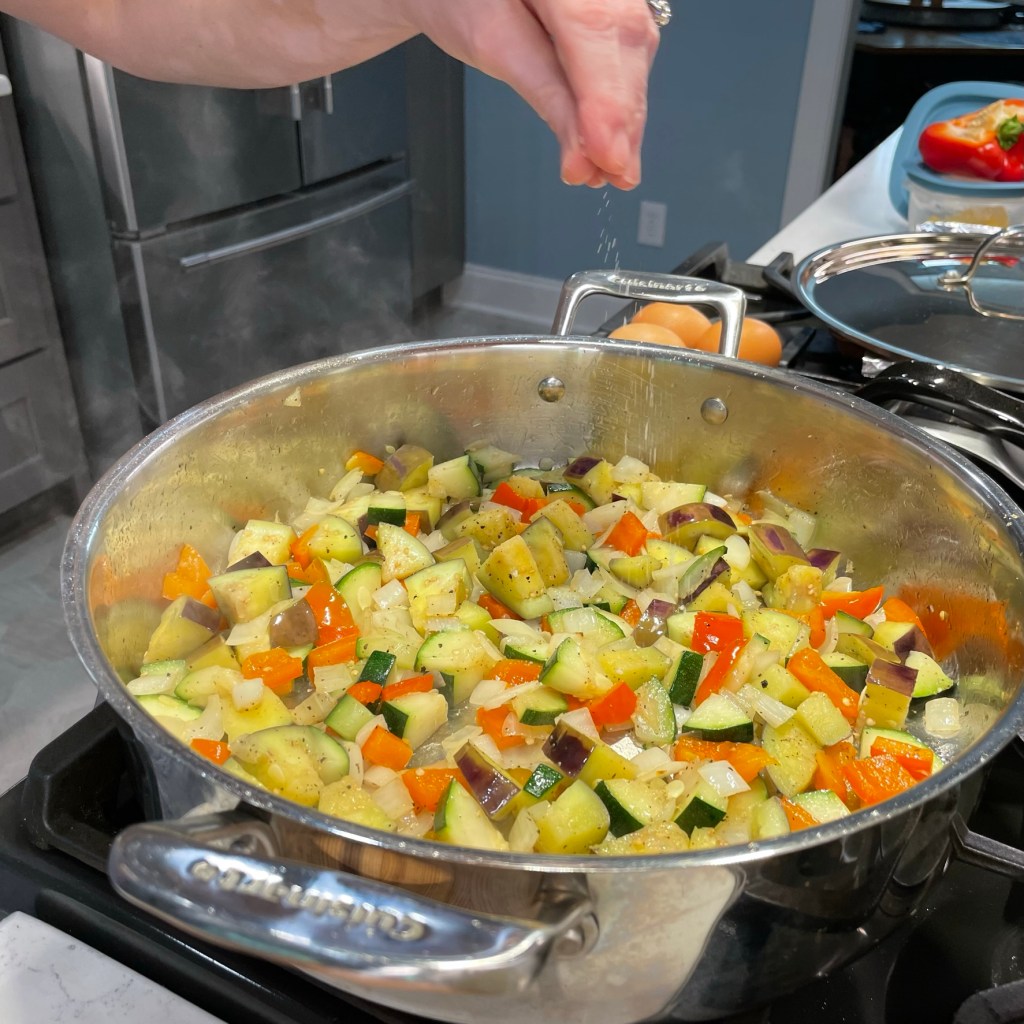
Begin by heating the pan over medium flame. Add oil and start sautéing the vegetables. Eggplant soaks up oil fast so I held that back until the peppers, onions and zucchini had a chance to soften. Remember to season each layer with a pinch of salt and pepper, not only for flavor, but also because salt helps to draw excess moisture from the vegetables as they cook. During this stage, also add a few pinches of Herbs de Provence, a French blend that includes any combination of thyme, savory, rosemary, marjoram and lavender. These are delicate herbs, but they do pack a fragrant punch, so start with a small amount and inch up to taste.


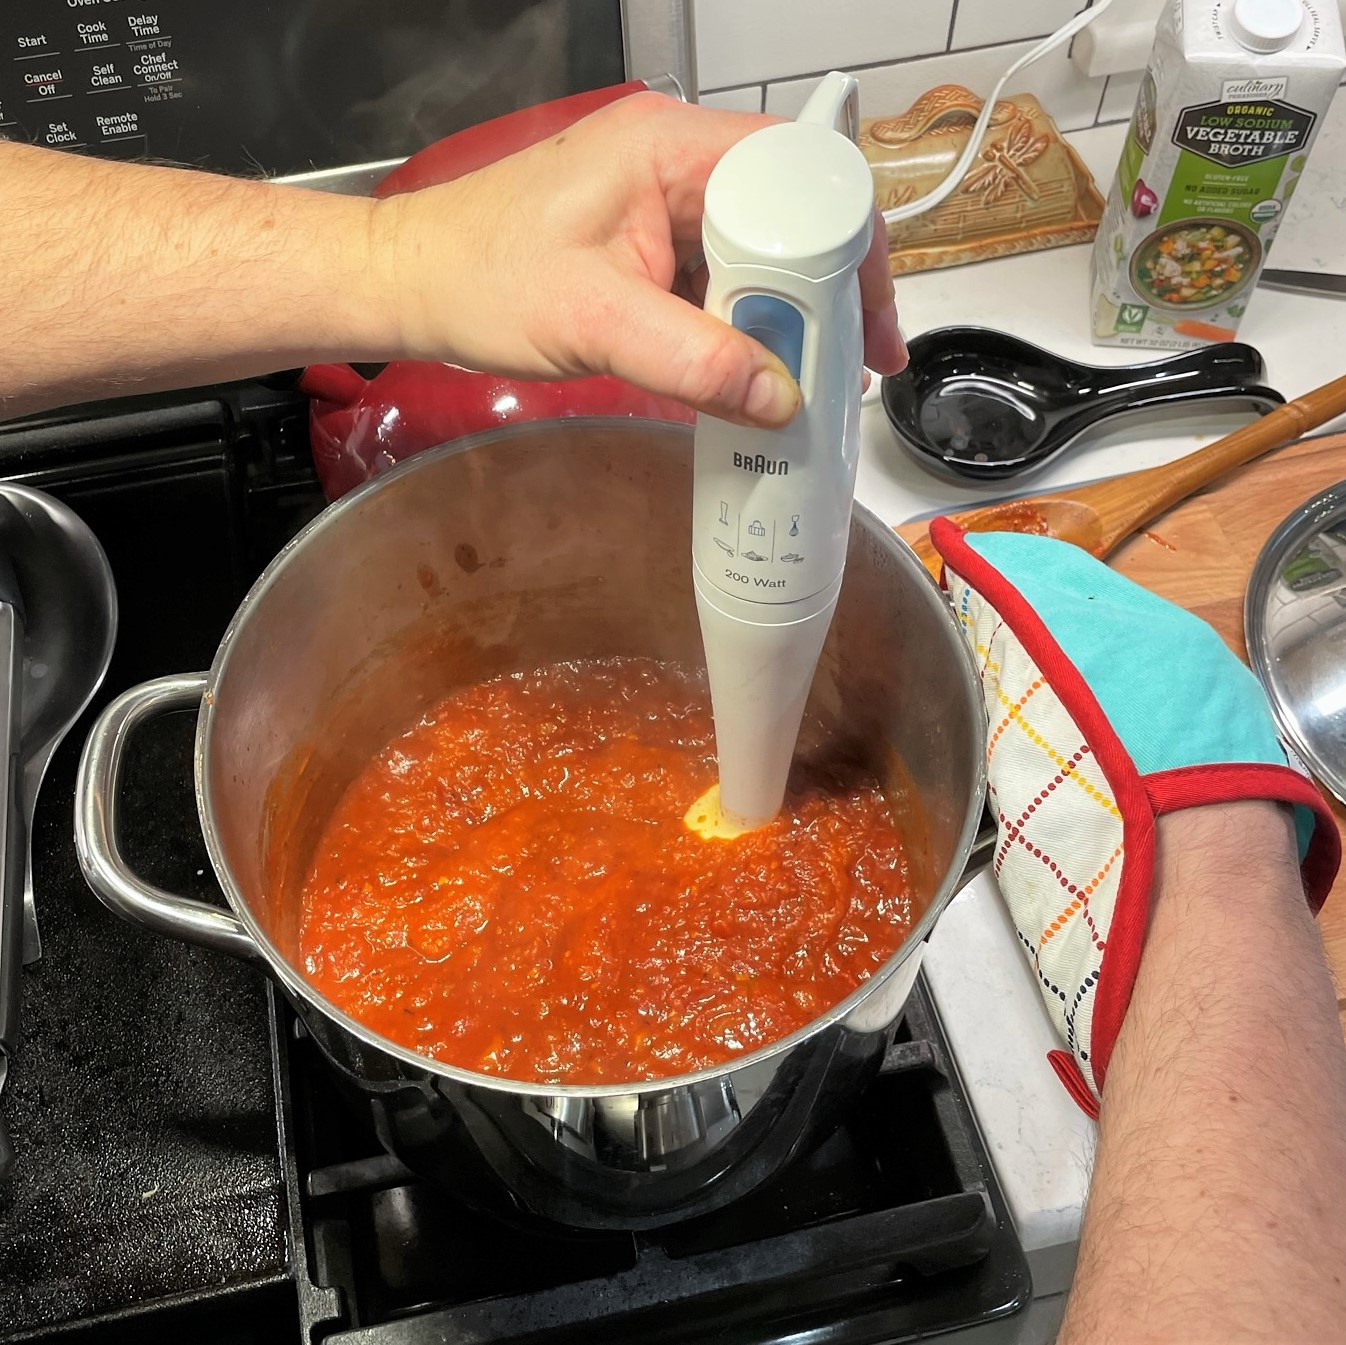
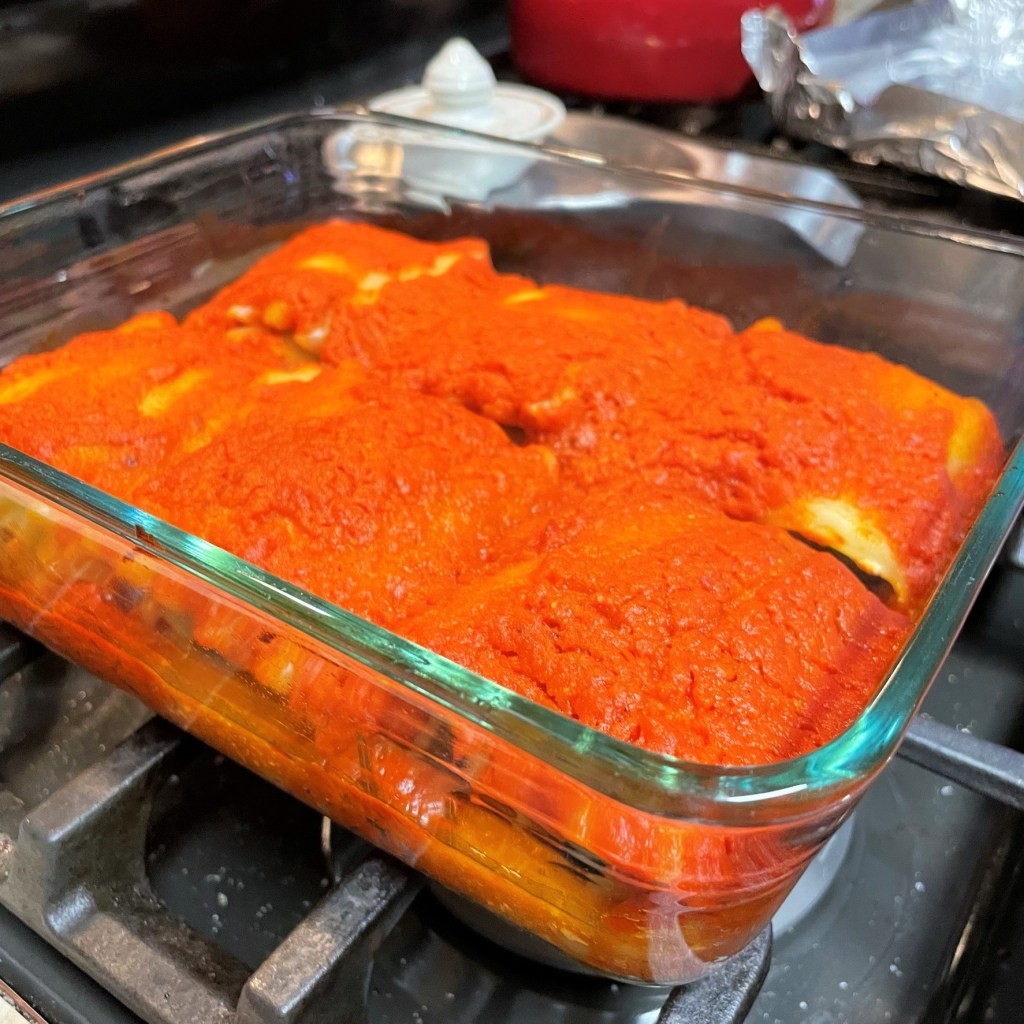
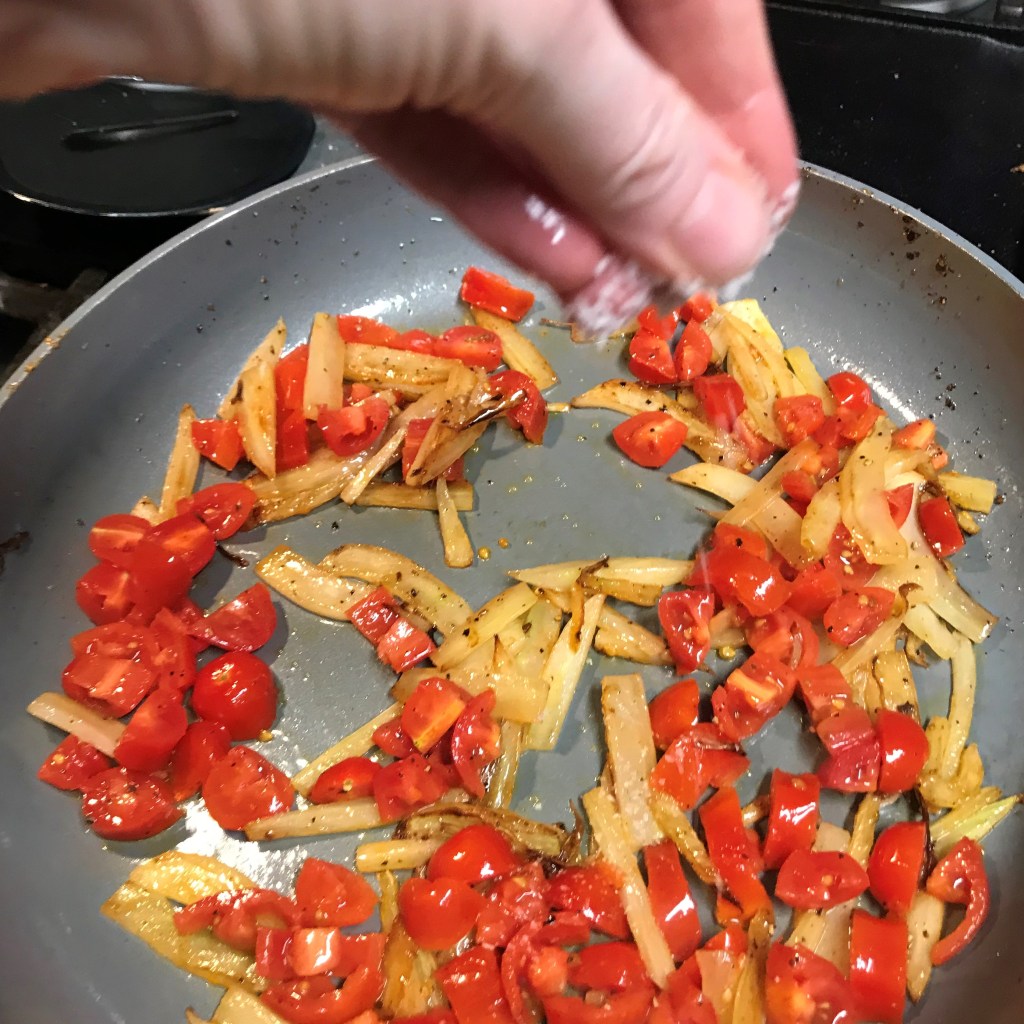
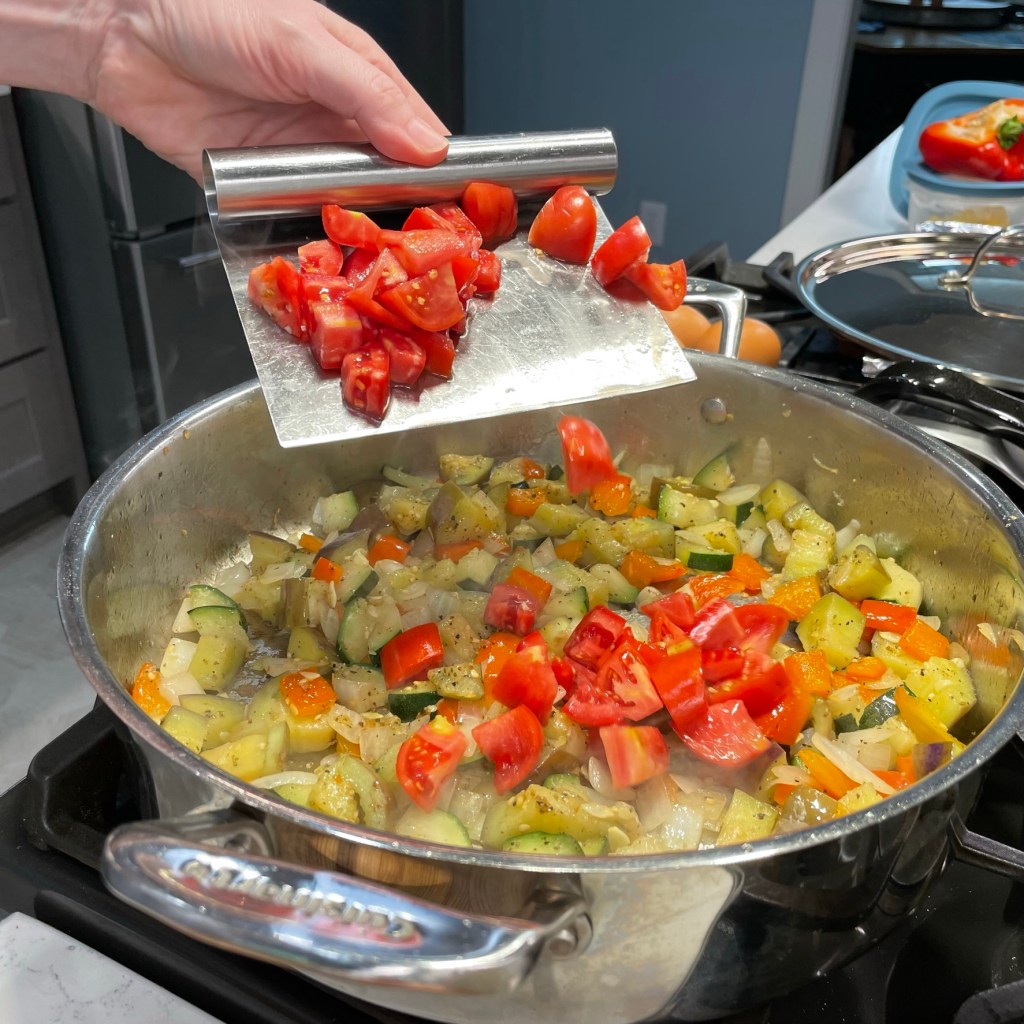
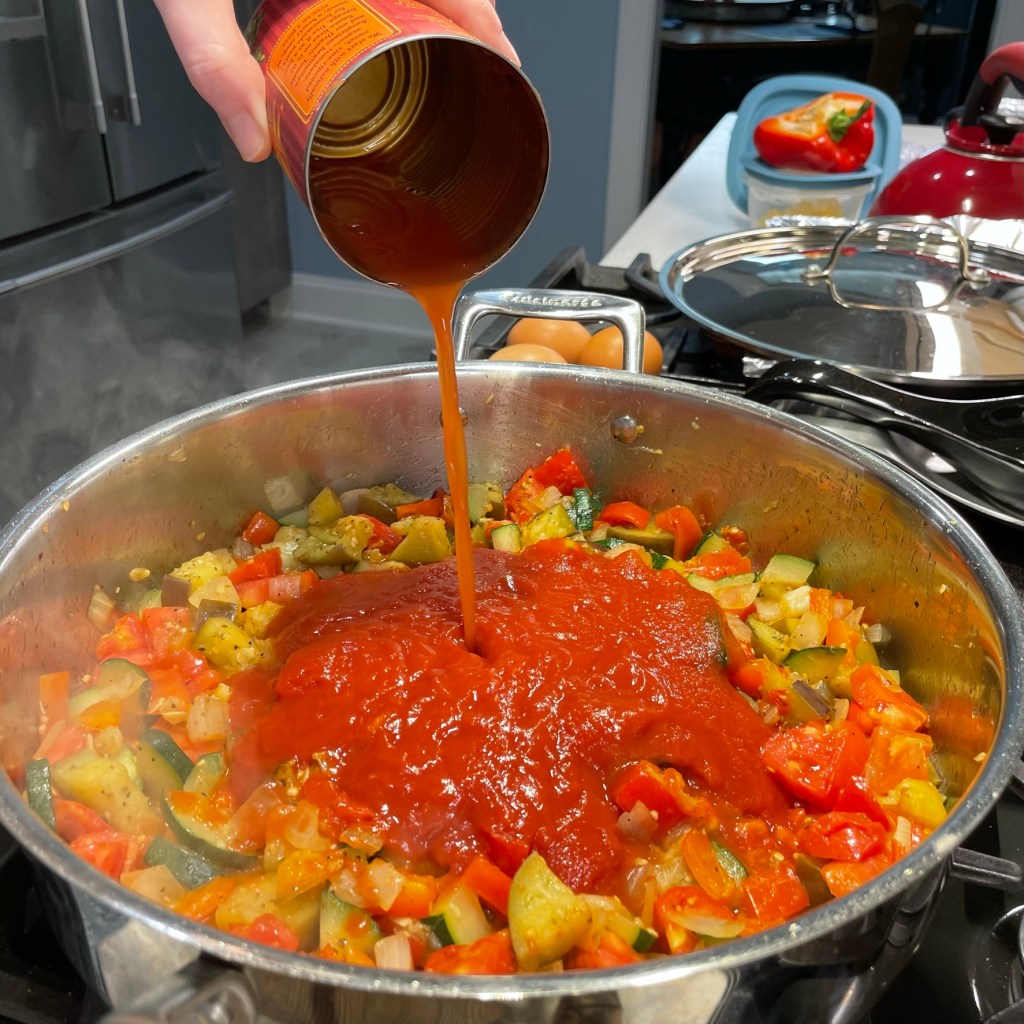
When the vegetables are visibly softened, add the fresh garden tomatoes and give it a stir. Add the tomato sauce and dry white wine. If I have used a canned ingredient, I usually swish the wine around in the empty can to rinse out the last bit of flavor. Another quick pinch of salt and pepper, and then reduce the heat, cover the pan and allow it to simmer for 15 to 20 minutes. The vegetables will continue to soften, melding the flavors together, but the sauce should not reduce too much. While it simmers, take the eggs out of the fridge; they will set in the shakshuka better if they are closer to room temperature.


When the ratatouille stew has become very soft, crack each egg into a ramekin dish for easy transfer to the shakshuka. This may seem unnecessary, but trust me when I tell you that it is no fun at all trying to fish out itty-bitty pieces of egg shell that went astray into a big saucy mixture. If anything goes sideways with your cracked eggs, you want it to happen in the ramekin, not in your beautiful recipe!

Give the stew a gentle stir, and then use the back of a large serving spoon to create a slight depression for each egg to rest. This doesn’t have to be perfect, and you only need a spot about 3 inches across for each egg. I had room for six eggs in my large pot, but I only used four because I knew the extras would not warm up well without overcooking. Better to add fresh eggs when you heat up the leftovers.

Cook as many eggs as you plan to serve initially. Make more eggs when you reheat the leftovers.

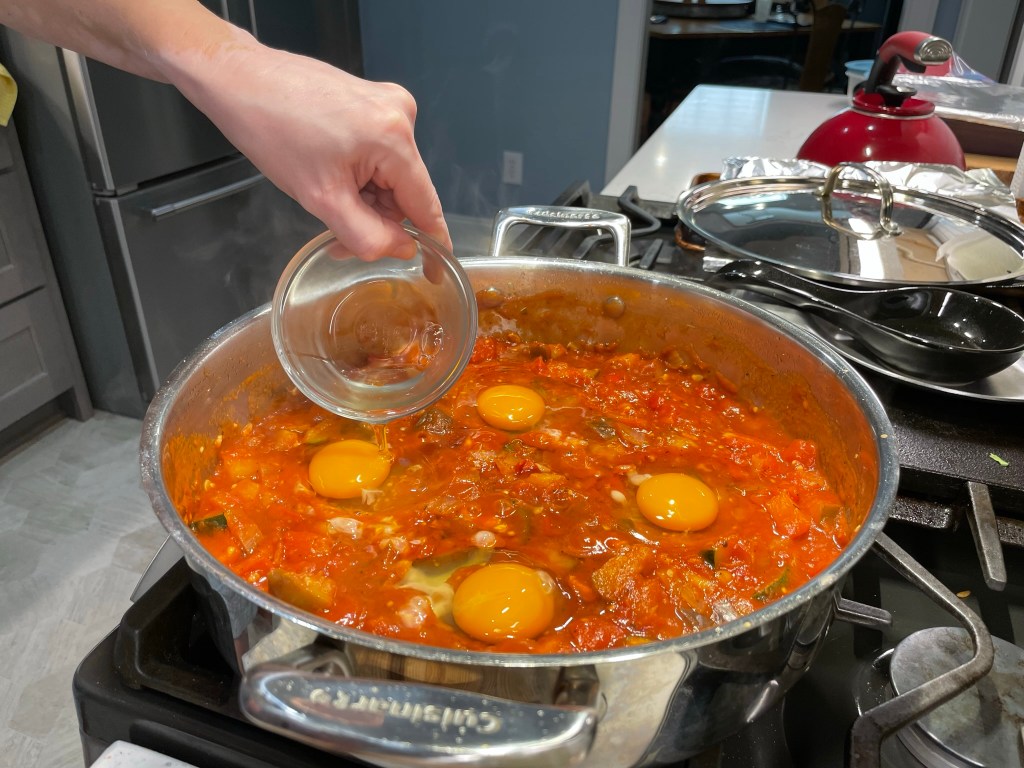
Slip an egg into each depression and give the shakshuka one final pinch of salt and pepper before covering the pot. Keep the flame set on low and cook for 8 to 10 minutes, until the whites are set but the yolks still have a bit of jiggle to them.

I wish you could smell this! 😋

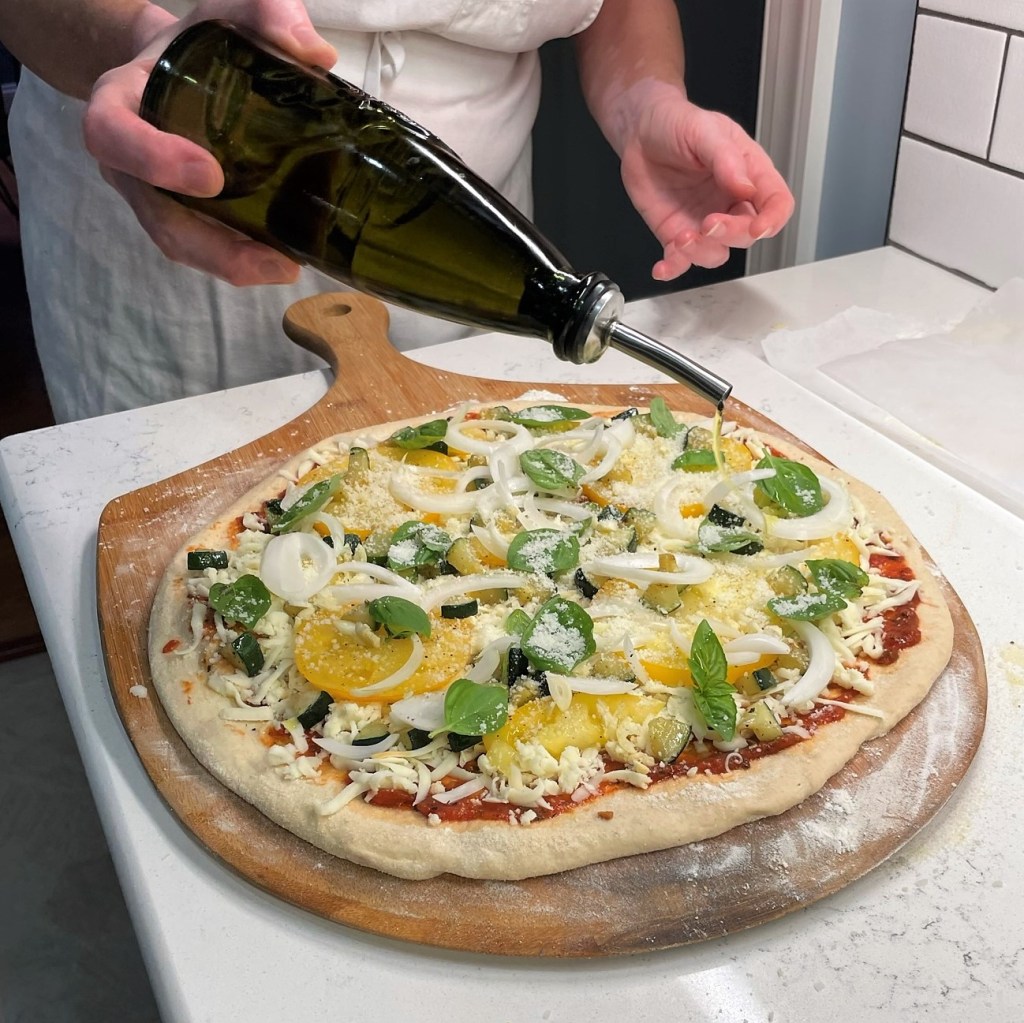
Scatter fresh, chopped herbs over the dish (I used fresh basil from the garden, but flat-leaf parsley would be nice, too), and serve immediately with a slice of crusty French bread. The best way to serve this dish is to use a wide, somewhat flat spoon to scoop underneath an egg, grabbing as much of the surrounding stew as possible at the same time. Sprinkle on a teaspoon or so of grated Parmesan for a big burst of umami flavor.


Ratatouille Shakshuka

  • Servings: 6
  • Difficulty: average
  • Print

Choose a wide, covered pot for making your ratatouille, and prepare your workstation by chopping all vegetables before you begin.

Ingredients

  • 1 large zucchini, trimmed and chopped
  • 1/2 large sweet onion, chopped
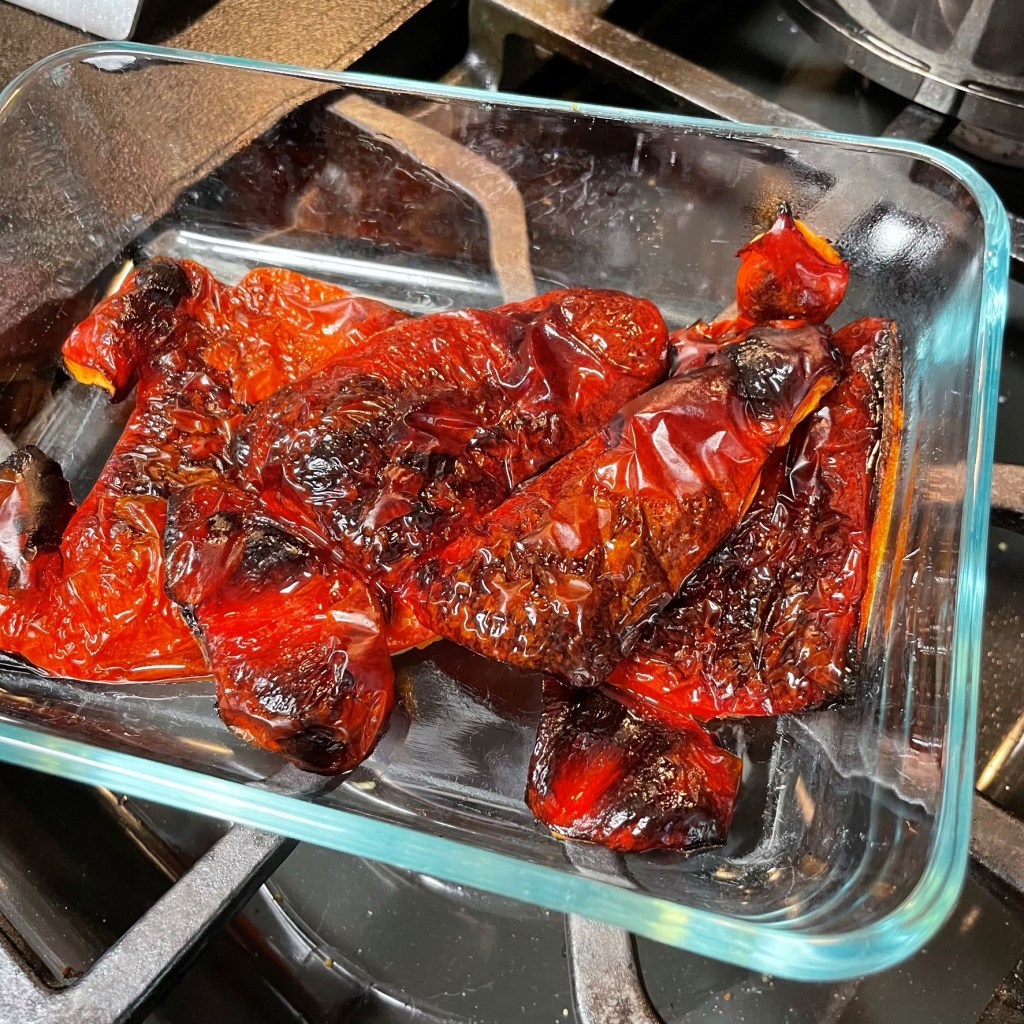
  • 1/2 large (or 1 medium) red bell pepper, chopped
  • 1 large Japanese eggplant, chopped (or about 2 cups of alternate variety)
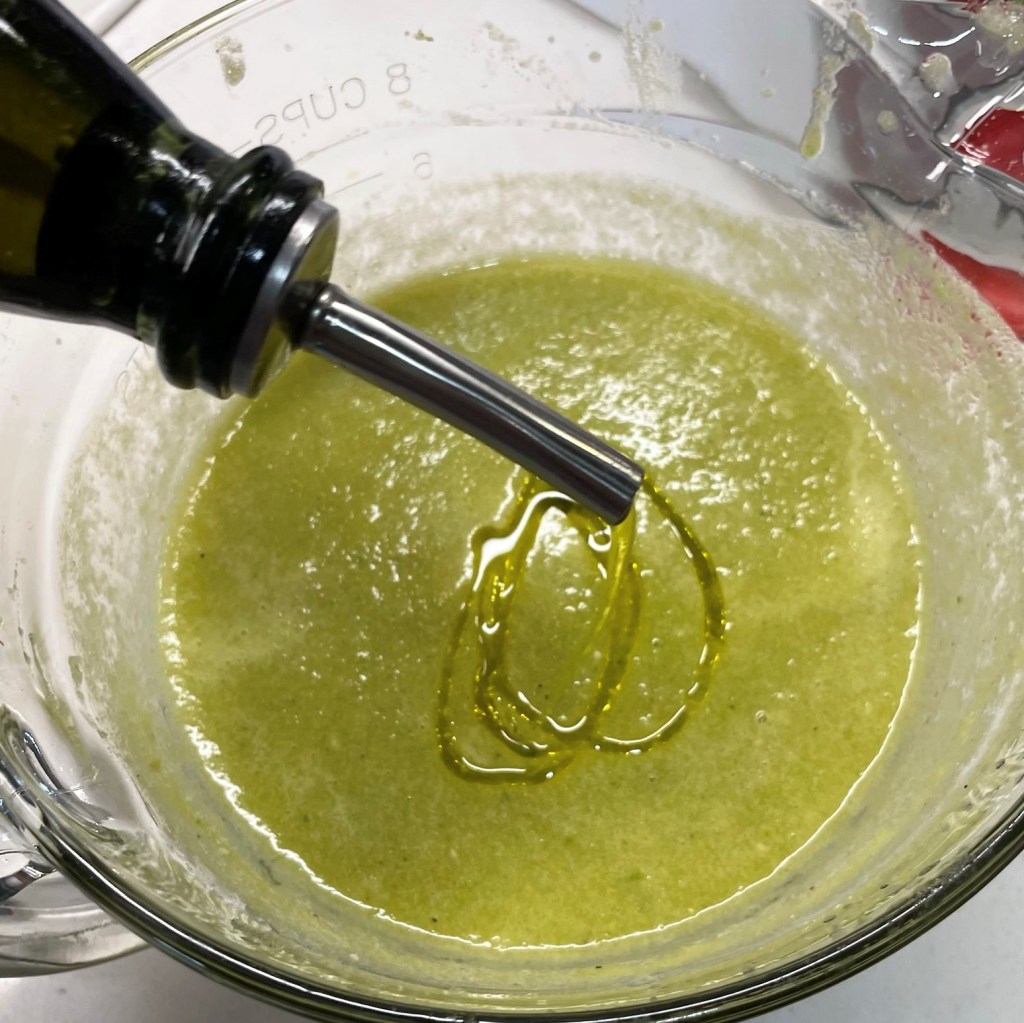
  • 3 Tbsp. extra virgin olive oil
  • Kosher salt and black pepper to taste
  • Up to 1 tsp. Herbs de Provence (or Italian seasoning, if preferred)
  • 3 small, fresh tomatoes, chopped
  • 15 oz. can low-sodium tomato sauce
  • 2 Tbsp. dry white wine (or dry vermouth)
  • 6 large eggs* (see recipe note below)
  • Fresh basil or Italian parsley, for garnish

Note: If you wish, cook only the number of eggs you intend to serve initially. When you use the leftovers, fresh eggs will yield a better result at that time.

Directions

  1. Heat large pan over medium heat. Add olive oil and saute vegetables, beginning with only zucchini, onion and bell pepper. When the first vegetables begin to soften, add the eggplant and saute until all veggies are tender. Season with salt, pepper and Herbs de Provence.
  2. Add fresh tomatoes, tomato sauce and dry wine, stirring to combine evenly. Reduce heat, cover and simmer 15 to 20 minutes. Remove eggs from fridge during the simmer time.
  3. When vegetables are fulley softened, crack each egg into a ramekin cup for easy transfer into the pot. Use the back or a large serving spoon to make a depression for each egg. Slip the eggs into the depressions, season with salt and pepper and cover the pan.
  4. Cook over low heat about 8 minutes, until egg whites are set and yolks are still slightly jiggly. Serve immediately.


Summer Tomato Water Martini

The truth is, I have been fiddling with this martini since before my own garden-fresh tomatoes came to fruition. My first effort was accidental, right after my husband and I had returned from a vacation at the end of last summer. It was good, but kind of a one-off thing and I didn’t give it much thought. Months later, it popped up in my news feed—on Epicurious or Food 52 or, honestly, I don’t know where—and it sucked because it was February or March and I had to improvise because there were no garden fresh tomatoes available. So let me get this out of the way early: do not try this with grocery store tomatoes. Trust me on this.

Fast forward to mid-August, when fresh, homegrown tomatoes are available everywhere, from your own garden or the farmers’ market, and that makes a world of difference. The flavorful liquid that seeps out of those freshly sliced, vine-ripened tomatoes is absolutely begging to be part of a cocktail. If you love summer tomatoes and you are up for a fun martini experiment, this is for you!

I’ve made this cocktail with red heirloom variety tomatoes, yellow tomatoes, vodka and gin.
Try them all to find your favorite!

When the local growers started selling a few heirloom tomatoes at their market stands, I tried this idea again, and it was so much better. The red heirlooms are so juicy and sweet, and the success of this martini twist gave me even more reason to be excited about my own harvest of heirloom and yellow tomatoes. And here we are. 🙂

Regardless of the type of tomato you use, the unique sweetness and acidity will add an exceptional brightness to a martini. I have tried this with both gin and vodka, and a variety of spirit-to-vermouth ratios. It’s good many different ways, so my recommendation is to try it yourself to find the balance that is perfect for you. My personal favorite (at least this week) is made with top-shelf vodka, in a 4-to-1 ratio with dry vermouth, no bitters and at least 1 part seasoned “tomato water.” A full description with amounts is at the end of the post, in a click-to-print recipe card.

But for now, watch to learn:

Wash and slice a ripe, room-temperature tomato (or several, depending on what you need them for) and arrange the slices on a plate. Sprinkle with a fair amount of sea salt and freshly cracked pepper (don’t skip this!) and walk away for about 15 minutes. What you’ll find when you return is a plate full of beautifully seasoned tomato water underneath the slices. Use the tomatoes for whatever you wish—a tomato sandwich, perhaps—but don’t toss that tomato water! Carefully pour it off into a shot glass or small bowl, grab your martini fixins and chill down your glass with ice and water.


Measure your vodka (or gin) and vermouth into a cocktail shaker or mixing glass. Add the tomato water to taste. I have discovered that you need at least a tablespoon to really savor the flavor it adds to the drink. If you see excess moisture on top of your tomato slices, drain that off into the mixing container as well. Add a generous cup of ice cubes and shake or stir to chill the cocktail.


Empty the ice water from your chilled glass, and immediately strain the martini into the glass. Garnish with a pickled cocktail onion or olive, and a small piece of tomato if you wish.

Cheers to summer!

Summer Tomato Water Martini

  • Servings: 1 cocktail
  • Difficulty: average
  • Print

This super-simple twist adds a bright, fresh, summery flair to an otherwise classic martini cocktail, and I have found myself slicing up tomatoes just so I can make another one.

Ingredients

  • 1 ripe, garden fresh tomato (any variety, but heirloom is best)
  • Sea salt and freshly ground black pepper
  • 2 oz. good vodka (I have used Grey Goose and Ketel One with terrific results)
  • 1/2 oz. dry vermouth (my fave here is Dolin)
  • 1/2 to 3/4 oz. seasoned tomato water
  • 1 cup ice (for mixing)
  • Pickled cocktail onion, olive and/or piece of tomato (for garnish)

Directions

  1. Slice tomato and arrange the slices on a plate or shallow bowl. Season with salt and pepper and let rest about 15 minutes. Chill martini glass with ice and cold water.
  2. Add vodka and vermouth to a cocktail shaker or mixing glass. Transfer the tomato slices to another plate, or use them in a salad or sandwich. Drain the remaining tomato water into a small bowl or shot glass. Measure at least one tablespoon of it into the cocktail glass. Add ice and shake or stir until chilled.
  3. Empty ice water from the chilled glass. Strain the cocktail into the glass and garnish as desired.
  4. Repeat at least twice per week until all the tomatoes are gone.


Zucchini & Yellow Tomato Pizza

We are turning a corner on our side-yard vegetable garden, and I am finding myself a bit flummoxed because for the first time in years, we actually have a tomato harvest! When I made the decision to plant this year—and it was definitely my decision, given that I’m the one who is home more during the day to tend to it—I swore that I would pull out all the stops in repelling the deer that reside in the woods behind us. Nothing I had tried in the past worked for more than a week, and dammit, I wanted tomatoes this year! If you have a similar problem, stop playing around with sprays and wind chimes (they don’t work anyway) and stop scattering human hair and soap shavings and whatever else you’ve tried, and just go get one of these—order it now, I’ll wait.

Here’s me, pretending to be a deer approaching from the woods…

The yard enforcer motion-activated sprinkler is by far the smartest thing I’ve bought this year, and friends, we are about to reap the benefit of so many tomatoes!

I planted an heirloom variety this year, called “Brandywine,” and they are large, sweet and juicy—perfect for tomato sandwiches and caprese salads. I am fond of the color of the Brandywine tomato—it’s sort of a blushy pink-red color, rather than the orange-red that is typical. They have a pleated sort of appearance, and a few wrinkly lines on the skin, but I don’t mind it and it certainly doesn’t affect the quality.

There’s nothing better than a simple tomato sandwich for a summer lunch!

Right next to those is a grouping of four Roma tomato plants, and I have been astonished to see how many fruits developed on these plants. They are extra-long fruits, compared to the wimpy Romas at the grocery store, and we are planning on canning a few things with those when they are ready—mainly homemade pizza sauce, I suspect. The Roma tomato is a determinate plant, which means they will likely overwhelm me by ripening all at once. I hope we’re ready!

Our sunbathing beauties!

Finally, the luscious, yellow “Lemon Boy” tomatoes, which were the first ones to ripen, and I love the slight tang they bring to my plate, despite being lower acidity than many other tomatoes. Lemon Boy is a hybrid variety, and it is indeterminate, so I’ll have plenty of fruit to harvest for a few weeks, which I love.

These Lemon Boys are the tomatoes I’m excited to share today, and of all the dishes I’ve made with them recently, this pizza stands out as a favorite because it really speaks to the transition of my garden. To date, I had struggled to keep up with the zucchini yield, and you can bet I won’t ever plant four of those again! It was about three weeks ago that I noticed vine borers had attacked my vibrant squash plant, and you know what that means—game over. I hate those things!

But we had a few squash that were near-ready, so I let them mature before I yanked the infested plants out of the garden. And just about the time I did so, I spotted this perfectly ripe, ready-to-enjoy Lemon Boy.

Hello, handsome! 🙂

I wanted to slice it on the spot and savor it with nothing but a sprinkle of sea salt and black pepper, but I restrained myself and made it a co-star with one of the last zucchini of the season on this summer pie. This dish felt like a passing of the baton in my garden. As my summer squash takes its final bow, the tomatoes are right on cue for center stage, and they were terrific companions on this fresh pizza. I just love this part of summer!


This is a thin crust pizza and it begins with my favorite sourdough base. The sourdough starter and the long, slow ferment in the refrigerator gives my dough a deep, complex flavor and the texture is always just right, thanks to our beloved pizza steel. If you want to level up your pizza game with only one move, this is the thing, right here. It takes the hottest temperature your home oven can put out and intensifies it to make the most beautifully blistered crust that is crisp on the bottom and chewy on top. It’s the closest you can get to brick oven at home.


The zucchini was cut up into bite-sized bits and lightly sautéed in a bit of olive oil, and I salted the yellow tomato slices a few minutes ahead, giving the juice and flavor plenty of time to bloom. I didn’t bother taking pictures of these steps because it’s simple enough to figure out. The rest of the pizza is also straightforward, including a store-bought sauce that we love (at least until our Romas are ready), plenty of freshly shredded hard mozzarella, some thinly sliced spring onions that I picked up at the farmers’ market and a scattering of basil leaves, which have also been good to us in this year’s home garden.

Here’s how it goes, beginning with shaping the ball of sourdough. As always, thanks to my dear husband for his photography skills for this part of the show.


Zucchini & Yellow Tomato Pizza

  • Servings: 8
  • Difficulty: average
  • Print

This dish felt like a passing of the baton in my garden. As my summer squash takes its final bow, the tomatoes are right on cue for center stage, and they were terrific companions on this fresh pizza. I just love this part of summer!

Ingredients

  • 1 medium zucchini, trimmed and cut into small wedges
  • 1 Tbsp. extra virgin olive oil, plus extra for drizzling onto pizza
  • 1 large yellow tomato, sliced and salted to release excess moisture
  • 1 small spring onion (or sweet onion), thinly sliced
  • 2 cloves garlic, chopped
  • 1/3 cup favorite pizza sauce
  • 1 cup shredded, low-moisture mozzarella
  • Salt and pepper
  • 2 Tbsp. finely grated Parmesan or parm-romano blend
  • Small handful of fresh, small basil leaves

Note that my method uses a heavy pizza steel, preheated at 550° F for one hour. If you don’t have a steel, use a pizza stone at the highest temperature recommended for your product. At lower temperature, baking time will require adjustment.

Directions

  1. Place a small skillet over medium heat. Swirl in olive oil and saute zucchini until tender. Transfer to a bowl and let it cool to room temperature. Use a paper towel to blot excess moisture from the tomato slices.
  2. Shape pizza dough into 14″ round, and place on a flour and cornmeal-dusted peel for easy transfer to the oven. Drizzle on a small amount of olive oil and season the dough with salt and pepper.
  3. Spread on the sauce, keeping it at least 1/2″ inch from the edges of the dough. Scatter shredded mozzarella over the sauce
  4. Arrange the vegetables on the pizza, beginning with the fresh tomato slices. Follow with the zucchini bits, sliced onions and garlic.
  5. Finally, tuck in the basil leaves for a fragrant bite of summer. Sprinkle the parm-romano blend over the pizza and finish it with a quick zig-zag of olive oil.
  6. Slide onto the preheated pizza steel and bake for 6 minutes, until crust is golden and blistered and cheese is bubbly all over.
  7. Transfer to serving pan, slice and enjoy!


As a side note, it looks like I will be purchasing a second yard enforcer for next year, to keep the squirrels out of the low parts of the garden!

At least the squirrels have smaller mouths! 🙂


Green Gazpacho Shooters

It isn’t easy being green—unless you happen to be this gazpacho! I know, you’ve probably only seen gazpacho in shades of red, and perhaps with a few green bits of pepper or scallion on top. But when I visited our farmers’ market last weekend, I discovered that most of the tomato vendors had sold out. That is, until I spotted these beauties at a booth near the back.

In the end, I was glad that all the red ones were sold out!

The grower assured me that these little gems were indeed ripe, and as sweet as any other baby tomatoes. I don’t remember the variety of the tomato (artisan-something-or-other), but I figured it would be, at the very least, a fun twist on the chilled summer soup I planned to serve at our 3rd of July shindig. I picked up some fresh spring onions and a few yellow tomatoes, too, figuring they would help supplement my gazpacho with garden-fresh goods. The soup wouldn’t be red, but it would be interesting, and I was committed to using farmers’ market ingredients as much as possible.

That raises an important point about shopping local and eating with the seasons—it puts you at the mercy of the harvest, and you either go with the flow or go hungry!

I consider every trip to the farmers’ market to be a treasure hunt!

Fortunately, nobody went hungry at our house that evening, and this easy appetizer was the first thing we shared to get the party started. My instinct was to serve the gazpacho as “shooters,” a quick and simple starter that could be prepped ahead and served, sans silverware, as guests arrived. And I could have served them that way, if I had left off the delicate cubes of yellow tomato, cucumber and avocado, but those made the cups so much prettier, even if we did need to hand out spoons! An additional “garnish” of roasted paprika-dusted shrimp made the shooters substantial enough to hold everyone over for the feast that would come off the grill later.

This was a fun way to welcome guests with a fresh taste of summer!

This recipe was very easy to make (gazpacho always is), and I prepped everything but the shrimp a day ahead, which worked well because gazpacho flavors really develop overnight. Step one was to strip the skins off the tiny tomatoes—you don’t want to put those in the processor, unless you like little bits of peel sticking to your teeth. For this task, I did a quick blanch-and-shock treatment. Bring water to a boil in a pot, and prepare a separate bowl filled with ice water. Cut an “x” on the bottom of each tomato to give the peel an easy place to break. Gently lower the tomatoes into the boiling water, a few at a time, and only for about a minute, and then immediately scoop and transfer them into the ice water. This immediately stops the cooking process, shocking the tomatoes so that the peels can be easily stripped away.


I repeated the process with the larger, yellow tomatoes, which I took time to de-seed first (I kept the seeds for another purpose). I held back the flesh of about half a yellow tomato to use later for garnish, and the rest went into the large bowl of my food processor with the little green tomatoes. A few of them had tougher stems, which I cut off, but most of them were tender enough to toss into the mix.

I haven’t shared much about my processor yet, as I’m still learning all the bells and whistles, but I promise I’ll give it a proper introduction soon. For now, I’ll say that it is quite large (14-cup capacity) and it has a cool “Blendermix” ring that is designed to keep the bowl contents in check when you puree ingredients. I love this because it eliminates the need to stop and scrape down the bowl during mixing. Less work for me is never a bad thing!


When I was satisfied with the smoothness of the tomatoes, I tossed in most of a peeled and seeded, cut-up cucumber (I reserved part of it for a topping), a chopped spring onion and about half of a chopped jalapeno. If you like heat, you can leave the seeds in the jalapeno for a bigger bite. I stripped them out to accommodate guests who may not enjoy heat as much. It’s always easier to add spice than to take it away! Depending on how much texture you want in your gazpacho, you could either pulse in these extra goodies or puree the dickens out of them. I went with plan B and whizzed it up nice and smooth, then transferred the soup to a pitcher bowl and stirred in a splash of red wine vinegar and a quick swirl of good, extra virgin olive oil (Spanish, of course).


Gazpacho is best when it has had some time to “relax” in the refrigerator, so at that point, I covered the pitcher bowl and chilled it overnight. Remember the yellow tomato I set aside earlier, and the last bit of cucumber that didn’t get pureed? My intention was to use them as a garnish/topper on the gazpacho at serving time, so I sprinkled them with salt and combined them in a small bowl that also went into the refrigerator. A little bit of texture on top of the gazpacho would add visual interest and something to tantalize the taste buds on those first few bites.

Even the yellow tomato was so juicy! I reserved the seeds and excess juice for another purpose.

To serve the gazpacho, divvy it up into cute little cups or glasses. We did this an hour or so ahead of our friends’ arrival to save time and last-minute fussing, then tucked them back into the fridge. Top each cup with a few cubes of the reserved tomato-cucumber mixture, and a few cubes of fresh avocado. If you wish to garnish with the roasted shrimp, check out my previous post for Bloody Mary Shrimp Cocktail—the process was the same, but for this gazpacho recipe, I tossed the shrimp with a little bit of salt, garlic powder and sweet Spanish paprika.


This green gazpacho was a perfect starter for the summer meal to come from the grill. It was light, flavorful and very refreshing, and though it was a simple course—from its short list of ingredients to its ease of preparation—everyone loved it so much, they were still talking about it as we hugged our goodbyes.

It doesn’t get much sweeter than that!

Green Gazpacho Shooters

  • Difficulty: average
  • Print

This easy green gazpacho can be made ahead in half an hour and is terrific as a starter course for a summer meal off the grill! This recipe requires a food processor, or it can be made in a blender, though you may need to process the tomatoes in batches.

Ingredients

  • 2 dry pints of ripe baby tomatoes (green or otherwise)
  • 3 smallish yellow tomatoes (one will be reserved to chop for topping gazpacho)
  • 1 spring onion or small sweet onion, rough chopped
  • 1 large cucumber, peeled and quartered with seeds removed (reserve a chunk of this for topping)
  • 1/2 medium jalapeno, rough chopped (use the seeds if you like it hot)
  • Kosher salt and freshly ground black pepper
  • 1 Tbsp. red wine vinegar
  • 1 Tbsp. good quality, extra virgin olive oil (preferably a Spanish, fruity variety)
  • 1/2 ripe avocado, cubed (this will be a garnish at serving time; do not add it to the blended gazpacho)
  • Roasted paprika-dusted shrimp, optional for garnish (cooking instructions included in note below)

Directions

  1. Bring a pot of water to boil and fill a separate, large bowl with ice water.
  2. Wash all tomatoes and use a paring knife to cut a small “x” on the bottom of each.
  3. Carefully lower the tomatoes (a few at a time) into boiling water, and turn them a few times until the peels begin to loosen. This will only take about one minute, unless the tomatoes are less ripe. Scoop them out and immediately transfer them to the ice water bowl, taking care to fully submerge them. Repeat until all tomatoes have been blanched and shocked.
  4. Drain the tomatoes of excess water and transfer them to the bowl of a food processor, fitted with the large blade. Season with salt and pepper. Pulse a few times to break up the large pieces, and then process continuously until the tomatoes are pureed to a smooth consistency.
  5. Add the cut-up onion, cucumber, and jalapeno to the processor. Pulse, then puree continuously to desired consistency.
  6. Stir in the vinegar and olive oil. Adjust salt and pepper to taste. Transfer gazpacho to a pitcher bowl and refrigerate several hours or overnight.
  7. Dice the reserved yellow tomato and cucumber into bite-sized bits. Sprinkle with salt and pepper. Combine these in a bowl and refrigerate to use as a garnish on the soup.
  8. To serve, divide the gazpacho into cups and top with reserved tomato and cuke bits, plus roasted and chilled paprika shrimp (below).

These paprika-spiced shrimp are very simple to make, and you may prep these up to a day ahead. Be sure to give them enough time to chill completely in the fridge before serving time.

Ingredients

  • 12 to 16 shrimp (enough for two shrimp per gazpacho serving)
  • 1 Tbsp. extra virgin olive oil
  • 1 tsp. Spanish sweet paprika
  • 1/2 tsp. garlic powder
  • 1/2 tsp. kosher salt
  • several twists freshly ground black pepper

Directions

  1. Preheat oven to 400 F, and line a baking sheet with parchment paper.
  2. Peel and de-vein shrimp, keeping tails intact for presentation. Pat dry with paper towels.
  3. Add shrimp to a zip-top freezer bag. Drizzle in olive oil and add seasonings. Seal and shake to evenly coat the shrimp with seasonings.
  4. Arrange shrimp on baking sheet. Roast for about 6 minutes, or until shrimp are just barely opaque. Remove from oven and arrange in one layer on a plate. Place the plate directly into the fridge or freezer for a few minutes to stop the cooking process. Transfer to a covered container and keep chilled until ready to serve.


“It Takes Two” Spaghetti & Meatballs with Sausage

Terrie asked me to write about our adventures in cooking in the new kitchen, what it’s like to share space with her now that our renovation makes that less difficult, and specifically this fabulous Italian meal that we made together on a recent Sunday.


But as a starting point, I want to share a little about how this came to be our house. I actually moved into this house on Sept. 30, 2006. It was amid divorce—and I’d found the house, a three-bed, two-bath ranch with a bonus “loft” room—while searching with my daughter as we looked for a place zoned for the high school she wanted to attend two years hence. This was my fifth house as an adult. I’d lived in each of the others for about five years. When I moved into this one, I was thinking it would be the shortest of all, two or three years before I figured out what I wanted to do long term and would be on the move again.

Yet here I stayed, largely because I liked Winston-Salem and when my newspaper job went away in early 2011, I didn’t feel like chasing journalism anymore. I guess I felt I had accomplished what I wanted to, and I didn’t need the disruption of uprooting to find a job in a profession that was constantly shedding jobs, especially of veteran editors like myself who were paid more. So I left journalism and wound up taking communications/marketing jobs, and through two of those, as well as graduate school for my new chosen profession (clinical mental health counseling), I stayed.

Through the growing relationship with Terrie, who moved in Thanksgiving 2016, I stayed.

We began to look for an “our house,” but everything we looked at was either too expensive or didn’t have the yard or neighborhood that would allow our pets the freedom to be outside. Once we decided this is the home where we would make our stand, the decision to fix the major things was easy. First, last spring, was a new roof. Next up was the kitchen, and, having built a house and having remodeled another house (including, principally, the kitchen), I felt confident that we would get what we both desired—more confident, perhaps, than Terrie was at first.

So now it’s done. And it is, indeed, beautiful, as you have seen in some of Terrie’s posts to date. If you missed it, you’ll want to circle back and check out the big reveal of our new kitchen. Although we have frequently been in the kitchen together (that was the point, after all, behind much of the work), this meal was the first collaborative dish we’ve made in the new kitchen. And I had the “lead” role for this meal, doing something I love to do—cook Italian food. I suggested this meal to Terrie because I knew we had a good amount of leftover Italian sausage in the refrigerator from the Sausage and Cherry Pepper Pizza we’d recently made (it has been in hot rotation since our trip to New Haven).

One of the things I’ve learned to do during my seven years total with Terrie is pick up techniques that make a meal better. I love how she can elevate a meal, and though I am sometimes timid to try some of the more advanced techniques, I don’t mind an occasional foray into the unknown (for me). So the main thing I did differently this time was to use Terrie’s immersion blender (I guess by now I should call that “our” immersion blender) to smooth the sauce. But you can get all the details below in the recipe portion. My big share is about how the new kitchen works as a shared space during a meal we prepare together. My point of view is that the day went swimmingly.

I had the primary two stations on either side of the stove as I went from prepping vegetables and sauté work on the right of the stove to prepping and cooking the sausages and meatballs on the left. All the while I was working, and it was about 90 minutes, Terrie was at her new baking station in the bistro section of the room, preparing the homemade pasta, using tools of her trade that worked better in the new space (especially a larger overhanging ledge to clamp her pasta machine, as well as the maple surface).


We didn’t get in each other’s way once! Now, I will say that as we keep working, we’ll be closer together, but the new kitchen takes care of that, too. If Terrie works the two stations on either side of the stove, I have a nice new long station on the left side of our kitchen sink, available thanks to some minor re-arranging of space in the room. With taller, roomier cabinets, we’ve been able to de-clutter the countertops, thus creating the three clearly defined workspaces, which doesn’t even include the baking station, in effect a fourth workspace.

I’m looking forward to many other dual-prepared meals, as well as my typical role of sous chef, aide and kibitzer-in-chief; I now fulfill the latter role from my perch at our new bistro table next to the baking station.

Next up in transforming this house I’ve lived in since 2006 into “our house?” The master bath remodel, on tap for a March start. Don’t hold your breath waiting for the post about us cooking together there. But trust me, we will.

We’re staying.


Les’s Italian Sauce with Sausage and Meatballs

The ingredients and steps are all listed in the PDF Terrie has attached at the end of the post, but we hope you enjoy seeing our adventure.

I’ve seen Terrie use an immersion blender on everything from soups to mac and cheese sauces. I decided to try it here, and processed my Italian sauce until smooth. I had vegetable stock on hand to help with blending the thick sauce. Then, I added the cooked meatballs and sausage to the pot and simmered until the pasta was ready.

Any kind of long pasta would be great with this sauce, but we enjoyed it on Terrie’s handmade pasta. This was her first experience with making pasta in the new baking station. The rest of this story is hers.


Terrie’s Roasted Garlic Pasta Dough

Welcome to my happy place. ❤

Of all the foods I make from scratch, handmade pasta is one of the most rewarding. As with so many things that once seemed intimidating to me, this is all about practice and repetition, and once you develop a feel for it, store-bought pasta loses its appeal. Besides the cool factor of DIY-ing this versatile food, I find it deeply therapeutic to transform flour, water and egg into a dough that can be stretched so thin and turned into noodles, all under my own hand. It’s awesome, and having a dedicated space in our new kitchen makes it even better.

I like to add fun flavors to my standard pasta dough, and this time I went for roasted garlic, blended right into the dough to complement Les’s rich Italian sauce. If you are already making your own pasta, I hope you find the roasted garlic a tasty addition. If you aren’t, or if you’re new to the process of pasta making, I encourage you to check out my posts for lemon-herb pasta or spinach-ricotta ravioli, as I offer more in-depth instruction there for making and working the dough. This time, I’m focusing mainly on the flavor and formula.

To infuse the roasted garlic into the dough, I pureed it together with egg and water, then pressed it through a small mesh strainer to keep the chunky solids from messing up the dough. I strengthened the dough by rolling it through my pasta machine, as usual, but used a chitarra for the first time to cut the dough into strands. Here’s how it went!


Putting it all together

Time for dinner! The sauce was quietly simmering on the stove, so the timing was dependent on the pasta. Fresh, handmade pasta cooks much more quickly than dried, store-bought, so it’s best to have everything you need for serving lined up and ready to go before you begin.


It takes two, Baby, me and you! ❤


New Haven-style Fresh Tomato Pizza

Right here in the middle of gray, dull, Dry January, I think we could all enjoy a warm-weather trip down memory lane, and a taste of sweet summer tomatoes like the ones on this pizza. I’ve been waiting many months to share this story with you, and because this month is such a drag, I’m actually thankful that it took me so long to get to it. Life has been busy since we wrapped up our kitchen remodel, but now that the holidays are behind us, I’ve been looking at these pictures again and remembering the sweet time my husband, Les, and I had on our vacation through New York, New Jersey and Connecticut.

Our road trip presented a unique opportunity for me to do one of my favorite things—research of famous local foods—and this time, I was studying different but not necessarily opposed pizza styles. And after my extensive research (which was essentially just eating a lot of pizza), I have a confession. More of an announcement, really. For all the times I have claimed victory in the challenge to make homemade pizza that rivals my husband’s memory of his beloved N.Y.-style pizza, I stand corrected. My pizza at home does not at all rival the pizza of New York. It rivals a completely different style of pizza.

New York pizza is, of course, known for its gigantic slices and an ultra-thin and crispy crust that is easy to fold for eating on the run as you dash off to catch the subway or, if you’re lucky, a Broadway show. We had a taste of this N.Y. pie on our day trip into the city last August, as we stopped at one of the more acclaimed pizzerias, Bleecker Street Pizza. A friend of ours who is a native New Yorker (like my hubby) swears it is the best, so we put it on our “must do” list.

Legendary pizza slices, served up daily!

Notice their media props outside? Those are well-deserved, and the pies looked great, with the seasoned tomato sauce swirled out onto the dough (as I’m still learning to do at home, with hubby’s coaching) and, of course, all that cheese. It was good, but the crust didn’t feel or taste like the one I have developed at home—the crust that Les says is “just right.”

I can’t say for sure, but I suspect the Bleecker Street dough was dusted with rice flour. This is a simple trick that puts a crackling-crisp texture on the bottom crust and it’s good for reheating the slices, as they do to order, but it does not add flavor. Our research into pizza excellence would continue the next day, because we had plans to visit another legendary pizza town—New Haven, Connecticut. And that’s where I had my epiphany.

Greetings from New Haven, home of a whole different kind of pizza.

Les spent 19 years in the New Haven area, and I have heard plenty from him about various food joints he loved there, and especially about the white clam pizza, which we have worked to perfect over the past few years and now serve at home every New Year’s Eve. A random internet search for this unusual seafood pizza will lead you directly to New Haven, and particularly to Frank Pepe Pizzeria, which has been making white clam pizza since 1925. My mouth was watering from the time we arrived just before noon, and for the entire 30-minute wait, as there was a line of hungry pizza lovers wrapped all the way around the restaurant. We had waited so long for me to have a taste of real Frank Pepe’s pizza, we ordered three of them!

The crust on the first pizza—roasted red pepper with pepperoni—seemed instantly familiar, with more of the character I had been making at home, and Les agreed it was superior to the pie we had enjoyed the day before on Bleecker St. And there was something different about the flavor of the dough as well, something more complex, and we supposed it had to do with the higher heat ovens than what is used in the N.Y. pizzerias.

Frank Pepe’s uses an enormous coal-fired oven with a brick floor, and the pizzaolo has a pizza peel with a handle that is about 7 feet long—giving him access to load and spin the pizzas in the oven, but at a safe distance from the intense heat.

The coal-fired oven at Frank Pepe’s must be enormous inside, because they are churning out pizzas every few seconds.

My interest was piqued when the other two pizzas arrived at our table. First, there was a fresh tomato pizza, which is a limited-season thing and quite a big deal in New Haven, and it was very fresh and bright, exactly like summer. Finally, the legendary white clam pizza, and I was certain it would be pure nirvana for my taste buds.

Sometimes your imagination (or even your memory) of something can outrank the real thing and maybe that’s what happened, but it wasn’t until I finally dared to lean across the table and whisper the words, “I think ours at home is better,” and Les instantly agreed, that the reason occurred to me. As quickly as they were churning out specialty pizzas at Frank Pepe Pizzeria, there is no way they can manage using freshly shucked clams, as we do at home every New Year’s Eve. Nope, these clams had to be from a can. Still, the crust was very good and more like the one that Les has encouraged me to emulate. What I didn’t like was the dusty black char that was prevalent across the bottom of the pizzas, and even a bit on top of my white clam slice—it was the stuff we avoid at home by scraping off the hot steel before sliding another pizza into the oven. But I get it, they are slammed busy with a line out the door even as we left. Overall, it was still a great experience, and we boxed up our leftover slices to continue our journey through New Haven.

We had one more pizza joint to experience and it turned out to be the best of the bunch, not only for the pizza but for the overall experience. So much so, in fact, that it deserves its own post—tomorrow!

Until then, please enjoy this recipe—my own—for fresh tomato pizza, which I created at home the first weekend after we returned from our trip!

We don’t have a huge, coal-fired oven, but we are still getting it done at home!

My version used farmers’ market, late-season heirloom tomatoes and some fresh basil I plucked from a plant that was growing on my kitchen counter. It was post-Labor Day, but we were technically still in the final days of summer, and this pizza captured all the beautiful freshness of that.

The base, of course, is what I have long called My Real N.Y. Pizza Dough, but obviously I will have to update that because my careful, ahem, “research” proved my dough more closely resembles what the locals in New Haven call “apizza.”


Ingredients

2 heirloom tomatoes, cut in 1/4’’ slices

Kosher salt and freshly ground black pepper

1 ball of pizza dough at close to room temperature

1/3 cup simple tomato sauce

2 Tbsp. parm-romano blend cheese

About 3/4 cup freshly shredded whole milk mozzarella

A handful of fresh basil leaves

Extra virgin olive oil


*Notes

As always, the oven should be as hot as a home oven goes—550°F.  and heated for an hour with a heavy pizza steel for the best-ever, crispy texture. If you do not have a steel, use a pizza stone and preheat to the hottest temperature possible for your particular stone. This combination of steel or stone and very high heat will emulate the brick oven baking that makes this style of pizza so special.


Instructions

Spread the tomato slices out onto a large plate and sprinkle kosher salt over them. Be generous with the salt, as it will draw out excess moisture, concentrating the flavor of the tomatoes. Let this rest 20 minutes while you enjoy a cocktail (or whatever you do before dinner). Transfer the tomatoes to layered paper towels and pat dry. I actually poured the salted tomato juice from the plate right into my martini for a savory twist. When Dry January is over, I may do that again! 😉

Shape the dough into a 14” round and place it on a flour and cornmeal-dusted peel. Swirl on sauce, then sprinkle parm-romano evenly, not minding if some of it lands on the dough edges. Scatter the mozzarella on top, give it a few quick twists of freshly cracked black pepper, and arrange the drained tomato slices and basil leaves. Lightly drizzle the top of the pizza with olive oil and dash it off into the screaming-hot oven for about six minutes.


Ratatouille Lasagna Roll-ups

The summer season brings all the garden-fresh vegetables I love, including zucchini and eggplant, which I would definitely be growing in our little garden plot if it weren’t for the deer. Year after year, I have tried in vain to grow my own veggies, and the increase of deer activity on our property and that of our neighbors has been almost humorous. Almost.

Gardening, for me, started as a fun, nature-loving adventure but has rapidly declined into a frustrating drama, and now we have this elevated box in our yard, where we cannot grow anything but marigolds and basil, which have proven to be the only things our local deer detest. Last year’s garden was demolished, right down to the flowers and budding fruit of the eggplants and even the jalapeno pepper plants (which I had been told deer would never eat). We have tried all the folk remedies on the internet—human hair, shavings of bar soap, peppermint oil, so-called deer repellent, and even a weird concoction I made from rotten eggs, cayenne and dish soap. That last remedy had near-catastrophic results, but I won’t embarrass my husband again with that story (you can read it here, if you’d like). This year, we didn’t even bother planting a garden, and I’m contemplating turning the raised bed into some kind of wildflower bed. I get exasperated just thinking about it.

To make up for a lack of homegrown veggies, we are regularly visiting our weekly Cobblestone farmers’ market, which features a variety of vendors offering fresh produce as well as pastured meat, eggs, organic mushrooms, jams and preserves, and even handmade alpaca wool products. It’s a fun way to spend an hour on a Saturday morning, and this past weekend, we came home with everything I needed for a new batch of ratatouille. Ah, my favorite veggie-centered summer meal!

Classic ratatouille ingredients = zucchini, eggplant, pepper, onions (leeks this time), tomato and herbs de Provence!

Me being me, though, I cannot simply chop up these ingredients and make a “traditional” ratatouille, which would be a rustic casserole-meets-stew kind of thing. I have to twist it up! My culinary muse inspired me this time to combine the French classic dish with another favorite comfort food—lasagna. I figured that I could infuse my herbs de Provence seasoning into a ricotta mixture with lemon zest and some grated cheese and that it would be the “glue” to hold the other ingredients together inside a rolled-up lasagna noodle. The eggplant and zucchini would be sliced and roasted, and the red pepper would be worked into the sauce. This is how my mind sees a pile of ingredients, and the end result was exactly as I had imagined, both visually and in perfect summer flavor. Delicious!

Inside, you can see and taste all the flavors of a summer ratatouille!

This reimagined one-dish meal took mostly time to put together; it was not at all difficult. I cannot say definitively how much time is needed because I was cooking all day, in between work emails and other home tasks. I will say that it was mostly passive time; I was either waiting for things to lose moisture or to finish roasting or to boil or bake. The rest was just slicing, chopping and stirring, and there’s no particular order that must be followed. You could even make everything a day ahead and just assemble and bake it the next day.


The entire ratatouille-meets-lasagna project weaved itself nicely into my busy day, and because each ingredient received its own treatment, the simplest way I can describe it is to share the process of each component. I’ll share a PDF version of the recipe at the end if you want to try it, but I’ll let the pictures tell the story in today’s post. Here we go! 🙂


The Ricotta Filling


The Eggplant


The Zucchini


The Red Bell Pepper


The Onions


The Tomatoes

The only classic ratatouille ingredient remaining is tomato, and though my ingredients photo displays a big, lovely heirloom tomato from the farmers’ market, I thought better of it when I began cooking my ratatouille. The heirloom tomato would have been full of seeds and too juicy for this dish, so I cast it aside and used half a can of San Marzano tomatoes instead to produce a fusion sauce, together with the roasted red pepper and a healthy dose of garlic. This sauce was similar to the roasted red pepper sauce that my husband, Les, discovered last year, but it leans more toward tomato than pepper. It was exactly what this recipe needed.


Putting it all together

Assembling and finishing my ratatouille lasagna roll-ups was a cinch! I par-cooked the lasagna noodles until they were soft and flexible, spread the ricotta mixture onto them, layered the eggplant, zucchini and leeks and rolled them up!


First ratatouille of the summer! 🙂

Oh, and that plump, juicy heirloom tomato I mentioned found its way instead to a BLT, which we enjoyed as a separate meal on freshly baked sourdough bread with local greens and some pastured pork bacon (also from the farmers’ market).

Who needs a garden, anyway? 😉


Kentucky Hot Brown Pizza

“Riders up!” will be the exclamation this Saturday evening, when the jockeys rev up their adrenaline to compete in the Kentucky Derby, which has long been called “the greatest two minutes in sports.” I cannot claim to know much about the horses or the race, but I do enjoy the culinary traditions that accompany this annual event. The signature drink, of course, is the mint julep, which I have globalized this year by swapping in a mint relative to create a Thai Basil Julep. The signature dish of the Derby is an open-faced beauty of a sandwich known as the Kentucky Hot Brown, created in the 1920s by chefs in the Brown Hotel in Louisville, which is also home to the Derby. The Hot Brown is an all-American spin on a Welsh rarebit, served warm with slices of turkey breast and fresh tomato, draped in Mornay sauce and topped with criss-crossed slices of bacon—all of that lusciousness is piled high on a thick slice of buttery, toasted brioche points. It’s a tradition so beloved in Kentucky, the Brown Hotel’s website has a special page dedicated to the Hot Brown.

That’s the tradition, anyway. But in case you haven’t noticed, I’m not prone to follow tradition to the letter. I am all about twisting up the classics, and I’m doing it again, moving all the Kentucky Hot Brown ingredients off the thick brioche and onto a thin crust pizza. All the proper flavors are in attendance, but in a slightly different order and a more casual presentation. You’re welcome.

I have taken one major shortcut, using low-sodium, deli turkey breast slices. The turkey, in my opinion, is not the star of a Kentucky hot brown, so I don’t need to roast my own. The smoky bacon is par-cooked, but still soft, because I know that it will take on more crispiness under the intense heat of my oven. The tomatoes are simple—just thin slices of fresh Roma, a low-moisture variety that won’t make my pizza soggy, and it will provide some freshness to cut through the richness. That leaves only one component—the Mornay—and that is where I put most of my energy for this pizza interpretation of a Kentucky hot brown. Mornay is the special sauce that elevates all the other flavors, transforming a turkey and bacon sandwich into something rich and special. And it’s easy to make, beginning with a simple bechamel.

If the idea of bechamel seems intimidating, I suppose you can blame it on the French name. Thankfully, when my Gram taught me to make it so many years ago, she just called it “white sauce,” and she made it so often that it never occurred to me to be nervous about it. Take away the fancy name and bechamel is nothing more than small amounts of butter and flour, cooked until bubbly and whisked up with milk, then accented with freshly grated nutmeg. There’s nothing fancy about it, and it is terrifically versatile. A quick stir-in of gruyere cheese and a little white pepper makes it a Mornay and transforms this turkey and bacon pizza into a Kentucky hot brown pie.

Do yourself a favor and prep all the ingredients ahead of time. Once this pizza party begins, things move quickly. Kind of like the Kentucky Derby.

Ingredients

1 1/2 Tbsp. salted butter

2 Tbsp. finely diced onion

2 tsp. all-purpose flour

1 cup whole milk

About 1/8 tsp. freshly grated nutmeg

1 oz. white American cheese*

2 oz. cubed smoked Gruyere cheese*

2 Tbsp. shredded white cheddar*

A pinch of ground white pepper

4 slices thin-cut smoked bacon, stretched and cut into two-inch pieces

3 slices low-sodium turkey breast*

1 large Roma tomato, washed and thinly sliced

2 sprigs fresh thyme

1 ball of My Real N.Y. Pizza Dough* (or your own favorite), rested at room temperature

*Notes

American cheese is usually some form of cheddar, processed with a special enzyme and salts that make it ultra-melty. This is a go-to ingredient for any creamy cheese sauce I make. If you are skittish about using “processed” cheese, you can use regular block cheese, but the sauce will not be as creamy and is likely to separate and become oily during baking of the pizza.

The Boar’s Head brand of smoked Gruyere that I used here is also a processed cheese, but a regular Gruyere will work fine in combination with the white American cheese. In the original Brown Hotel recipe, a good Parmesan would be in order. I selected this cheese for the smoke flavor, to play up the smoky bacon.

I recommend using a low-sodium version of turkey breast, or fresh, home-roasted if you wish. Typical deli turkey is very salty, and it may be too much, given that the bacon and cheese sauce already have a fair amount of sodium.

For this pie, I did something a little different with my N.Y. pizza dough. I subbed in a small portion of corn flour, as a subtle nod to the bourbon in our accompanying Derby drinks. It was terrific! Never stop experimenting, friends. If you choose to use my pizza dough recipe, please note that it should be made a couple of days ahead, so plan accordingly.

I bake my N.Y.-style pizzas on a pizza steel at 550° F. If you use a stone, follow manufacturer’s instructions. If you use a pan, do yourself a big favor and buy a stone or a steel. 😉
We use a steel made by Dough-Joe, and it has been an absolute game changer for our pizzas at home.

Instructions

  1. Prepare the bechamel by melting butter in a small saucepan over medium-low heat. Add the diced onion. When butter begins to brown, add flour and whisk until smooth. Continue cooking, whisking occasionally, until flour begins to brown and is very bubbly.
  2. Add milk and whisk until blended and thickened. Continue to cook a few minutes to soften the flavor. Stir in the freshly grated nutmeg and the skinniest pinch of kosher salt.
  3. Add the cubes of American cheese and whisk until melted. Repeat with smoked Gruyere and then with cheddar. Stir in the white pepper. Remove from heat and cover the pan so that the sauce does not form a skin. If you work ahead and refrigerate this, warm it to smooth, spreadable consistency before making the pizza.
  4. In a cast-iron skillet, cook the bacon pieces over medium-low heat, long enough to render the fat and brown the meat, but not long enough to crisp it. Transfer bacon pieces to a paper towel to drain excess fat.
  5. Cut the deli turkey slices into thin strips, then chop cross-wise into bits.
  6. Spread the tomato slices onto a paper towel and season with kosher salt and freshly cracked black pepper. Rinse the thyme sprigs, then pat dry and strip the leaves from the tough stems.
  7. Shape the pizza dough into a 14-inch round and place it on a floured, cornmeal-dusted peel for easy transfer to the oven.
  8. Spoon small dollops of the cooled Mornay sauce onto the dough, and gently even it across the dough with the back of your spoon.
  9. Arrange the turkey all over the sauce, then the bacon and tomato slices.
  10. Add more small dollops of Mornay, between and around the other ingredients. It’s OK to overlap the other toppings, but try not to “bury” them, and keep the dollops away from the edges of the pie.
  11. Sprinkle all over with the fresh thyme leaves, and slide the pizza onto the hot steel. Bake for about 7 minutes, until crust is golden and crispy and Mornay is browned and bubbly.

Hungry for more Kentucky Derby watch party foods?


Salmon with Fennel & White Beans

There has been a fresh and flavorful shift in our kitchen over the past couple of weeks, and it feels so right! My husband, Les, and I have been eating healthier after the holidays, not for keeping resolutions (we don’t bother with those), but out of simple desire to care for our bodies better after a season of splurging. Seafood has been the star of this menu reboot, and I’ve brought back into rotation one of my favorite all-time recipes, a seared fillet of fish rested on a mélange of tender sautéed fennel with creamy cannellini beans and sweet tomatoes.

In the spirit of full disclosure, I’ll confess right here that I actually did not use salmon this time, but steelhead trout. This is a sweet and creamy fish, similar in texture (and appearance) to a farm-raised salmon, and when I can get my hands on steelhead trout, I love to swap it into favorite salmon recipes, including the salmon in phyllo dish that I shared in December. But steelhead trout isn’t always easy to find, especially while adhering to the best practice standards set by the Marine Stewardship Council (sustainability means a lot to me). The dish is every bit as delicious when made with your favorite salmon, which is usually much easier to find.

This dish is satisfying, healthful and full of flavor!

It looks and tastes more extravagant than it is, and although I’ve named it “fish with fennel,” it would be better described as fennel with fish, given that the fennel shows up in three different forms—the seeds are ground to a powder for crusting on the fillets, the vegetable is caramelized in the mélange beneath the fish, and the fronds are chopped and sprinkled on top.


Would it surprise you to know that you can have this meal on the table in about 35 minutes, start to finish? It’s true. And Les, who is practically a living nutritional calculator, announced after cleaning his plate that our meal probably checked in at fewer than 400 calories per serving, which is not too shabby for such a flavorful, satisfying meal.

Ingredients

So few ingredients, yet so much flavor!

2 portions salmon*, skin removed (see notes)

1 tsp. fennel seed, ground to a rough powder

2 Tbsp. extra virgin olive oil

Kosher salt and freshly ground black pepper

1/2 bulb fennel, sliced* (should measure about 1 cup)

1 cup chopped fresh tomatoes (or canned, drained well)

1/4 cup low-sodium vegetable broth + 2 Tbsp. dry white wine* (or all vegetable broth)

15 oz. can cannellini (white kidney) beans, drained and rinsed

1 Tbsp. Dijon mustard

2 Tbsp. fennel fronds, chopped or minced


*Notes

Any type of salmon (wild sockeye, king, coho, etc.) works well in this recipe, but you might also consider swapping in another fish, such as arctic char or steelhead trout, which I used. If you are not comfortable removing the skin yourself, ask the seafood clerk to do it for you. Learn this task, and you’ll be unstoppable!

Fennel is a less common vegetable, one that you may have passed over in the supermarket for something more recognizable. It resembles something between celery and bok choy, but tastes nothing like either. It is crunchy with a slightly licorice flavor, and it pairs beautifully with all kinds of fish, especially when sautéed or stewed. The seed part of fennel might be more familiar to you. It’s the flavor that makes Italian sausage taste Italian.

If you use wine to deglaze the skillet, make it a dry one, such as pinot grigio. Alternatively, I frequently reach for dry vermouth, given that I always have a bottle open in the fridge. If you prefer to not use wine, just add another splash of vegetable broth, no problem.


Instructions


  1. Using a mortar and pestle or electric spice grinder, crush the fennel seeds to a rough powder. Don’t have either? Try putting the seeds into a bag and use a rolling pin to crush them. Season the fish fillets with kosher salt and pepper, then sprinkle the fennel powder onto both sides of the fillets and press to fully adhere it.
  2. Heat a large, non-stick skillet over medium heat. Add olive oil. When oil is hot and shimmery (but not smoking), lay fish fillets into pan. Cook about two minutes, then carefully turn fillets to cook the other side another two minutes. Transfer fish to a small plate and keep warm. I usually slip it into the microwave while I make the mélange.
  3. Add fennel pieces to the skillet. Season with salt and pepper. Sauté, tossing occasionally, until fennel is caramelized and tender, about five minutes.
  4. Add tomatoes, then broth, plus wine. Stir until combined and liquid is simmering.
  5. Add beans and mustard. Toss to combine, reduce heat to low.
  6. Return fish to the pan, resting the fillets on top of the mixture. Cover and simmer on low for about 8 minutes, which is just about enough time to set the table and chop the fennel fronds.
  7. Plate the meal, with fish fillet resting on top of the fennel-bean mixture. Sprinkle the chopped fennel fronds on top and serve.

Want to make this recipe?


“Un-stuffed” Cabbage Roll Soup

One of my favorite things to do in the kitchen is an unexpected twist on a food from my childhood. I remember seeing a recipe card in some family member’s collection for a dish called “glumpkies” or “go-umpkees” or something like it. Who knows the story on the name of the dish, but I remember that I really liked these rolled up packages of seasoned meat and rice inside tender leaves of cabbage and smothered in rich tomato sauce. It was pure comfort food, and though I’ve made them plenty of times in their classic form, I much prefer this simple, one-pot interpretation.

My Comfort du Jour twist on stuffed cabbage is what you might call a “deconstruction,” and it makes the classic dish a lot more approachable with minimal effort. It’s a pain to pre-cook the cabbage for traditional stuffed rolls, and in many ways, it even feels dangerous. I’ve burned myself in some of my early attempts to make the rolled-up version, and in some other attempts I’ve ended up with too much of the cabbage head remaining, and limited options for how to use it because it’s been boiled. That certainly won’t work for cole slaw, and what else are you gonna do with a bunch of extra, partially-cooked cabbage?

One of the flavors I always associate with cabbage rolls is caraway, the same seed that gives deli rye bread a distinct seasoning. I don’t know where the caraway was introduced to this dish for me, but it adds a little something that really works with the rustic chunks of cabbage, tomato and ground beef. If your family has a favorite traditional season, consider how you might put your own spin on my recipe with those beloved flavors.

The rest of the ingredients are simple, and you only need a medium stockpot and about an hour of simmering to get it on the table. Enjoy!

Served with a slice of crusty bread, this soup is hearty, satisfying and comforting.

Ingredients

1 lb. lean ground beef (90% lean is good)

1 tsp. caraway seed, crushed or milled in a spice grinder*

1 medium onion, rough chopped

Extra virgin olive oil

2 cups green cabbage, rough chopped

15 oz. can diced tomatoes, preferably low sodium

Salt and pepper

1 32 oz. carton beef broth, preferably low sodium

Cooked brown rice for serving


*Notes

Caraway seed is the same spice that gives rye bread a distinctive flavor. I’m not sure how I came to associate this flavor with stuffed cabbage rolls, but it is really delicious with the cabbage, tomato and meat. Substitute your own favorite flavor, or simply omit this ingredient. The soup will be delicious either way!


Instructions

  1. Press ground beef on a cutting board or parchment into a flat shape, about 1/2″ thick.
  2. If you have a spice grinder or mortar and pestle, use it to crush or grind the caraway seed into smaller bits. This is not essential, but it contributes flavor without the seed texture.
  3. Sprinkle the caraway powder or whole seeds all over the surface of the ground beef, and press to fully adhere it.
  4. Place a medium, heavy-bottomed pot over medium heat. Swirl in about a tablespoon of olive oil. Add onions and sauté until slightly softened and golden. Season with salt and pepper.
  5. Tear off bits of ground beef and add them, only a few at a time, tossing in the hot oil to cook the edges before adding another small handful. Repeat until all ground beef is lightly browned. Avoid the temptation to add all the meat at once, as this will result in mushy meat rather than browned, individual bits.
  6. Add the chopped cabbage to the pot and toss to begin cooking. Add tomatoes, sauce included.
  7. Add beef broth and stir to combine. Allow mixture to come to a light boil, then cover and reduce heat. Simmer about an hour, until cabbage is tender.
  8. Serve over brown rice.

Want to make this recipe?