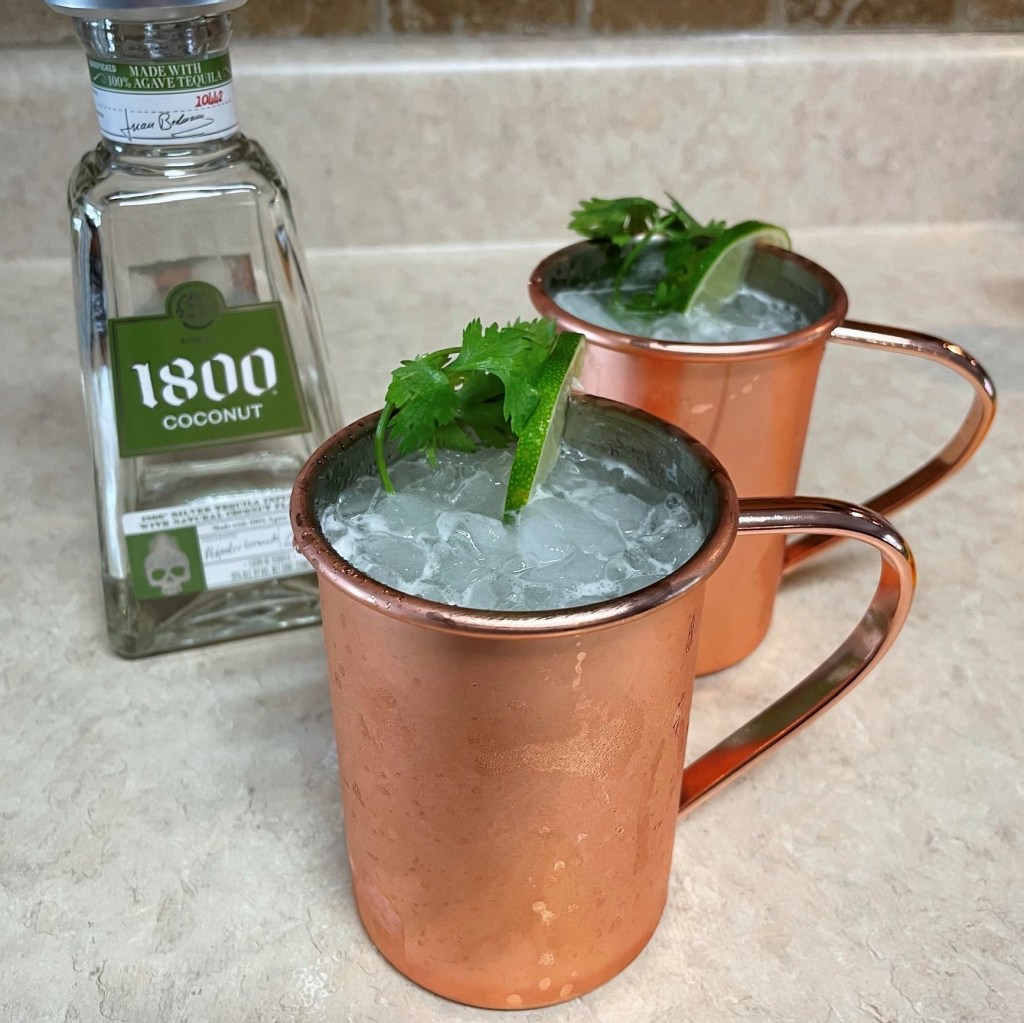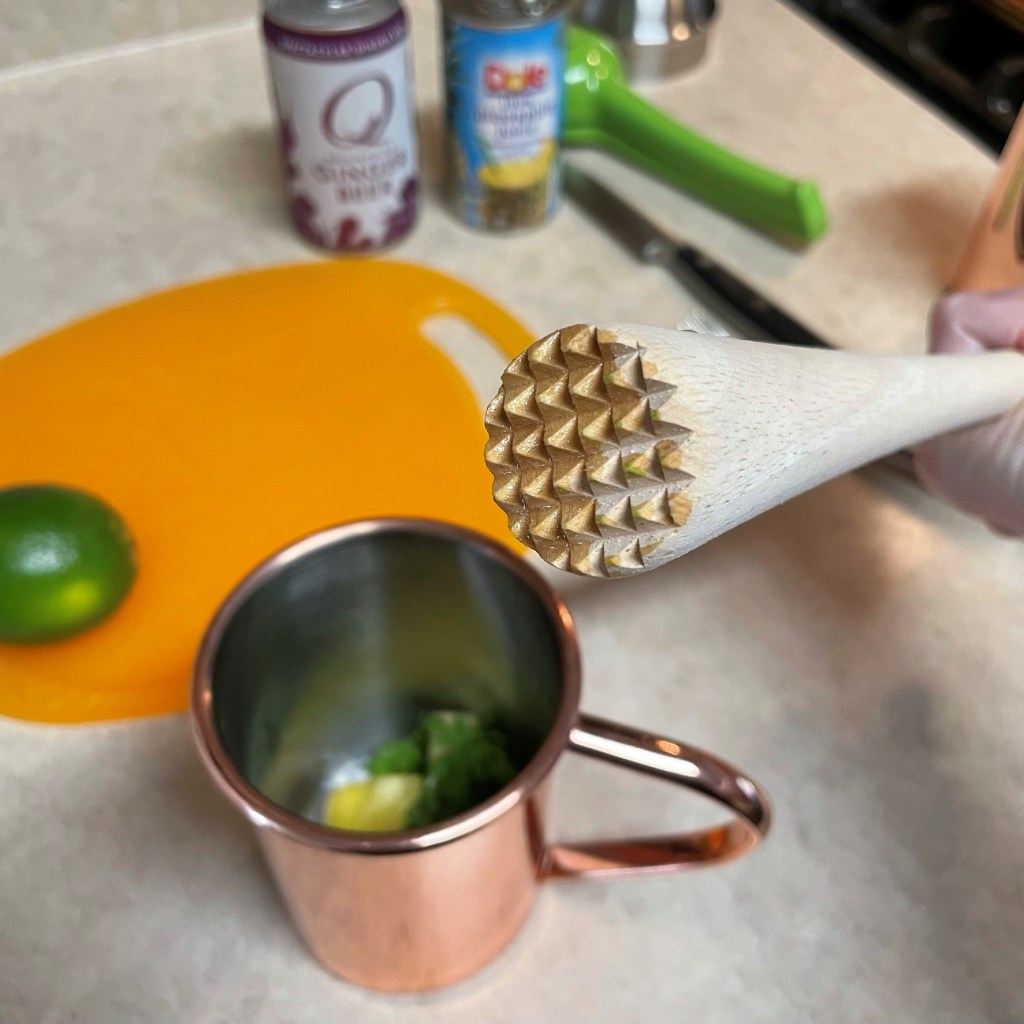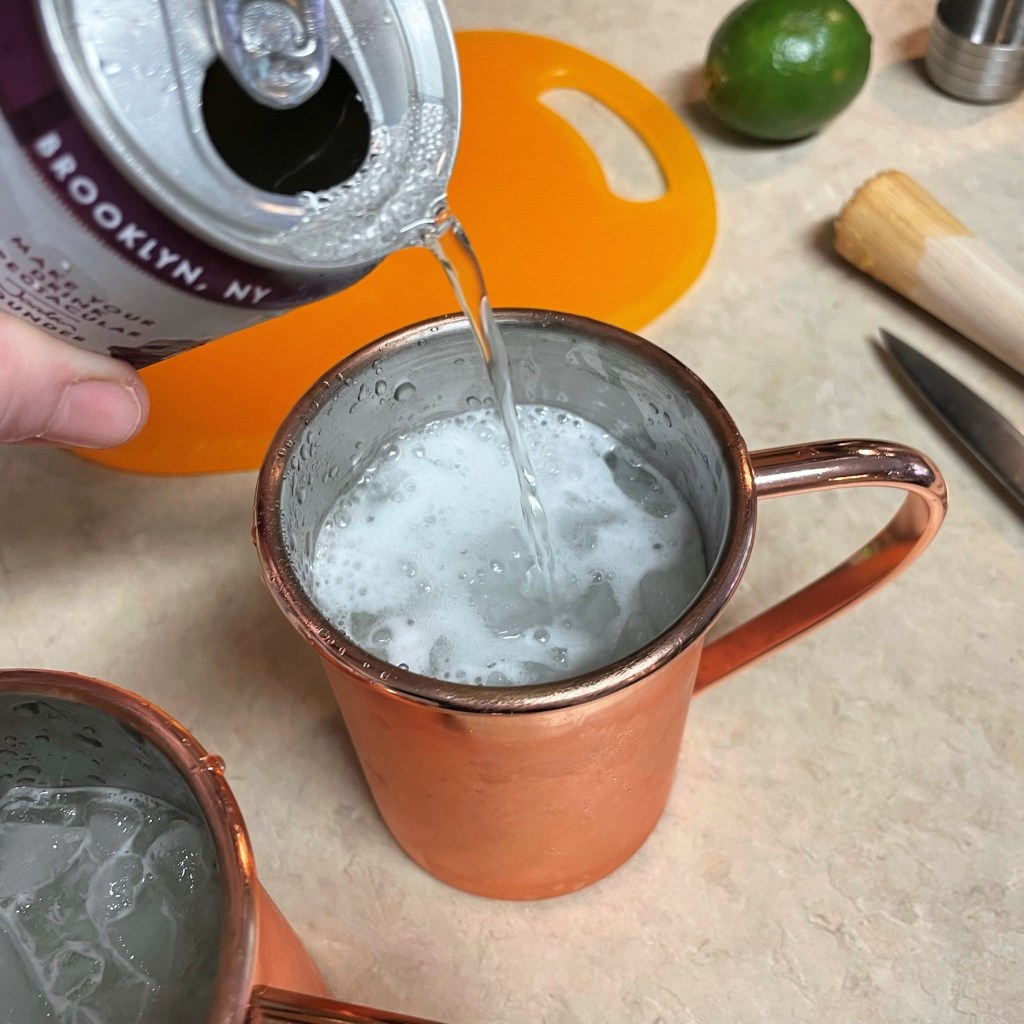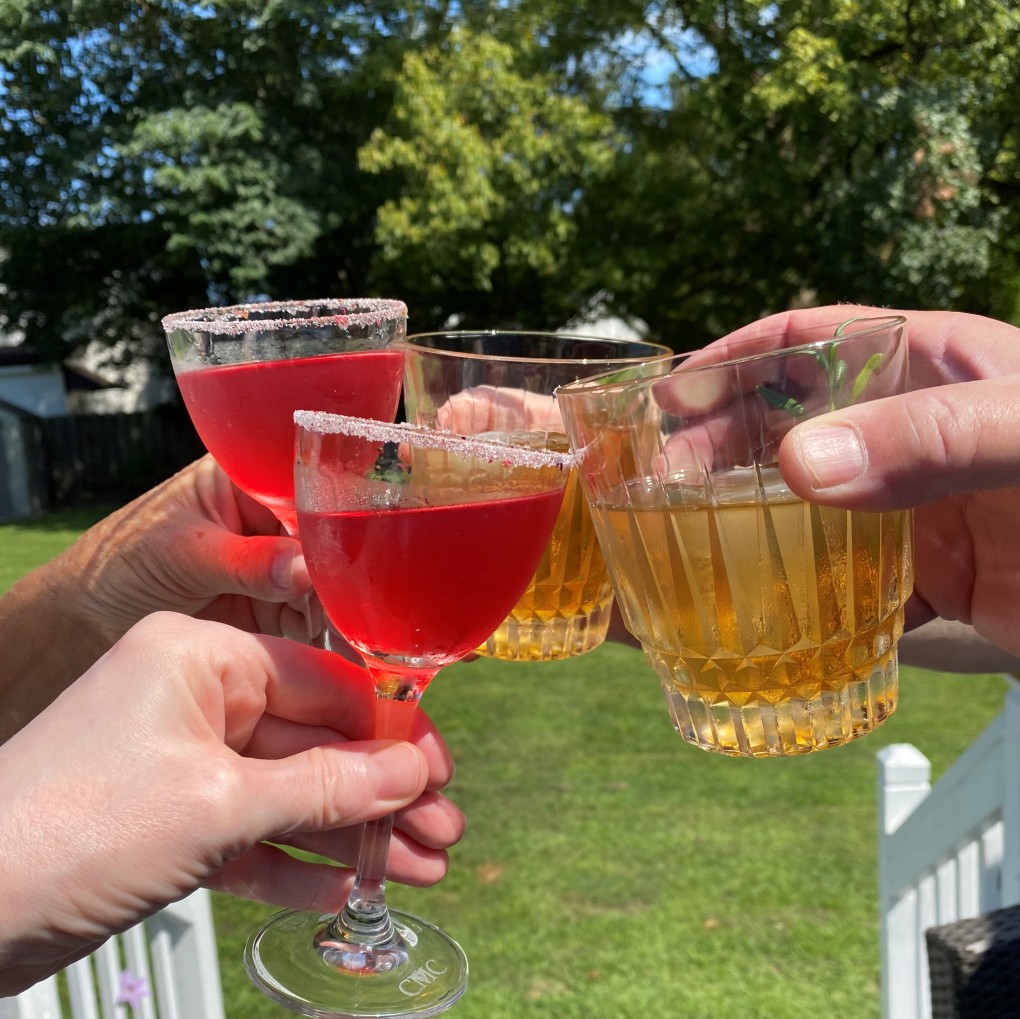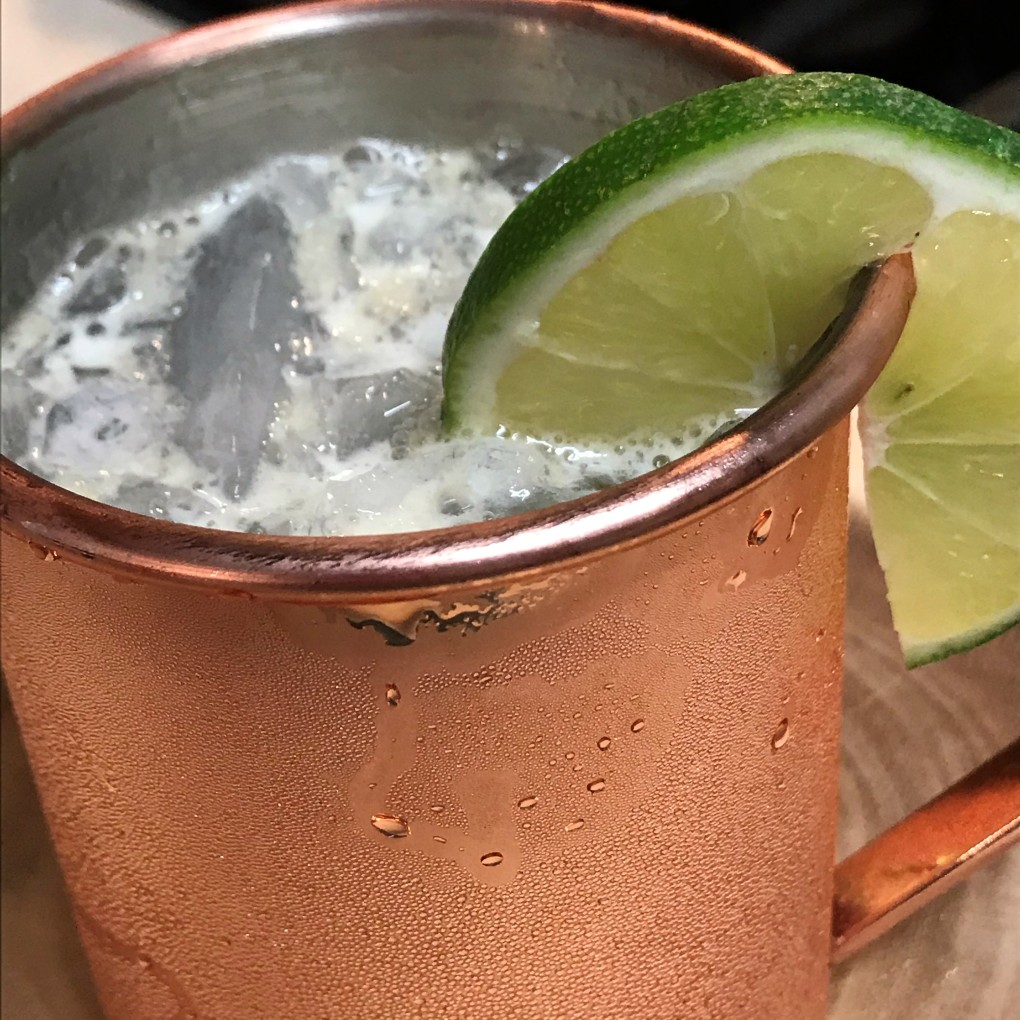
We are on a bit of a Southwest/Mexican kick at our house recently, and there are two likely reasons. First, it’s grilling season, and we enjoy cooking outdoors where it is already hot rather than heating up the house with the oven or stovetop. Southwest flavors go hand-in-hand with the grill. The other reason for this spicy flavor trend is that when my husband, Les, and I make anything with jalapenos or cilantro or chipotle, we usually begin with fresh ingredients, which means we stay on the lookout for other ways to use the remainder of those fresh items. Last week, we hosted one of Les’s buddies for dinner in our home, and our entire meal followed this theme, from the pineapple-cilantro mules and a tropical shrimp-crab ceviche to the cilantro-marinated skirt steak with handmade tortillas, all the way through to a salty-citrusy Paloma pie, which I will be sharing with you very soon. Ooh, I do love a theme party.
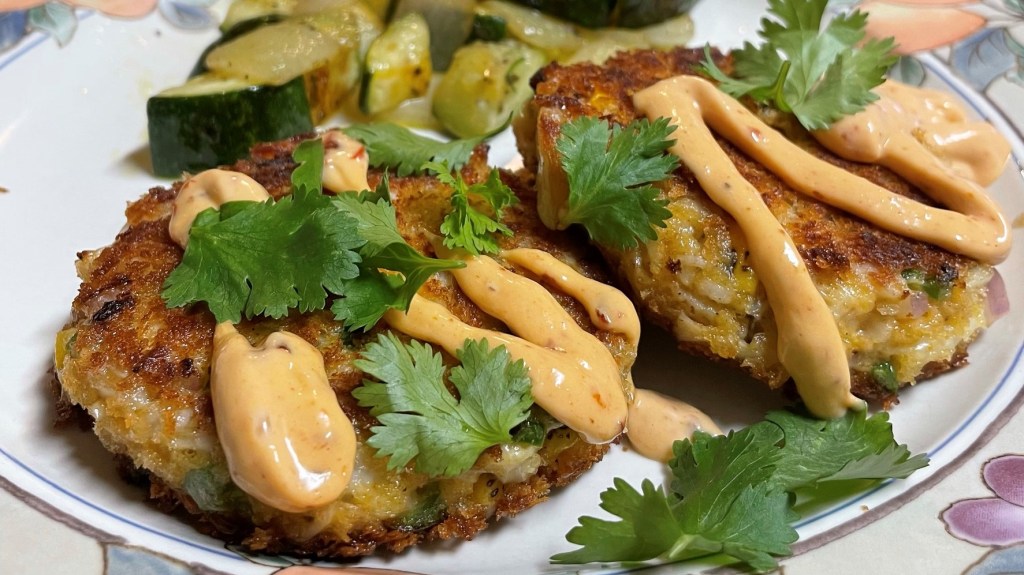
There are many ways to enjoy the flavors that are beloved south of the border, and this time, I’m diving into the ocean to put a slightly spicy, southwestern twist on fresh crab cakes. These easy-to-make patties are Mexed out with minced jalapenos, red onions, fire-roasted corn and a chipotle-spiked mayonnaise binder. I coated them with panko crumbs and pan-fried them for a crispy edge that kept all the tender, delicate crab nicely contained.
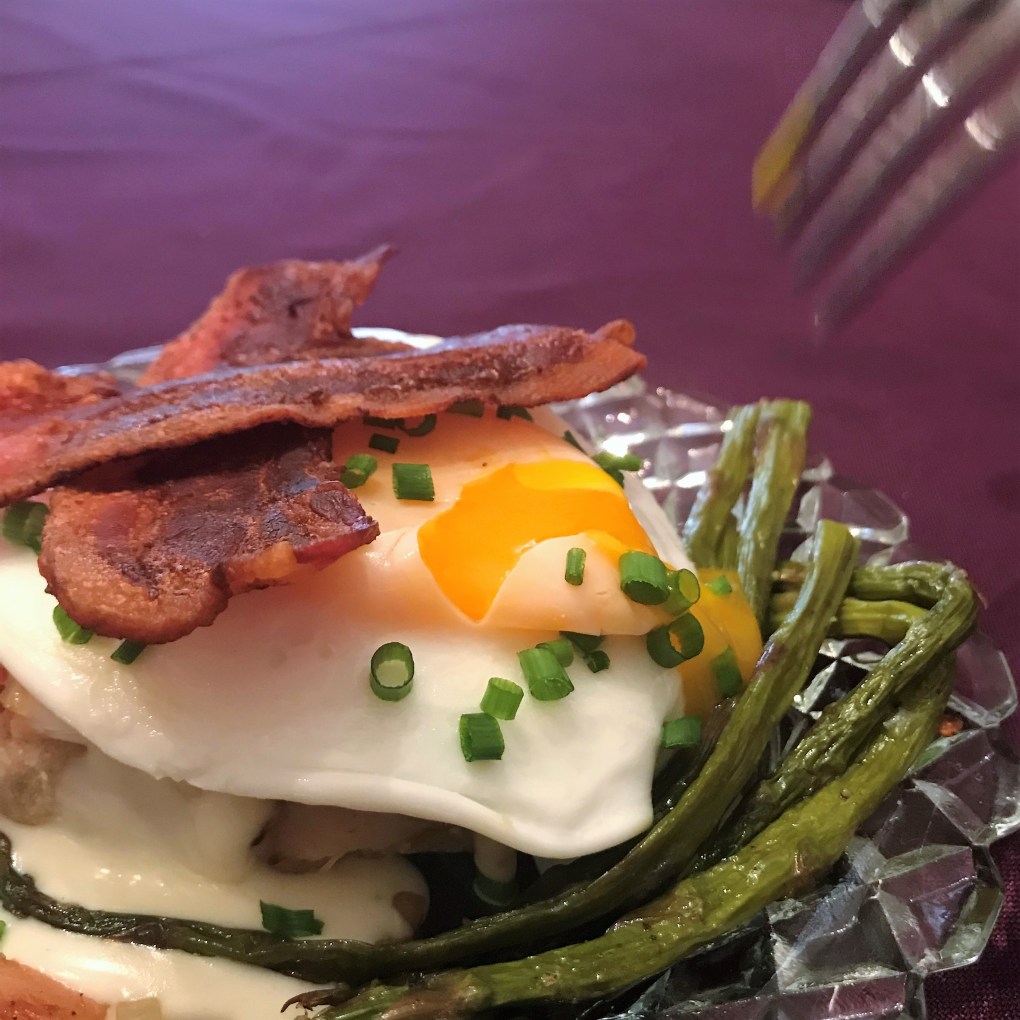
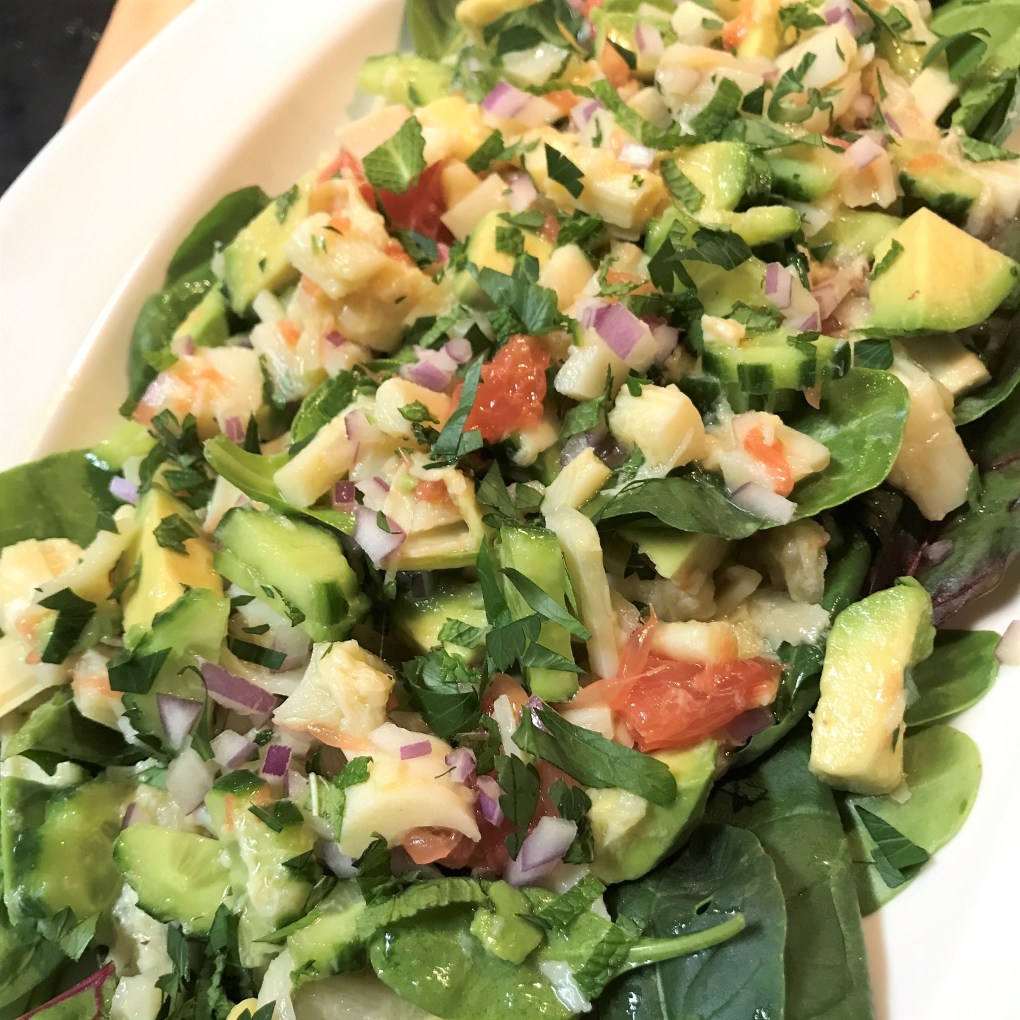
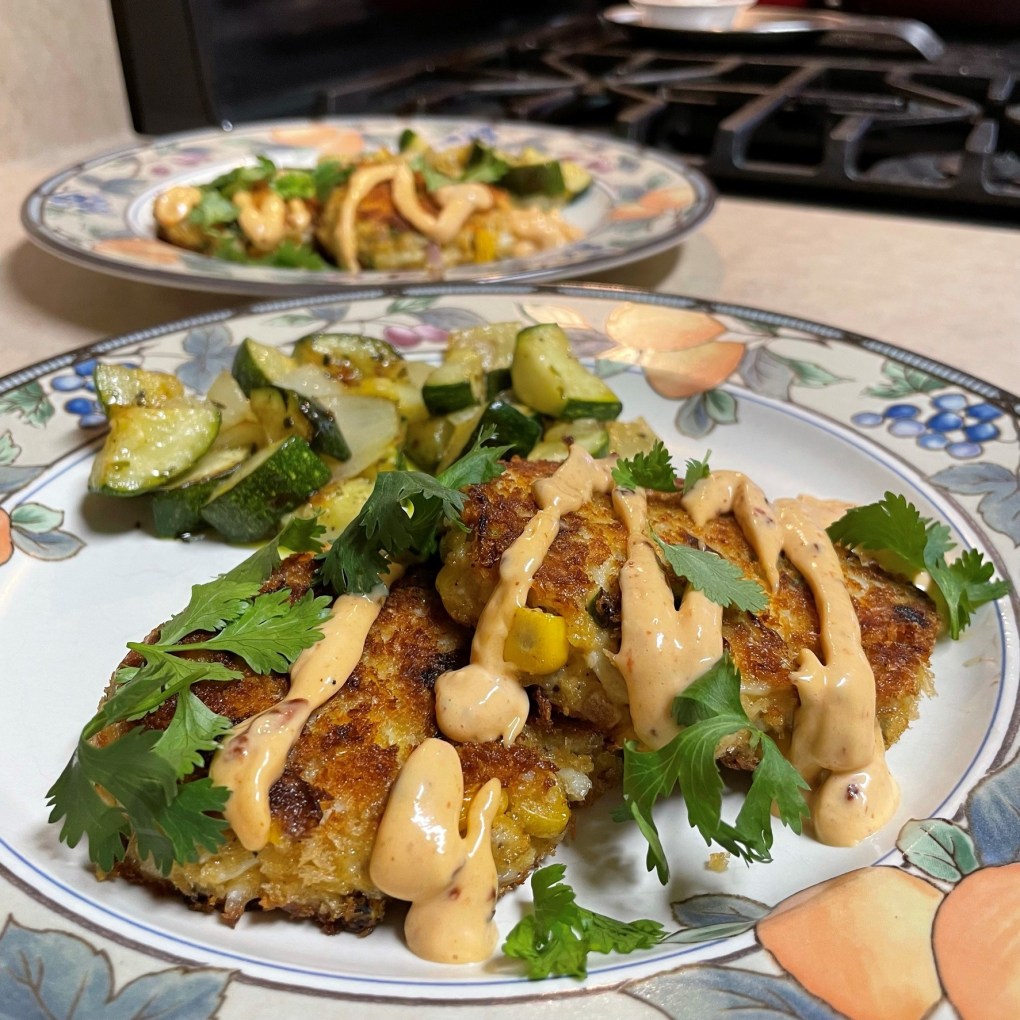
What I love about this recipe (besides the fact that it was simple to make in stages when I had free moments through the day) is that it can be imagined and served in various ways—we paired the crab cakes with sautéed zucchini and onions for a light, low-carb weeknight dinner, but you could just as easily turn it into a crab cake sandwich on a brioche bun, with a chipotle-infused tartar sauce. Or perhaps as a Mexican-style Sunday brunch benedict, atop a crispy fried corn tortilla with a poached egg and green chili aioli. You could even make them itty-bitty and serve them as an appetizer. If you wanted to go way outside the box (or shell, as it were), you could swap the crab for drained, chopped hearts of palm and make them vegetarian! I mean, it’s your party. I’m only here to offer inspiration and pictures.
This recipe follows the same general ratio of ingredients as the scallion-sriracha salmon cakes I shared a few months ago and the artichoke-crab cakes that I put on top of a salad. Hey, that gives me another idea—why couldn’t these south-of-the-border crab cakes adorn a Tex-Mex salad? Of course they could.
Serves 2
Ingredients
1/3 cup canola mayo
1 Tbsp. chipotle w/ adobo puree* (see notes)
2 Tbsp. minced jalapeno
2 Tbsp. minced red onion
2 Tbsp. fire-roasted corn, thawed and patted dry
1/2 beaten egg (save the rest for another use or discard it)
Salt, pepper and garlic powder
1/4 cup panko crumbs (plus 1/4 cup extra for shaping)
6 oz. lump crab meat, picked over to remove pieces of shell
Small handful of cilantro, optional for serving
*Notes
To make the chipotle with adobo puree, empty an entire can of chipotles in adobo sauce into a food processor or blender. Pulse, then run continuously until the mixture is relatively smooth. You will only use a small amount of the mixture for this recipe. We use up the rest of it in a number of ways—in deviled eggs, hummus, homemade bbq sauce, hot dog chili, or anything else you want to give a little smoky, spicy kick in the pants. For sure, try Les’s smoky guacamole, which includes a few tablespoons of this pureed chipotle with adobo.
Instructions
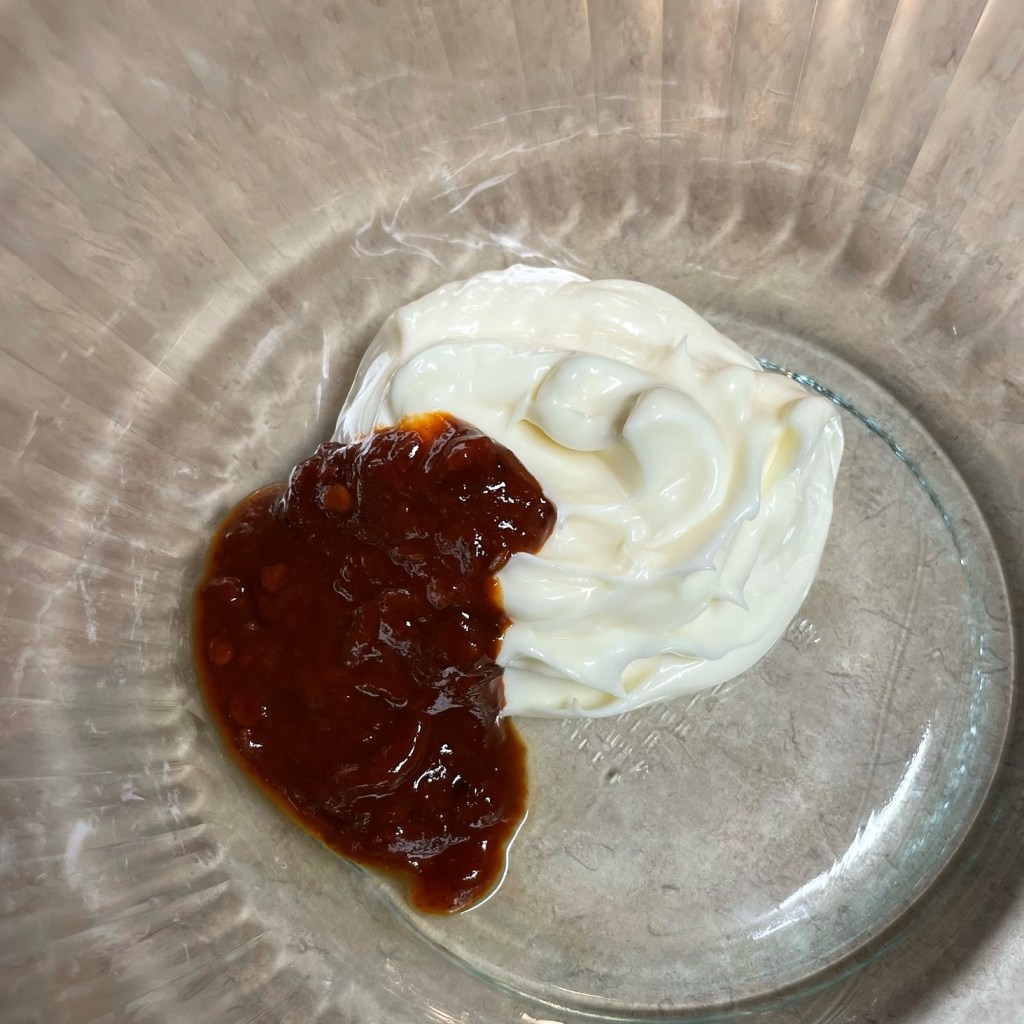
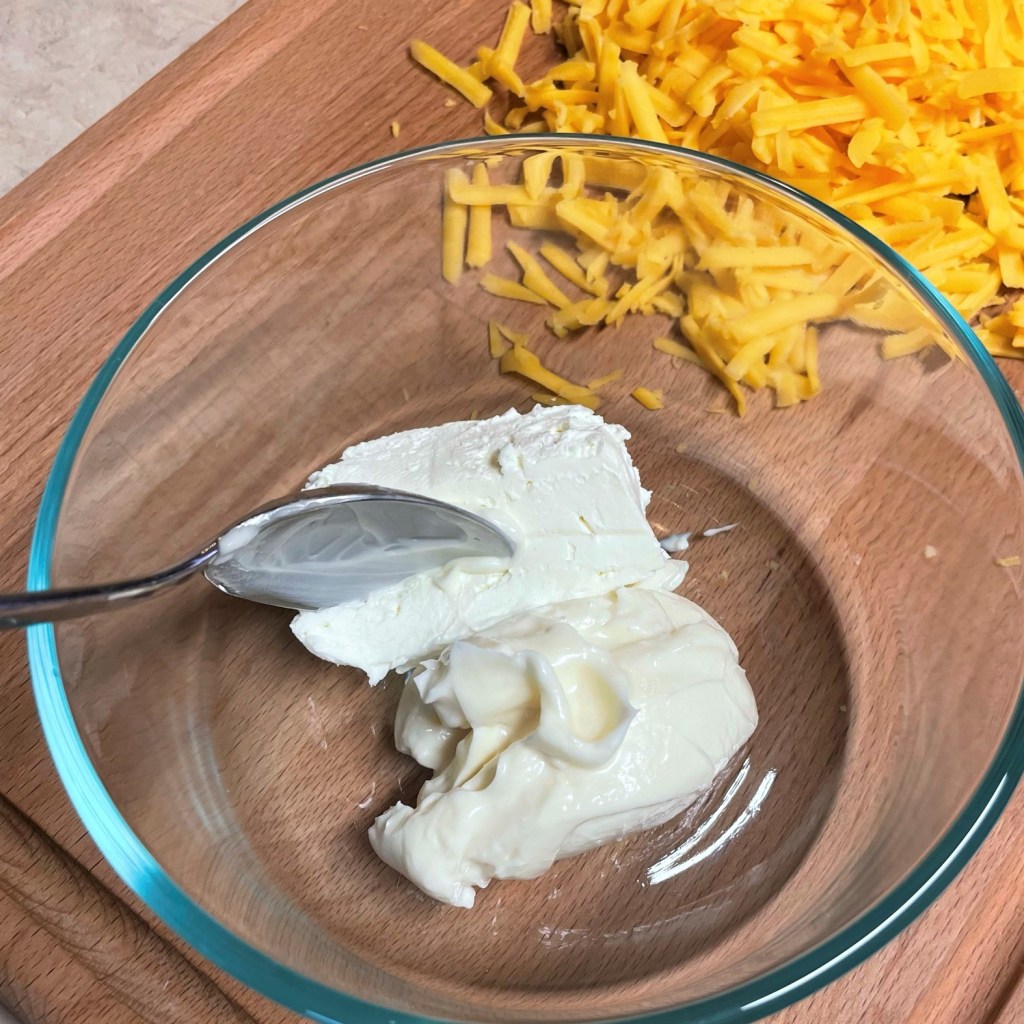
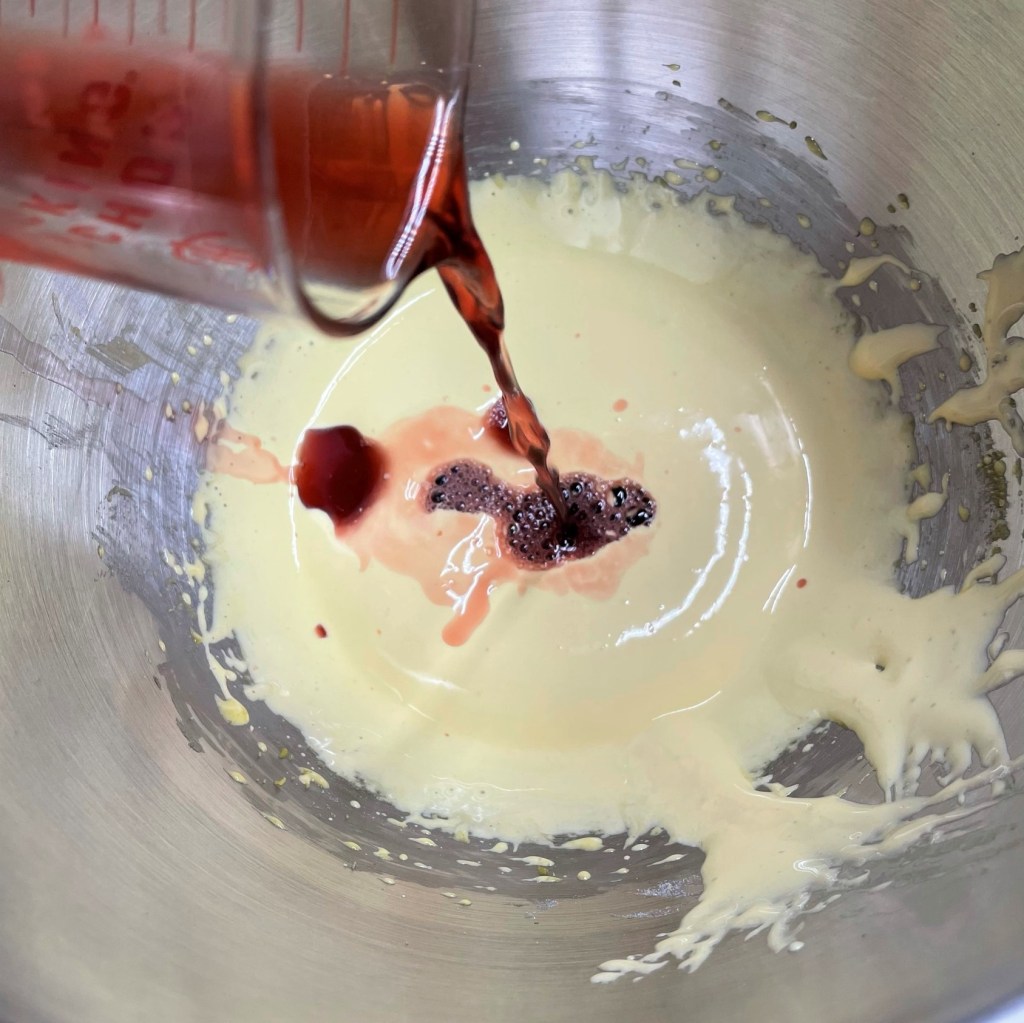
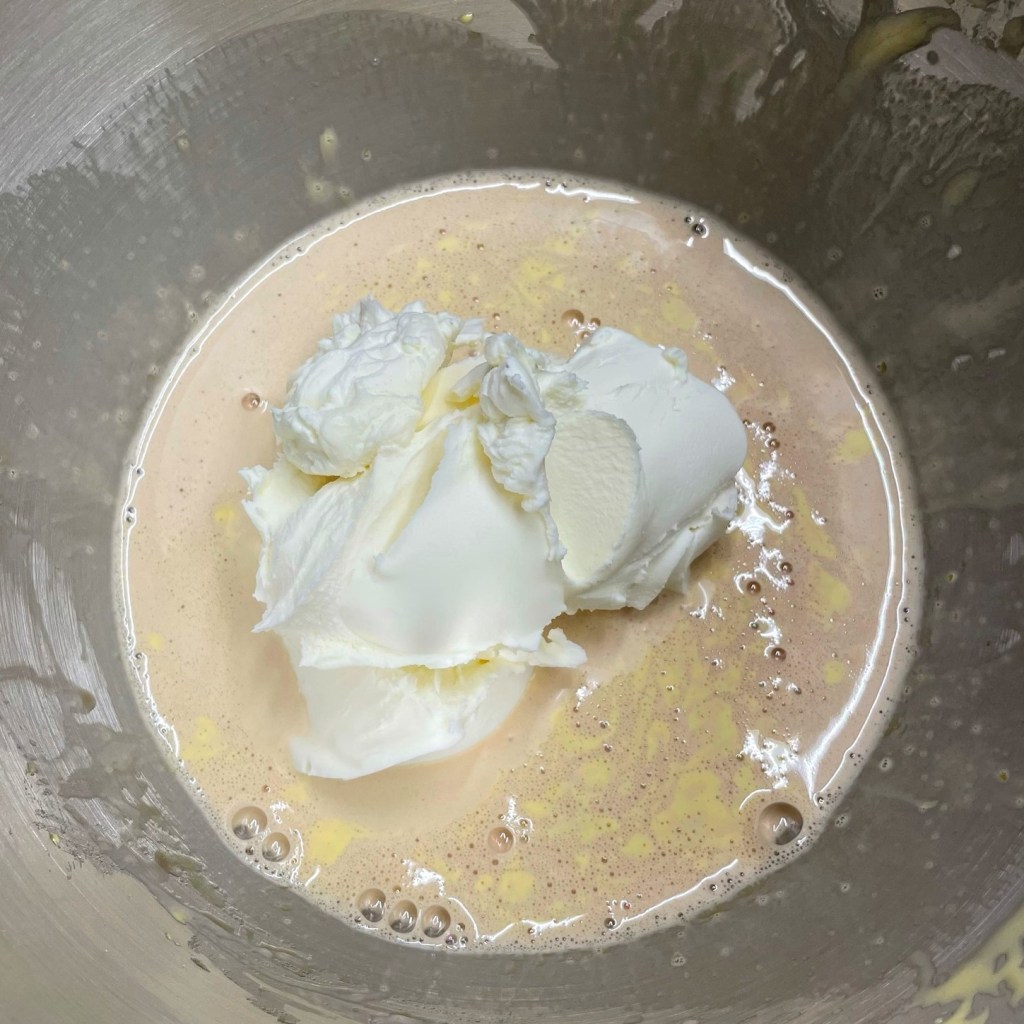
Combine the mayo and chipotle puree in a bowl that will be large enough to eventually hold all your ingredients. 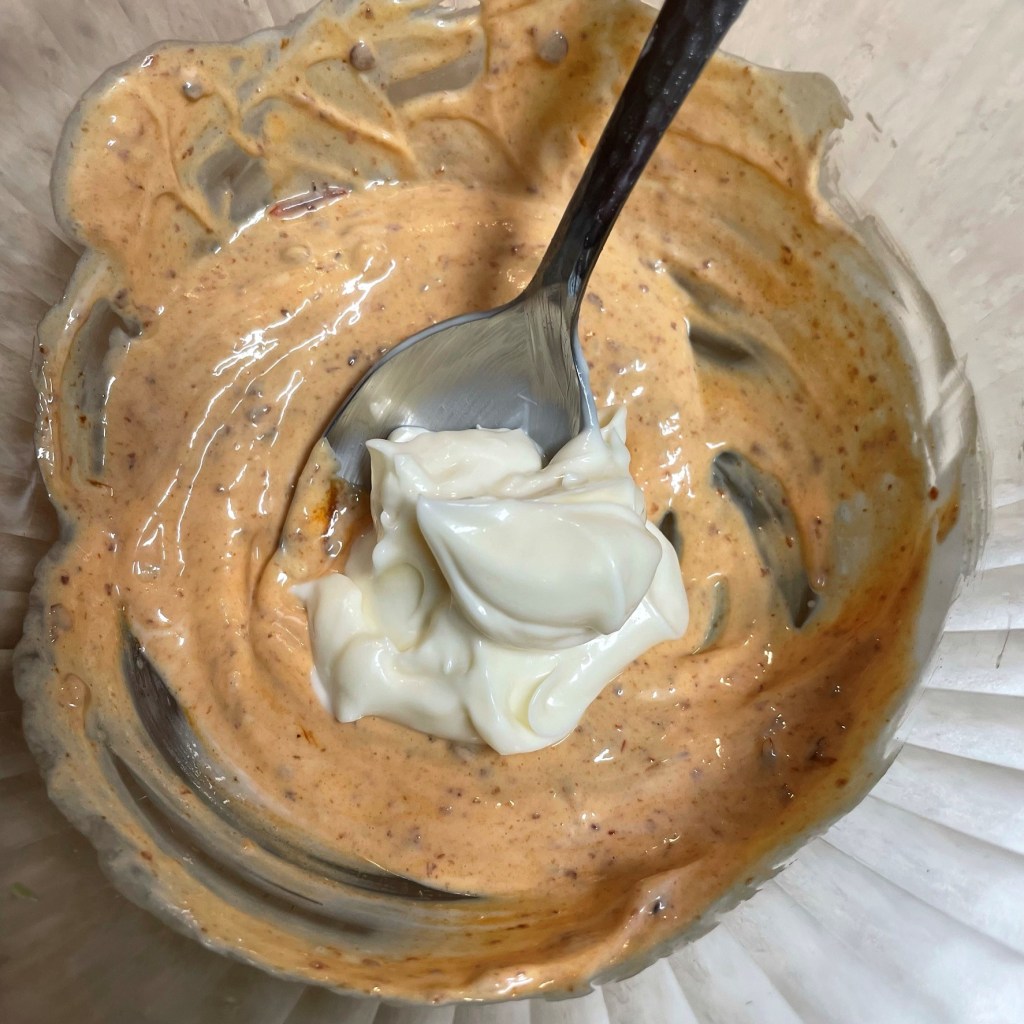
I increased the mayo to 1/3 cup, mainly to accommodate the volume of my crab cake add-ins. 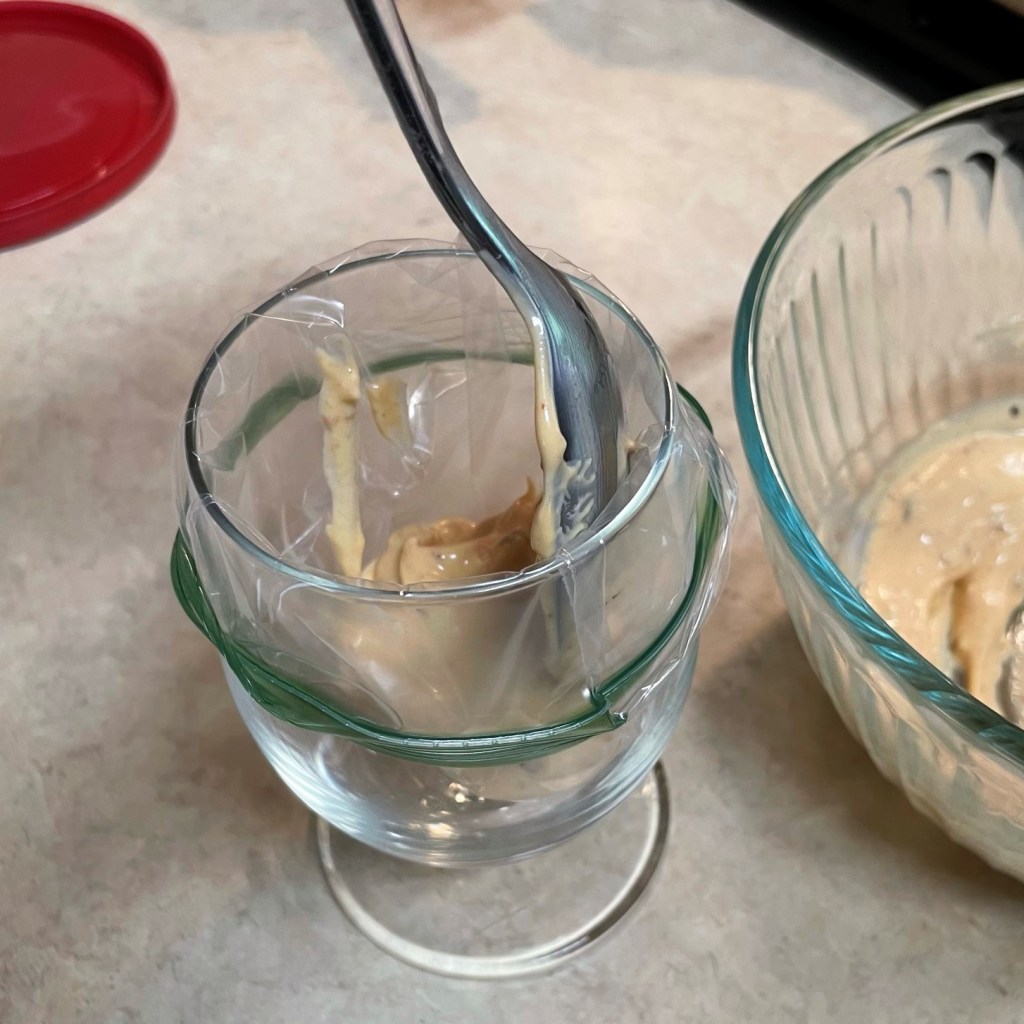
Transfer a few tablespoons of the mayo sauce to a small zip top bag, and reserve it for dressing up the finished crab cakes. Keep it chilled. 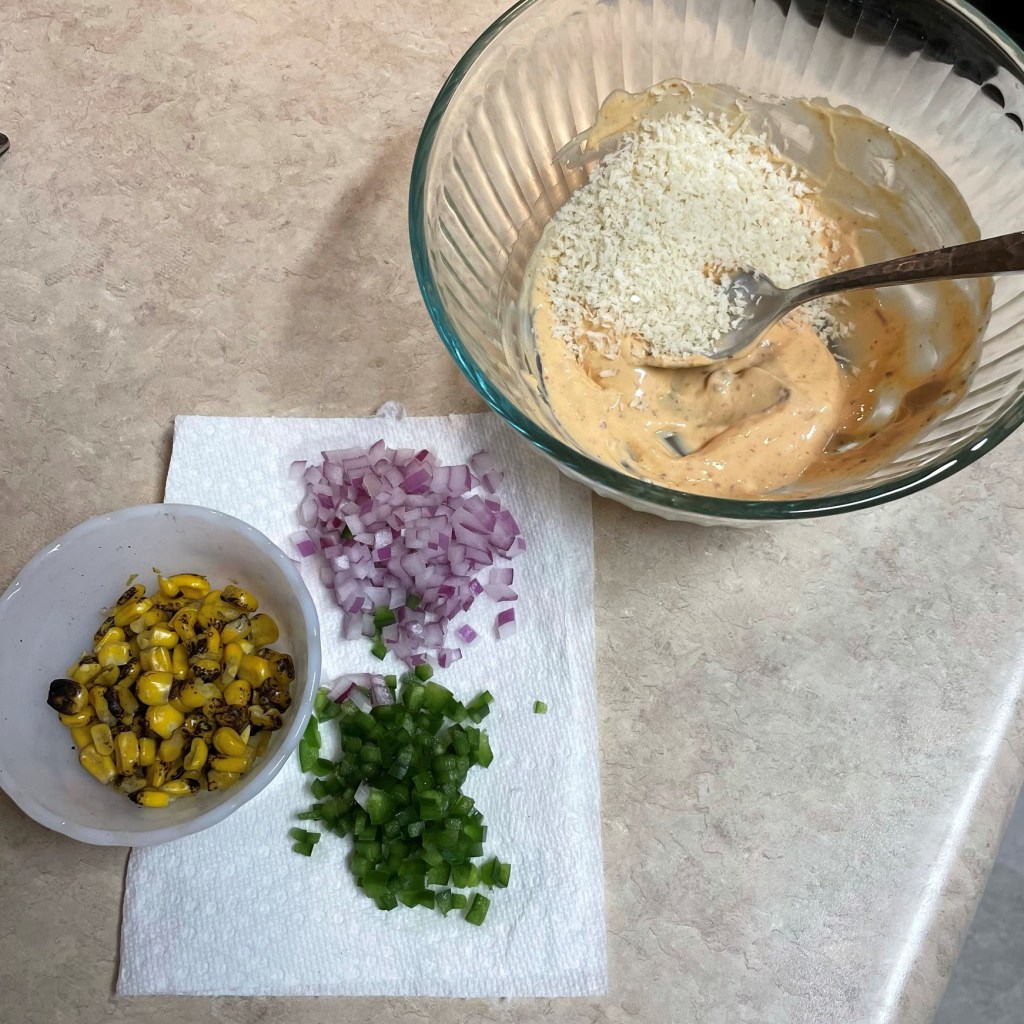
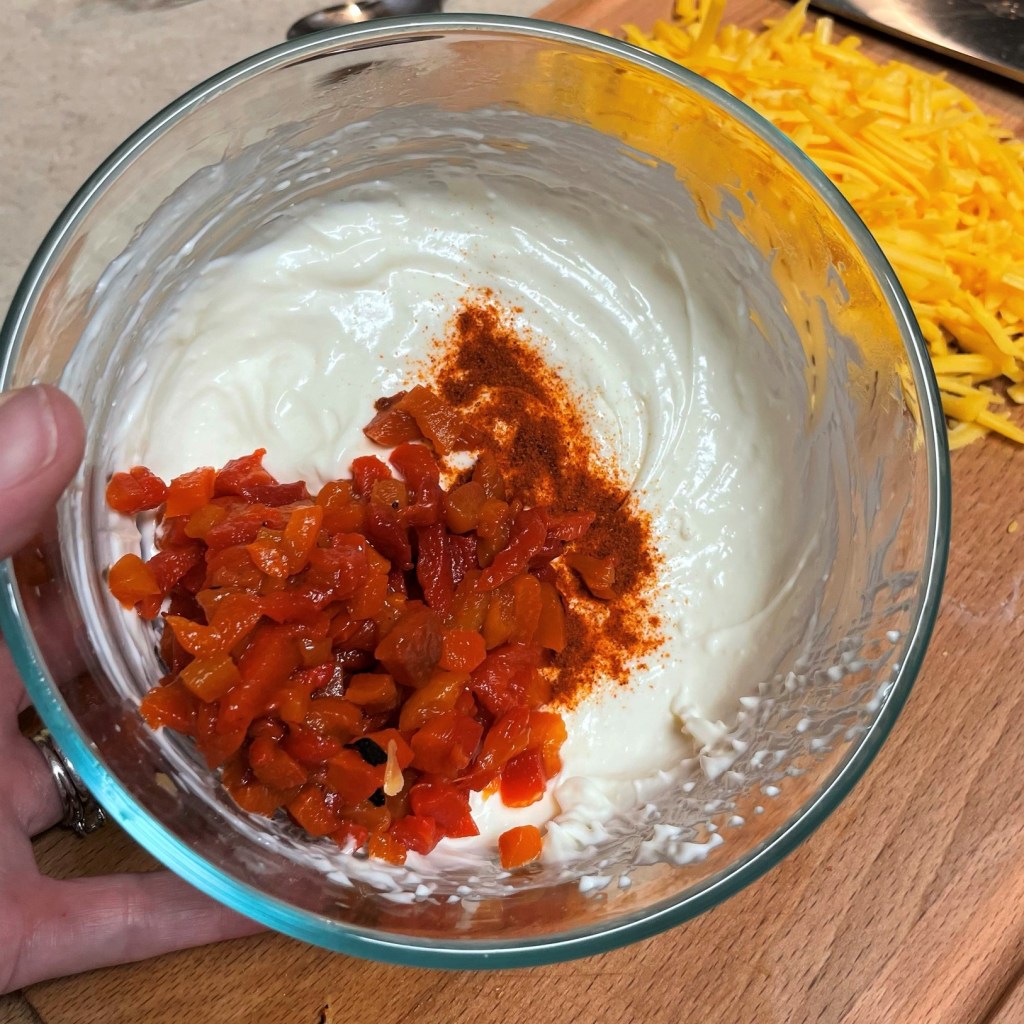
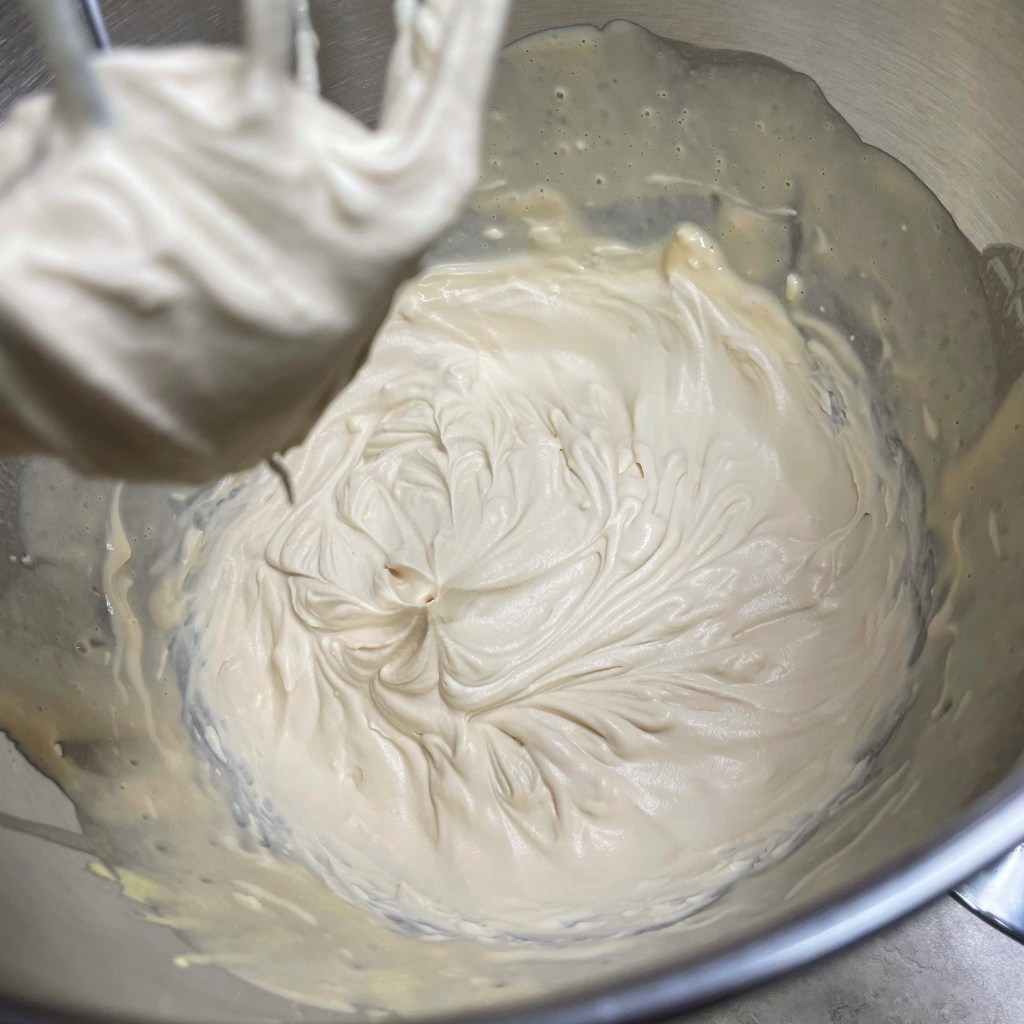
Add the panko crumbs and vegetable add-ins, and stir to combine well. It’s best to mix these ingredients first, so you can use a gentle touch to fold in the crab. 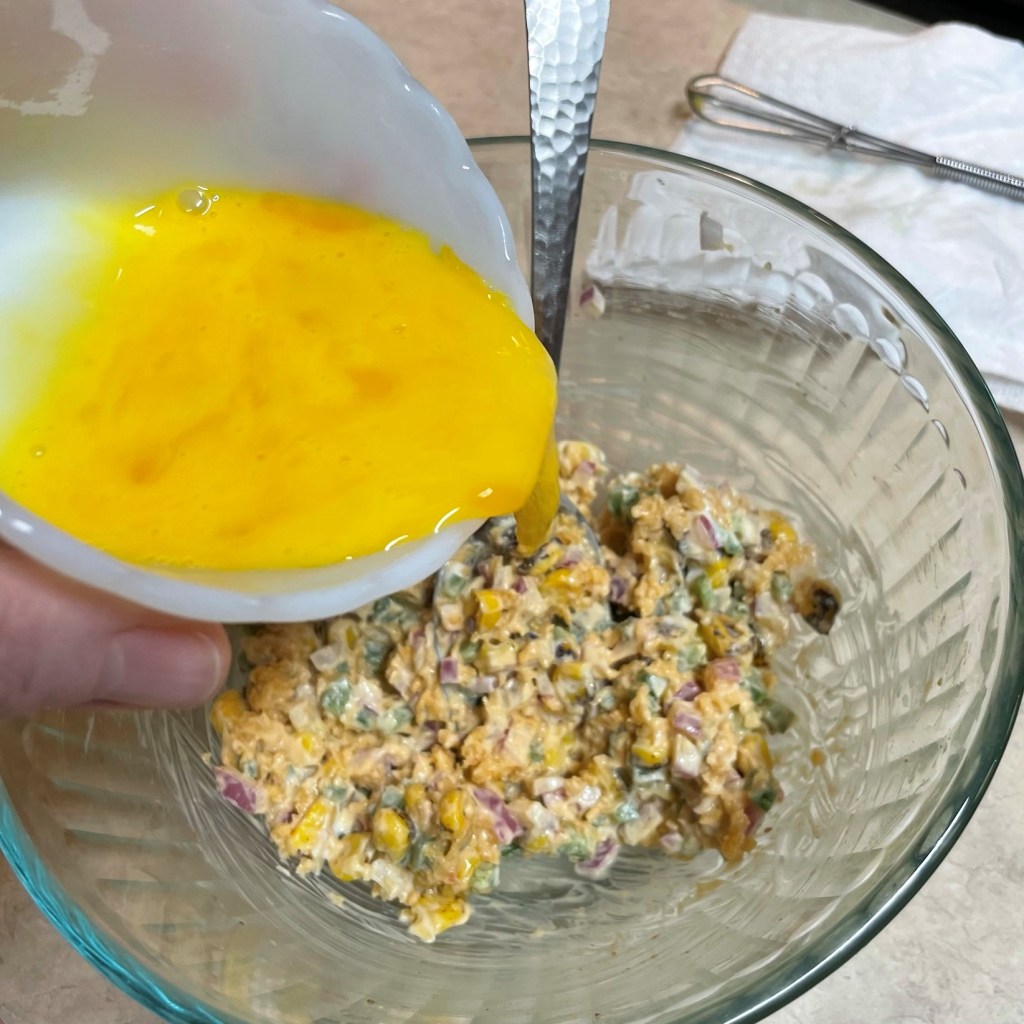
Use about 1/2 of the beaten egg to help with binding the crab cakes. A whole egg will produce an overly wet mixture. 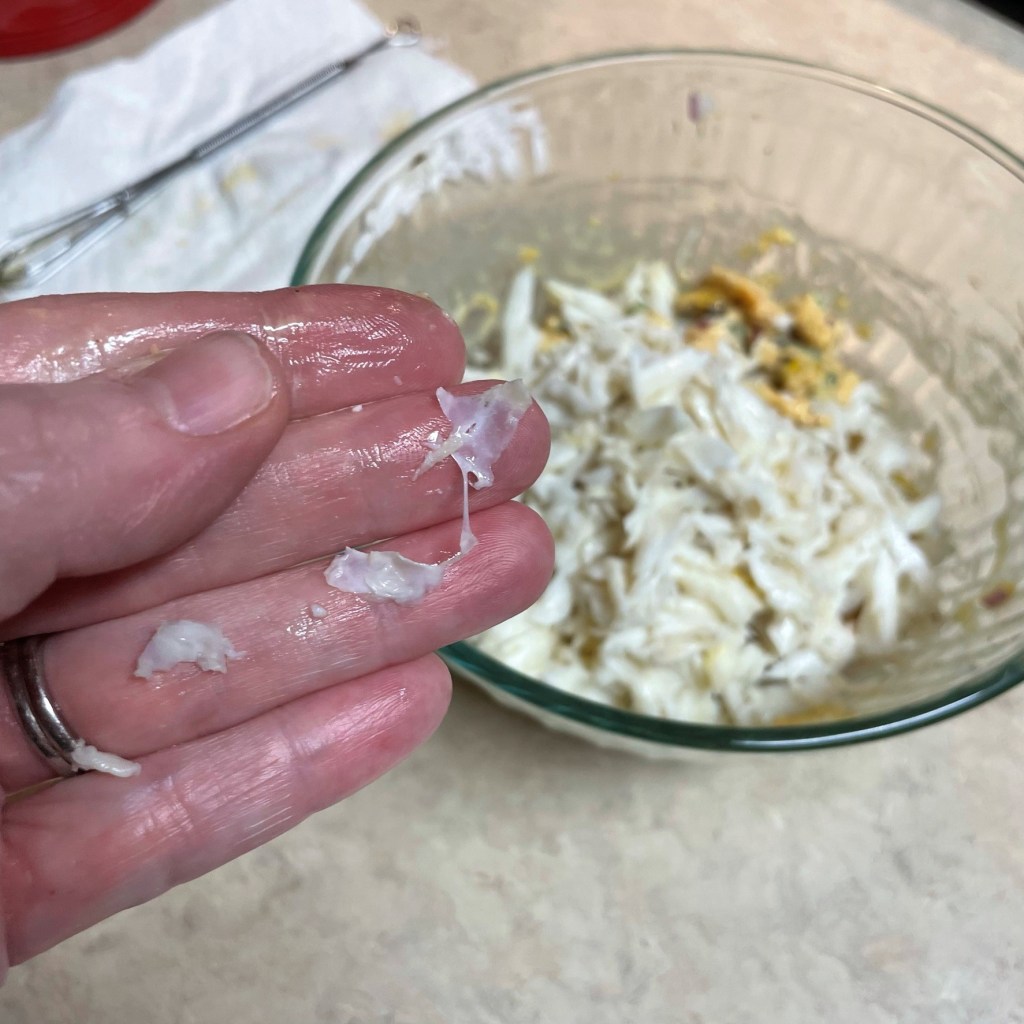
Always pick over crab meat to remove tiny bits of shells They are hard to see, but easy to feel, so I usually do a gentle massage of the crab meat, sifting it through my fingers. 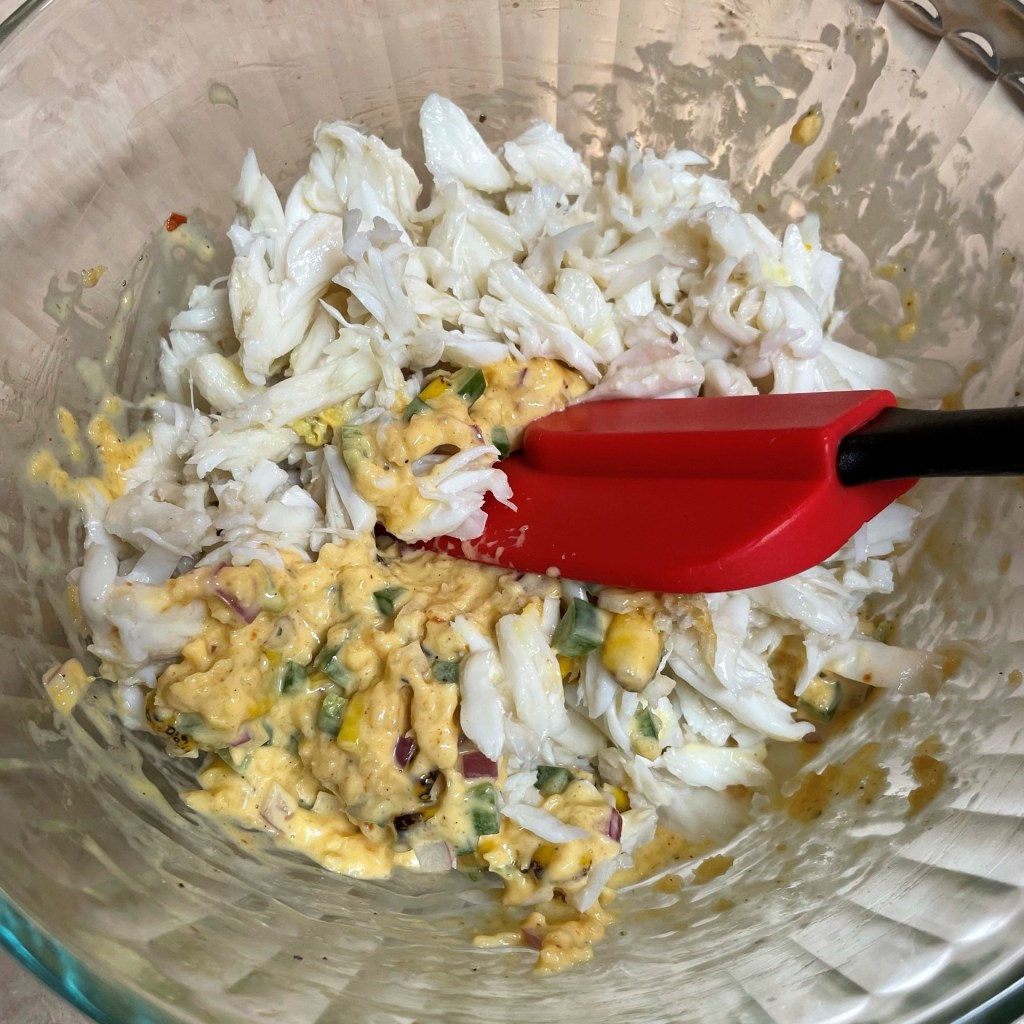
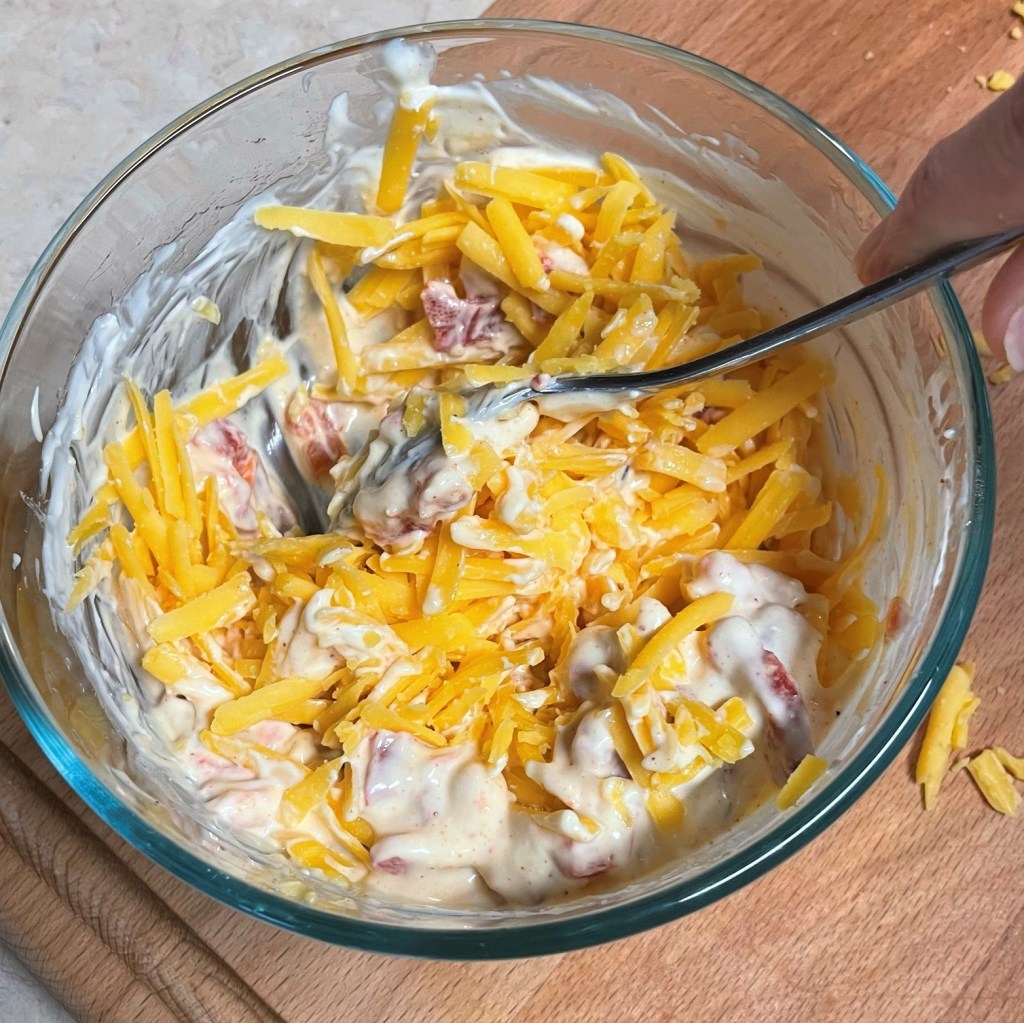
Gently fold the crab meat into the binder ingredients. Easy does it, or you will risk breaking up the lumps. 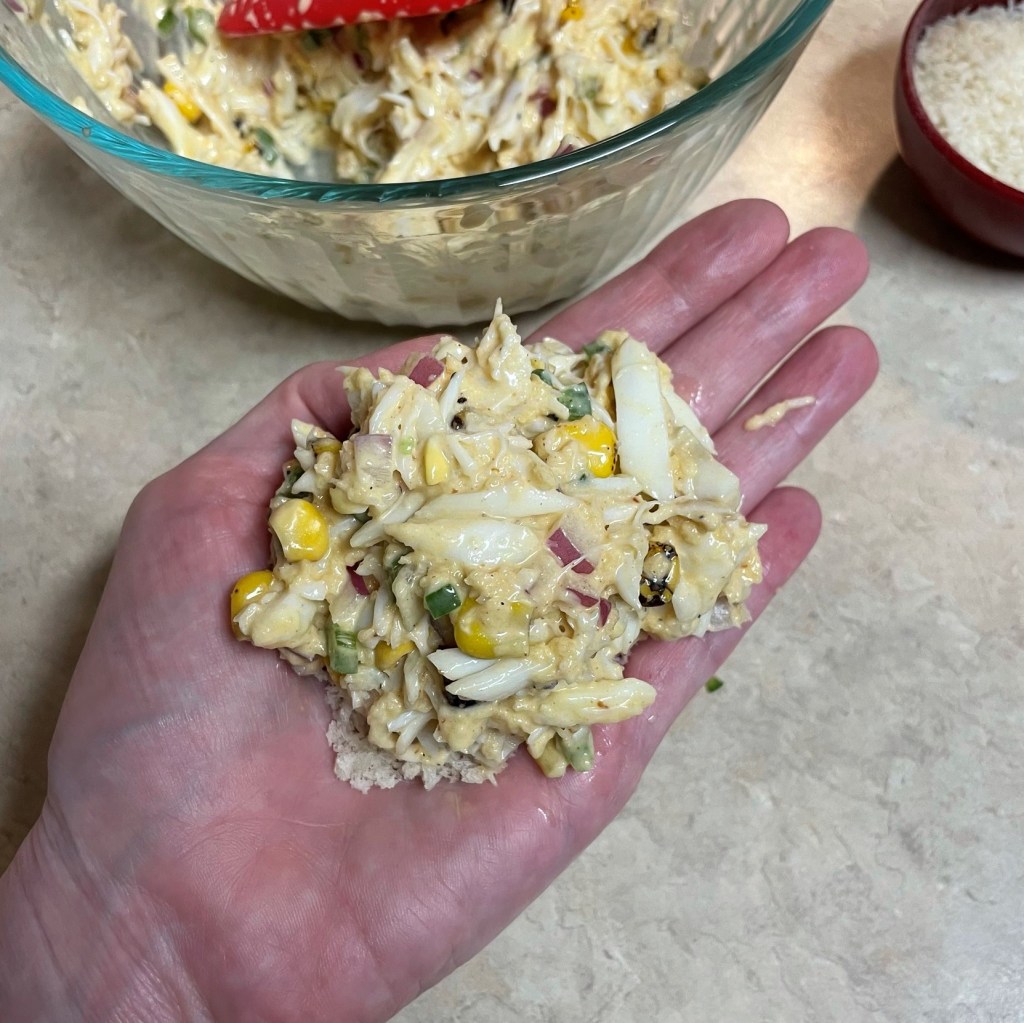
I recommend sprinkling a bit of panko crumbs into your hand before you start shaping the cakes. They don’t have to be perfect, just portion them to be about the size of hockey pucks. 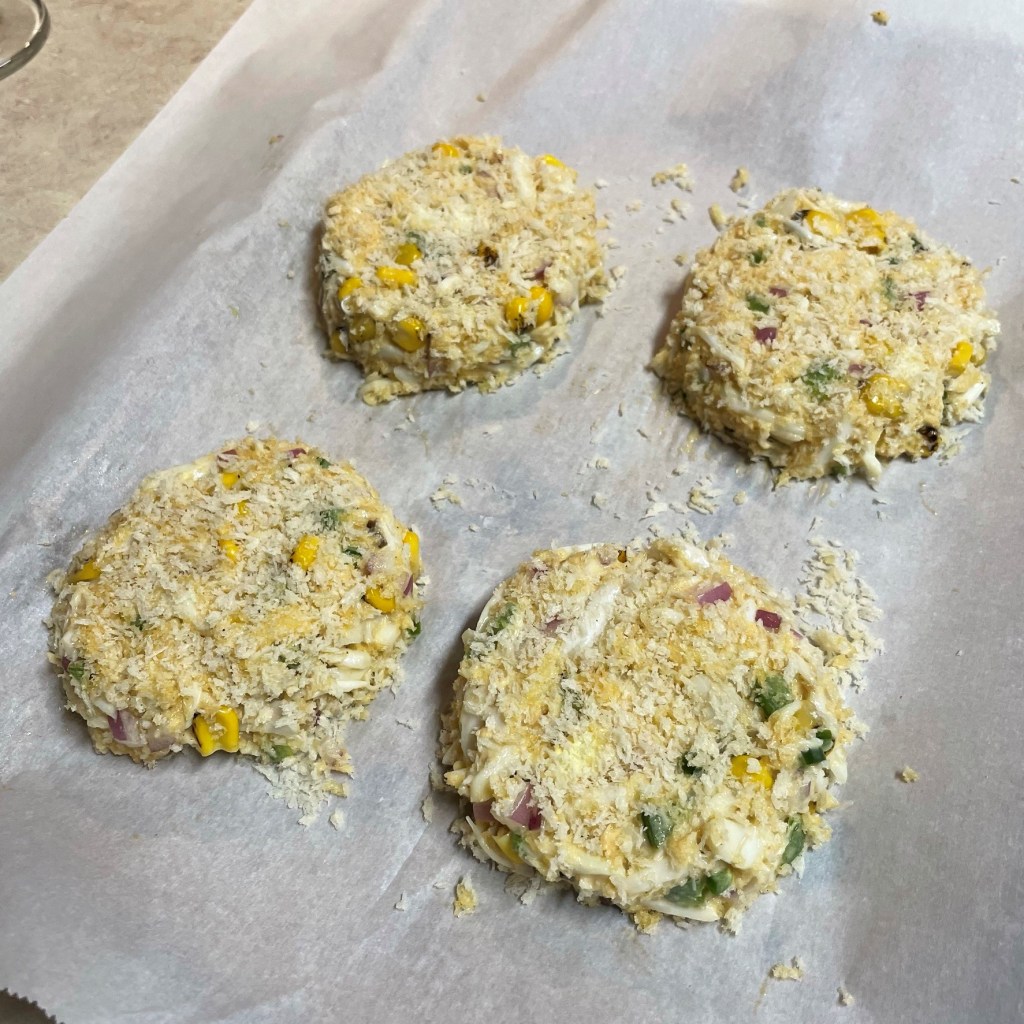
Place the cakes on a parchment-lined baking sheet, and adjust the shape if needed. Cover and chill at least an hour. The cakes will firm up in the fridge. 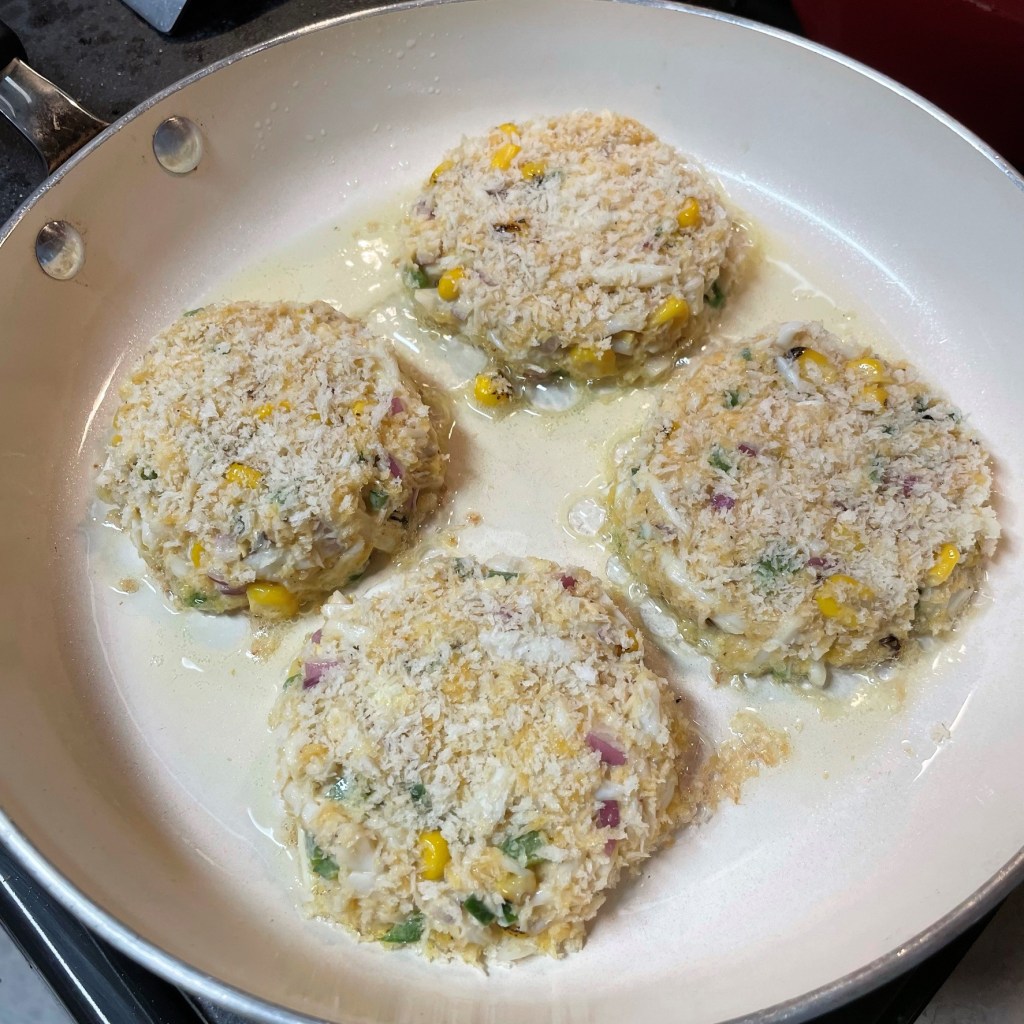
Carefully transfer the chilled crab cakes to a heated, non-stick skillet, and keep a bit of distance between them for easy turning. Fry them about 4 minutes, or until crispy on the bottom. 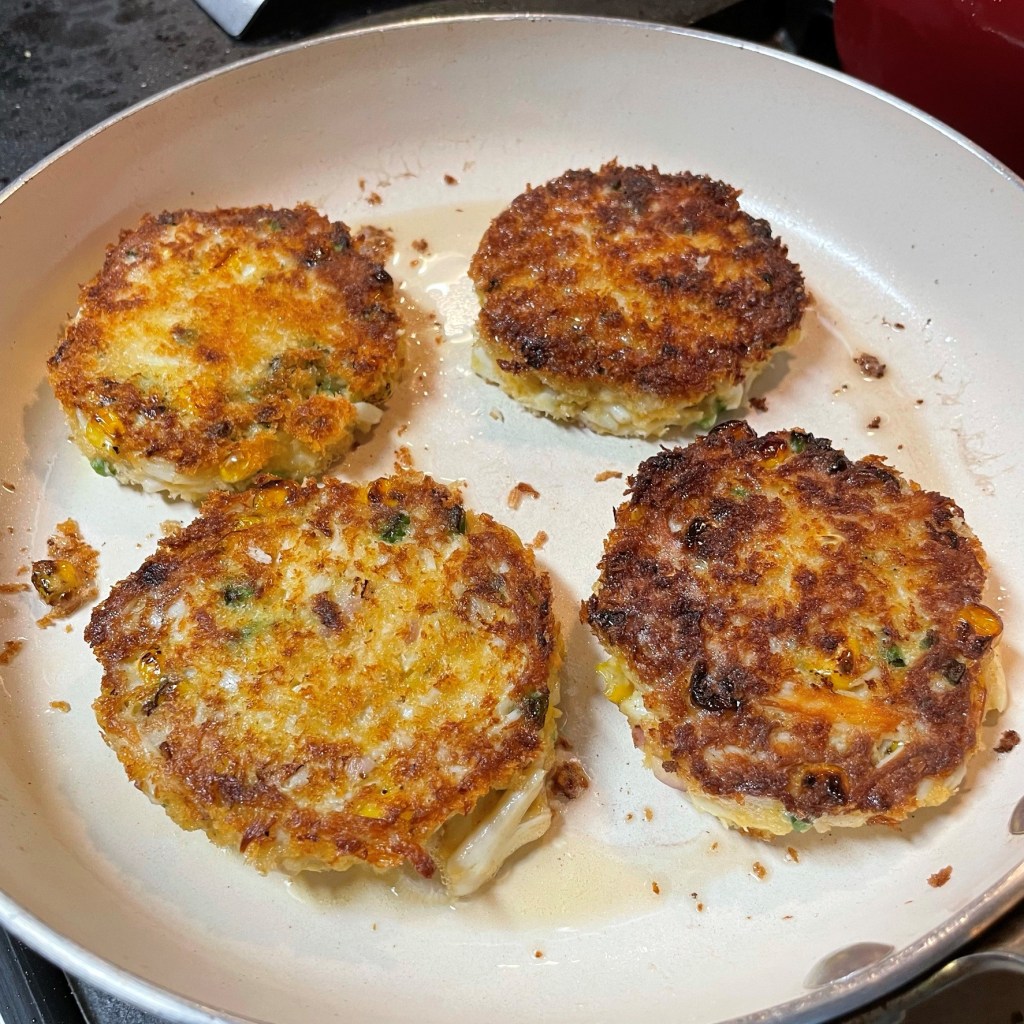
Be gentle when turning them over, for about 4 minutes on the other side. The time may vary, depending on your stove. This golden brown color, plus crisp edges, is the goal. 
Combine mayonnaise and chipotle to desired spiciness. Reserve a few tablespoons of this mixture to serve alongside the finished crab cakes. I transferred it to a small zip top bag, so I could drizzle the cakes with it.
Add the onions, jalapeno and corn to the chipotle mayo and stir until blended. Stir in the half amount of beaten egg. Fold in the crab, taking care not to break up the lumps. Sprinkle some panko crumbs into your hand, and gently shape the mixture into four patties. The mixture will be quite messy, but it will firm up in the fridge.
Arrange the cakes on a parchment-lined sheet; cover with plastic wrap and chill at least one hour, though two hours is better.
Heat a large, non-stick skillet over medium heat. Swirl in about 2 tablespoons olive or canola oil. When oil begins to shimmer, carefully arrange the crab cakes into the skillet and leave them, undisturbed, until the bottom edges appear to be crispy. This should be about 4 minutes. Gently turn the cakes over to cook the same amount of time on the second side.
Serve as desired, with reserved chipotle mayo for dressing or dipping.