For such a short month, February has a lot going on, holiday- and event-wise. There’s Super Bowl, which is traditionally the first Sunday of the month; Valentine’s Day, which is fixed on the 14th; and Mardi Gras, which floats on the lunar calendar in tandem with Ash Wednesday. It’s enough to make even the most adept party planner a little dizzy, and for the average person at home, it isn’t easy to celebrate all three (at least, not when you’re hosting others). I’ve wanted to do some kind of Mardi Gras dish for a while, and with Super Bowl and Valentine’s Day behind us, here’s what I’ve come up with for our small celebration—all the exciting flavors of jambalaya piled into a deep-dish pizza.
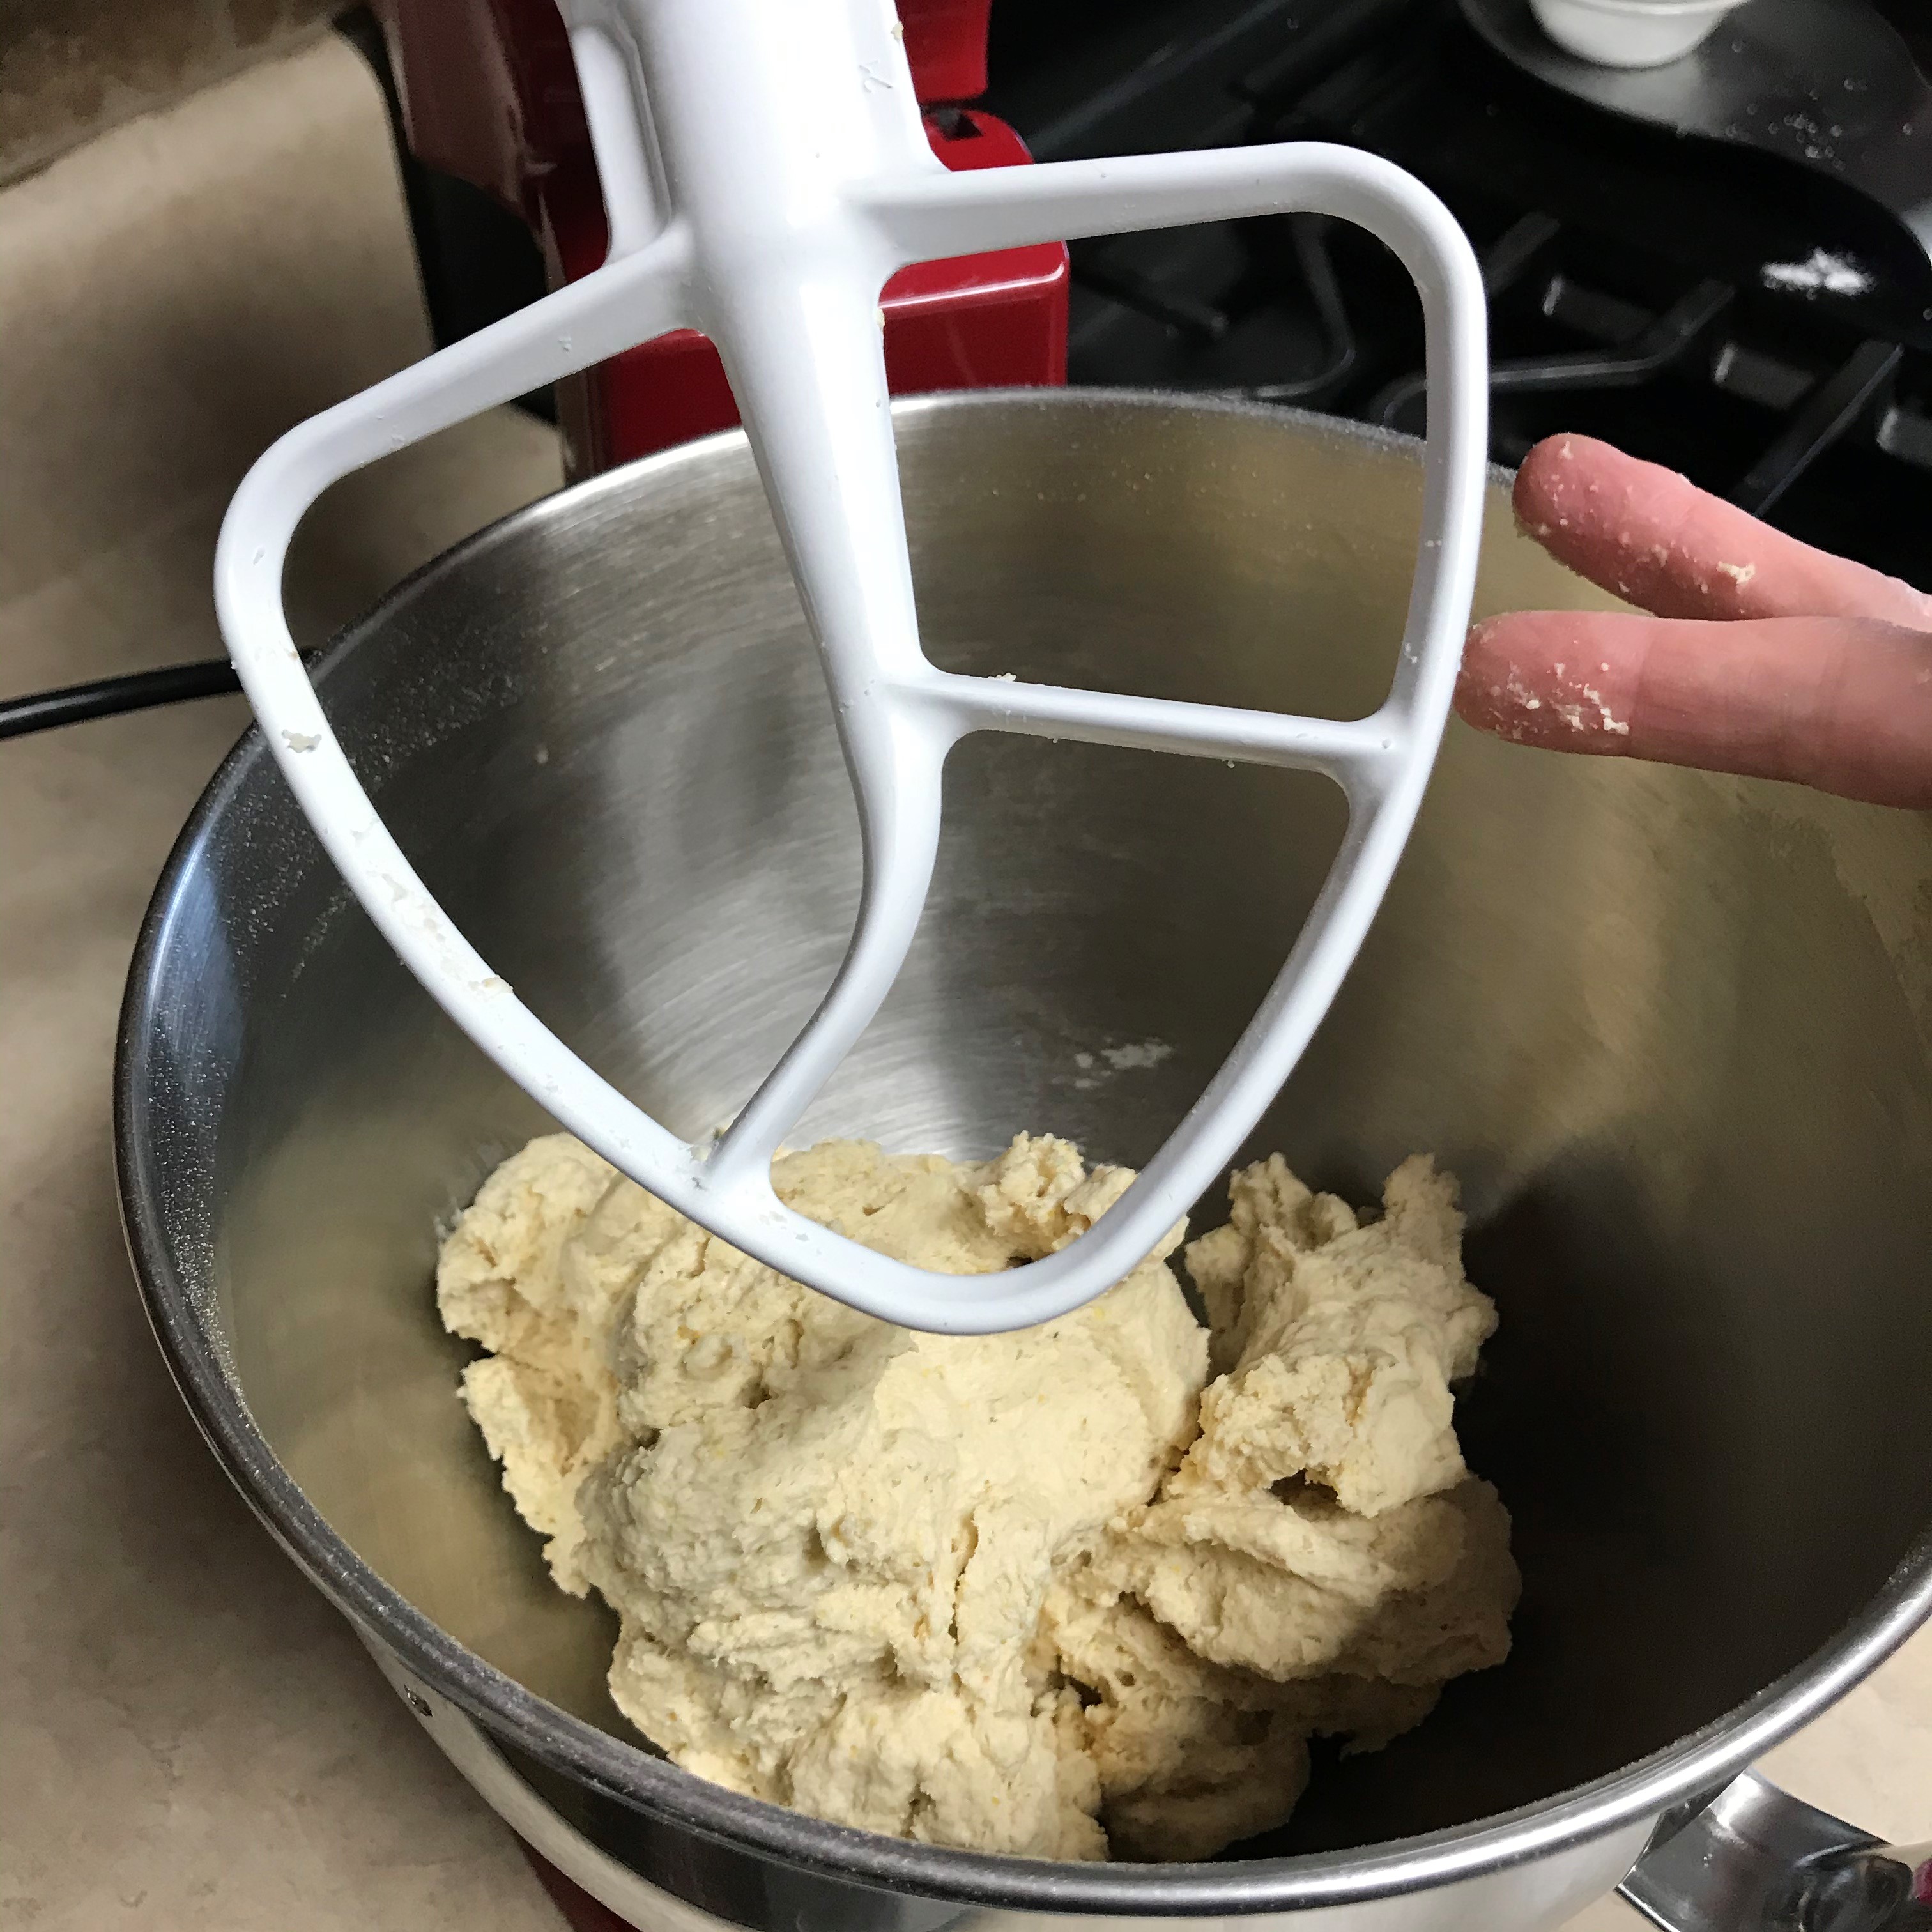
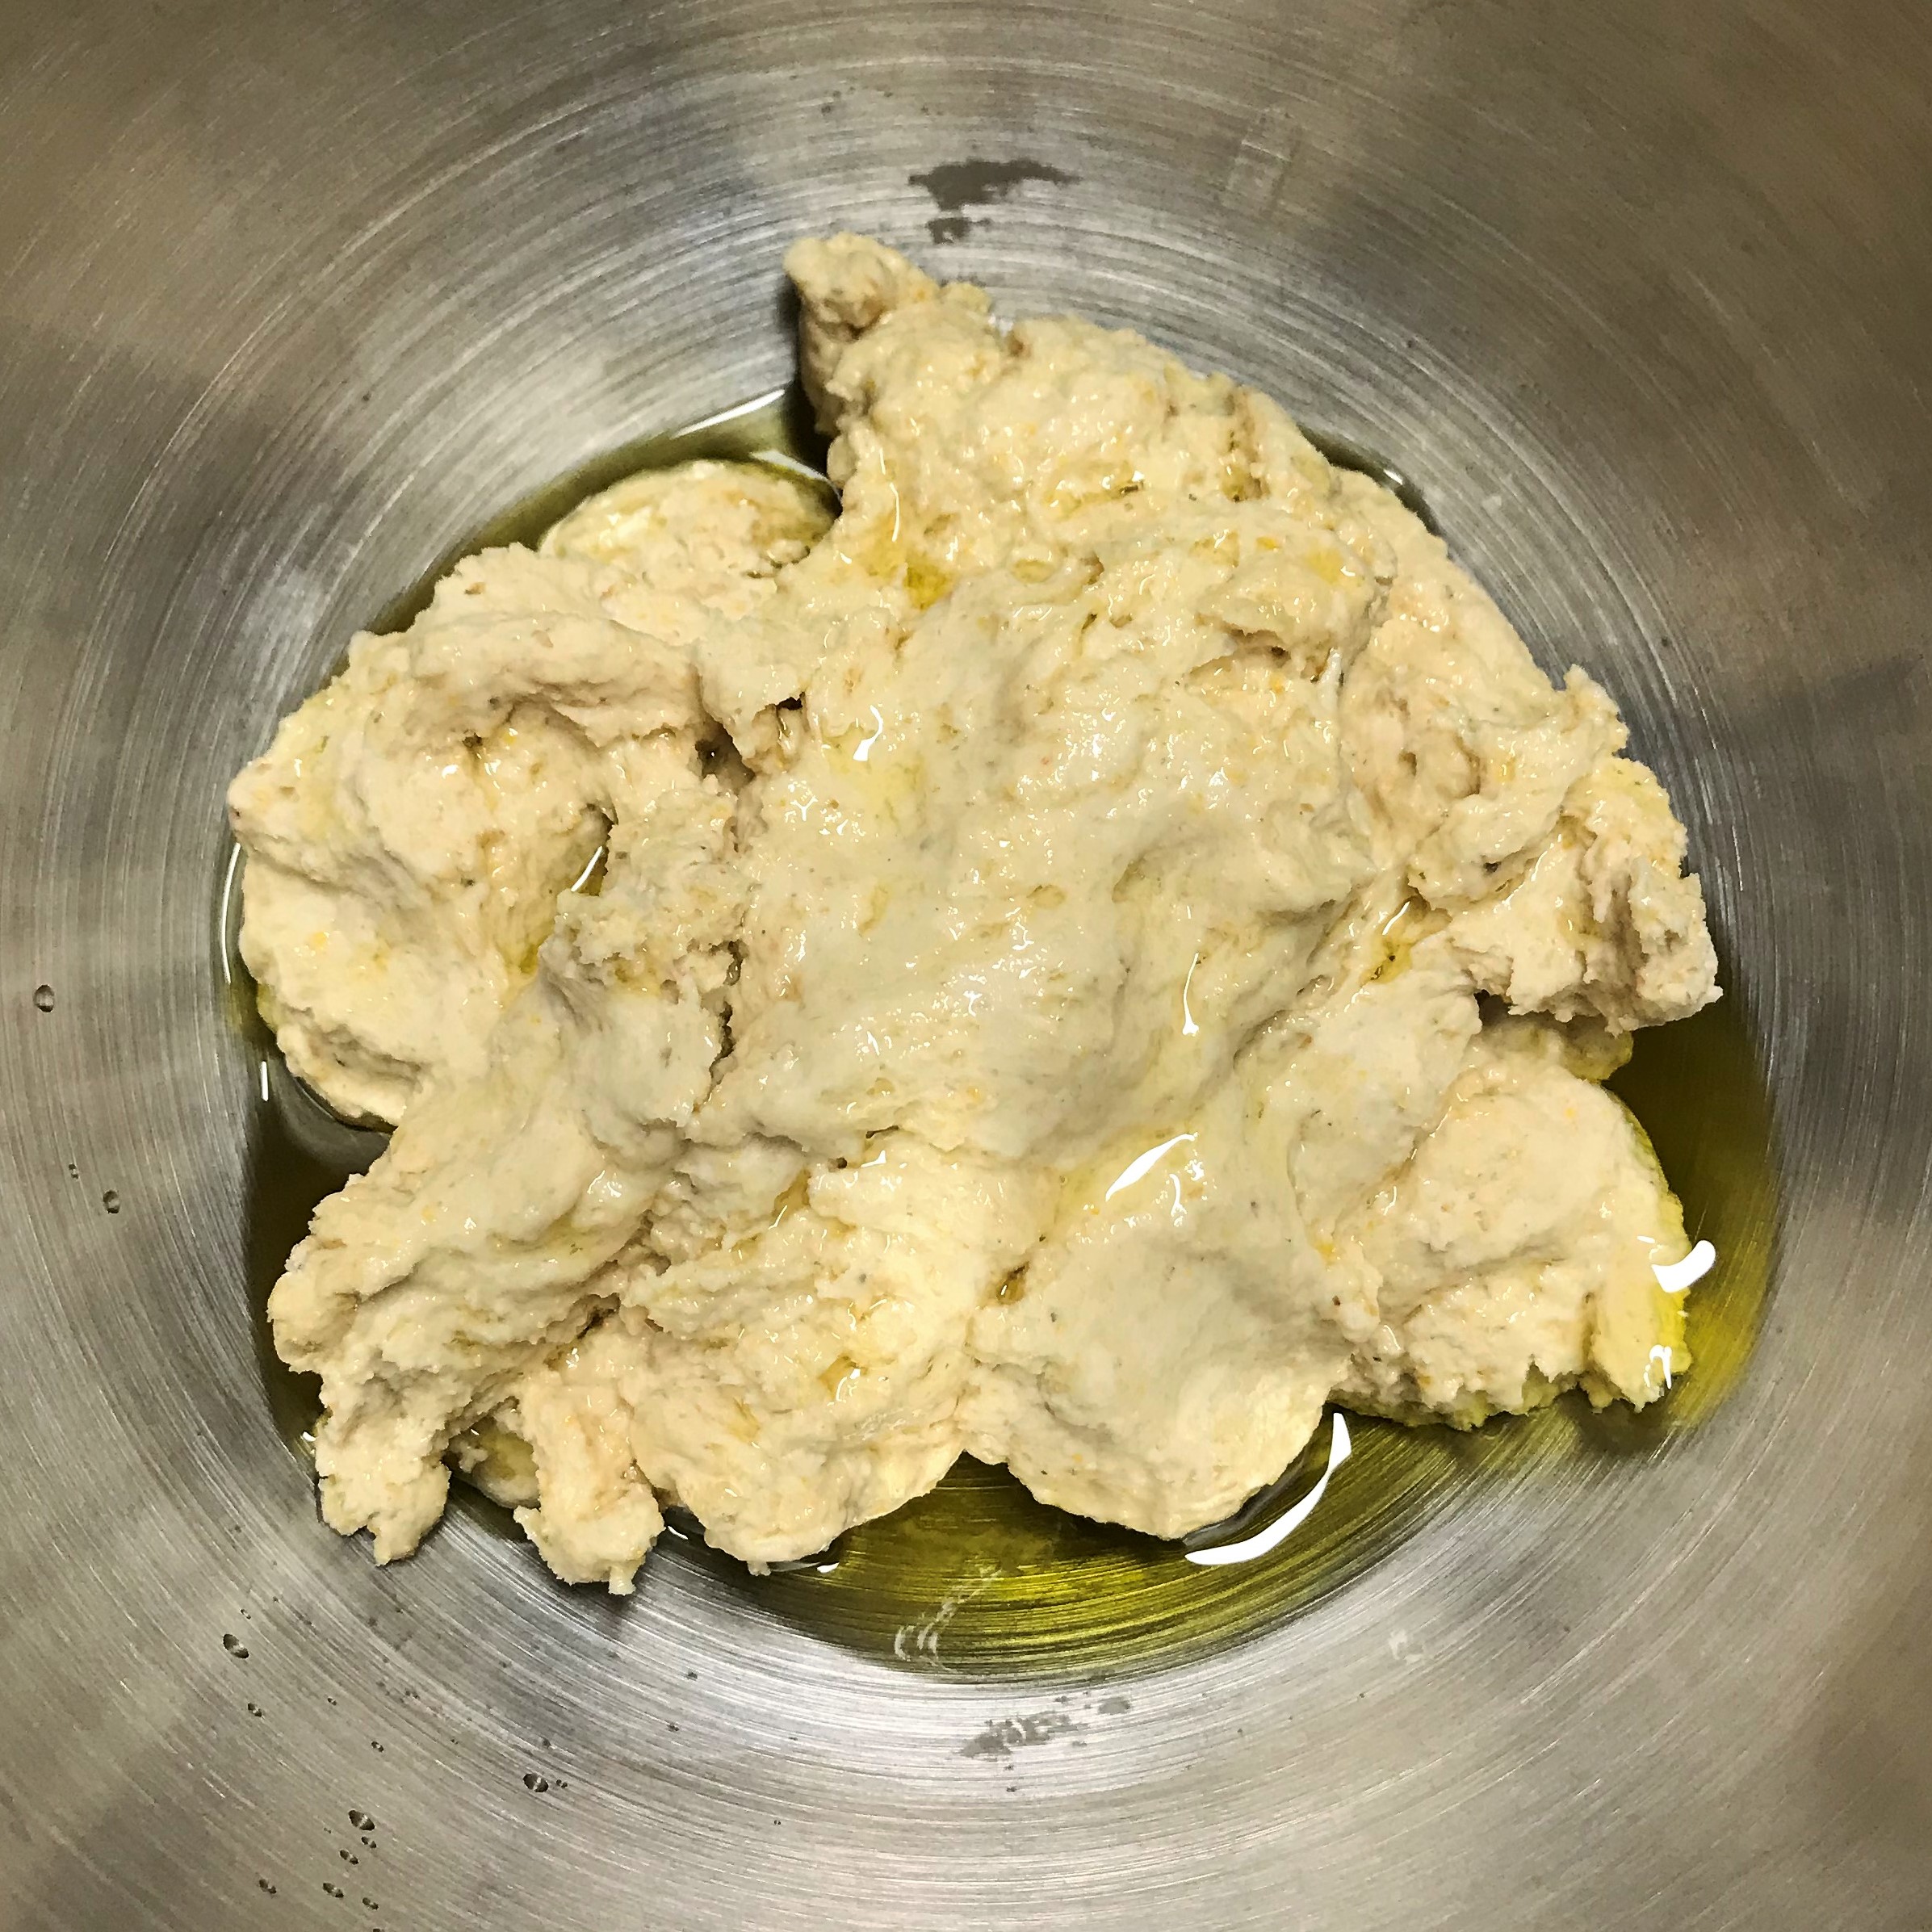
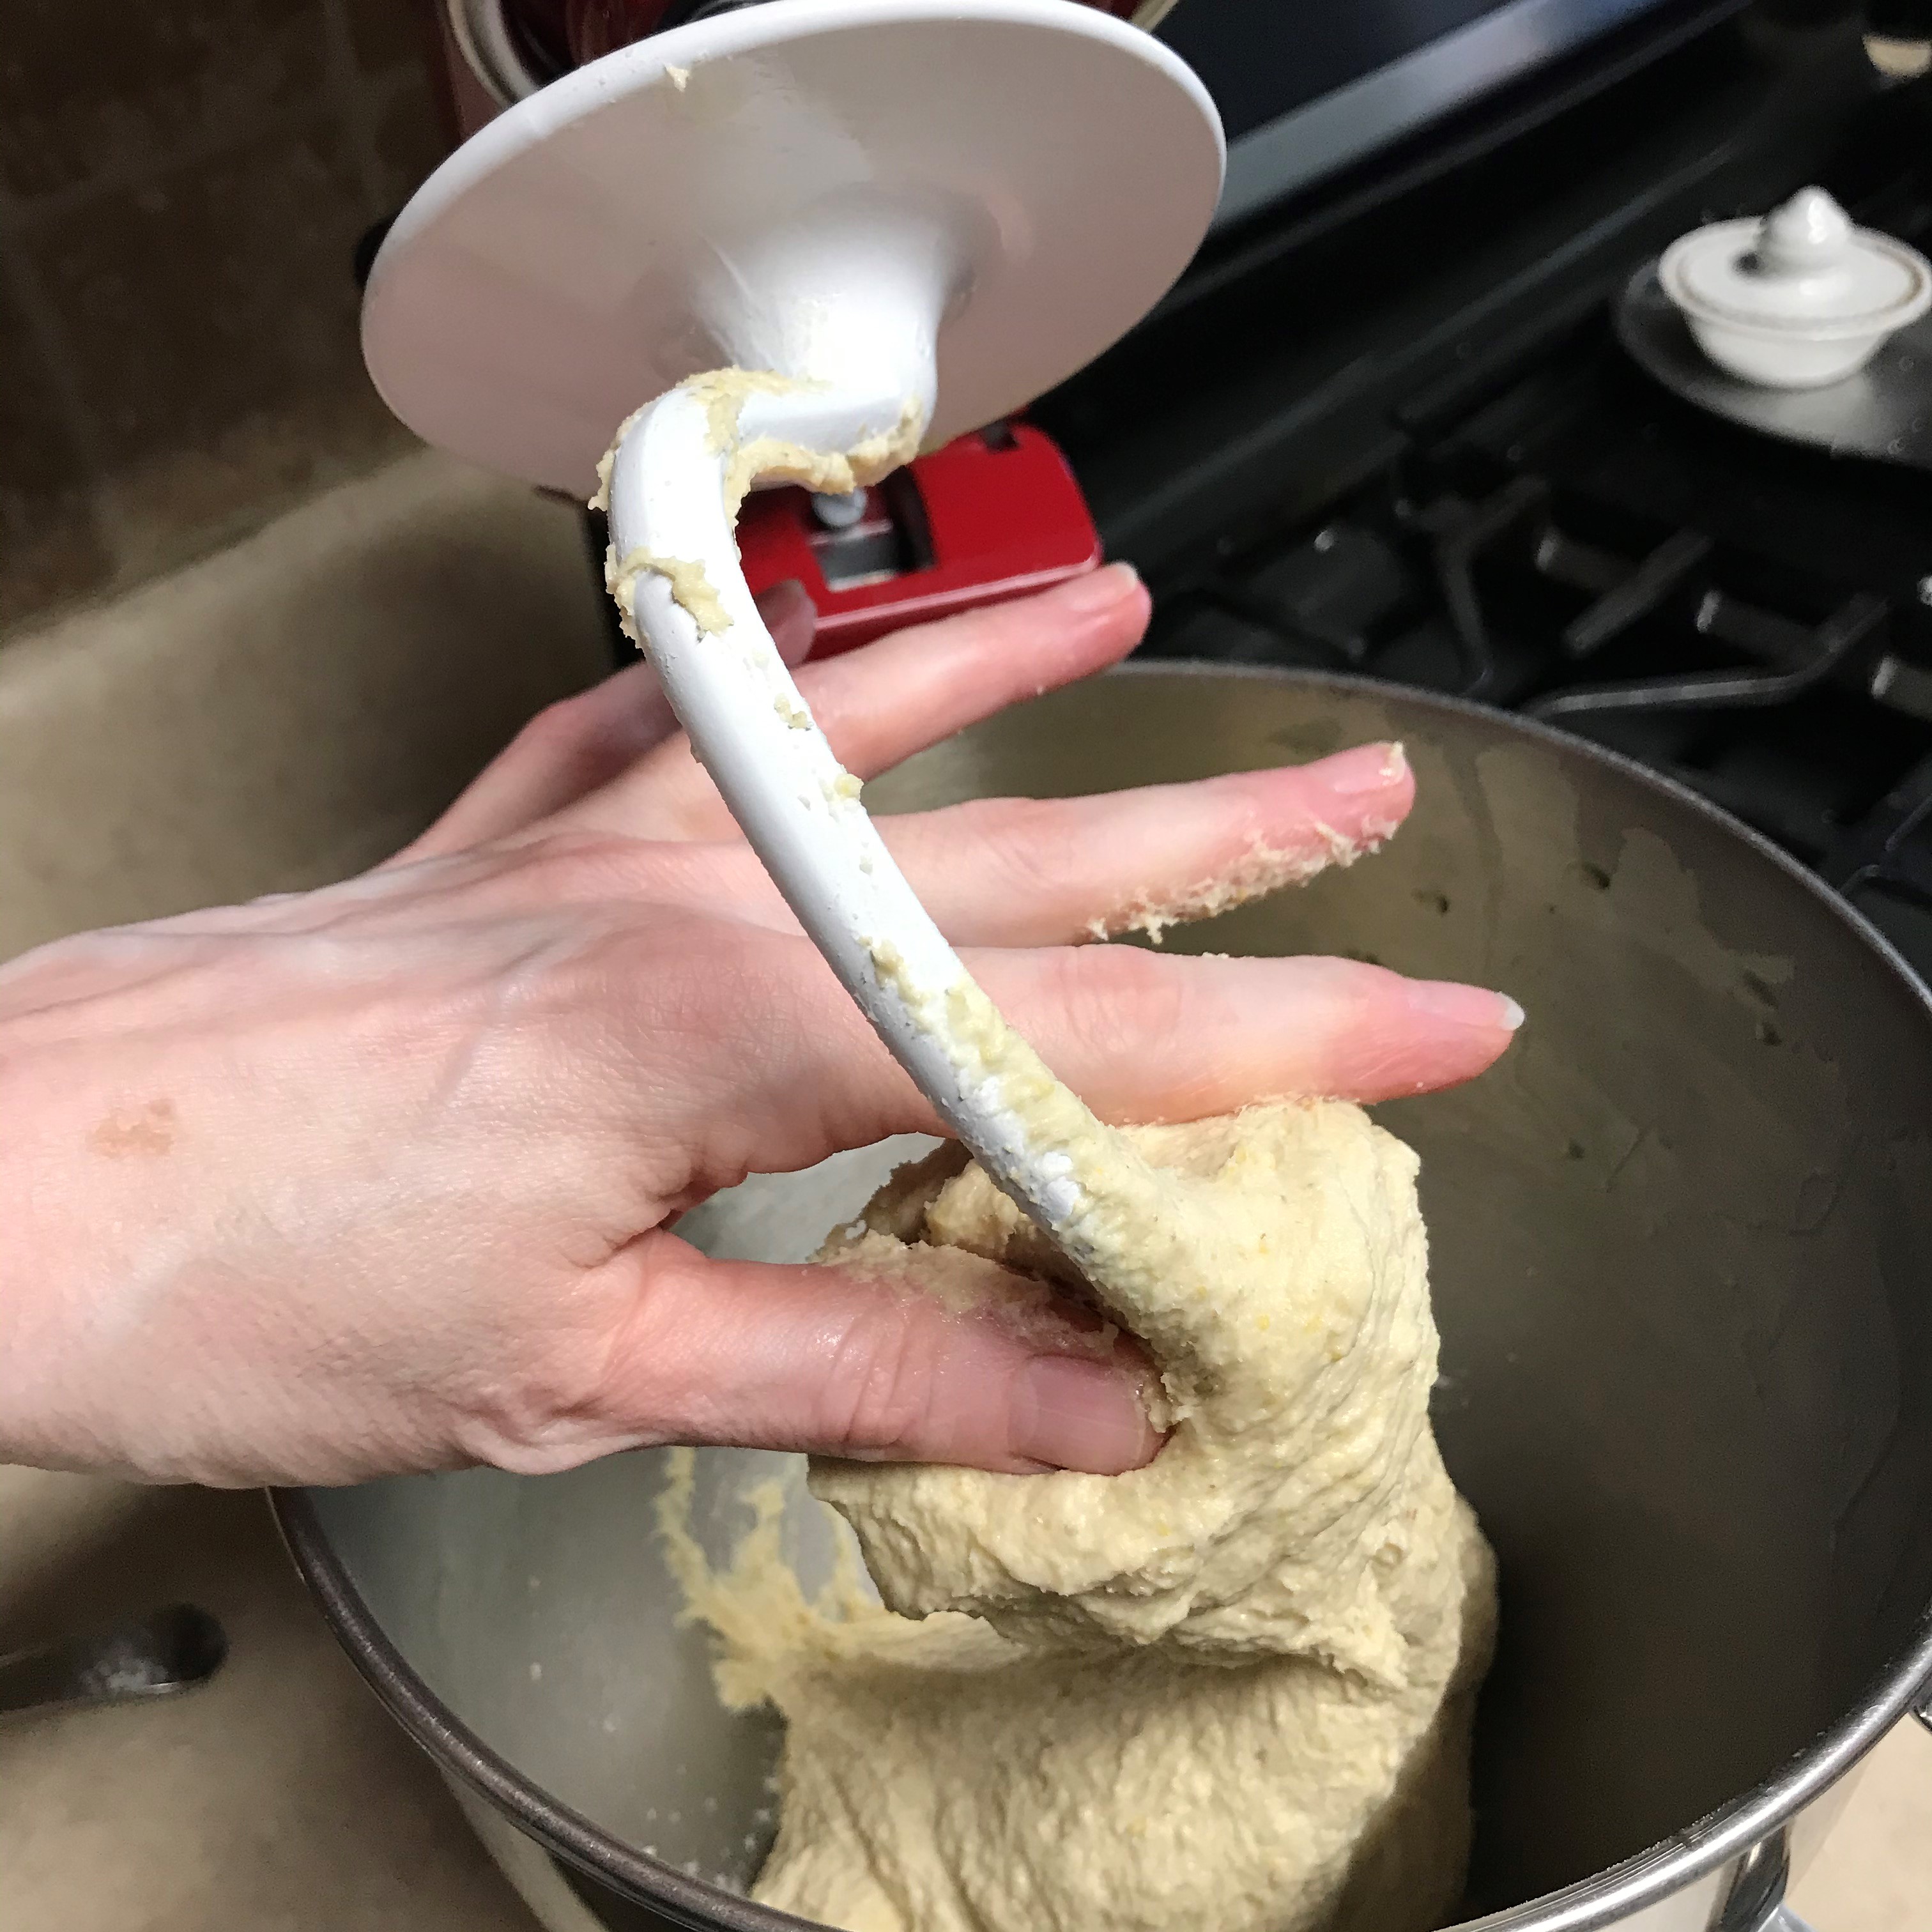
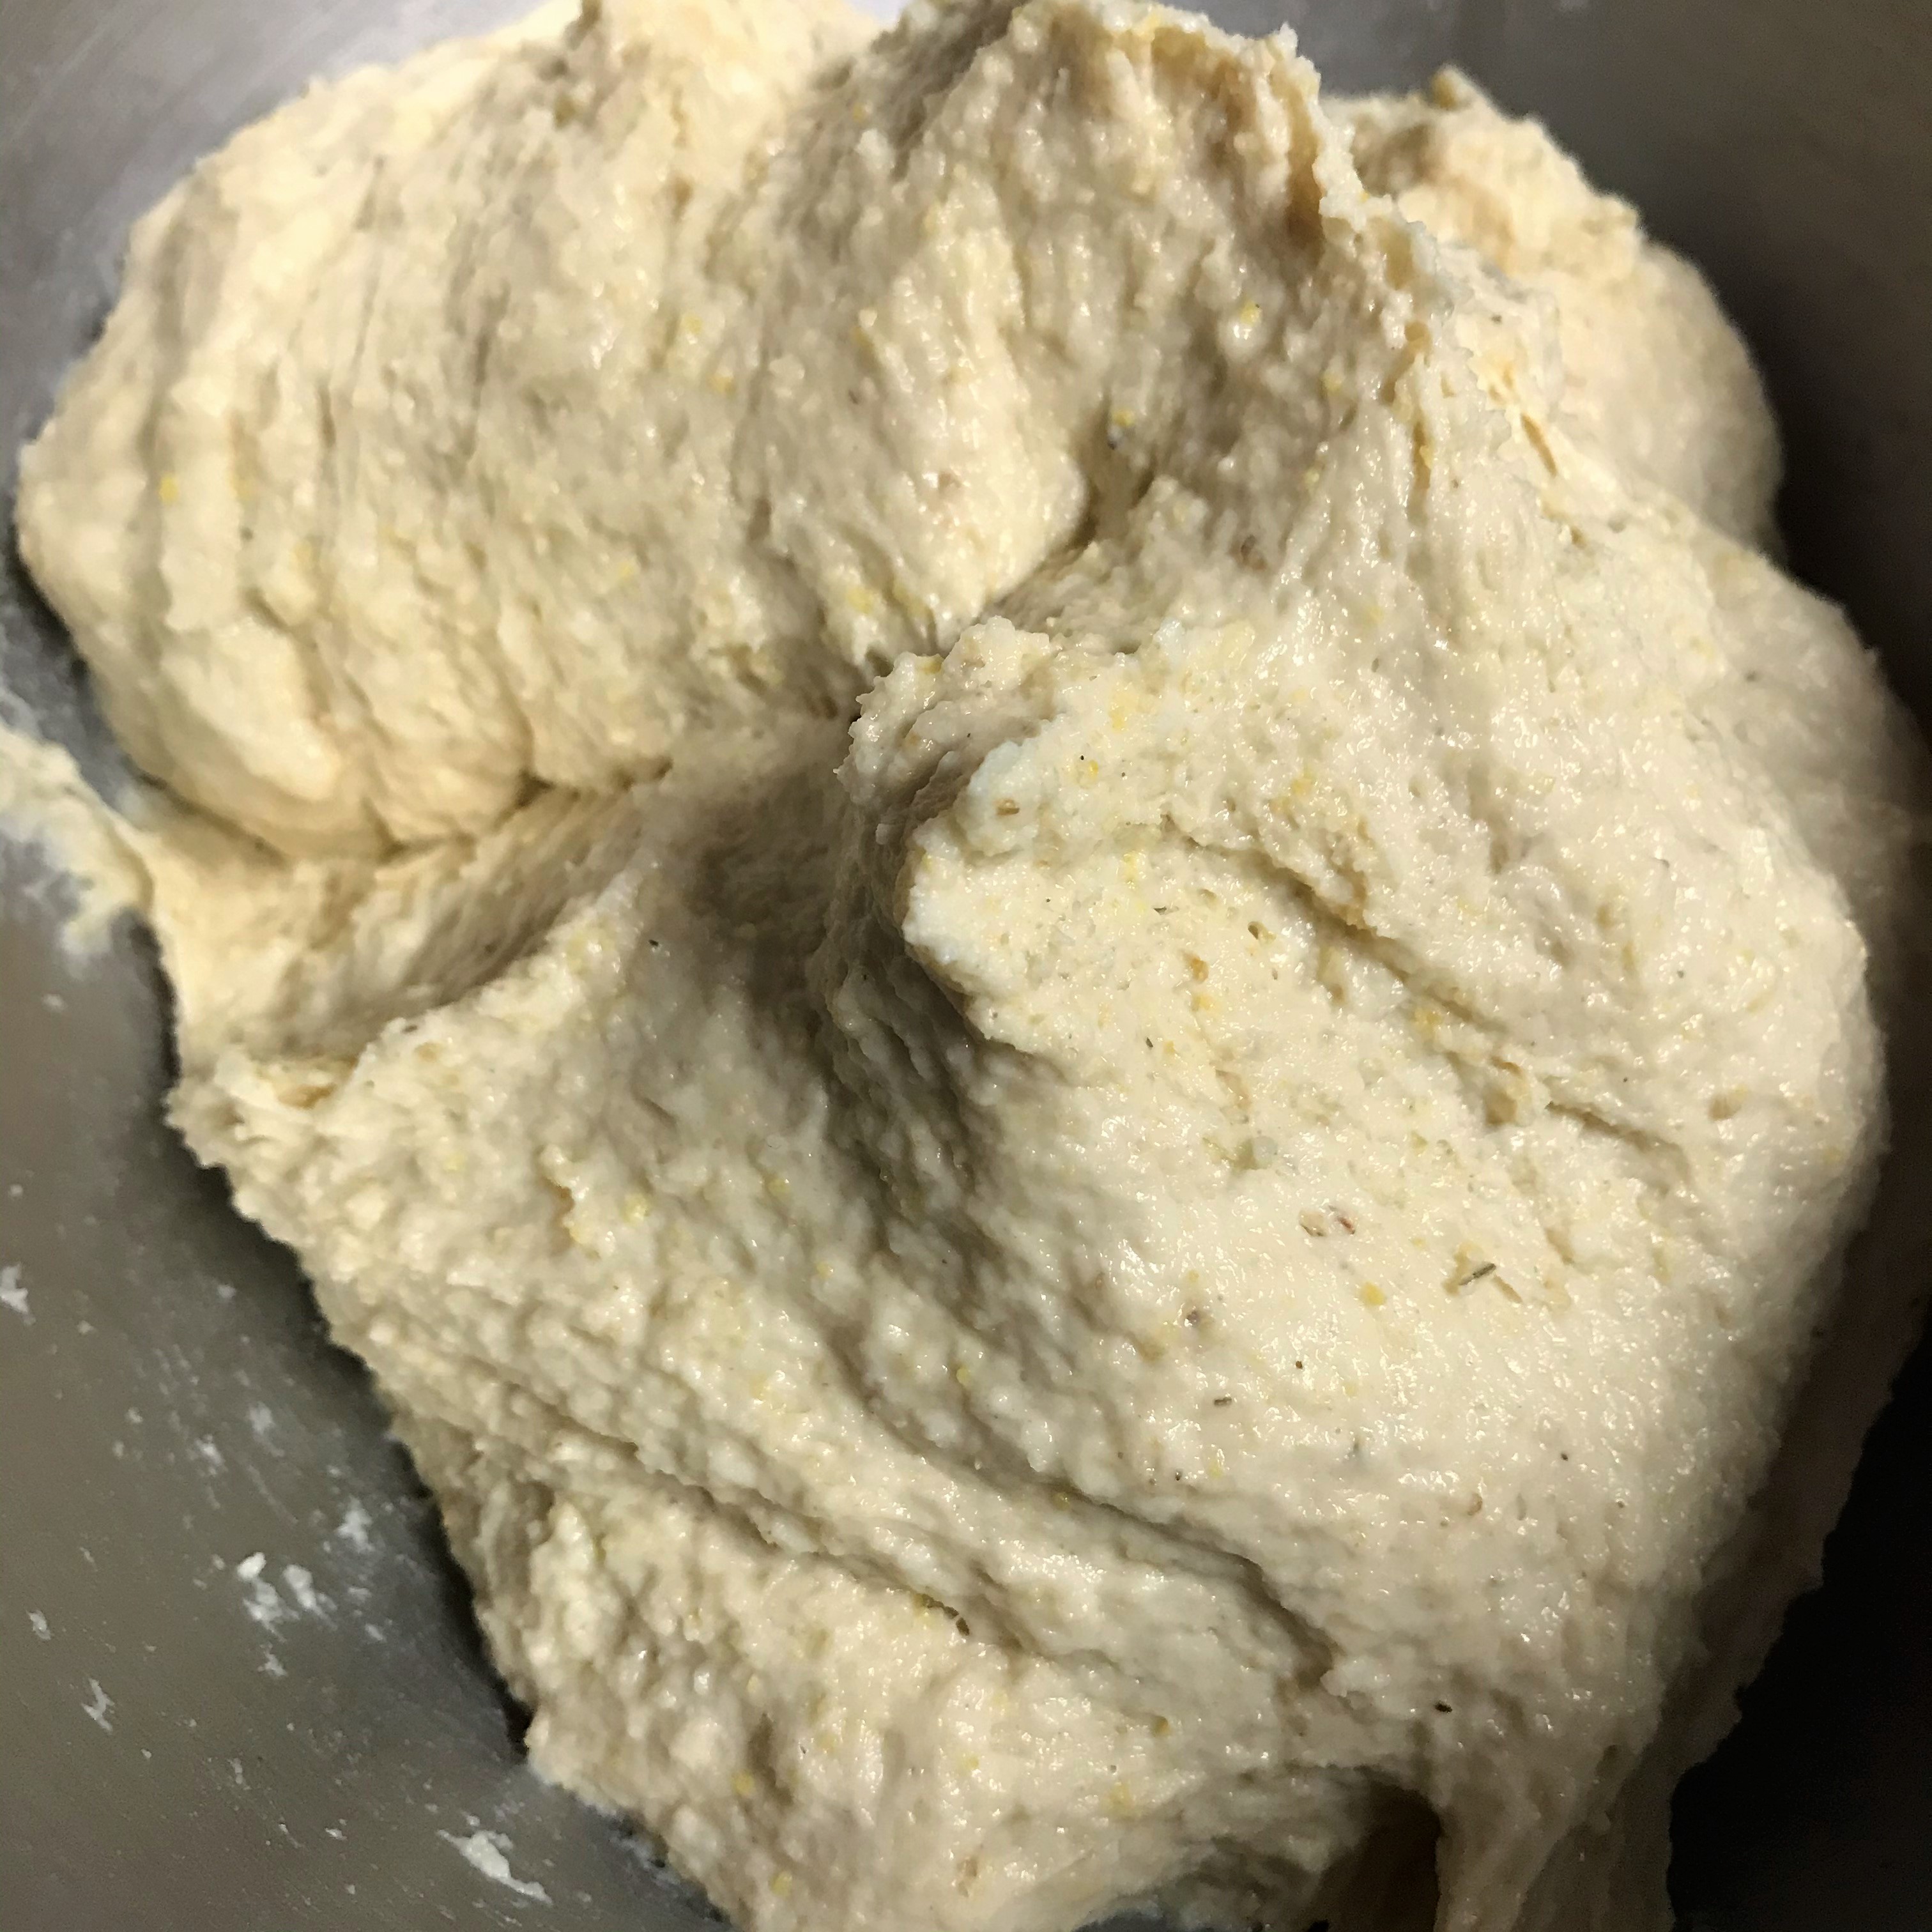
As with the other two February events, it is just the two of us celebrating, and that makes it less intimidating for me. Les and I both love Cajun and Creole flavors, and he brought home some authentic spice blends from a work-related trip to “N’awlins” a couple of years ago, so I already have the right accent. We have some fabulous jazzy blues music to help us get in the mood, and I’m sure we have some beads around here somewhere. Weeknights are always great for a casual meal, and pizza has become one of my “blank canvas” foods, begging for interesting flavor twists. I’m going deep dish on this one because you cannot skimp on Mardi Gras (which translates from French to “fat Tuesday”), and I’m not sure that our usual N.Y.-style crust can handle all this excitement.
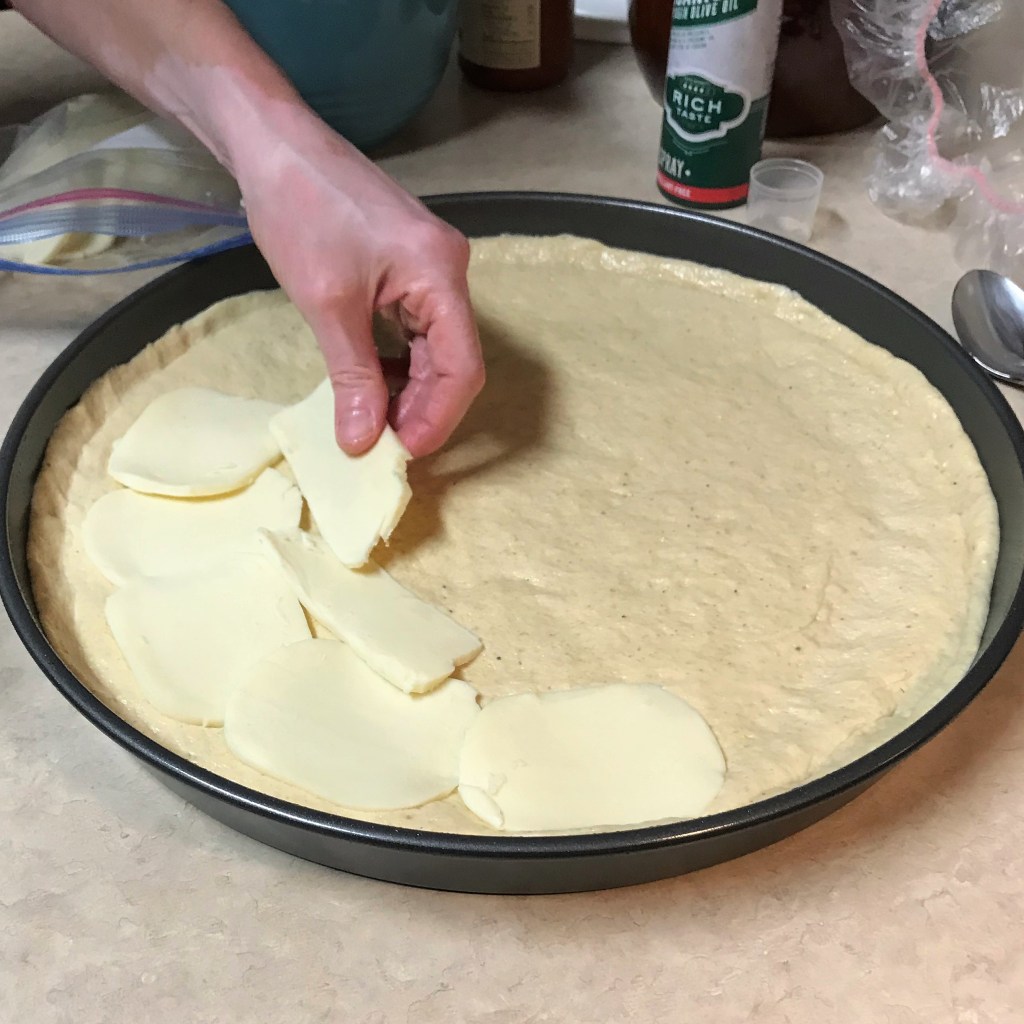
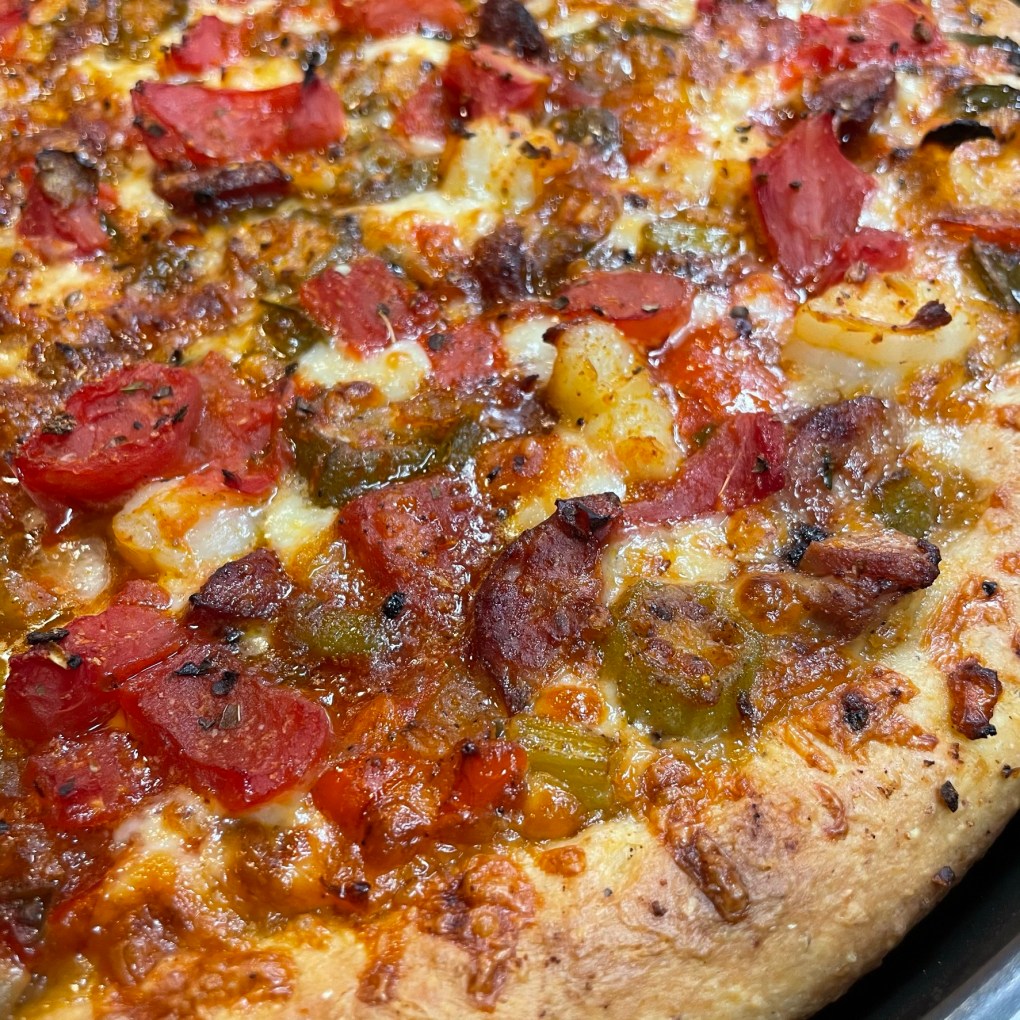
Most of the fillings are obviously traditional, from the zesty smoked andouille sausage, through the holy trinity aromatic vegetables and spices, and the plump and juicy Gulf shrimp. I omitted rice because we have quite enough carbs in my part-cornmeal deep dish pizza dough. Creole foods have tomato, so that’s an easy crossover ingredient for pizza. But what about cheese? I wracked my brain and could not think of a single regional dish that includes cheese, but on a deep-dish pie, the cheese on the bottom seems to shield the tender crust from wet filling ingredients, so I didn’t feel right skipping it.
In the end, I opted for the mildest firm cheese I could think of—one that would not clash with all these great Louisiana flavors. Monterey Jack is sturdy enough to line the pizza dough, but it melts well, and it kept my deep-dish dinner from singing the soggy-bottom blues.
Speaking of the blues, we can’t celebrate Mardi Gras without music, so go put on your favorite New Orleans jazz, or enjoy what I listened to while making this pizza:
Ingredients
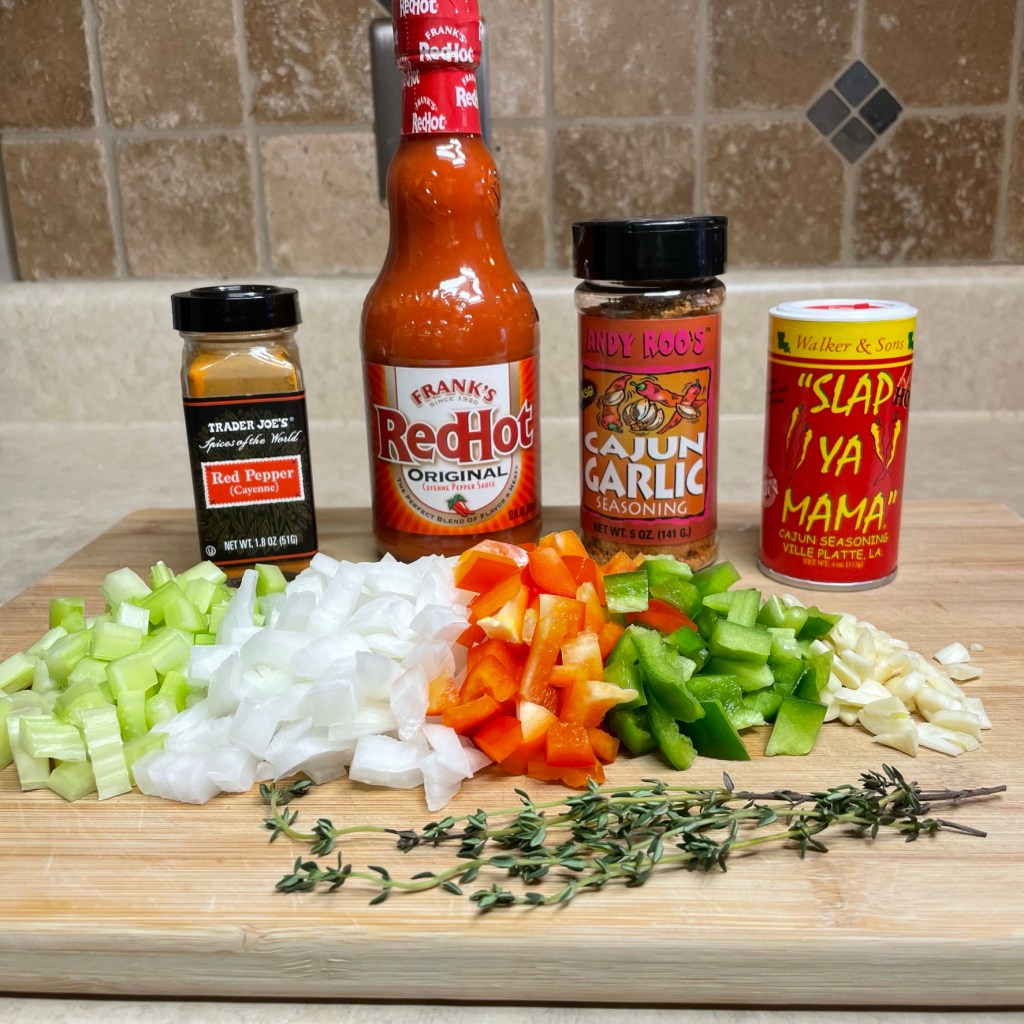
Any of these spices will help me give a Louisiana flair to my deep dish pizza. And, of course, the holy trinity! 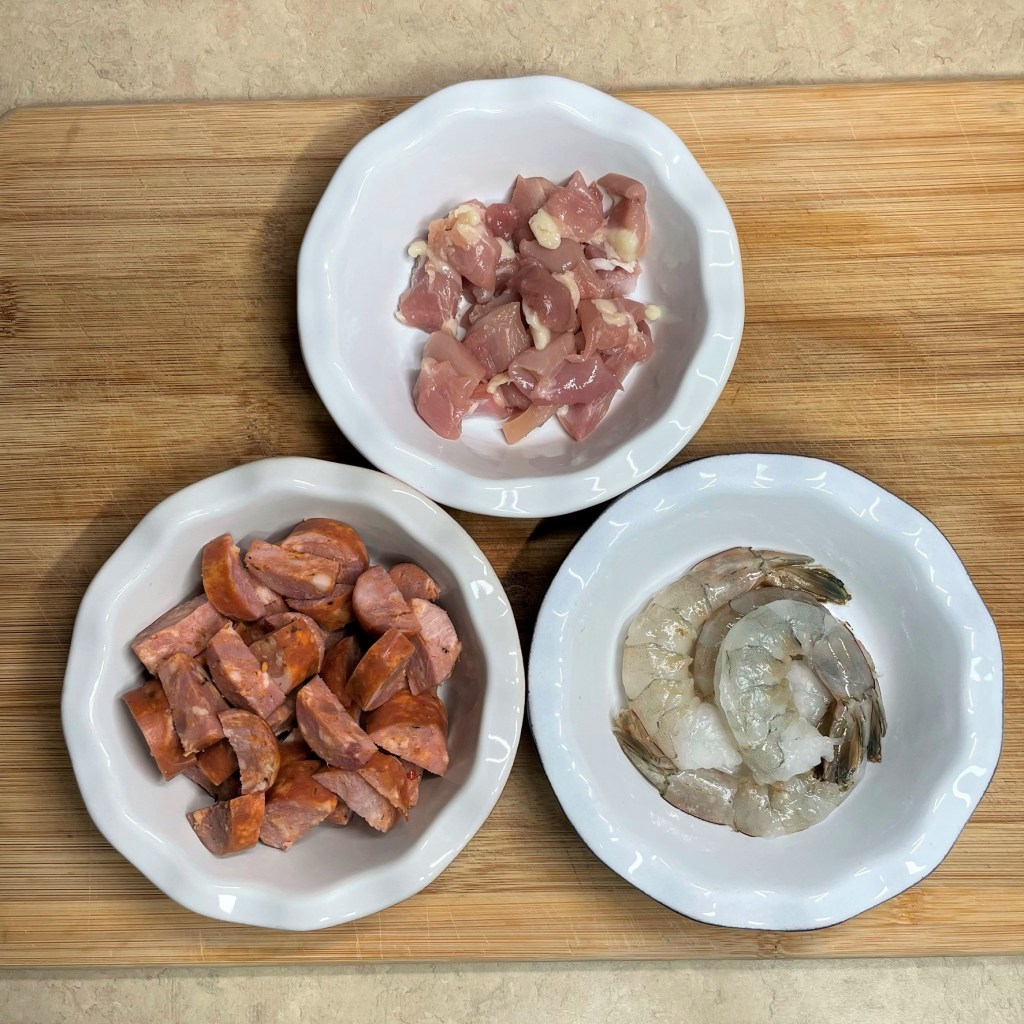
I’ve chosen andouille, chicken thigh and gulf shrimp, but not so much to overload the pizza.
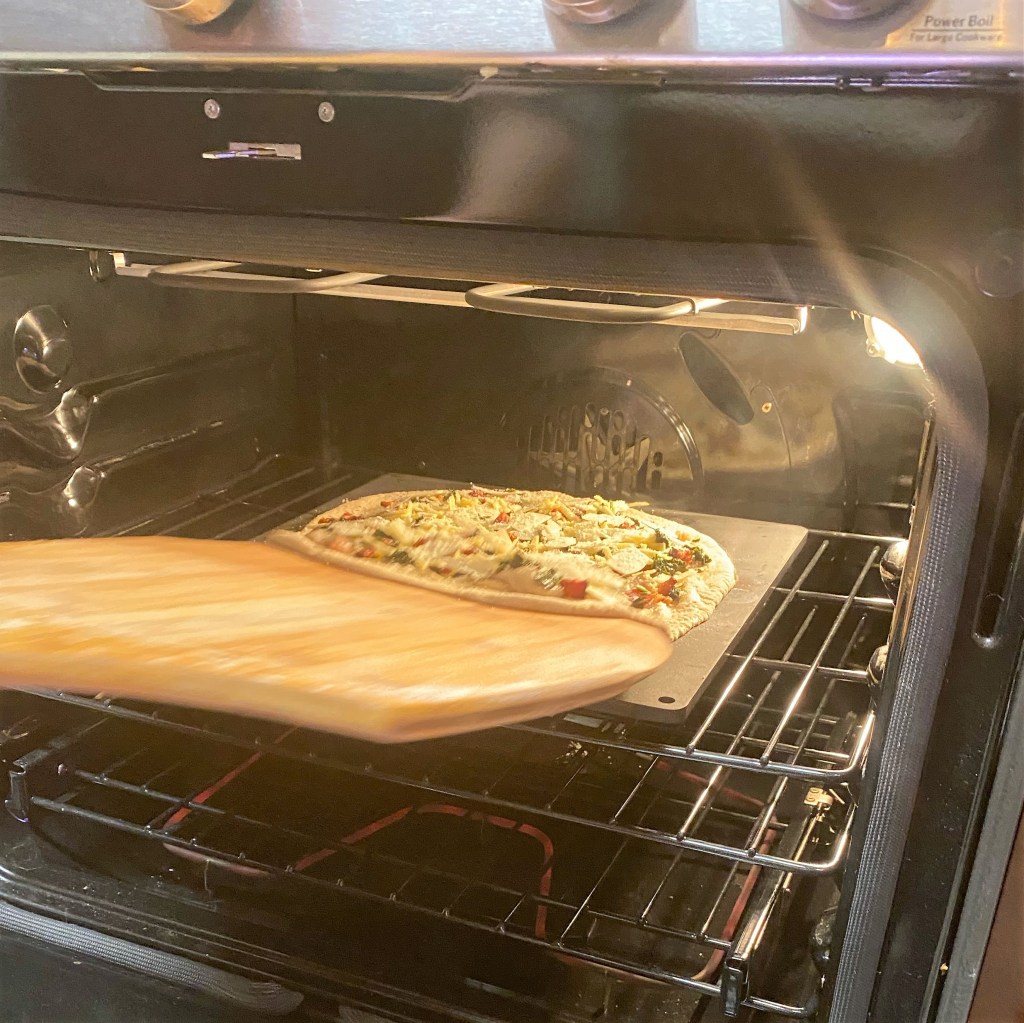
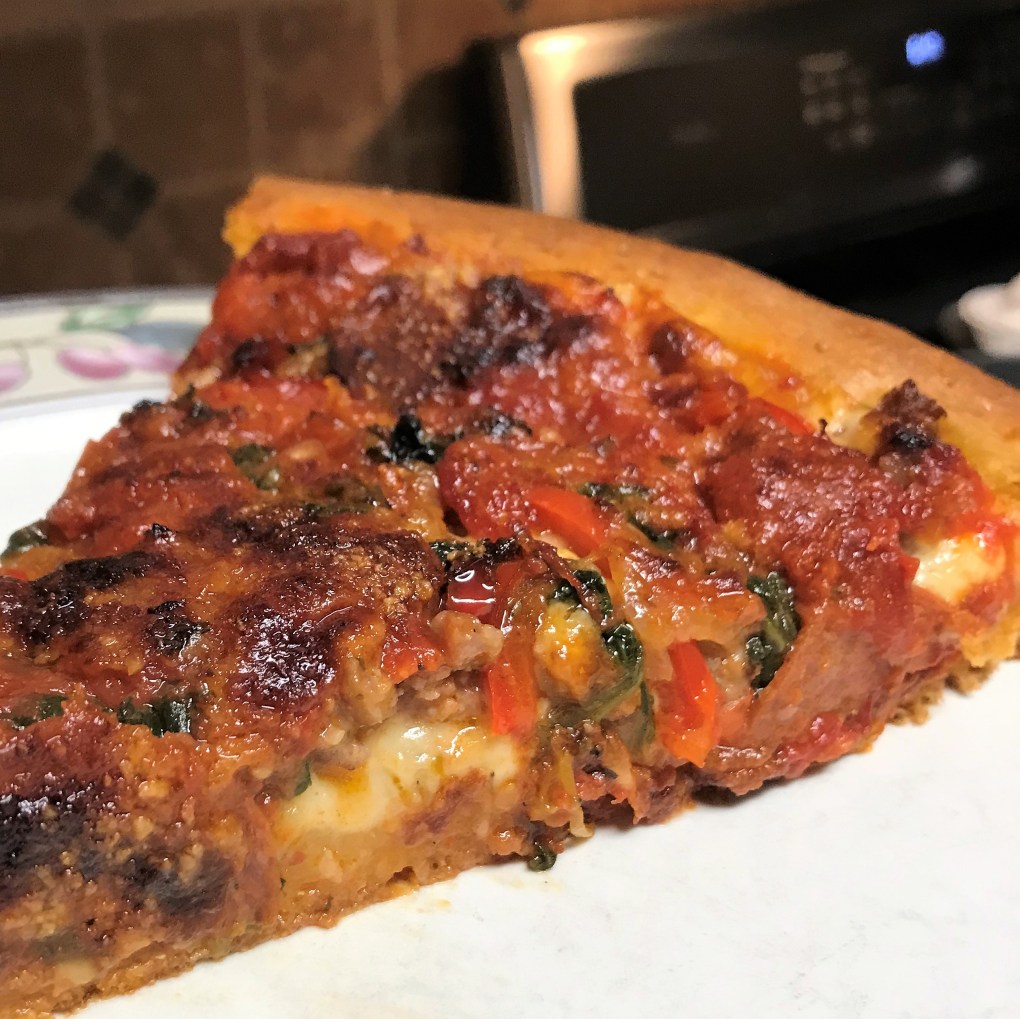
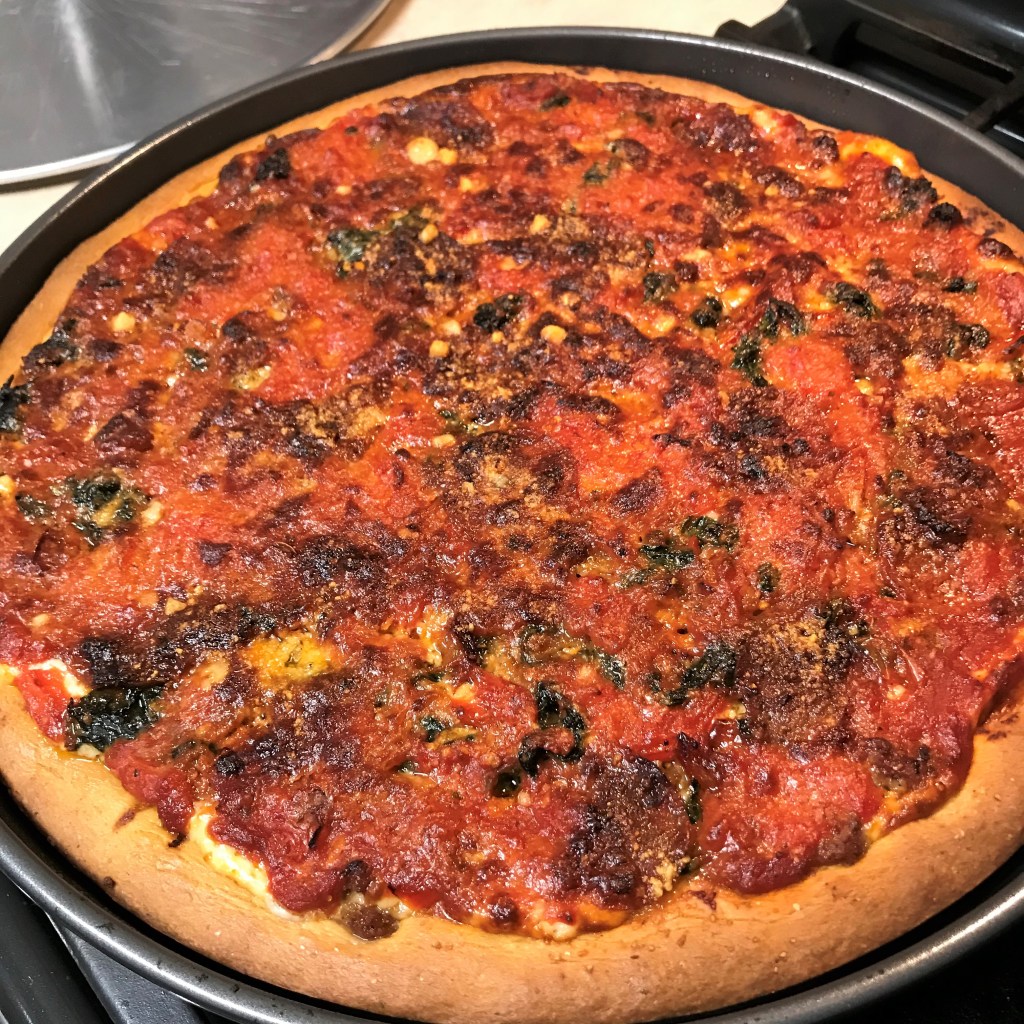
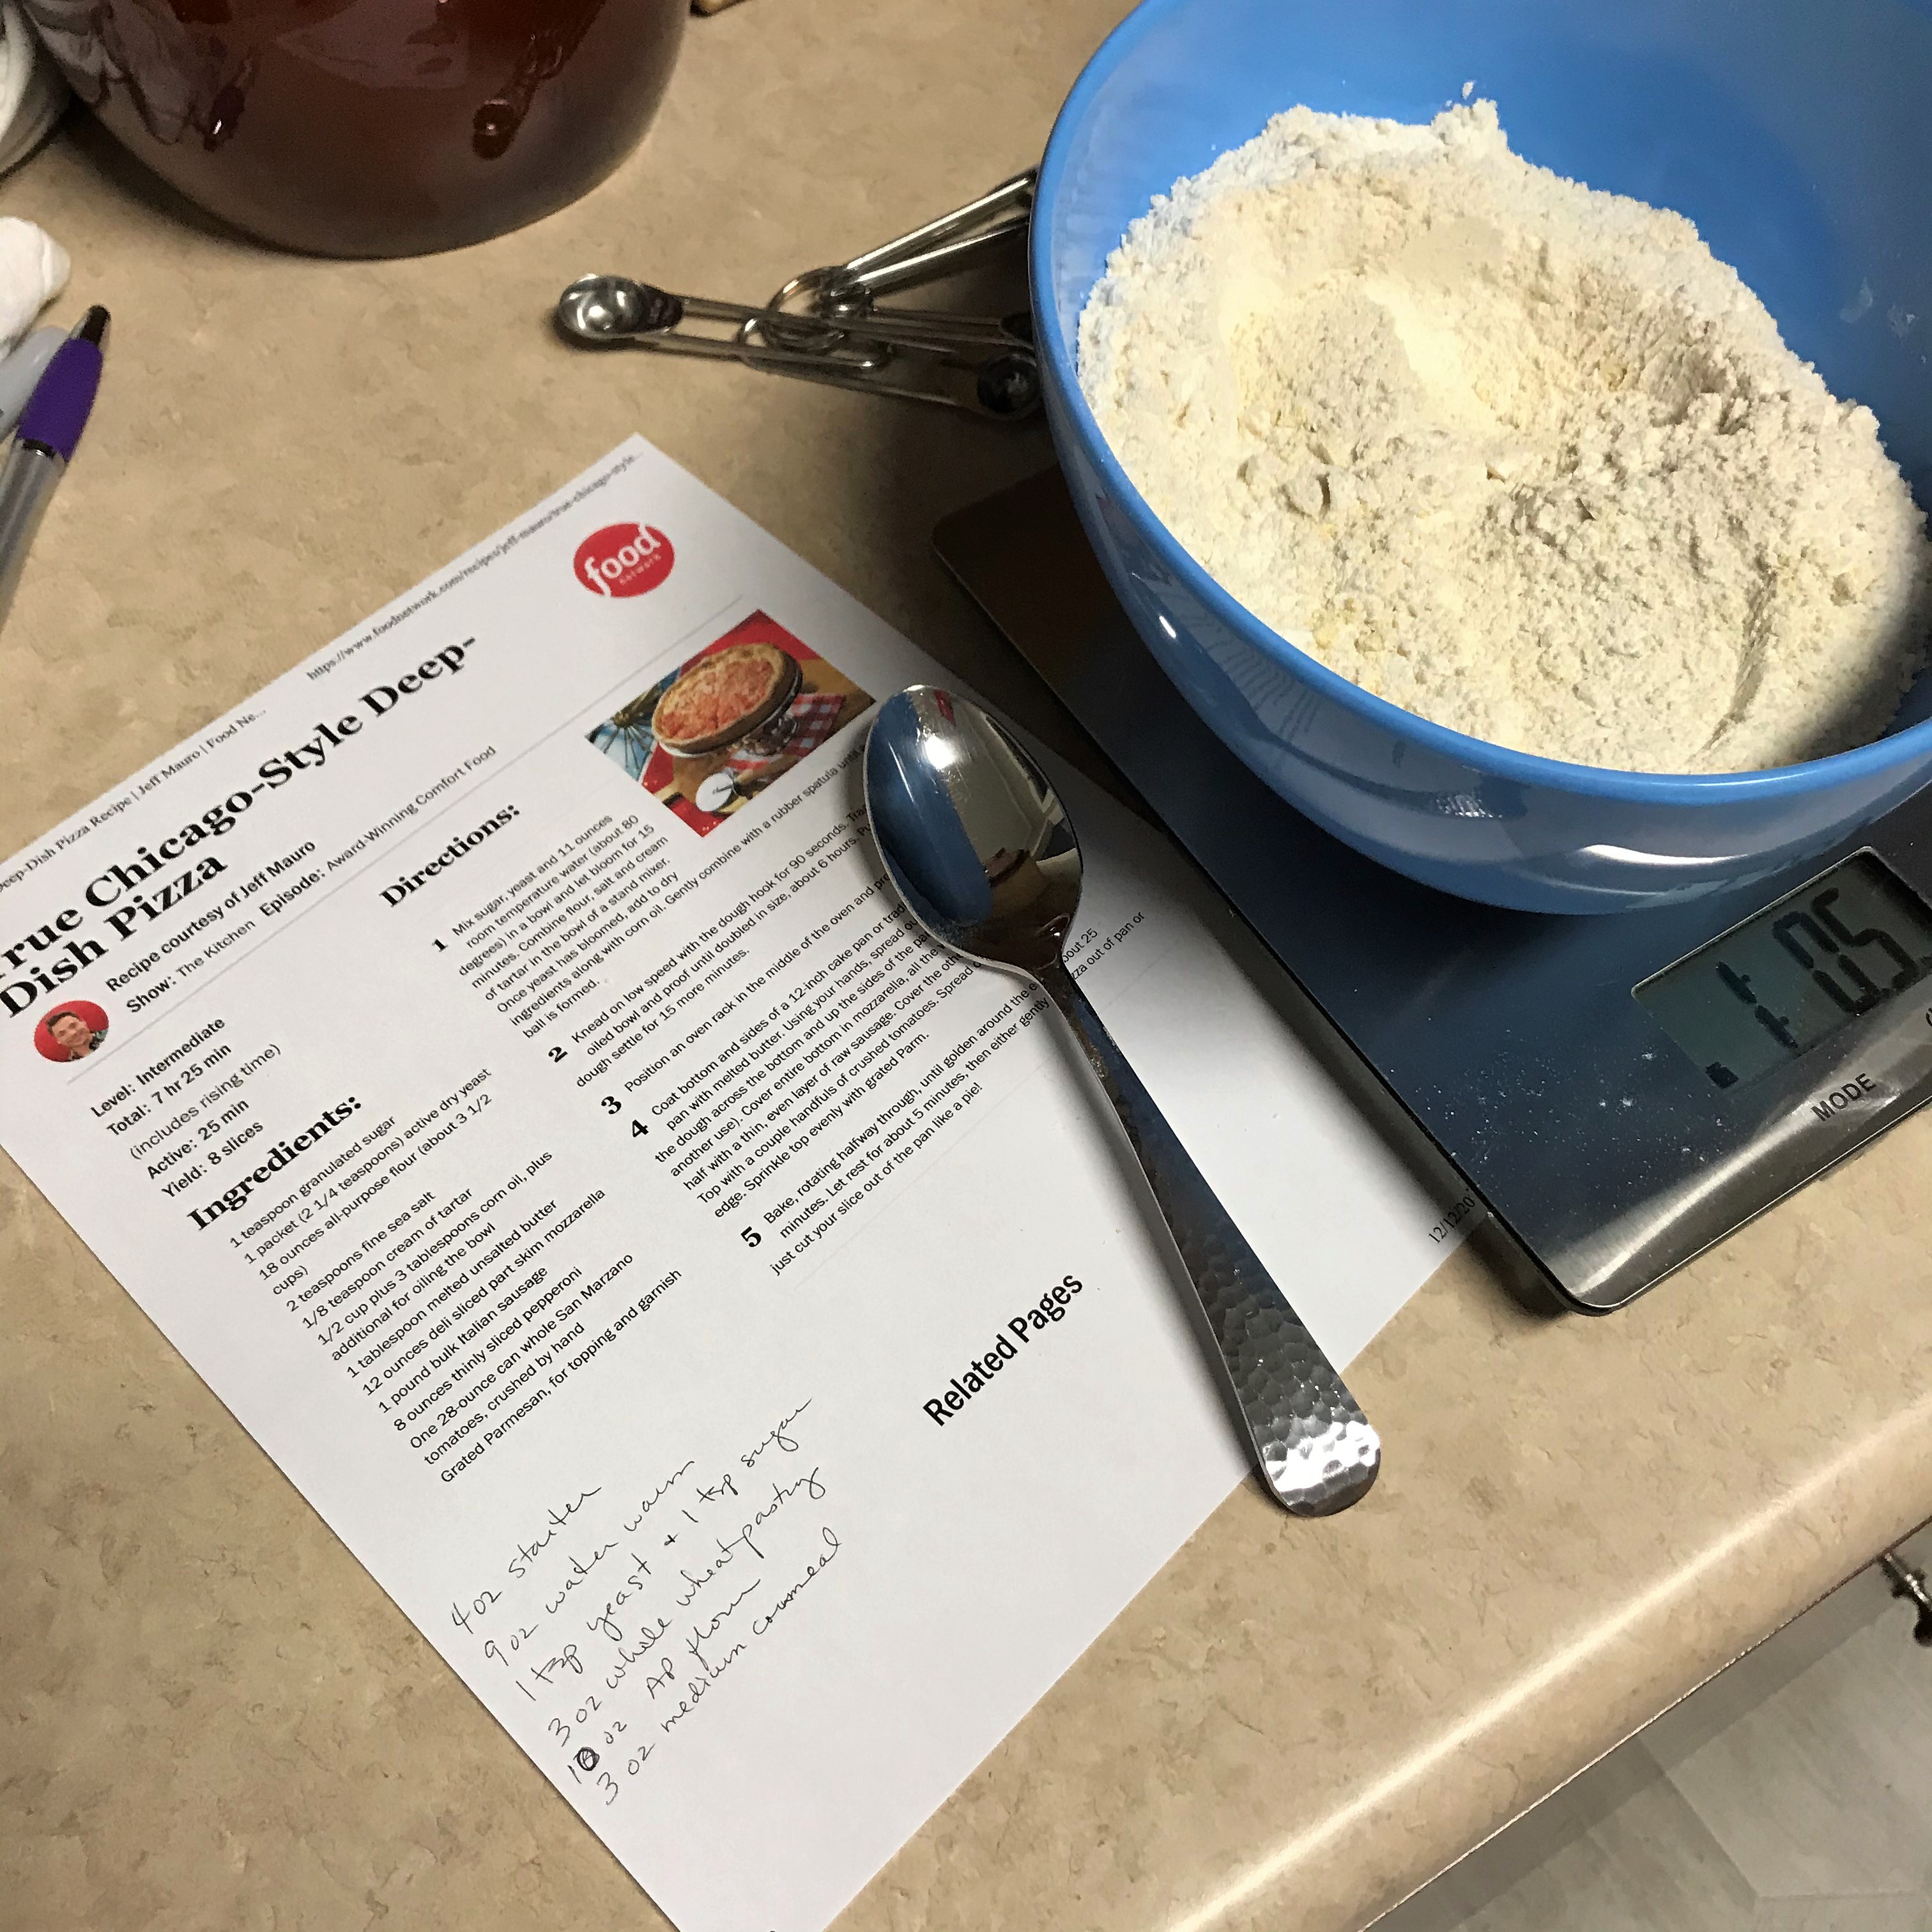
1 prepared deep-dish pizza dough (recipe and instructions in my post for Chicago-style Deep-dish Pizza)
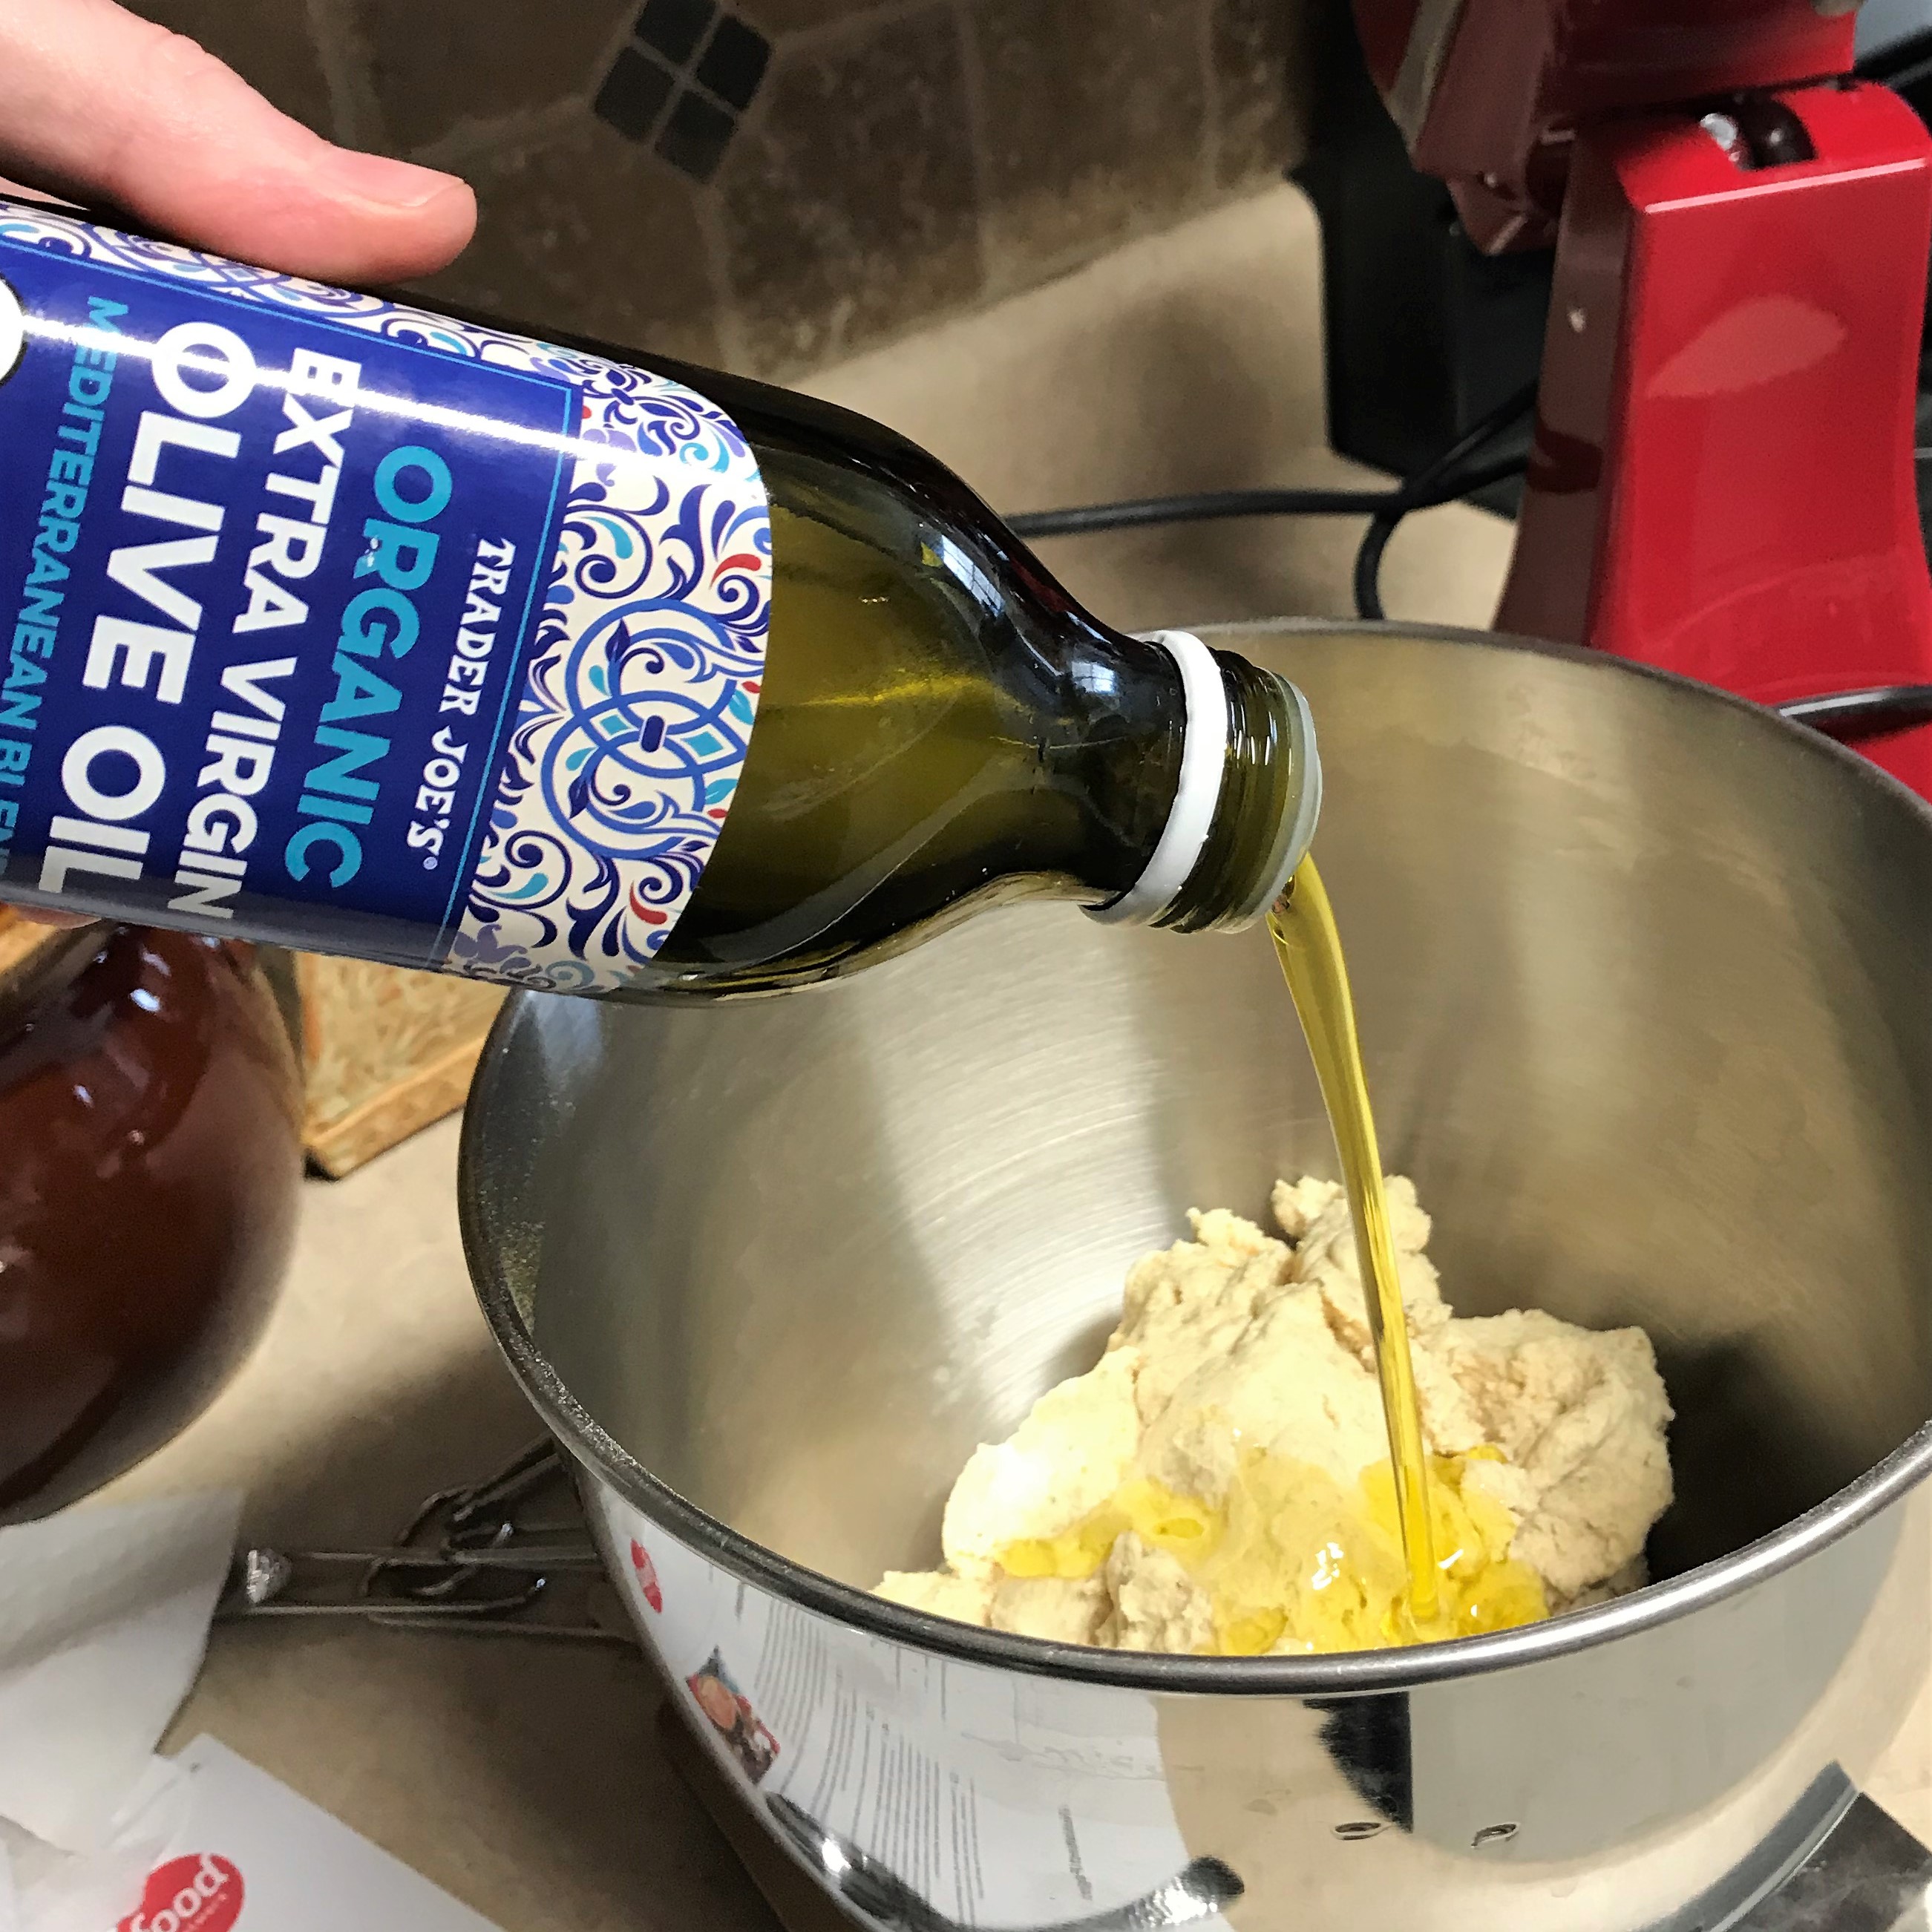
2 Tbsp. extra virgin olive oil (mine was infused with cayenne)
2 links smoked andouille sausage, sliced or chopped (I used Aidell’s)
1 boneless chicken thigh, cut into bite-sized bits
2 ribs celery, finely chopped
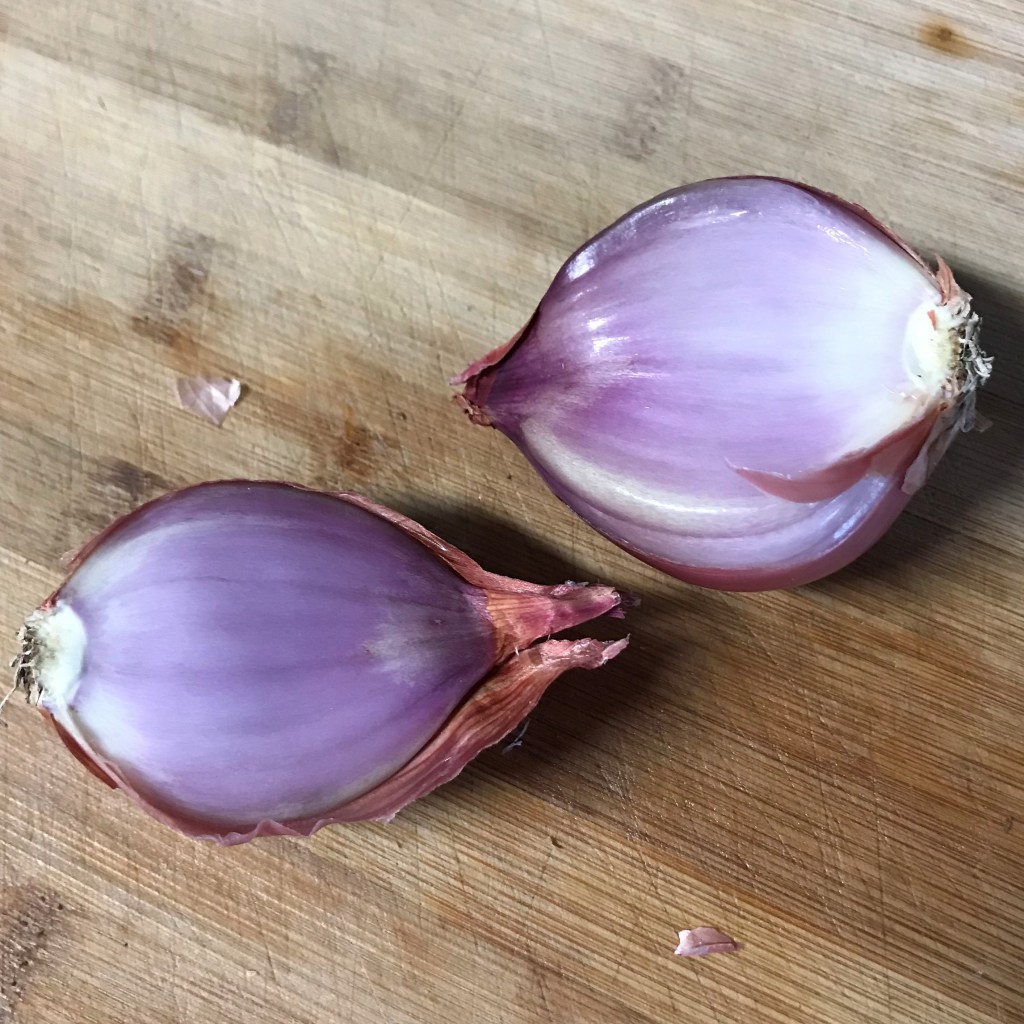
1/2 yellow onion, chopped
1/2 cup each red and green bell pepper, chopped
4 cloves garlic, chopped
Cajun or Creole seasoning (as much as you can stand)
3 sprigs of fresh thyme, leaves removed
1 1/2 cups canned diced tomatoes, divided (see instructions)
Handful of fresh okra, sliced (or about 3/4 cup frozen sliced okra)
2 Tbsp. red wine vinegar
Splash of veggie or chicken broth (optional, for deglazing the skillet)
4 large gulf shrimp (about 1/4 pound), peeled and deveined)
4 oz. shredded or sliced Monterey jack cheese
Instructions
Let’s run through it together in pictures while you enjoy the Bluesiana Triangle, then keep scrolling for written instructions and a downloadable PDF for your recipe files.

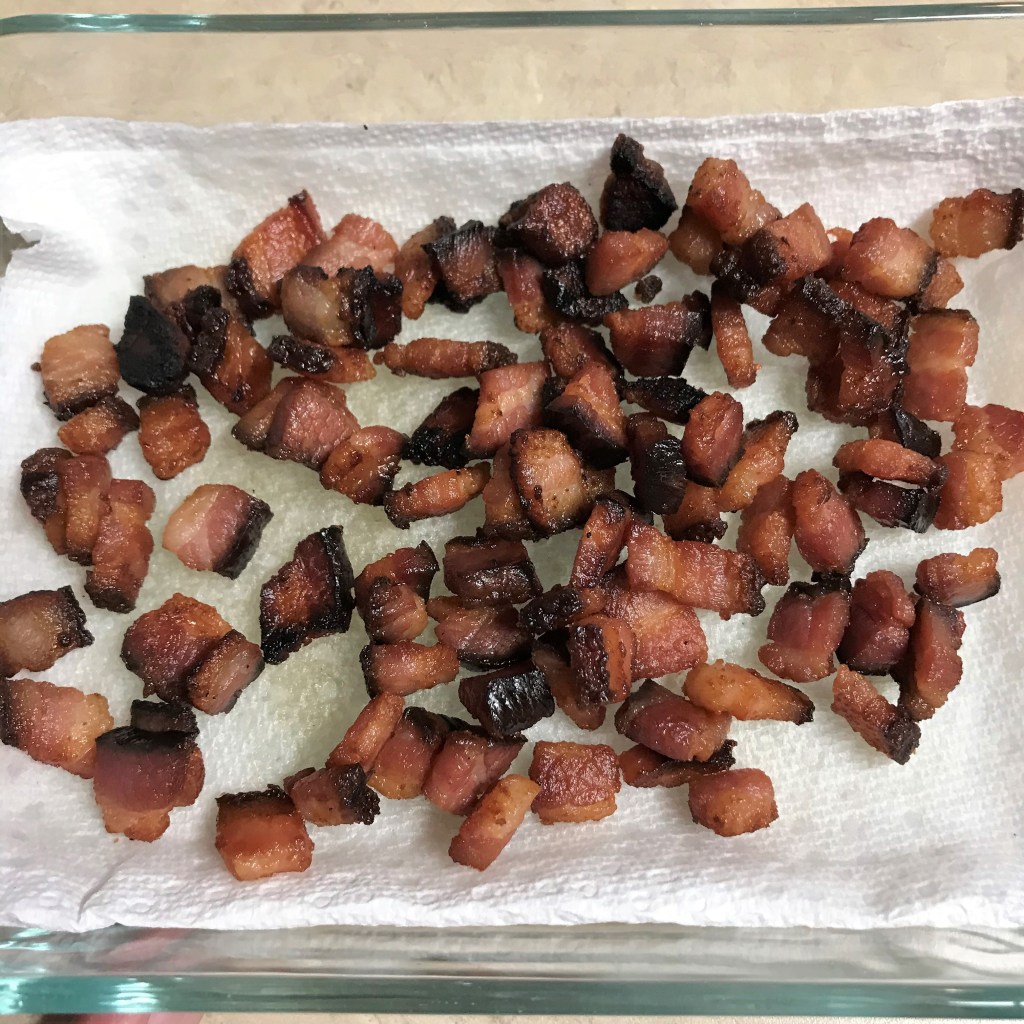
The andouille was already cooked, but I wanted to put a crispy edge on it, so I sauteed it in cayenne-infused olive oil. 
The chicken was only cooked a couple of minutes, until it was no longer pink. 
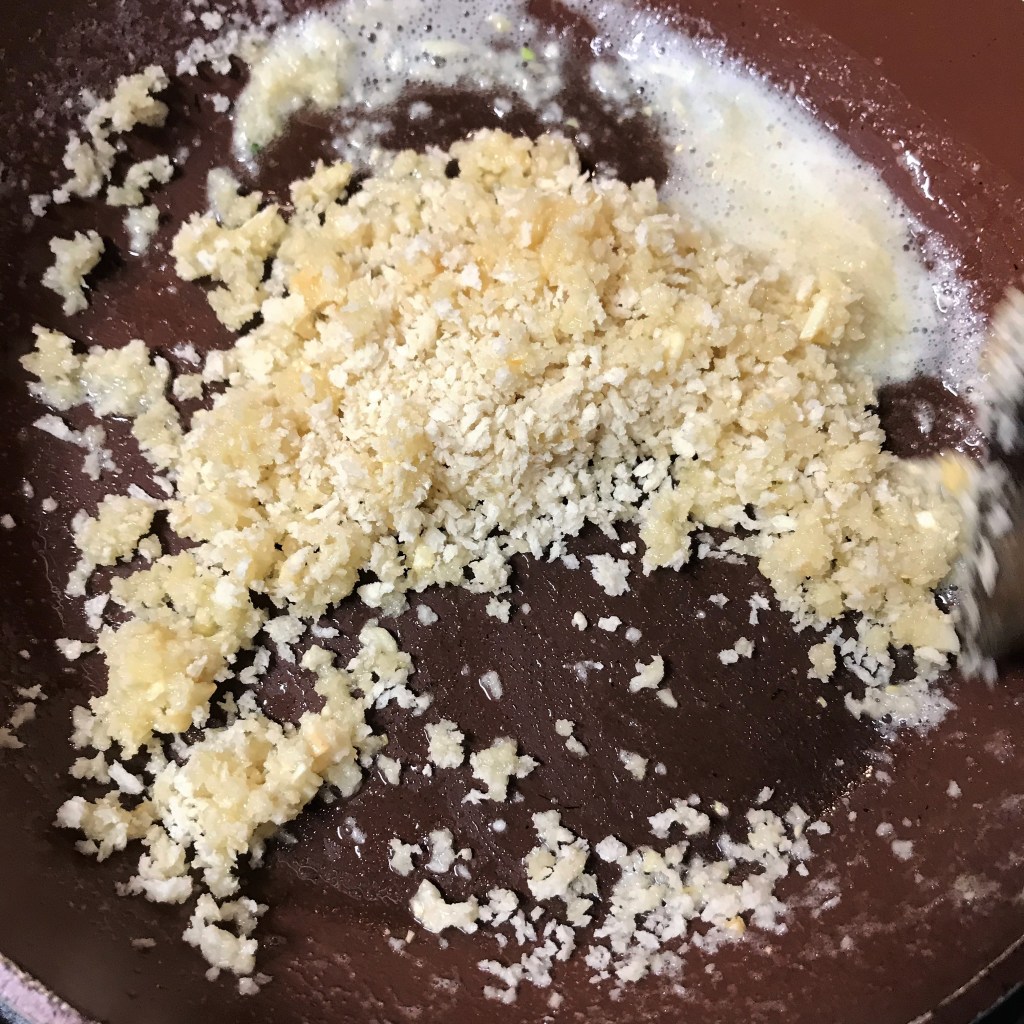
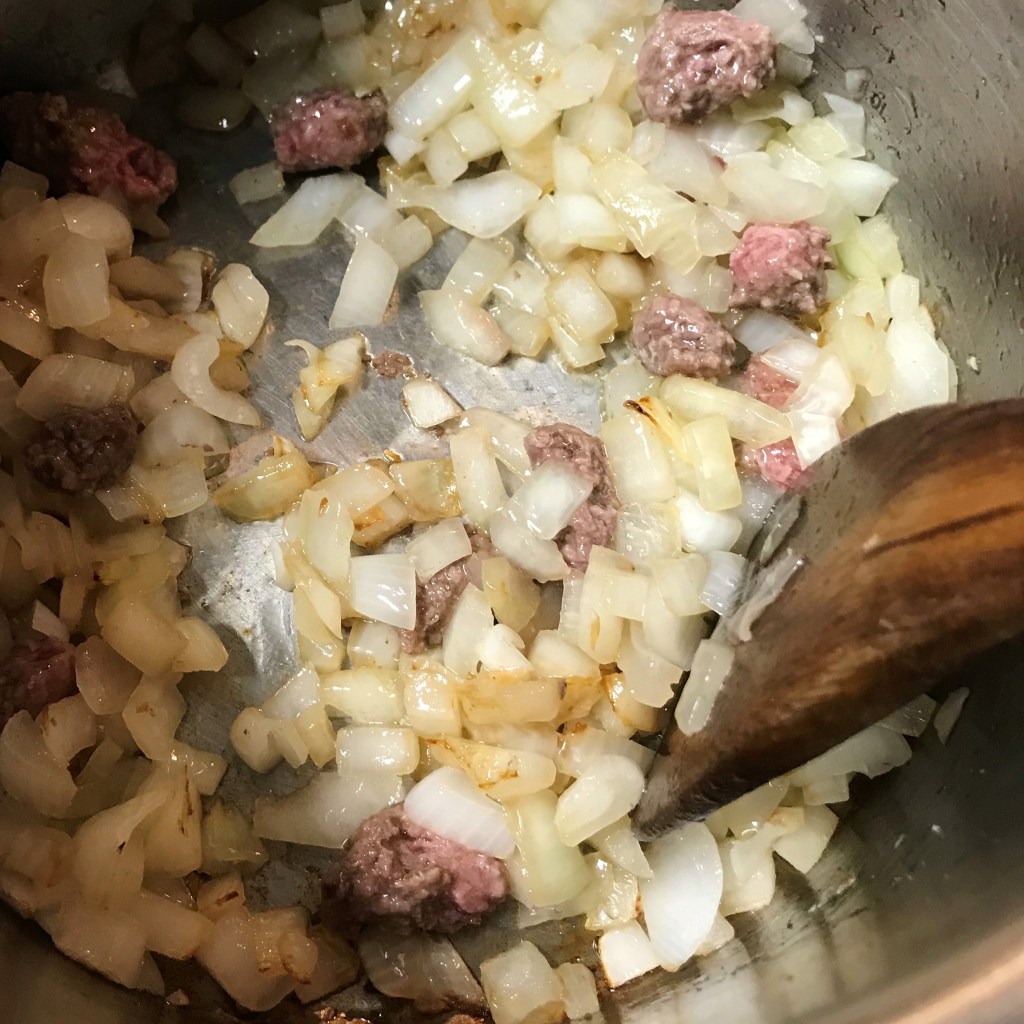
The Cajun garlic seasoning was my pick for seasoning up the trinity. I cooked the vegetables until they were nice and soft. 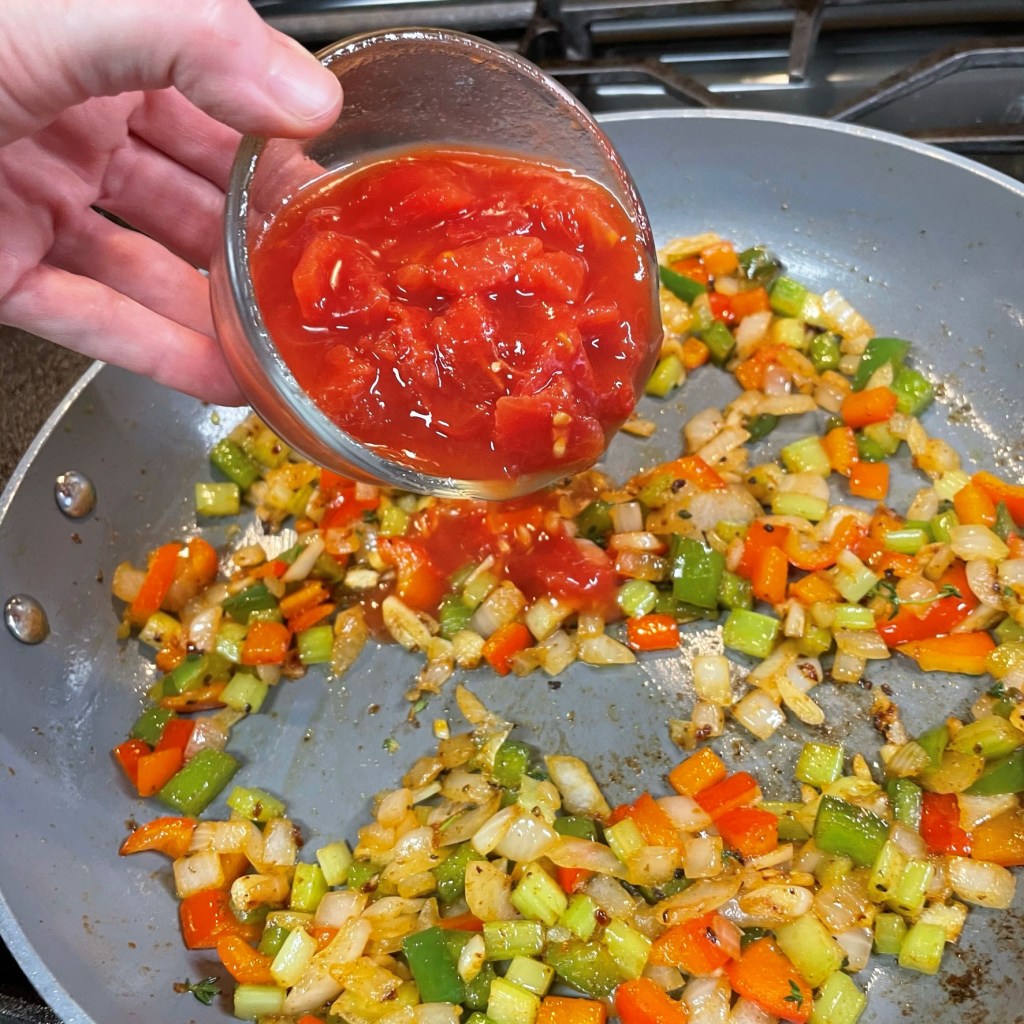
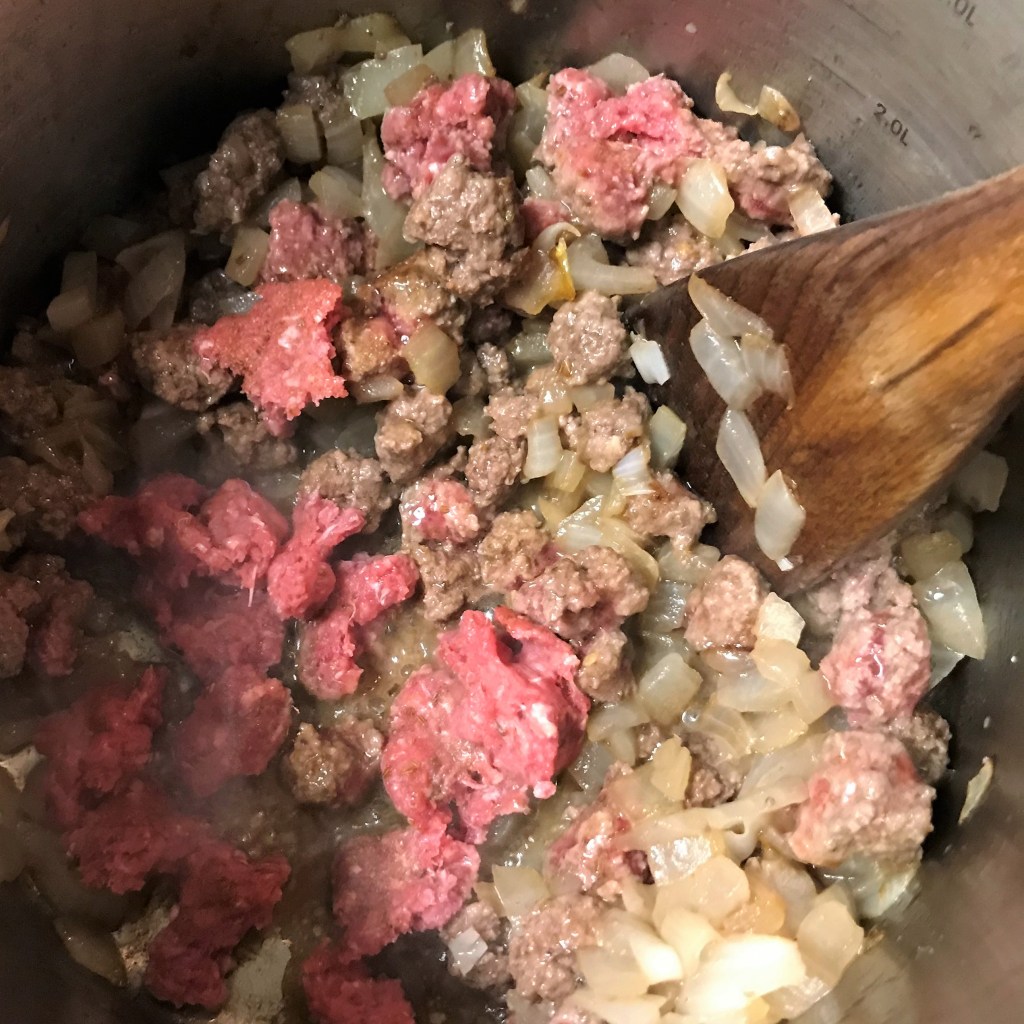
Half of the tomatoes went into the pan with the trinity, a nod to the Creole culture, and perfect for a pizza. 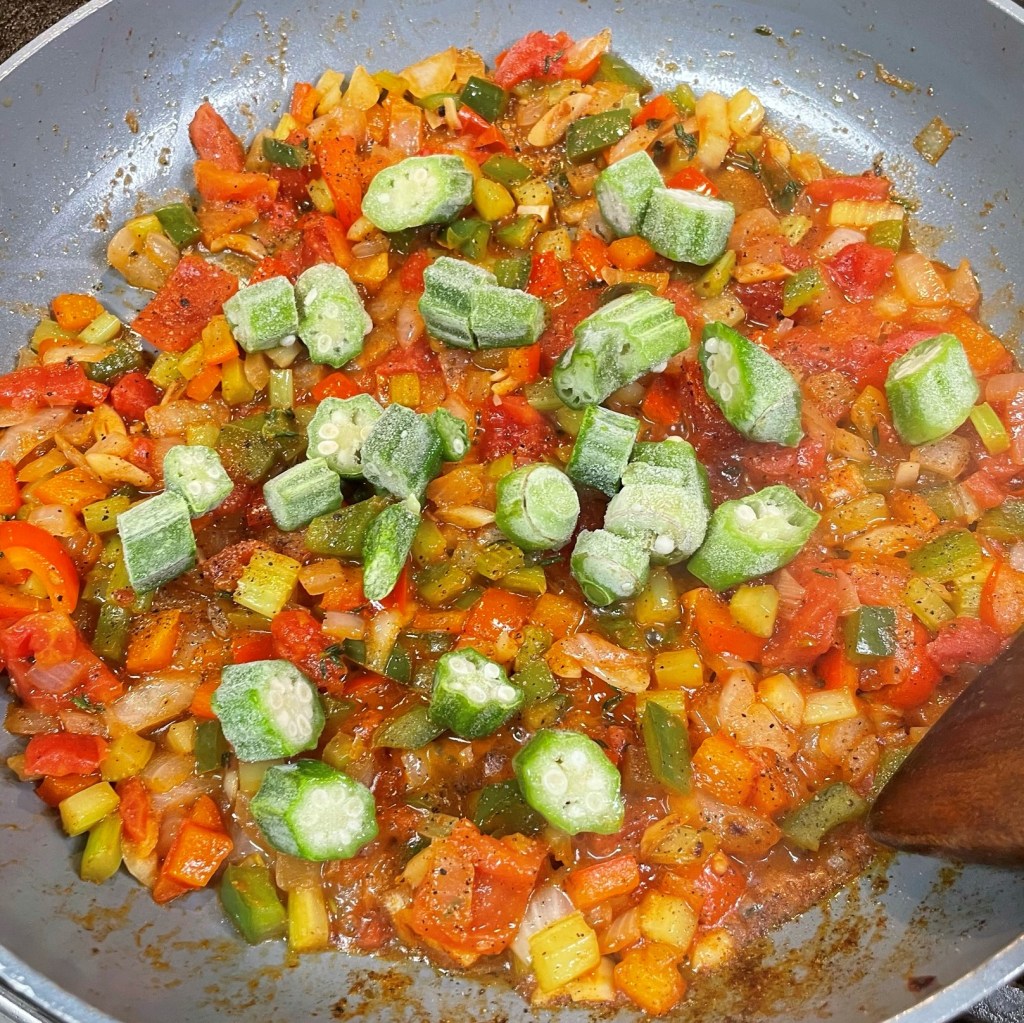
Fresh okra would have been great, but I tossed in a handful of frozen okra slices, and cooked only until they were heated through. 
A splash of red wine vinegar (or just red wine) wakes up the flavors even more. 
I quick-cooked the shrimp pieces in a bit of veggie stock that I was using to deglaze the pan, but I probably could have added them directly to cook in the oven. 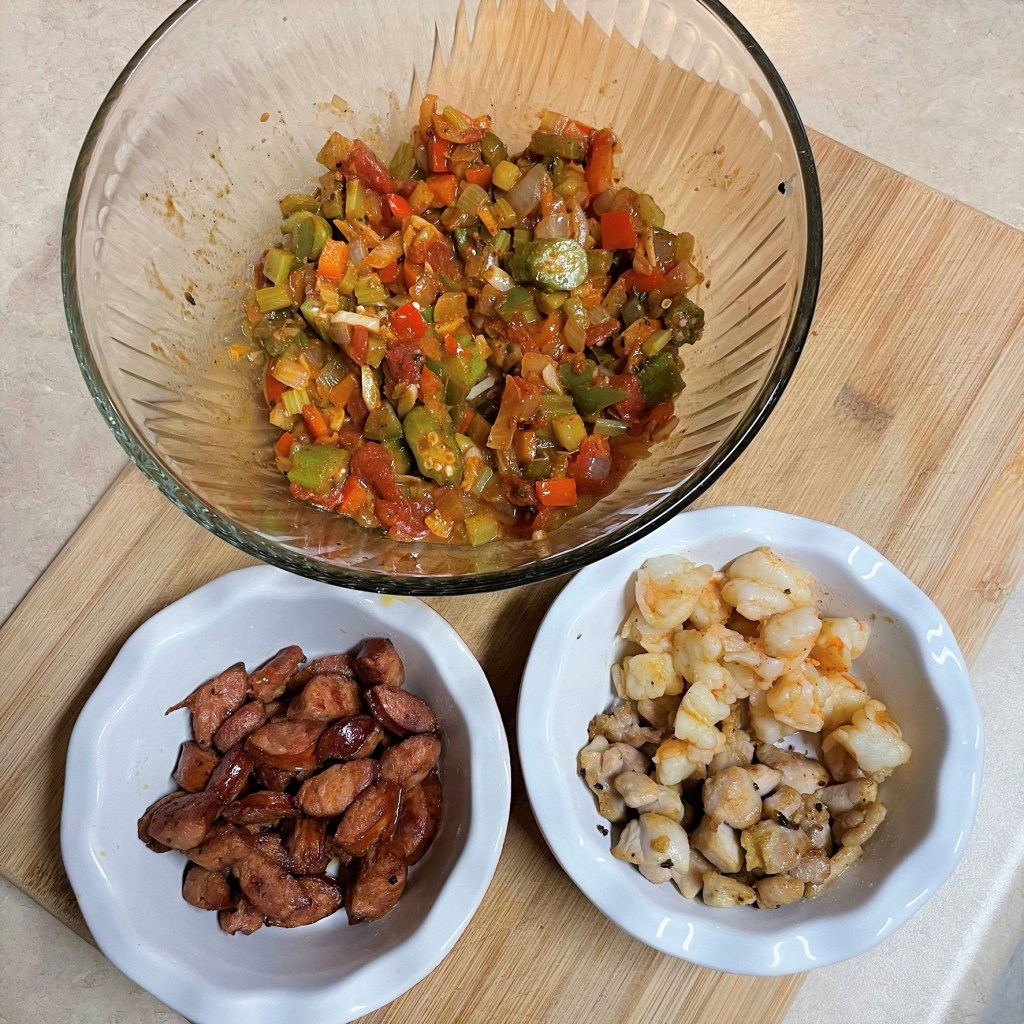
I put all of these toppings into the fridge until baking time. Working ahead gives me a chance to clean up the mess in the kitchen in between! 🙂 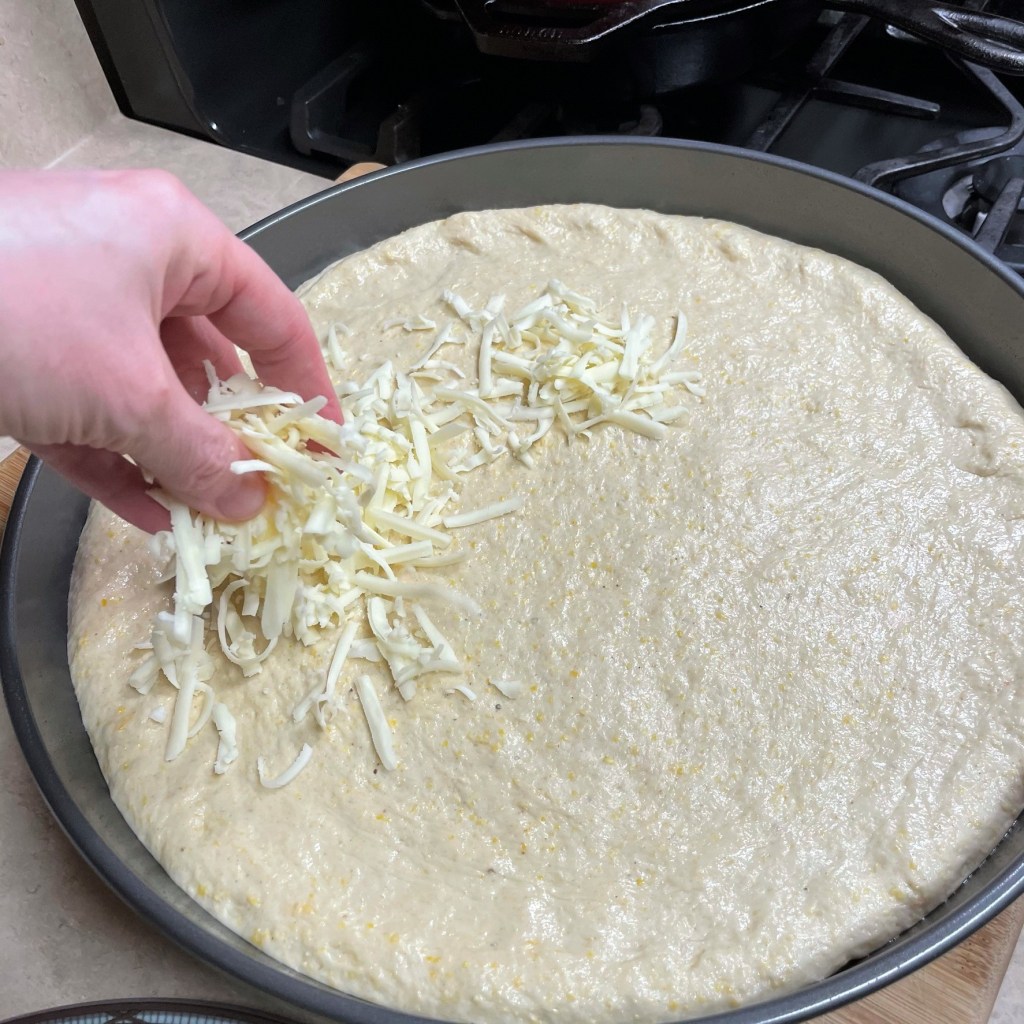
I chose Monterey jack for its mild flavor, and on a deep-dish pizza, the cheese goes on the bottom. After arranging it, I pressed it down onto the dough. 
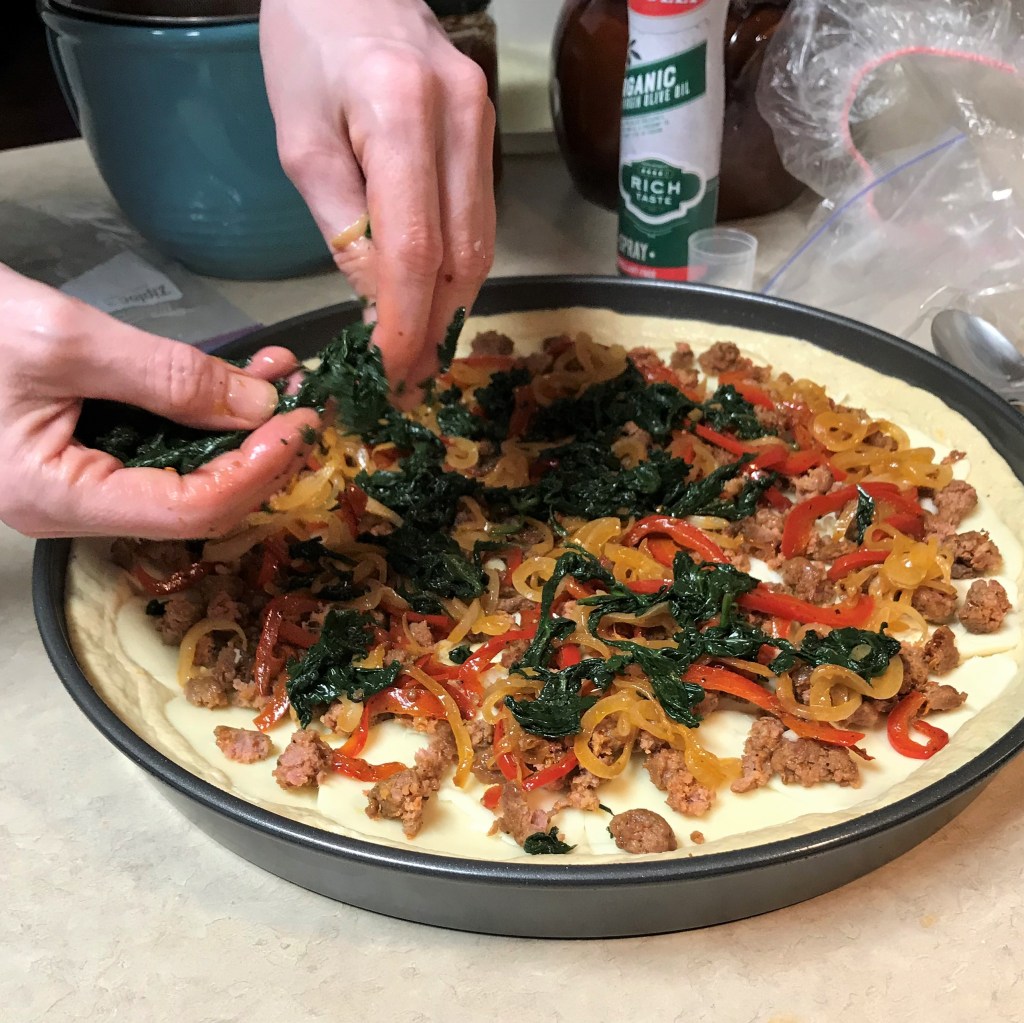
Layer the sausage, chicken and veggies over the cheese. 
The shrimp pieces really make it feel like jambalaya and I wanted them to shine, so they went on top of the other fillings. 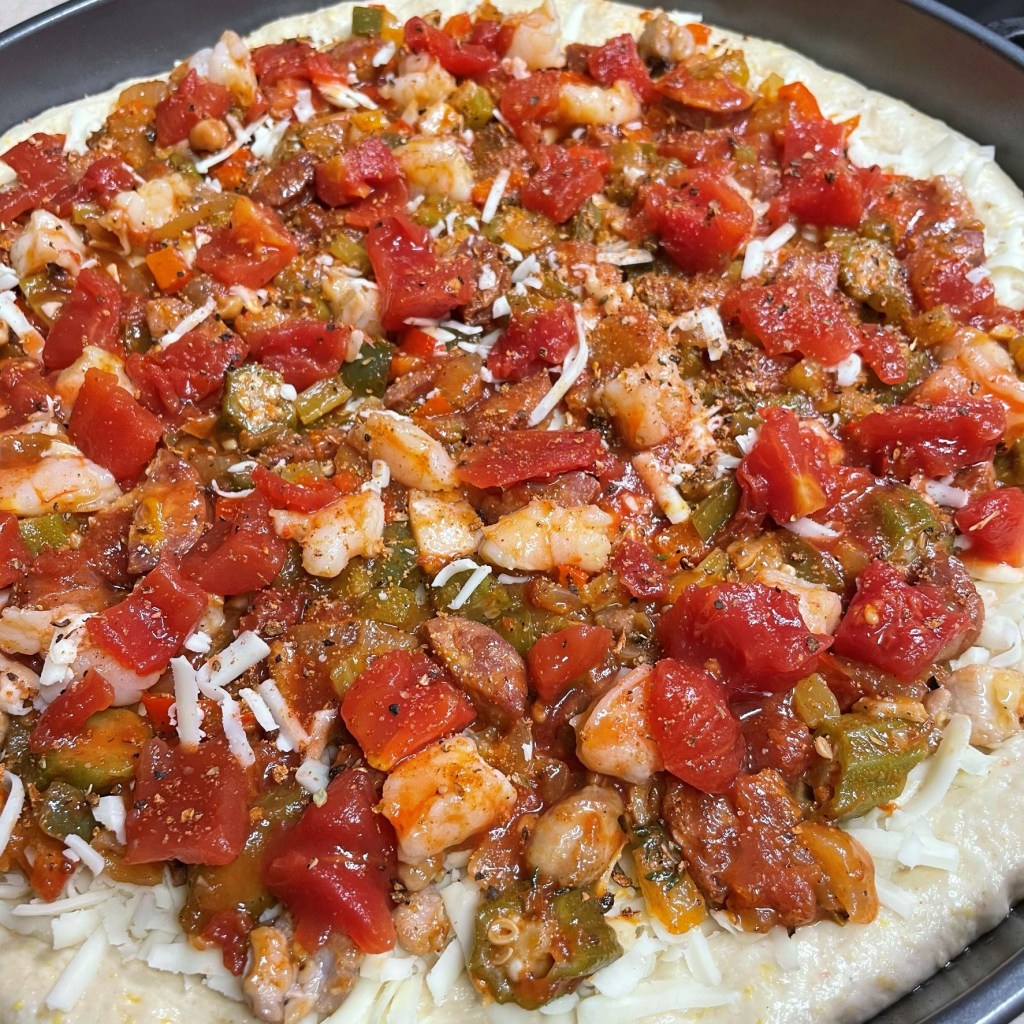
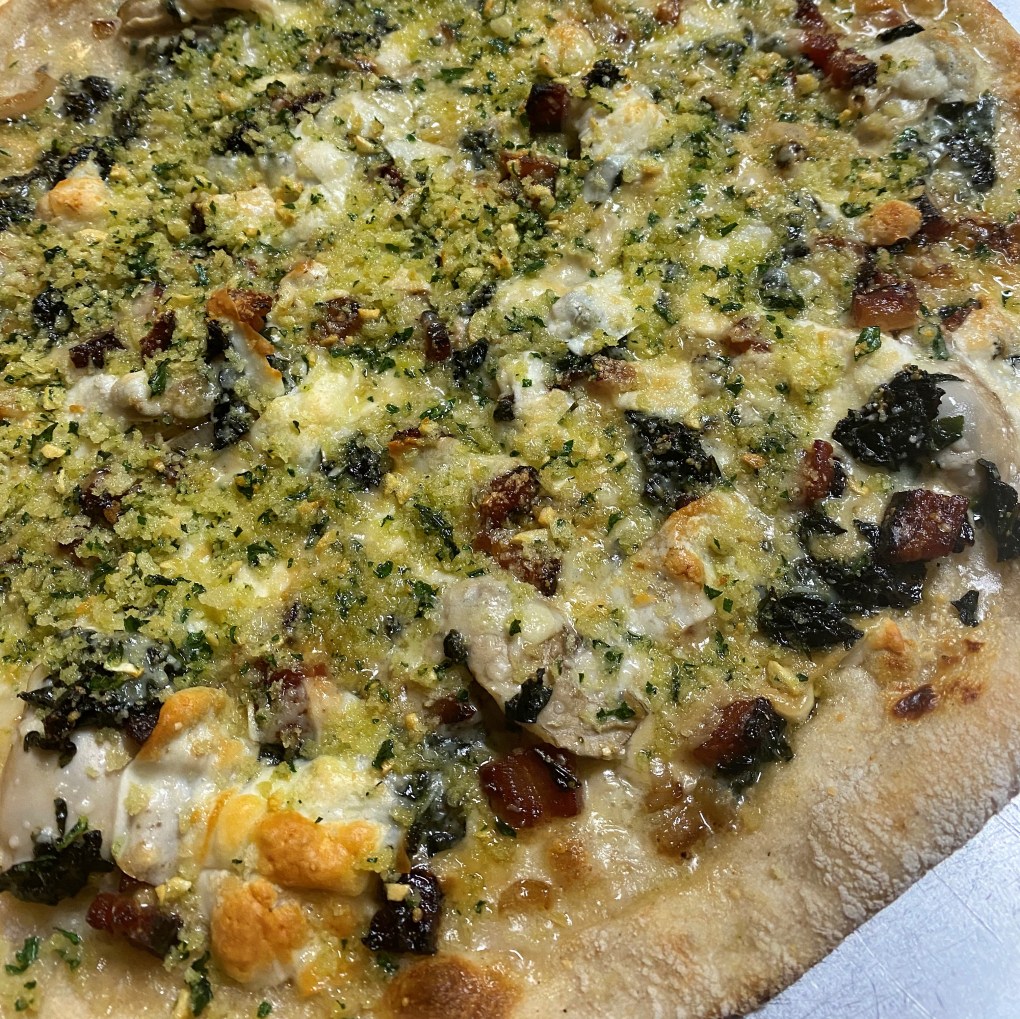
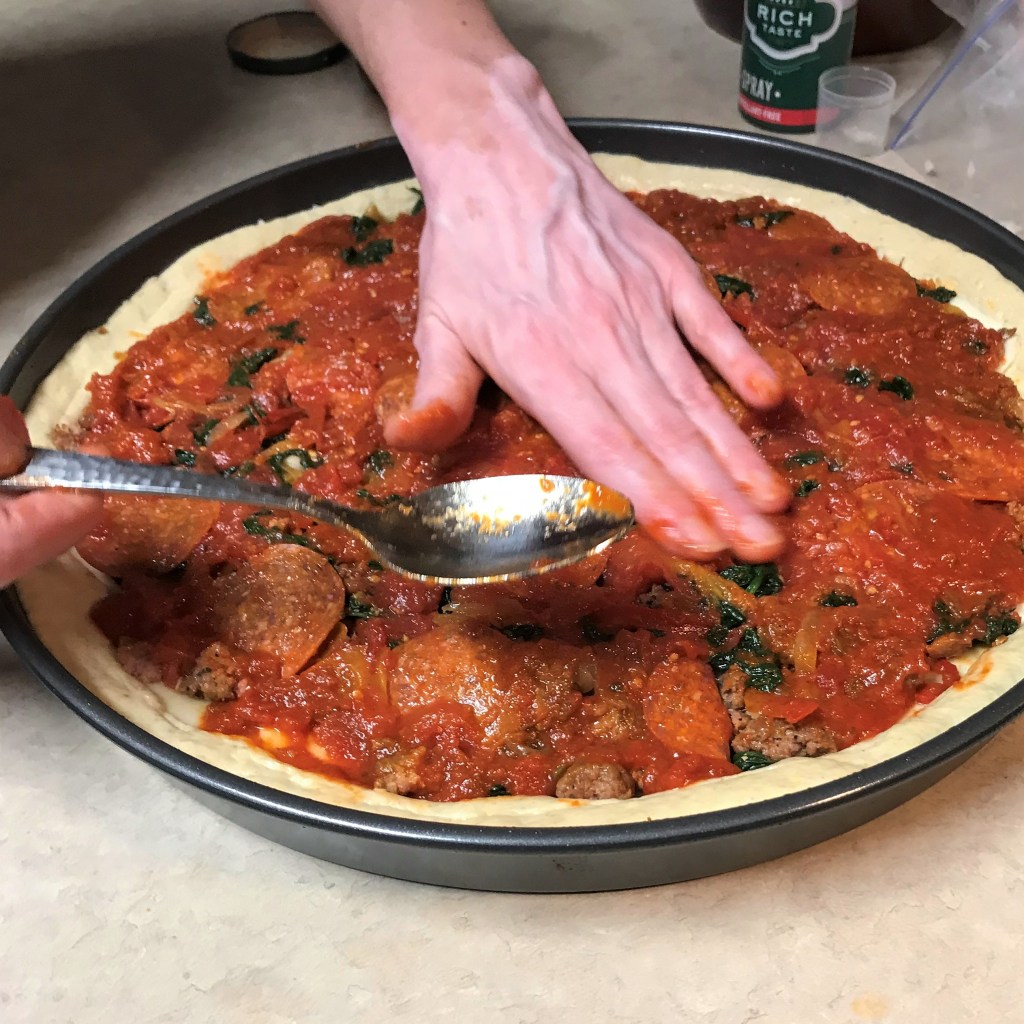
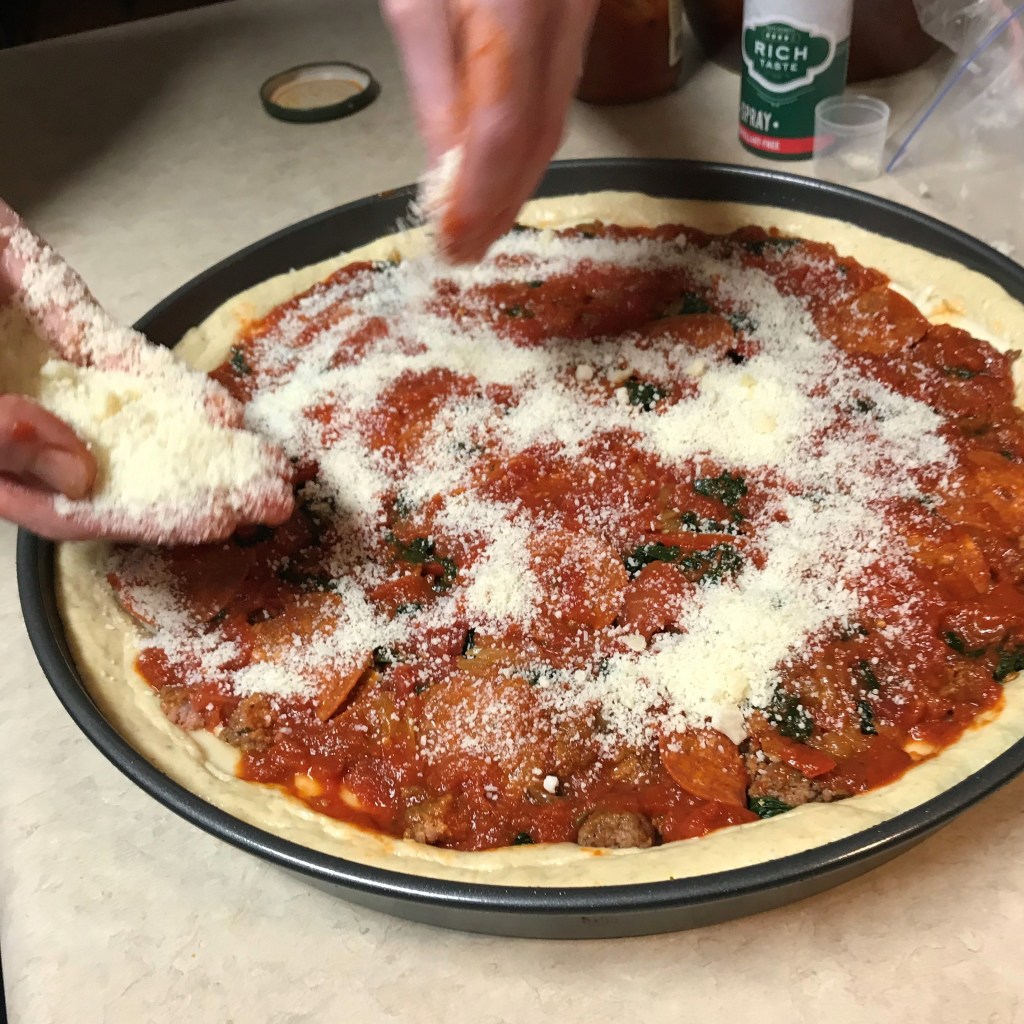
The remaining canned tomatoes were scattered on top, along with the last shreds of Monterey jack and a generous shake of the Cajun garlic seasoning. 
Let the good times roll! 
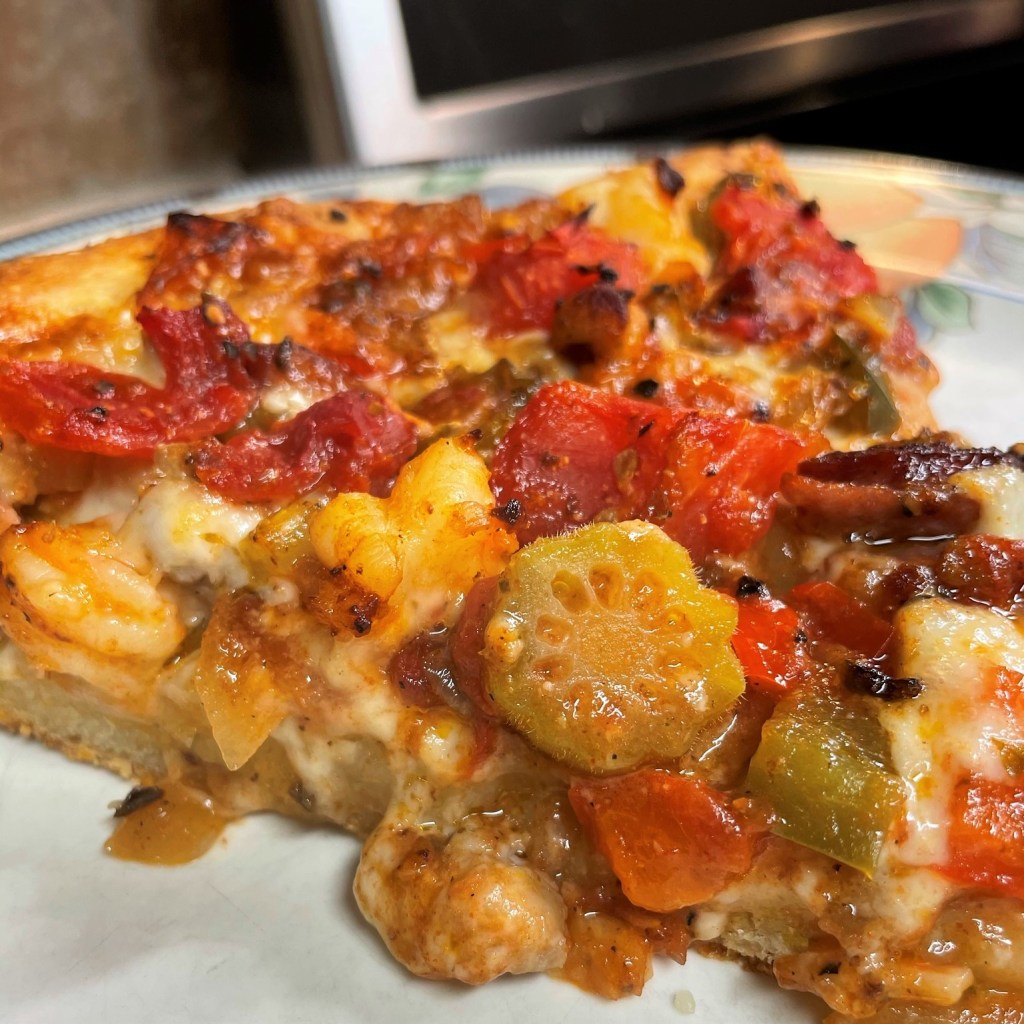
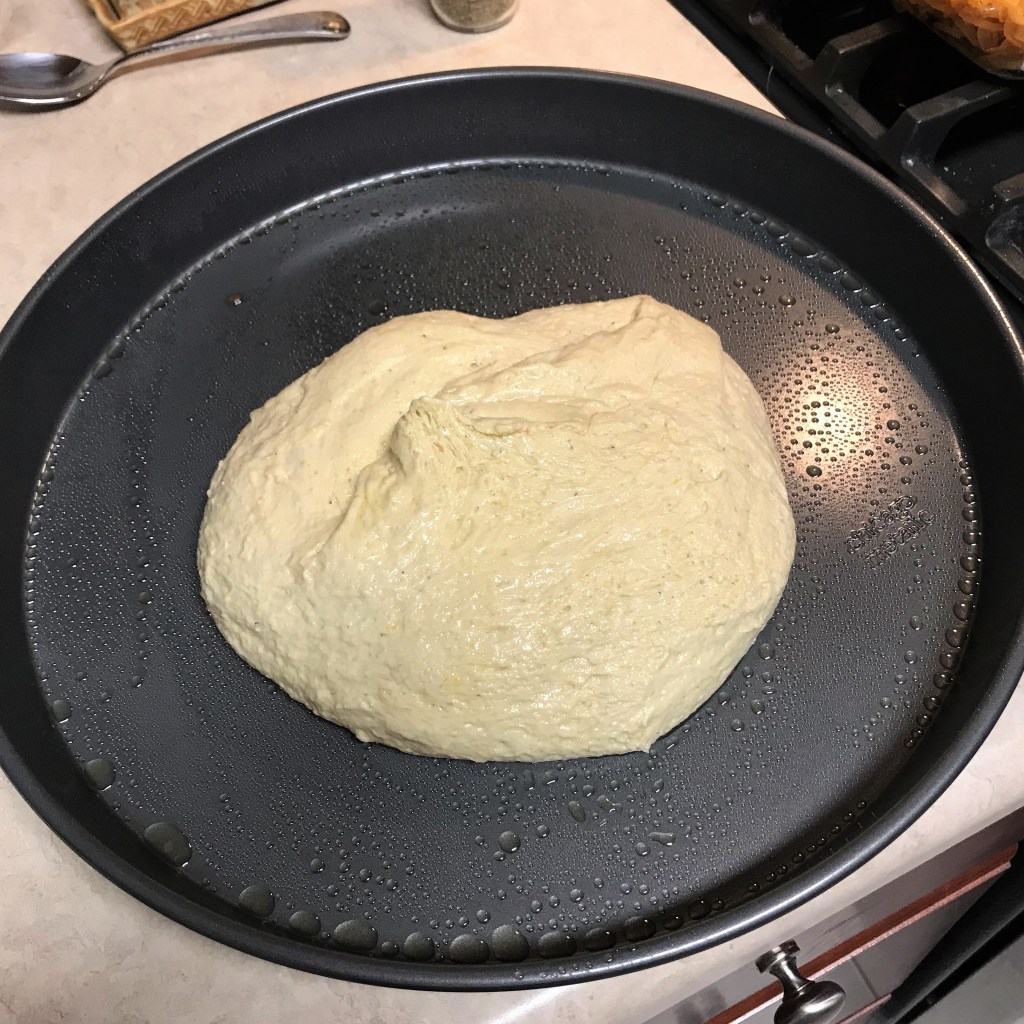
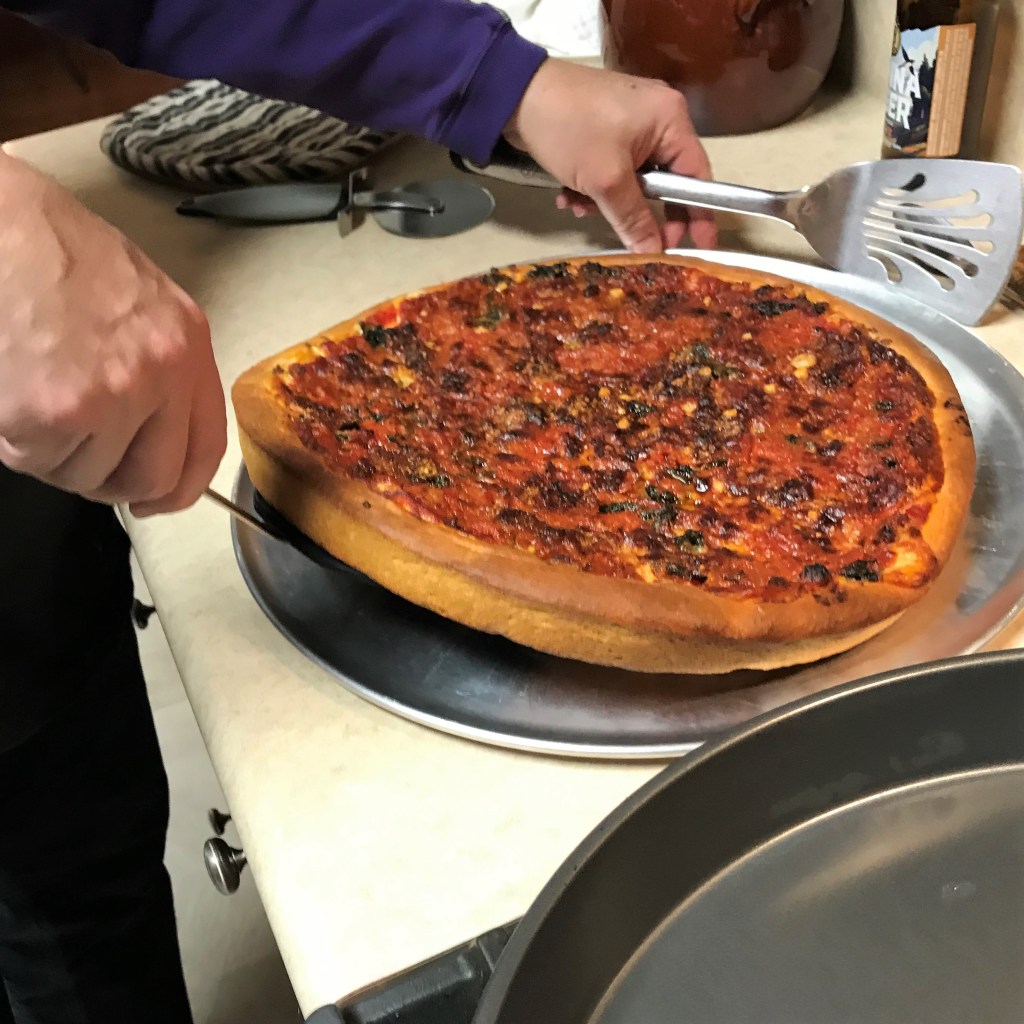
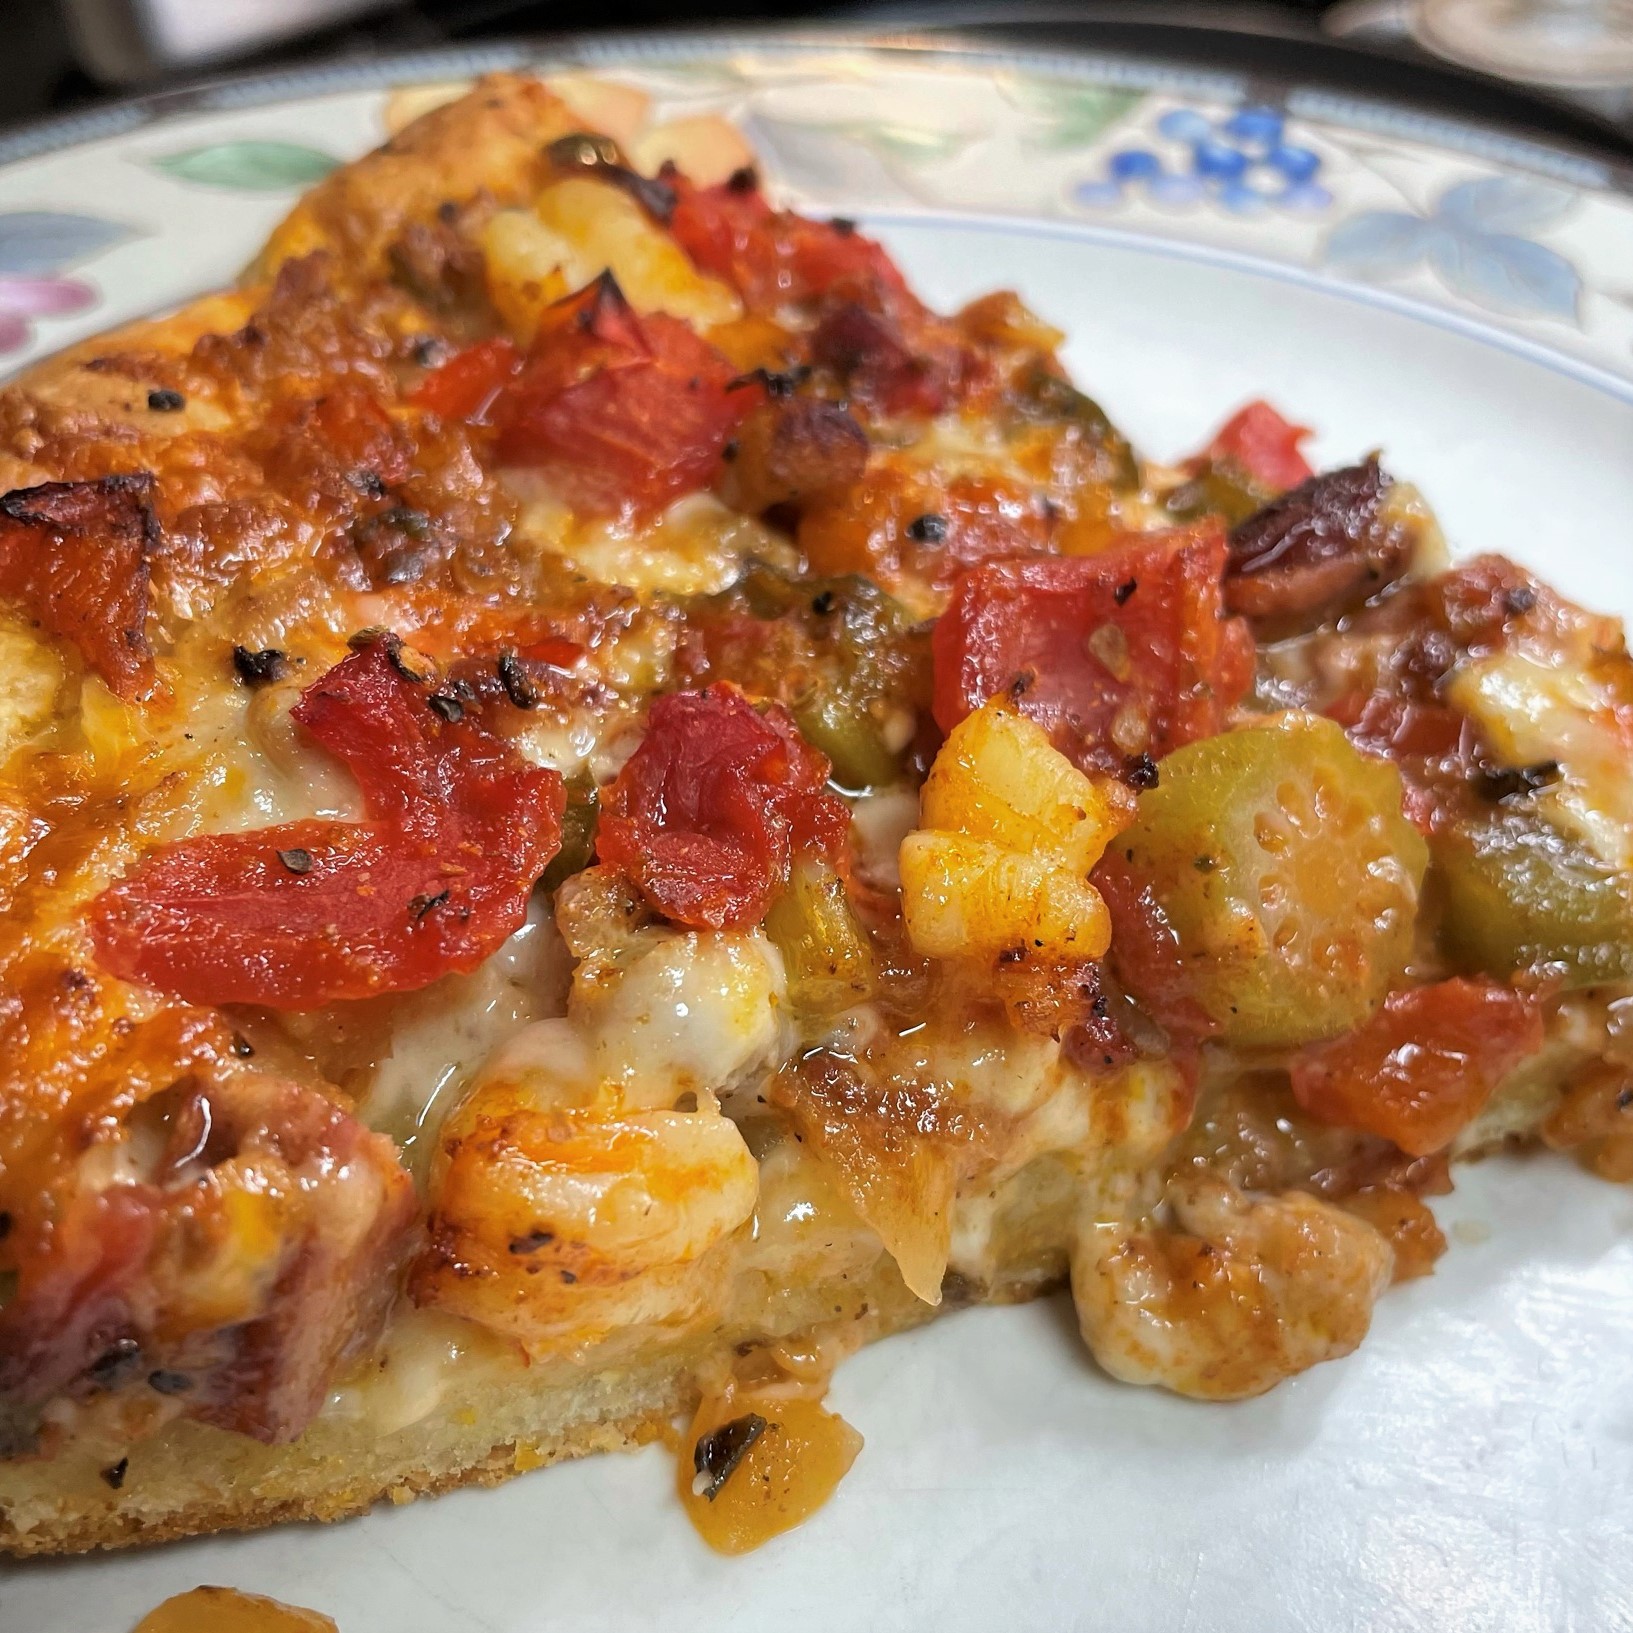
Look at that thick, golden crust! Let the pizza cool in the pan about five minutes, then transfer to a sheet pan for slicing. 
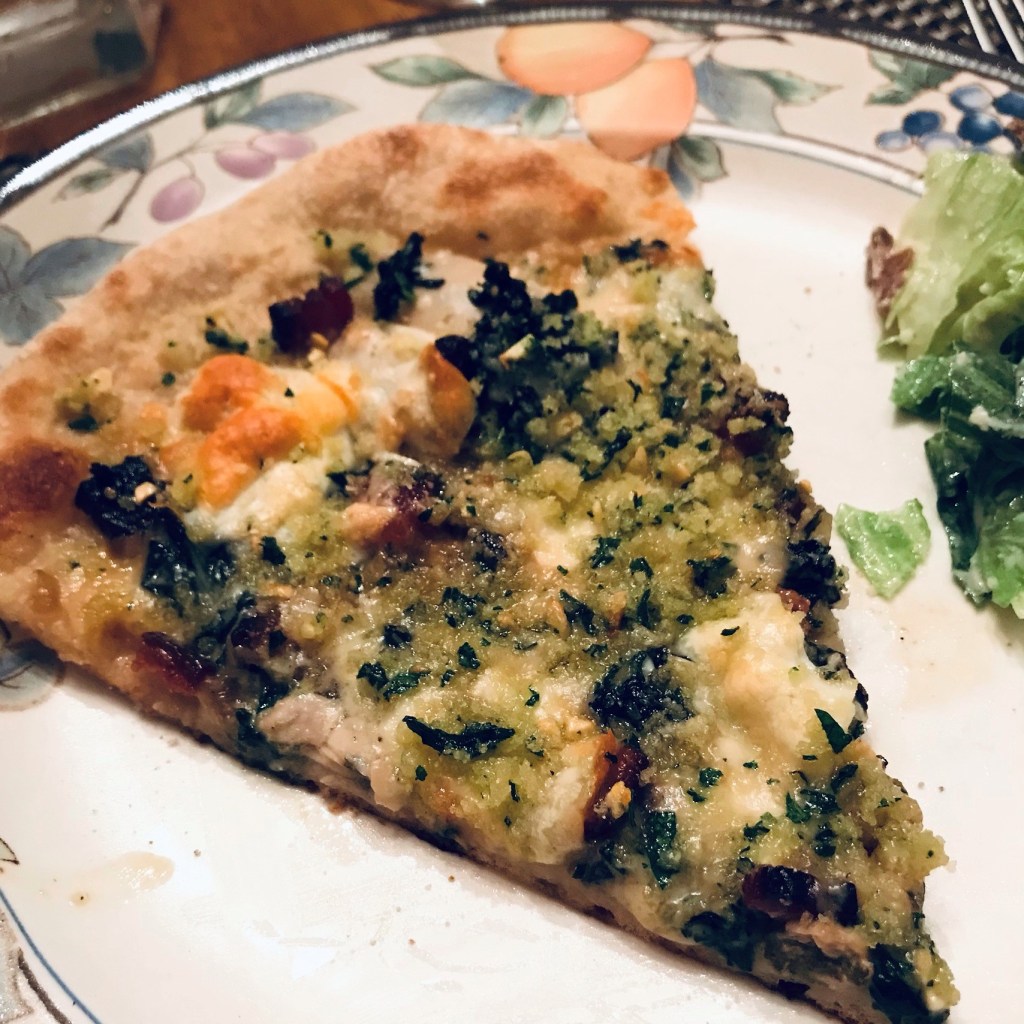
Every bite had all the flavors you’d expect in a jambalaya. This was a fun twist on a Cajun classic!
- Place a large non-stick skillet over medium heat and swirl in olive oil. When oil is hot enough to shimmer, add cut up andouille sausage and toss until edges are crispy. Use a slotted spoon to transfer the sausage to a bowl and set aside.
- Add the chicken pieces to the remaining oil and toss them about until no longer pink. Transfer chicken to the bowl with the sausage.
- Add trinity plus garlic to the skillet and toss in the hot oil. Shake on Cajun or creole seasoning to suit your spicy preferences. Grind some black pepper into the pan and sauté vegetables until they are soft and translucent. Scatter the fresh thyme leaves over the vegetables.
- Add diced tomatoes, okra and red wine vinegar. Toss and cook until okra is heated through, about five minutes. Turn off heat and allow vegetables to rest a few minutes, then transfer to a bowl and set aside.
- If your skillet has any browned bits on the bottom, swirl in a splash of veggie broth and heat to a simmer. Cut the shrimp into bite-sized pieces and toss them into the simmering broth. Cook only long enough for the shrimp to be barely done, which may only be about two minutes. Transfer the shrimp to the bowl with sausage and chicken and set aside.
At this point, if you’re working ahead, you can refrigerate all cooked ingredients, and then bring them to near-room temperature when you are ready to assemble the pizza.
Ready to bake:
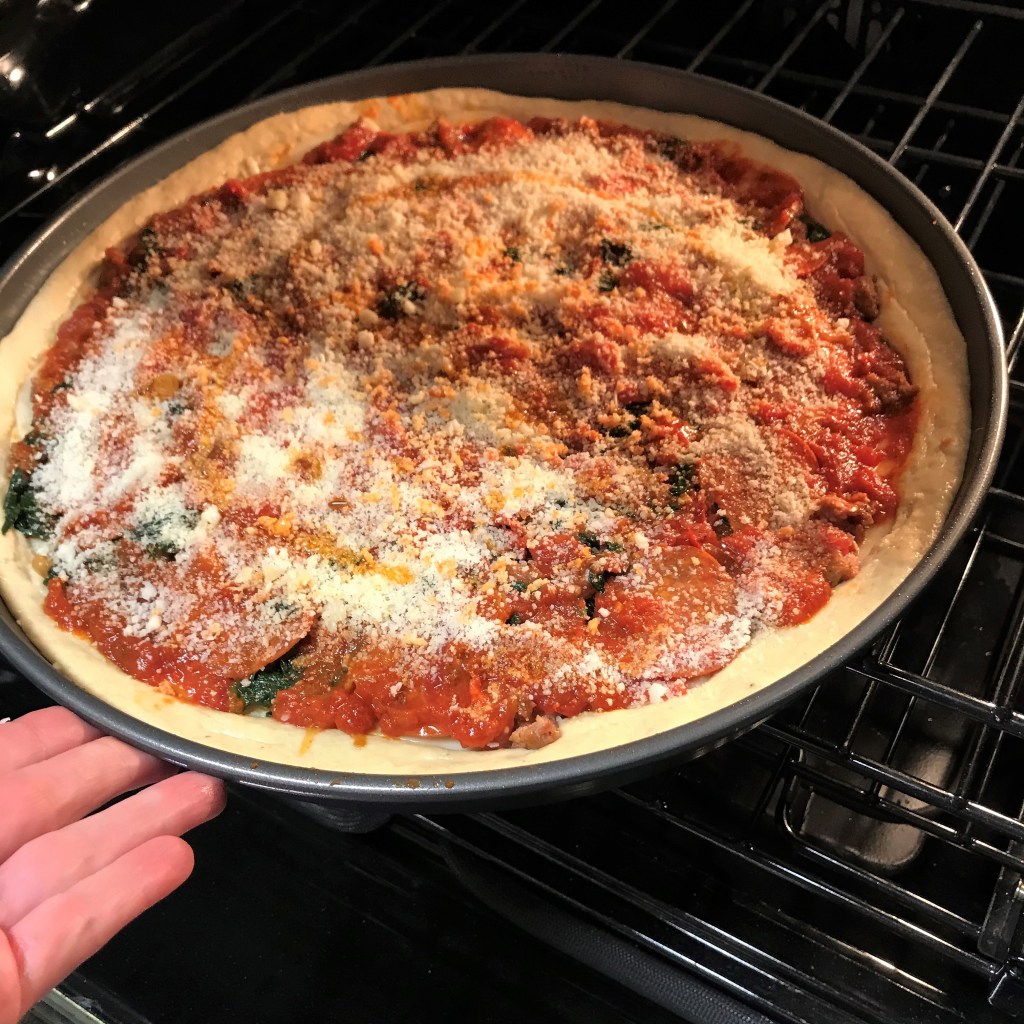
- Preheat oven to 450° F, with rack in center of oven.
- Spread prepared dough into pan, with edges creeping up the side a bit.
- Layer ingredients in the following order: Monterey jack, most of the andouille sausage, chicken, vegetables, shrimp, remaining sausage, additional diced tomatoes. Sprinkle with Cajun seasoning.
- Bake 25 minutes, rotating pizza halfway through baking time. Rest pizza 5 minutes, then carefully lift and transfer pizza to a flat pizza pan or serving platter. Cut into wedges.