Seriously?? C’mon Phil! If we’re in for six more weeks of winter, then I’m going to need a bigger soup pot. After the weather drama of the past two weekends here in North Carolina, the news of an extended winter isn’t exactly sitting well. We are starting to get the roads cleared from the most recent weekend’s snow blast— which was actually a lot of fun, for a change— and we are still fighting a losing battle against the ice that accumulated the weekend before. It leaves me only one thing to do. Make soup.
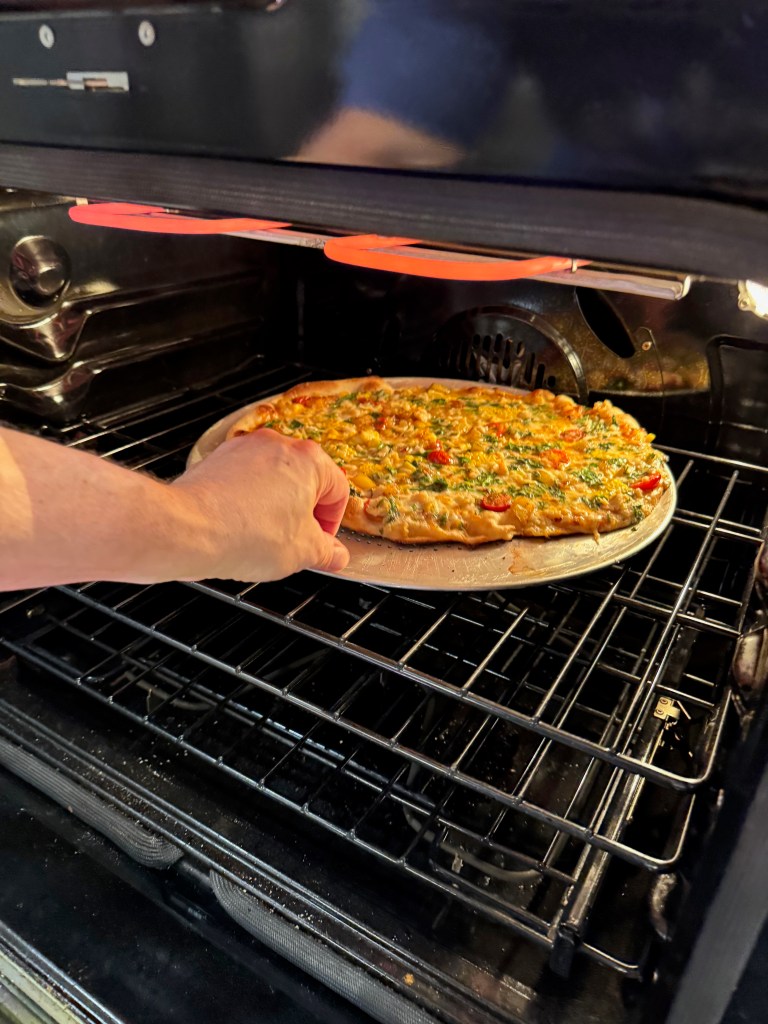
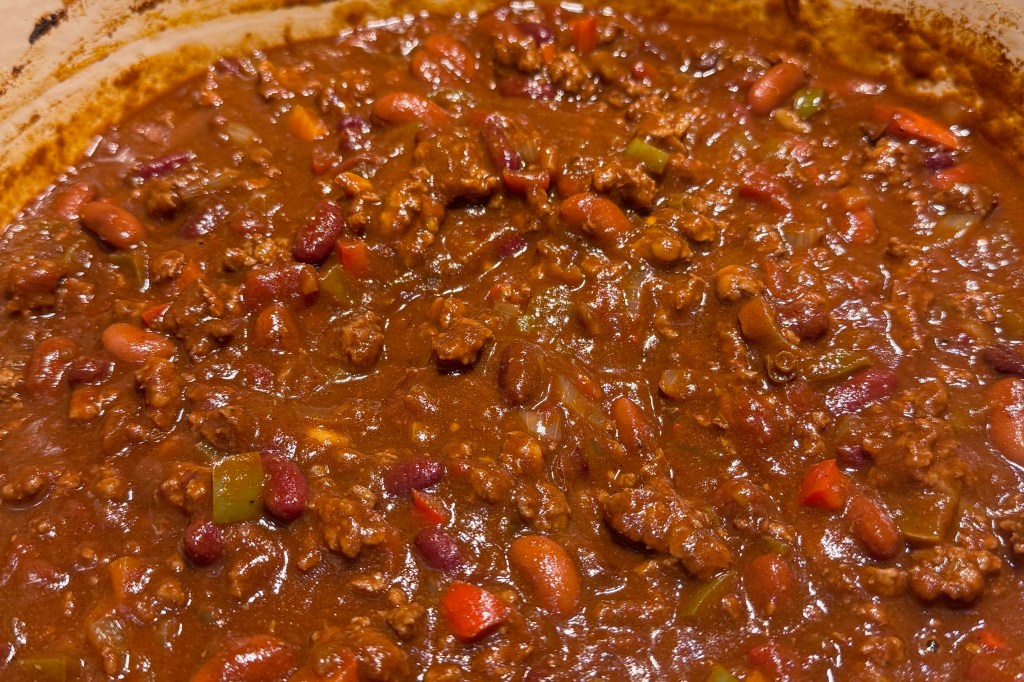
I’ve been thankful for the past two weeks that we haven’t followed through on our threat to trade the gas stove for induction, and even more thankful that we didn’t lose power for that to be a concern. But if we had, we could still cook with gas, and we sure did plenty of that in the last week. Ahead of the first storm, my husband, Les, came through with an enormous pot of his award-winning chili (this being one of his very best batches ever), and I settled into making a batch of clam chowder, albeit with a few substitutions thanks to my botched grocery trip. You see, the clams were an impulse buy when I stopped at our favorite local seafood shop, and I didn’t have the presence of mind on a hectic day of errands to remember what else I’d need to make chowder. I guess I assumed I already had it. As you can see, I figured it out! This post is a lesson in improvisation.
Making do with what you have
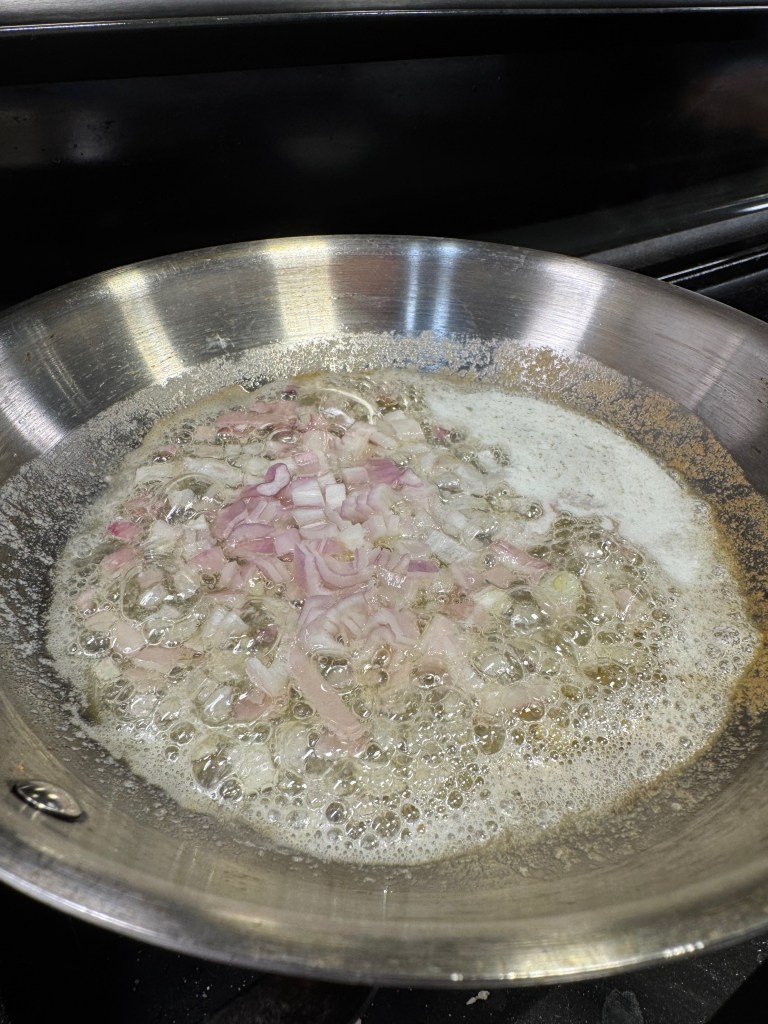
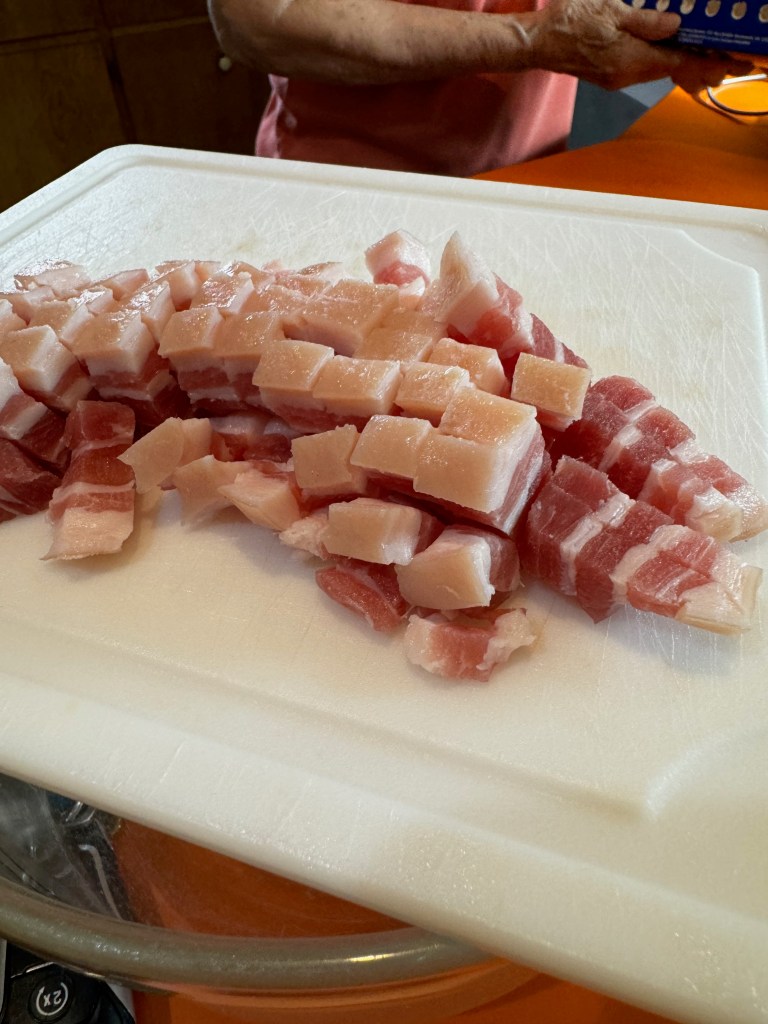
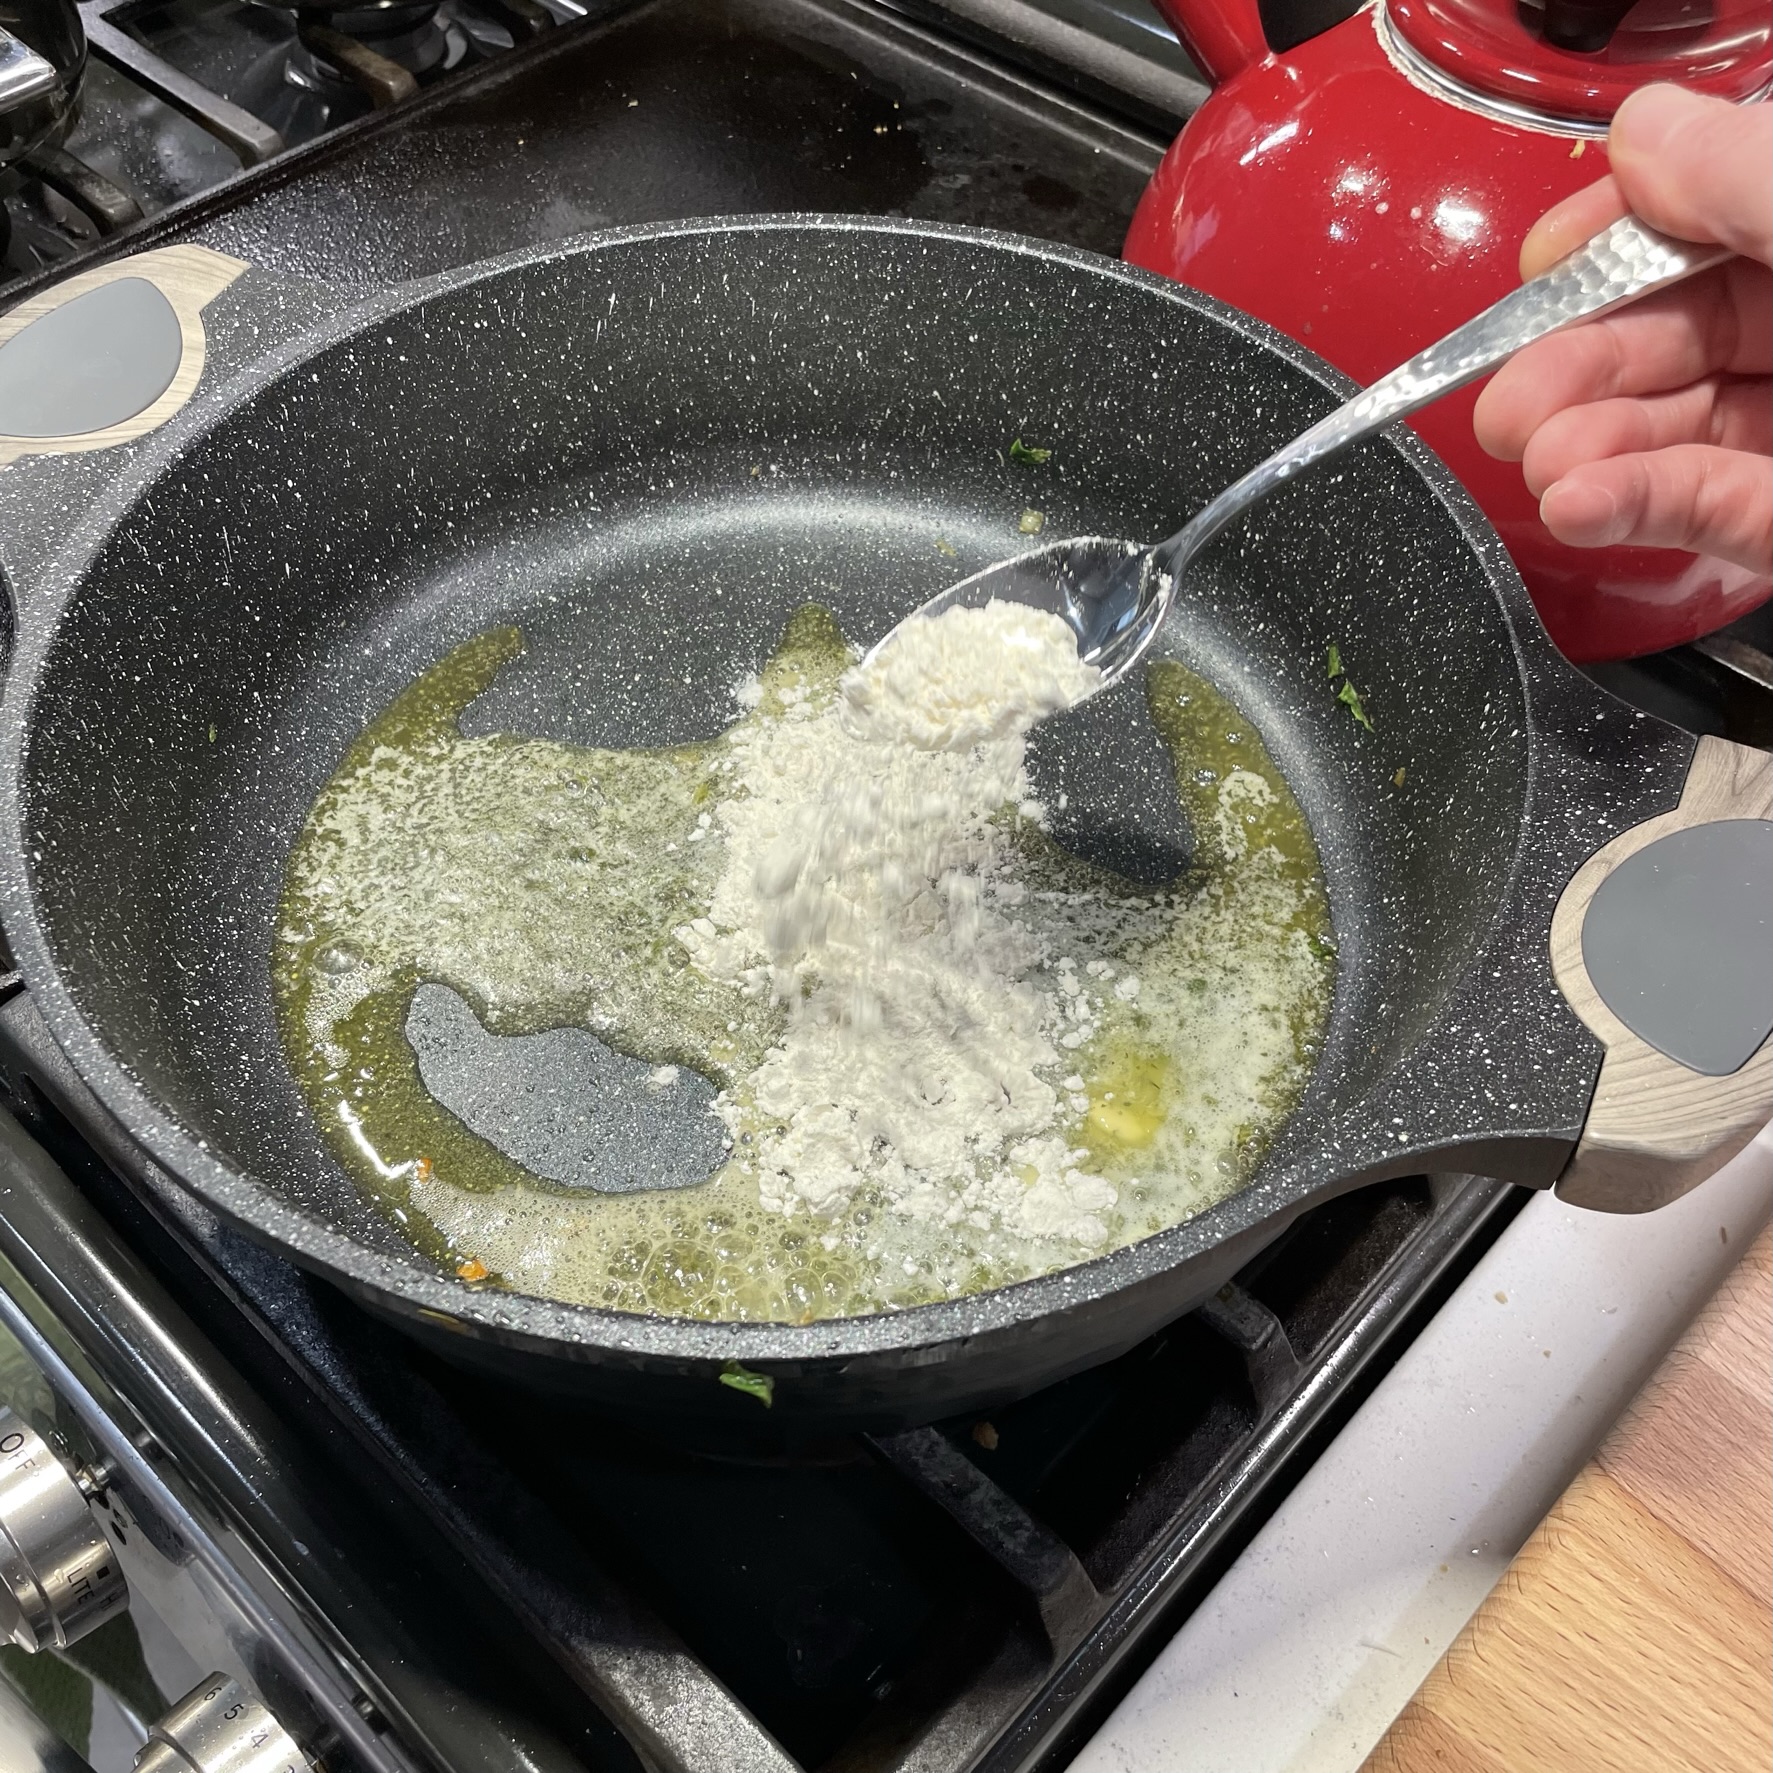
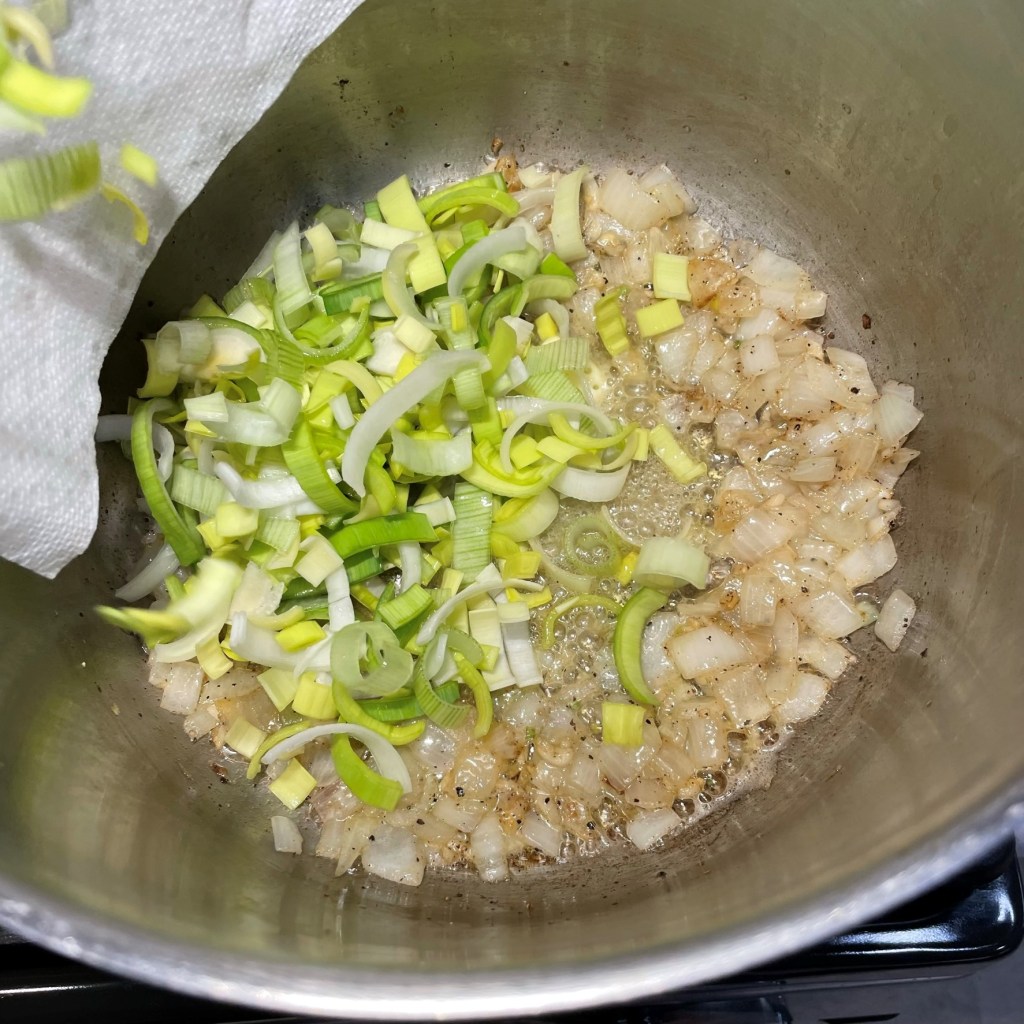
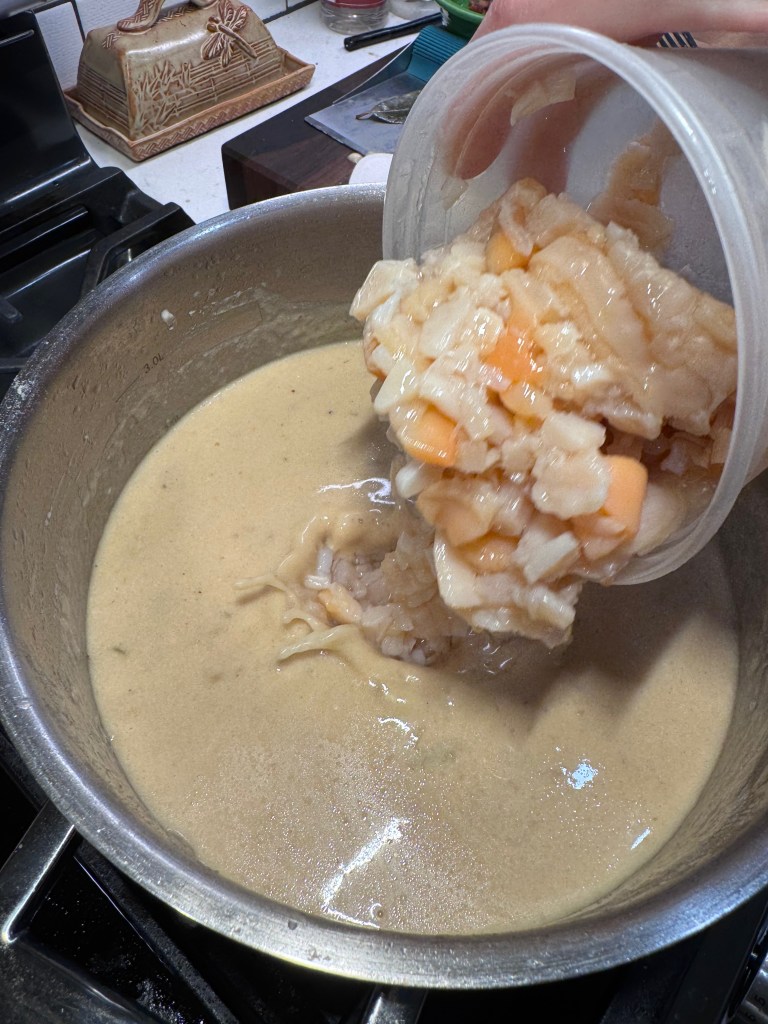
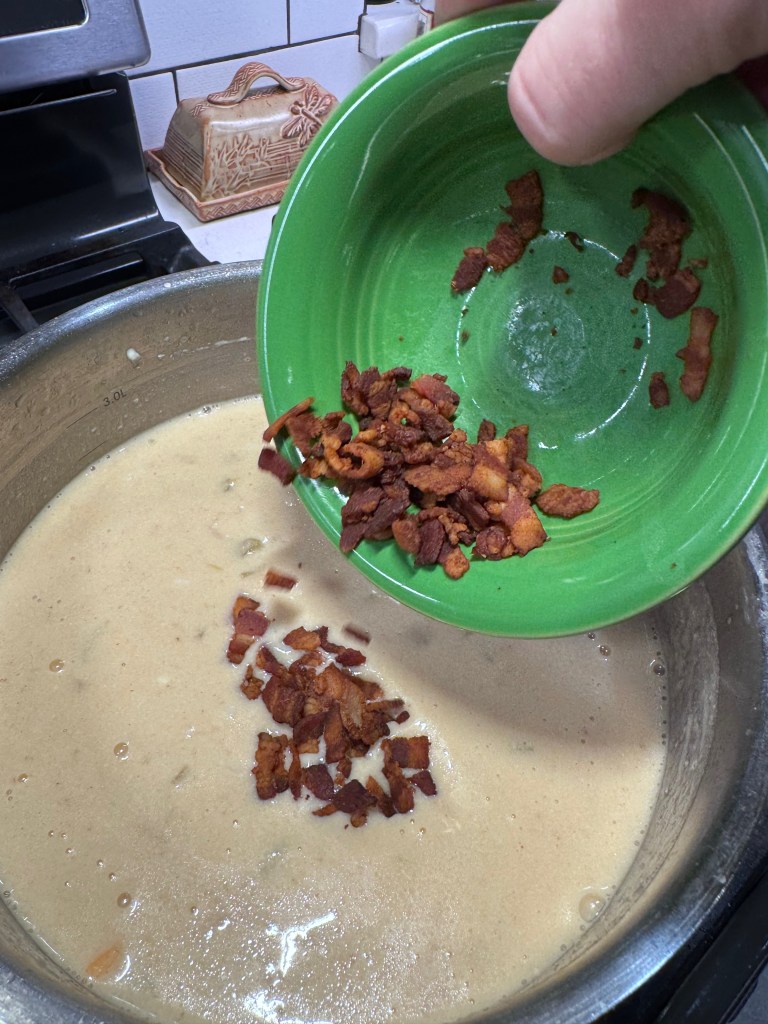
I love a little bacon in chowder, but I only had two slices to crisp up for it this time. The base of any chowder is aromatic veggies, so I got some celery and onions going in a soup pot while I pondered what I could do to make up for not having clam juice and heavy cream. Thankfully, making do is in my DNA, and I’ve had enough experiences in the kitchen to know how to transform something to make it work.
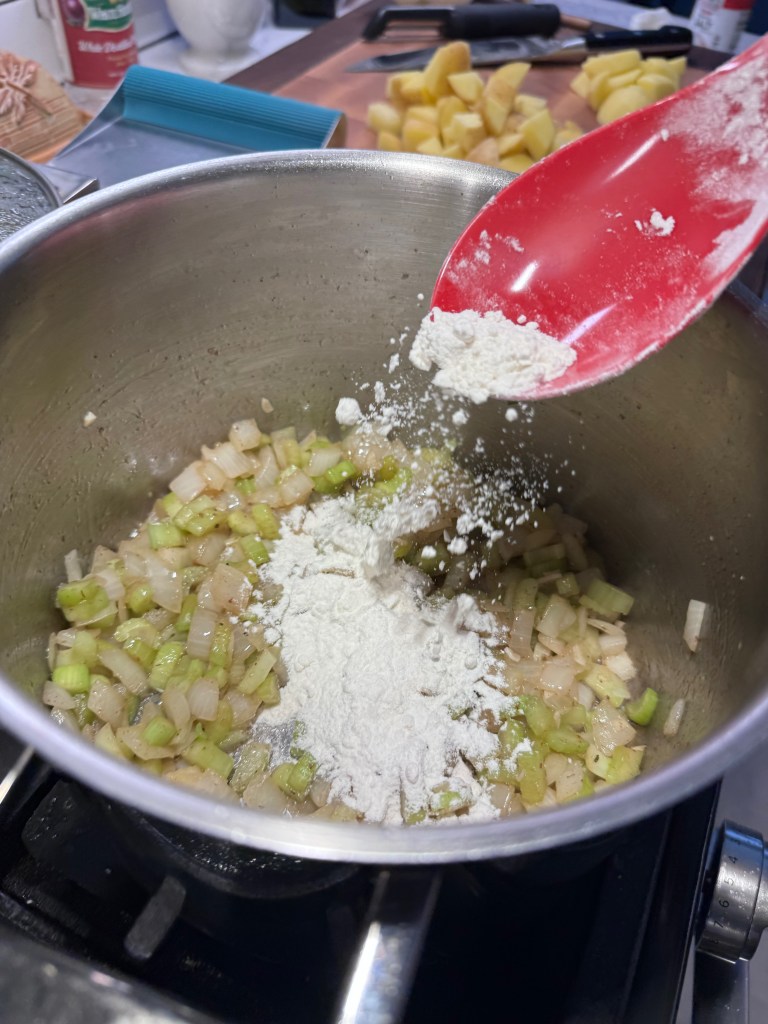
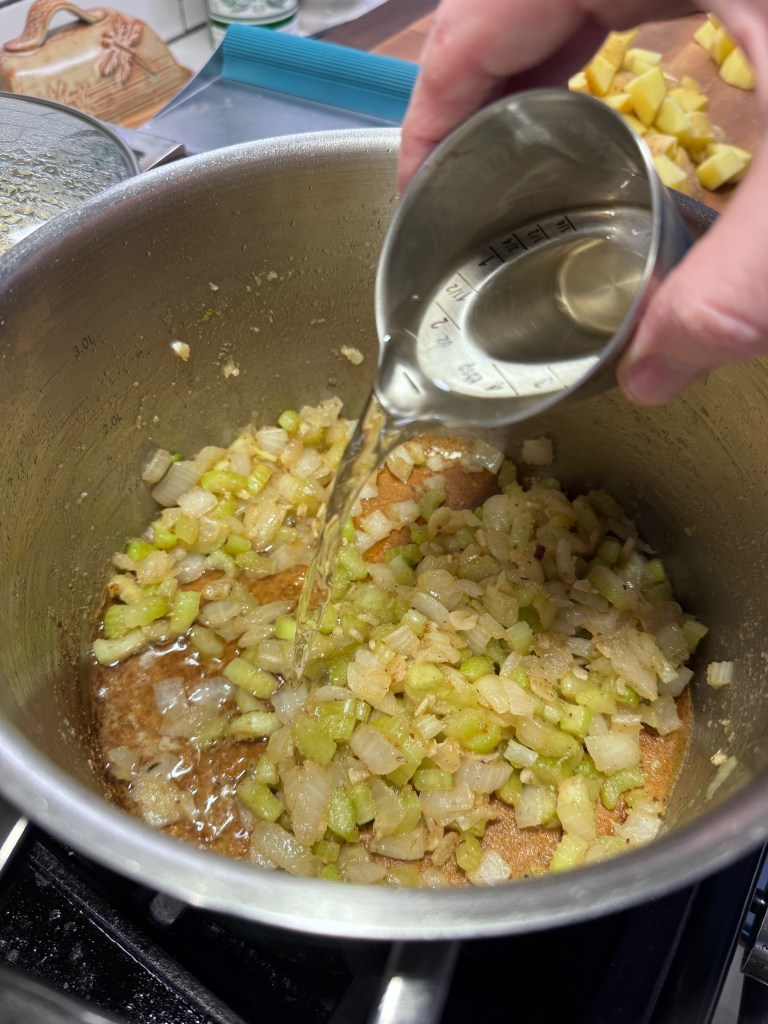


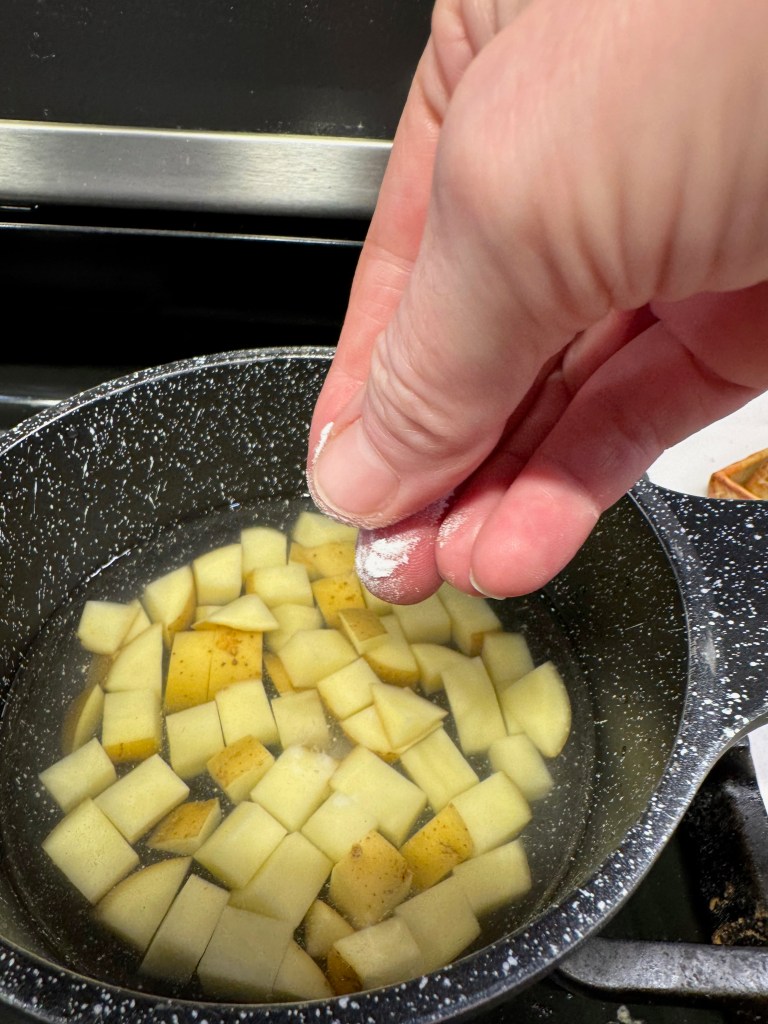
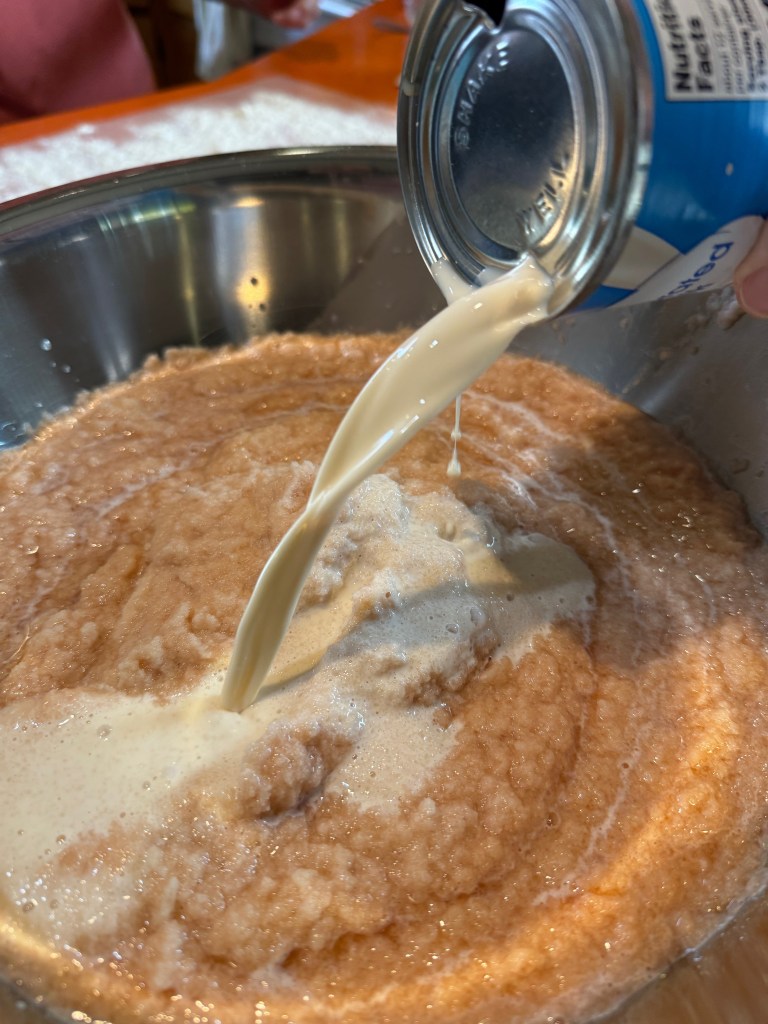
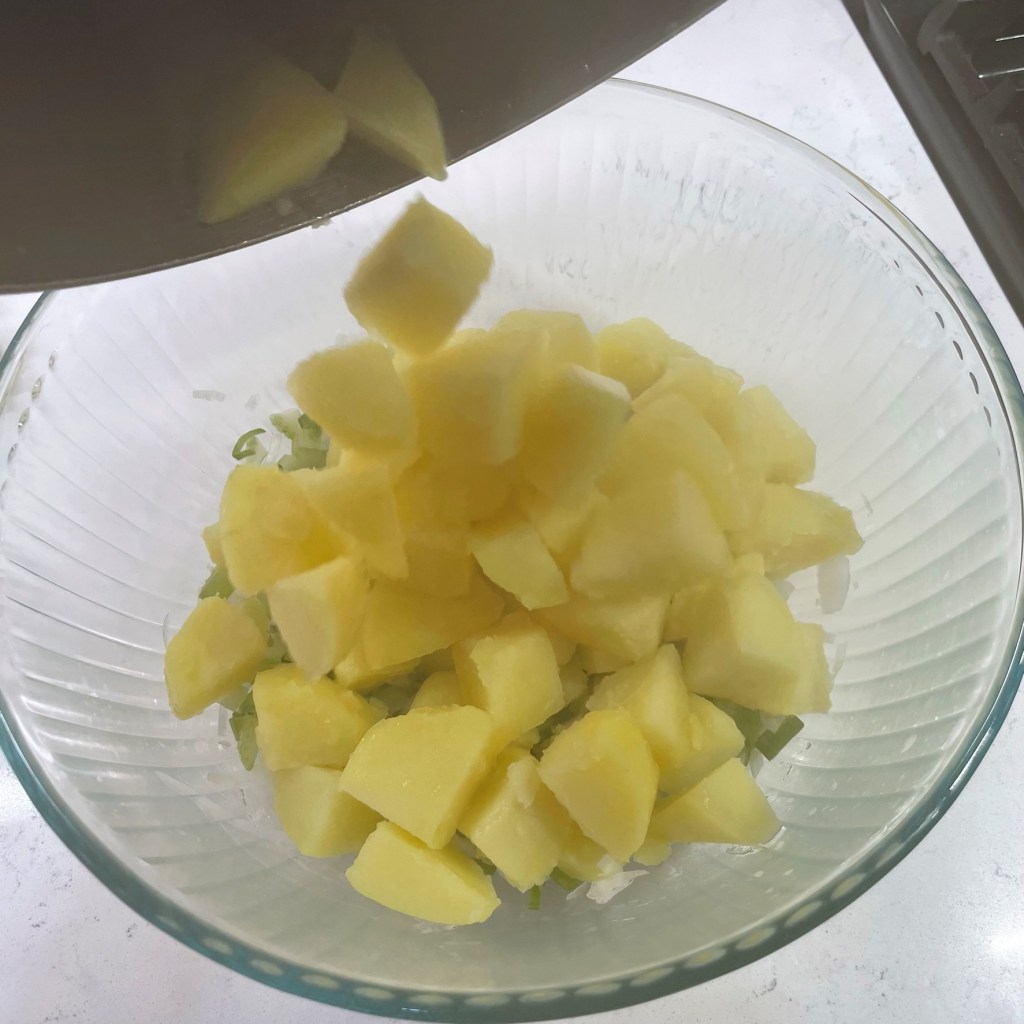
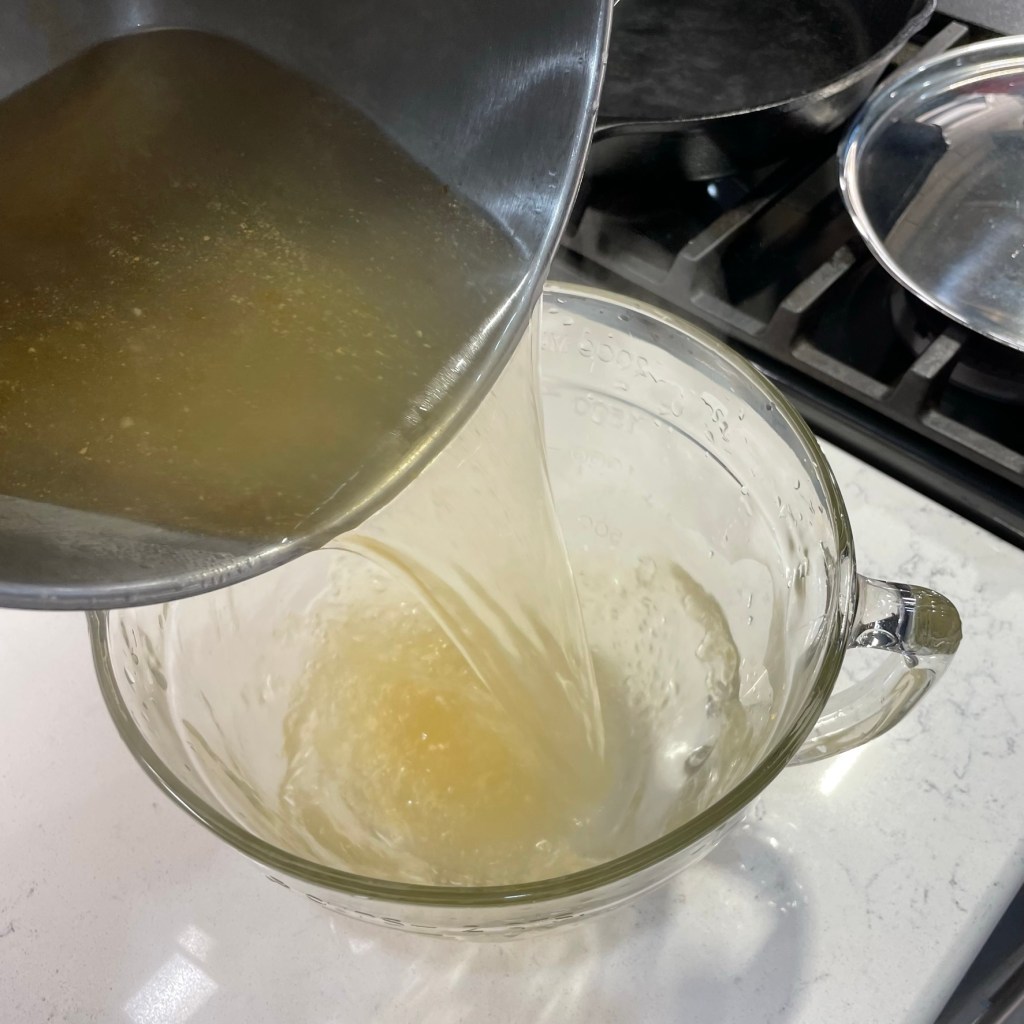
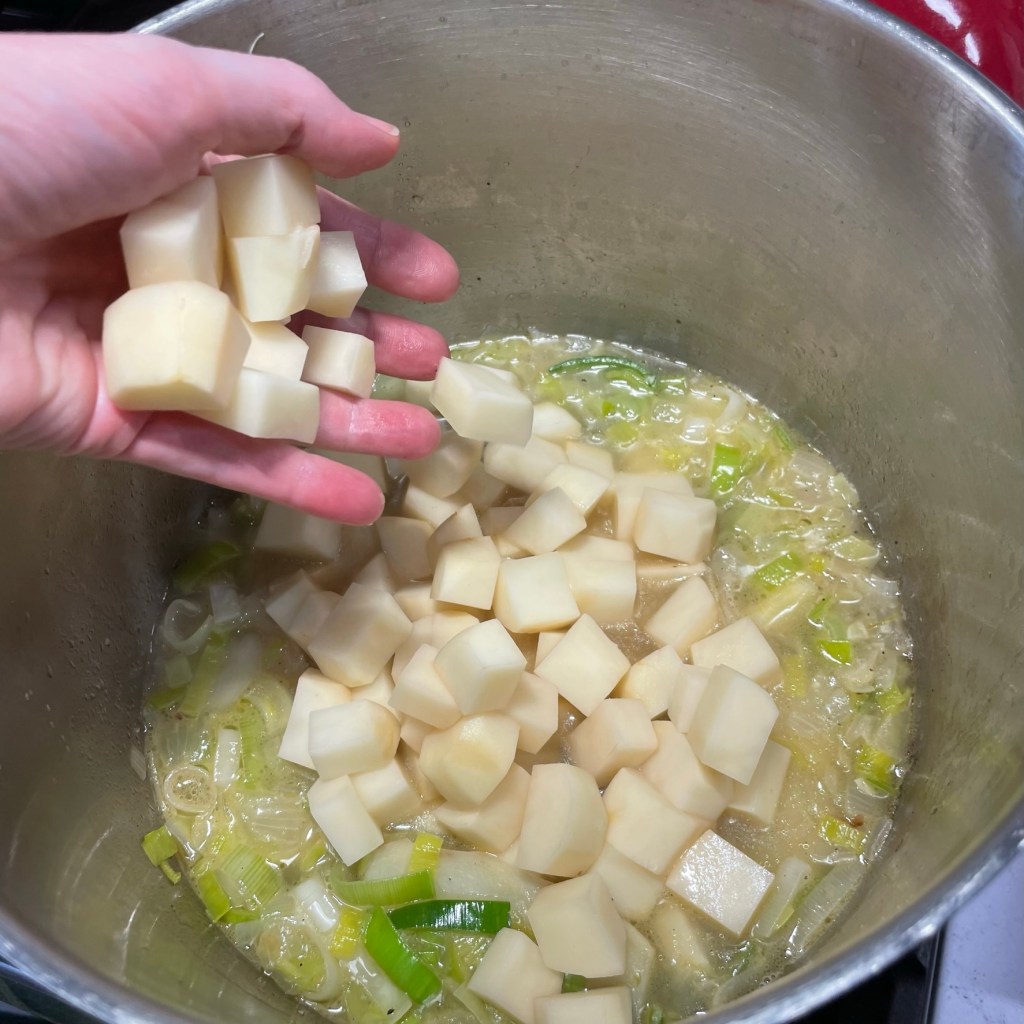
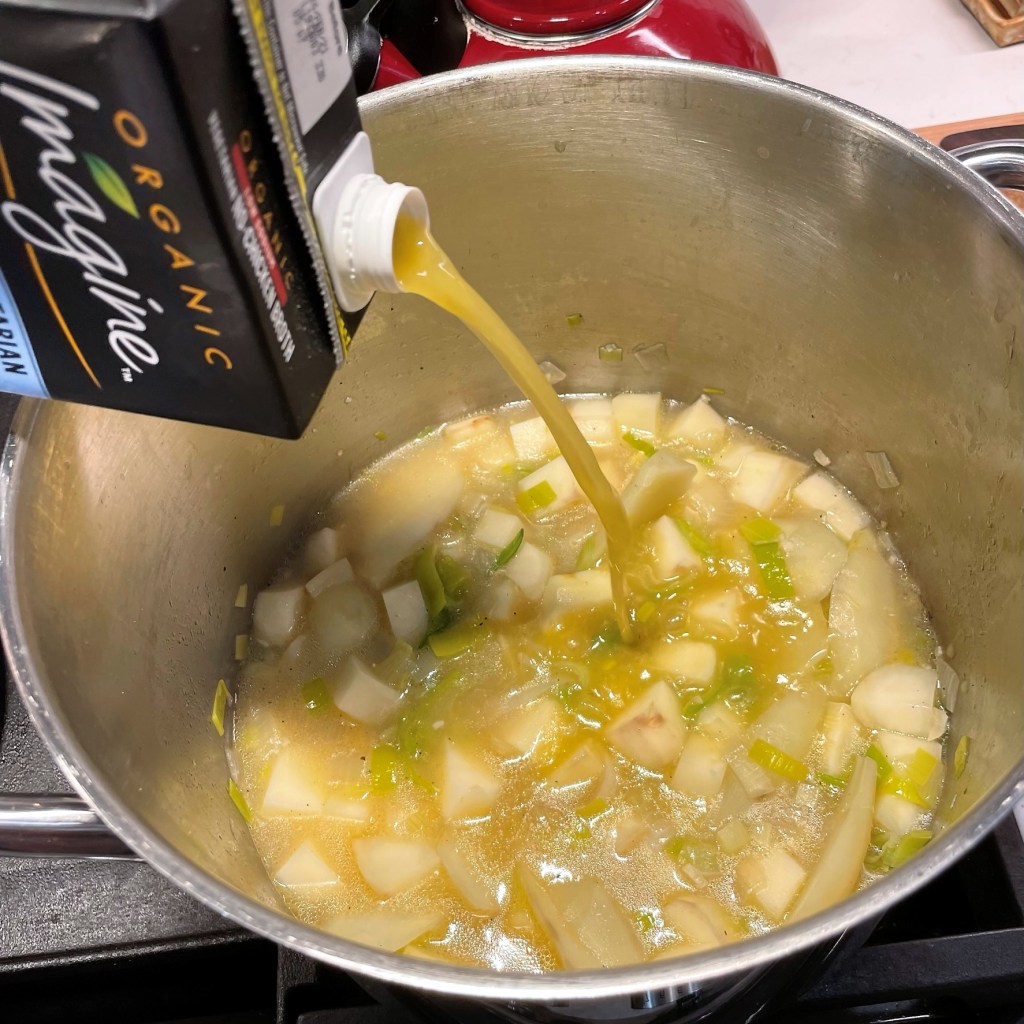
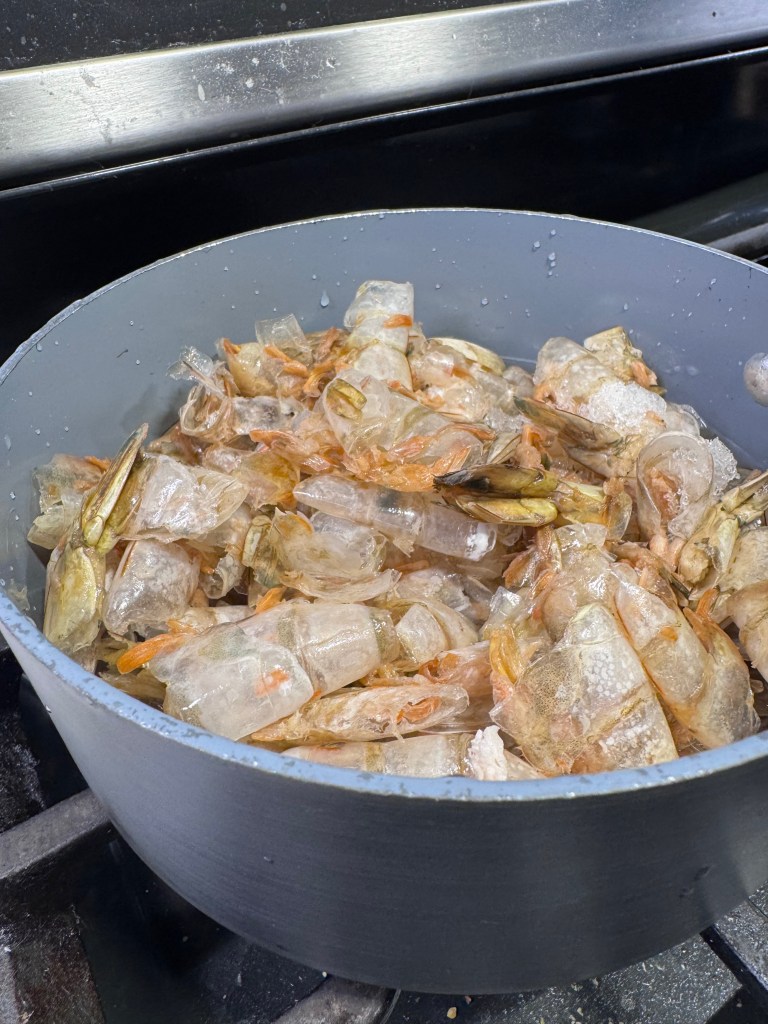
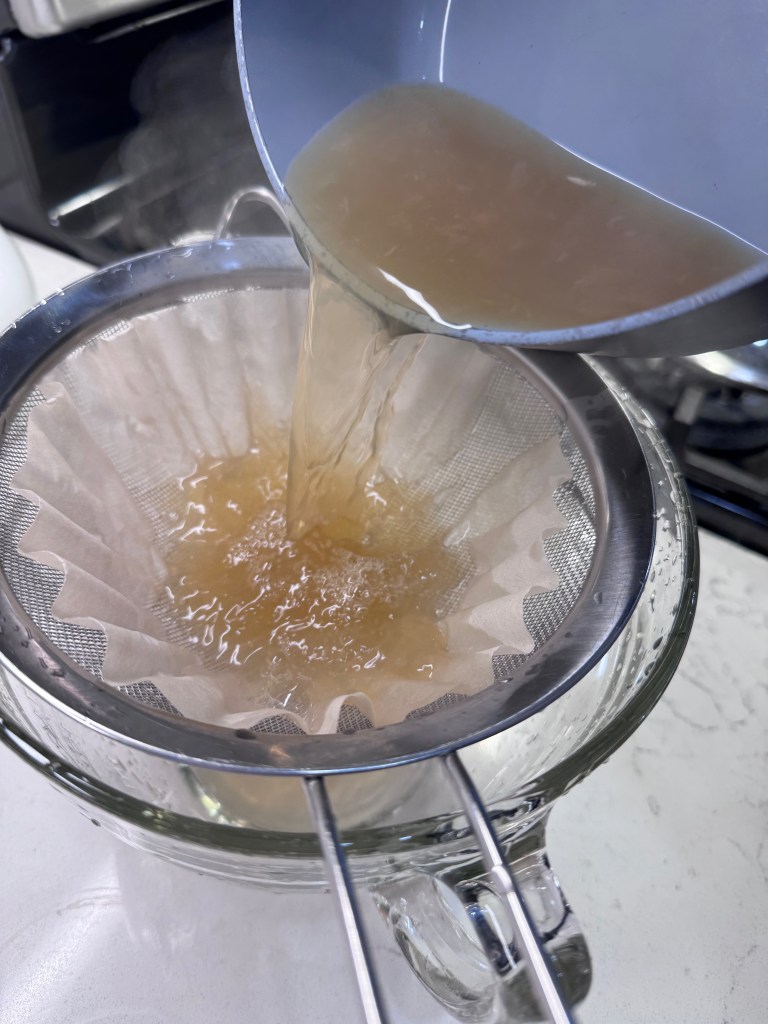
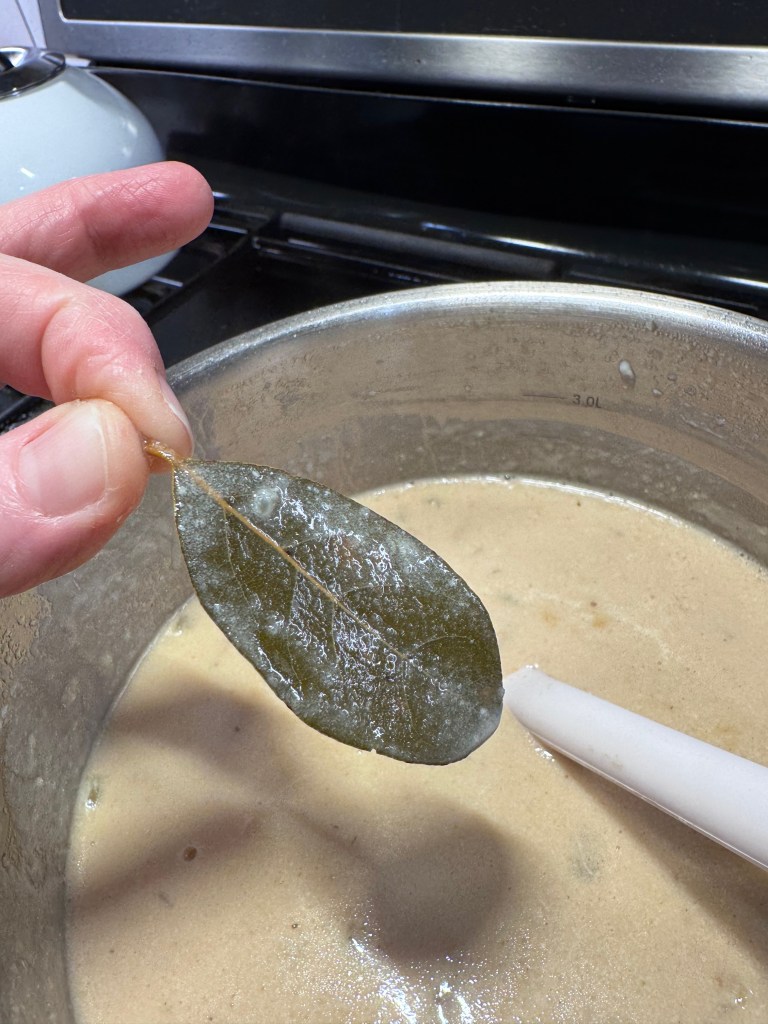
A little flour mixed in would give my chowder some backbone, but I was definitely going to need something else to thicken and add richness. I deglazed with some dry vermouth, and I found a can of evaporated milk in the pantry, so I dumped that into the pot along with a bay leaf, and got the cubed potatoes cooking in it while I examined the fridge. I had a carton of vegetable broth to replace some of the liquid I was missing in clam juice, but how could I boost that seafood flavor? Oh wait— I had a bag of shrimp shells in the freezer! And suddenly, a little more “taste of the ocean” was in the mix. Bonus points for clearing those out of the inventory.
Creamy chowder, without cream
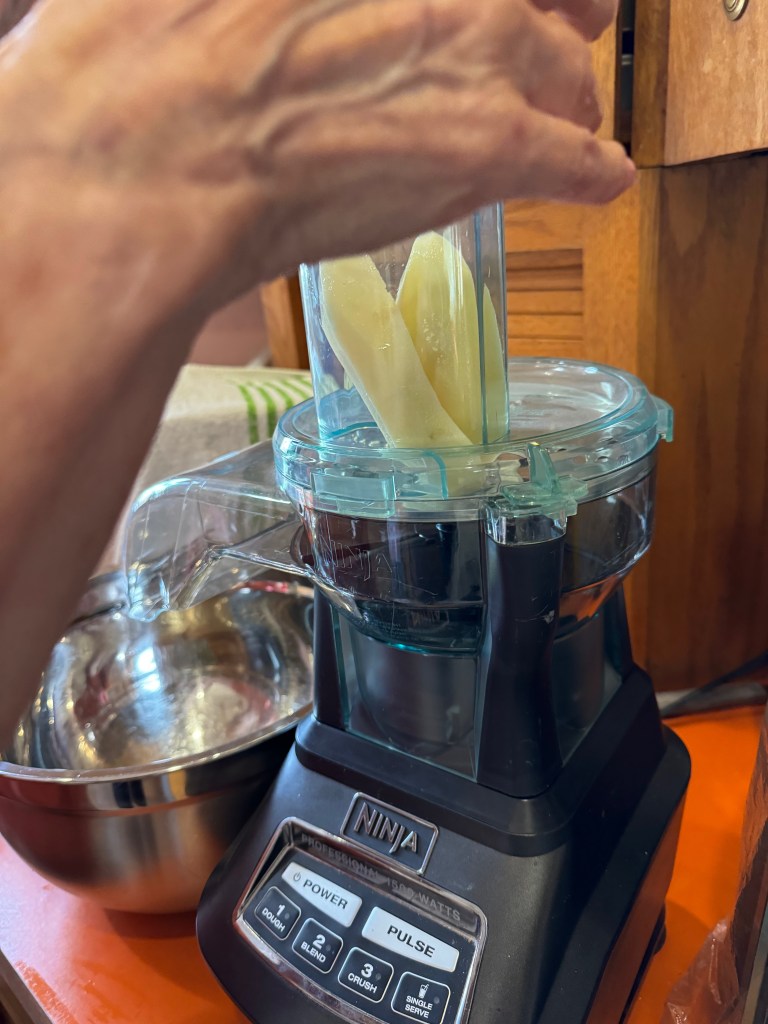
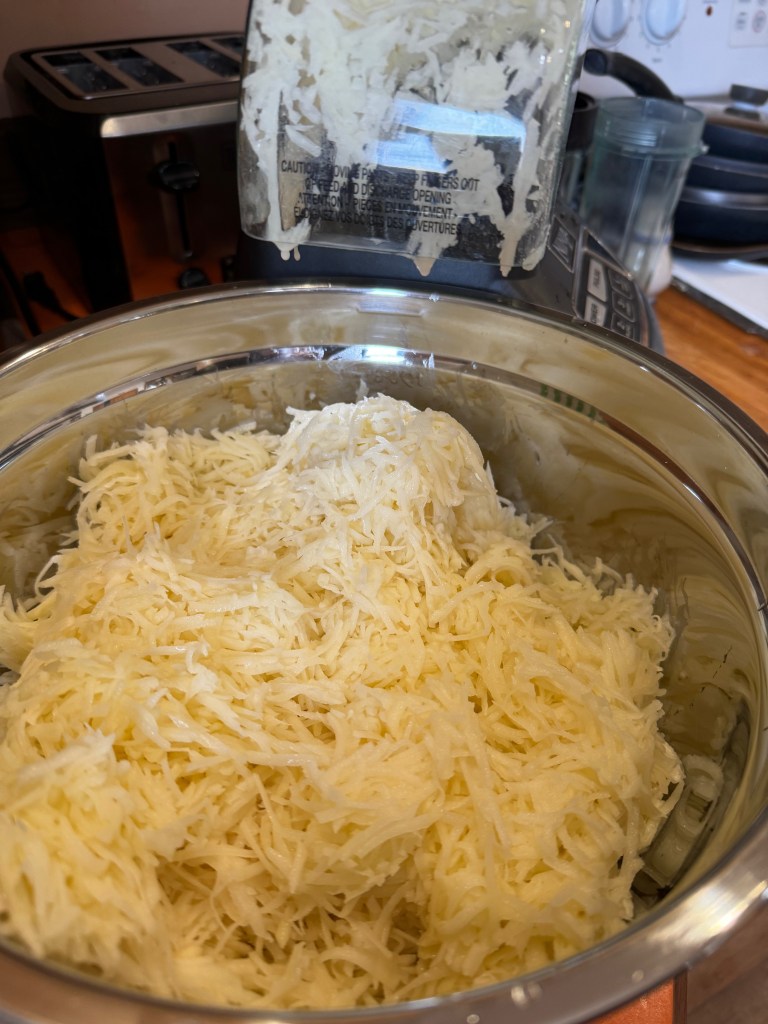
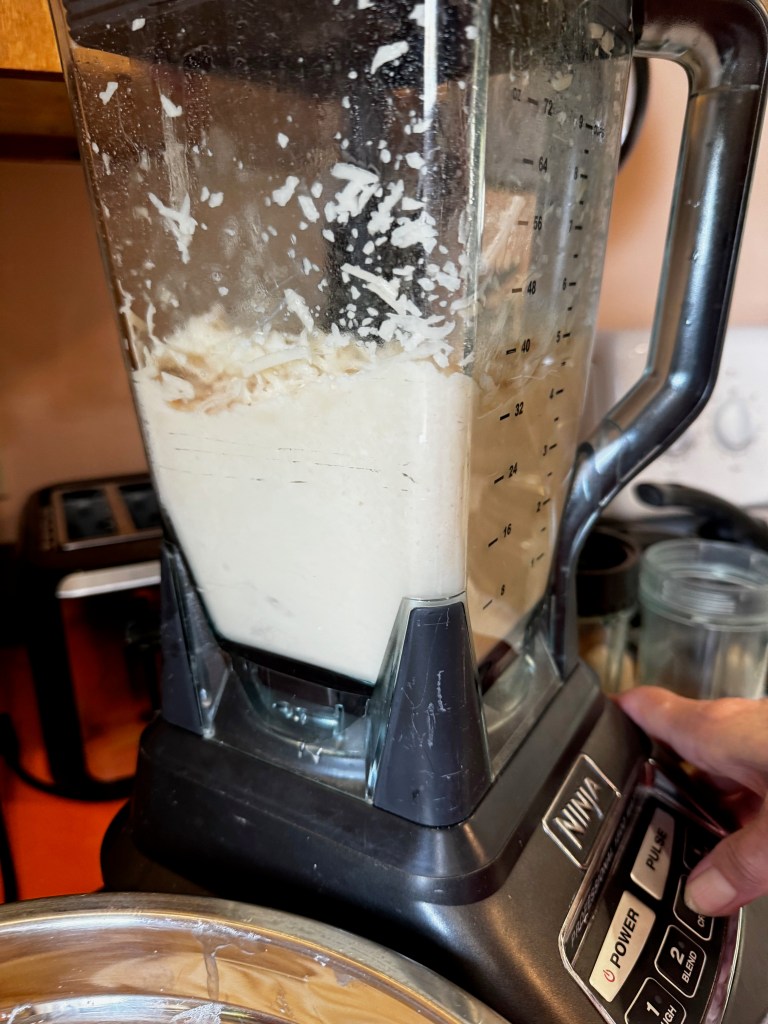
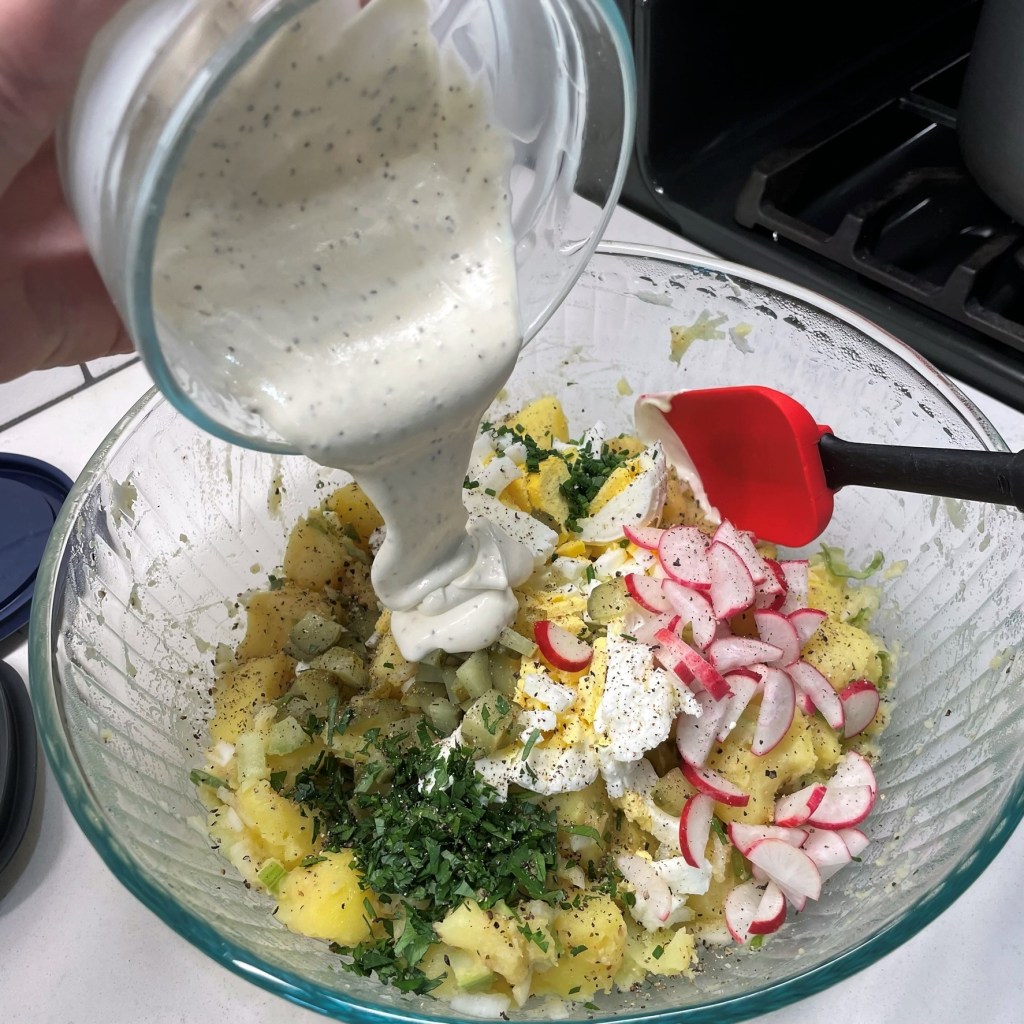
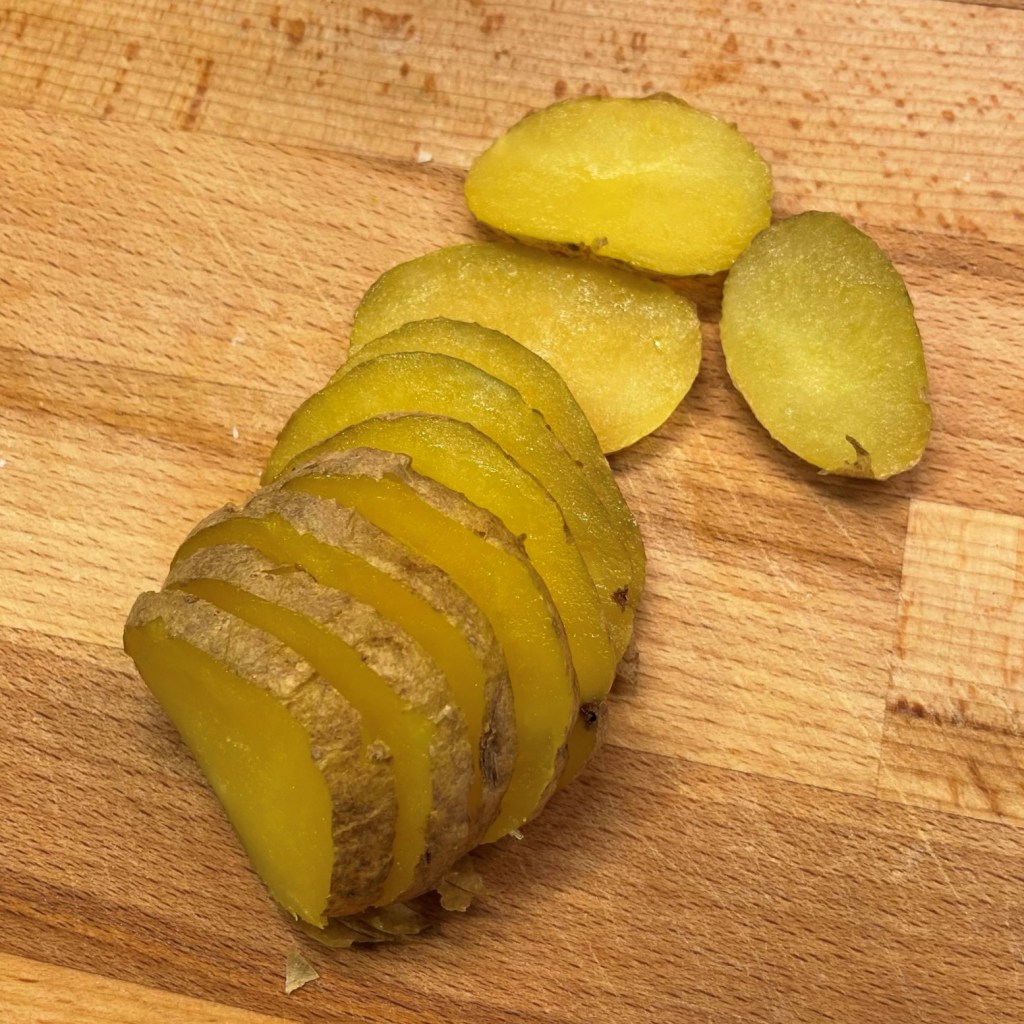
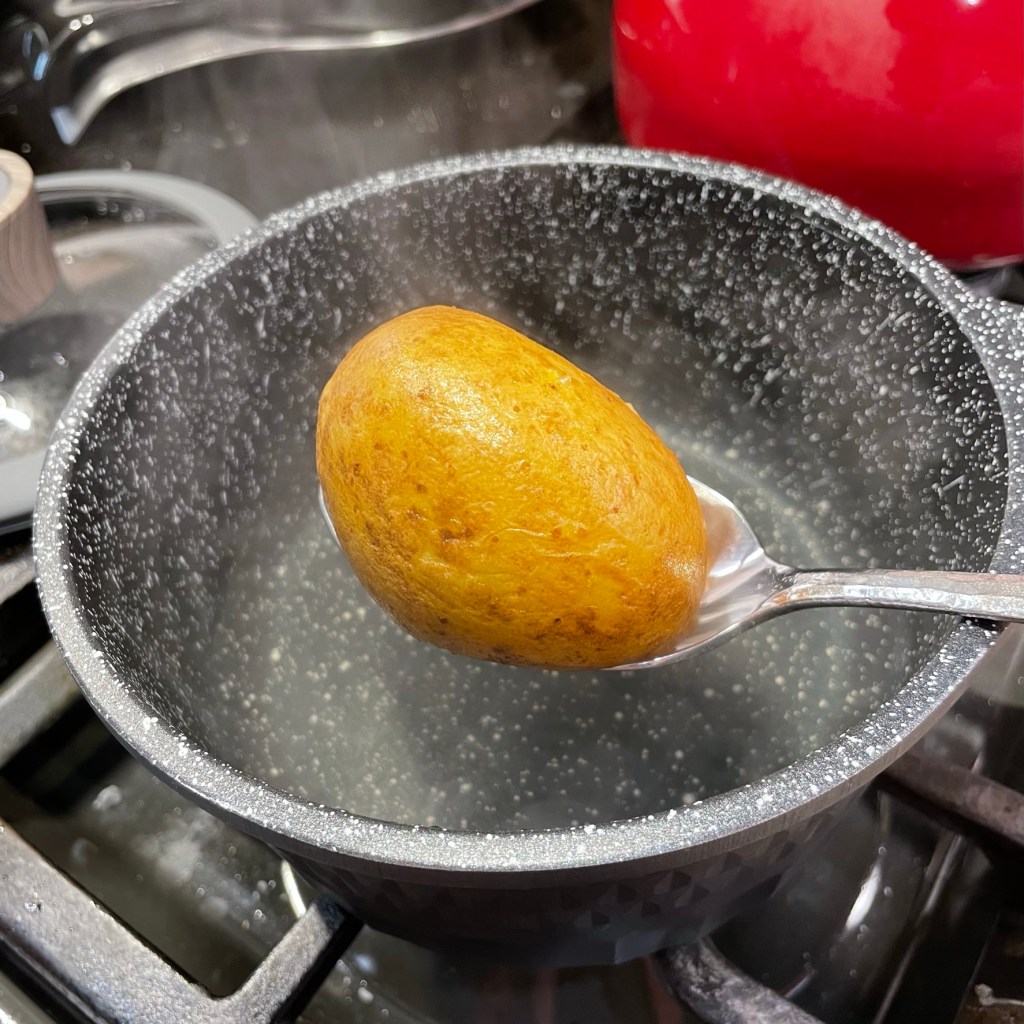
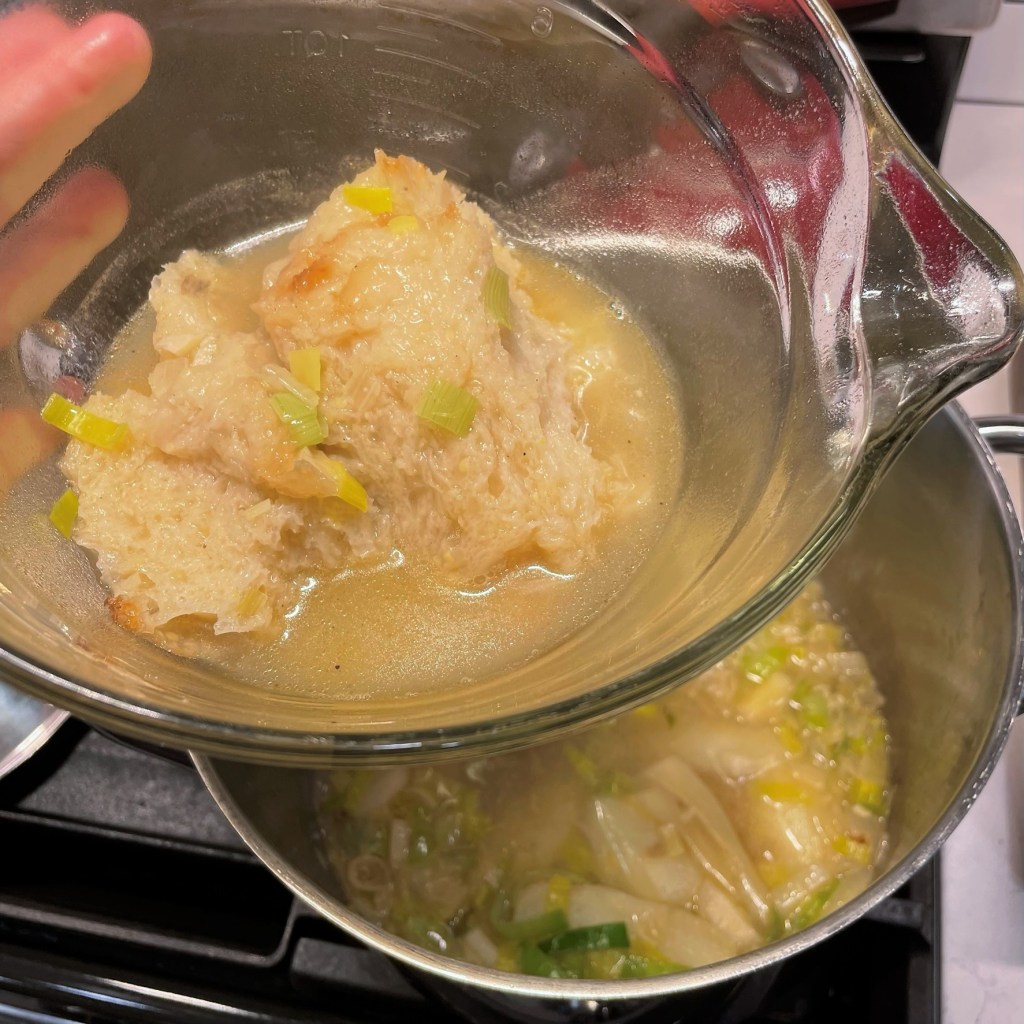
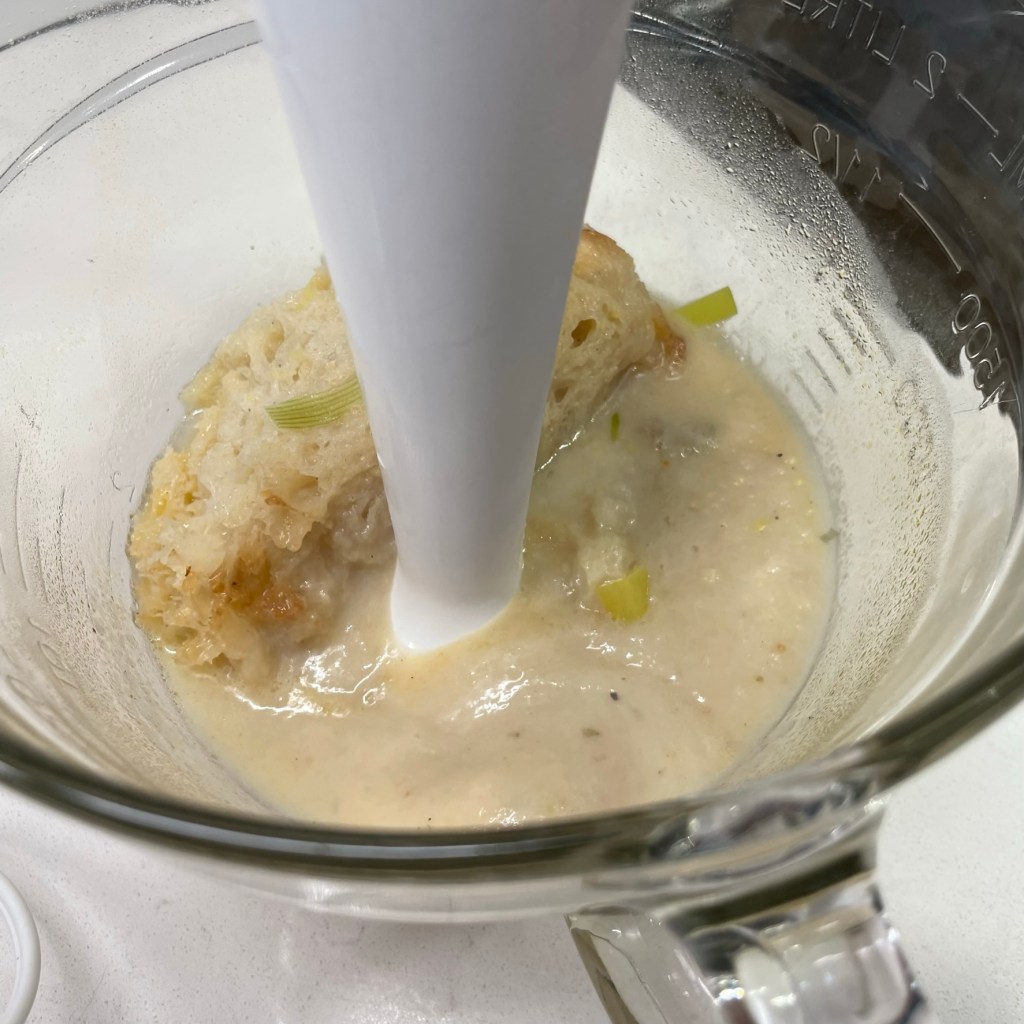
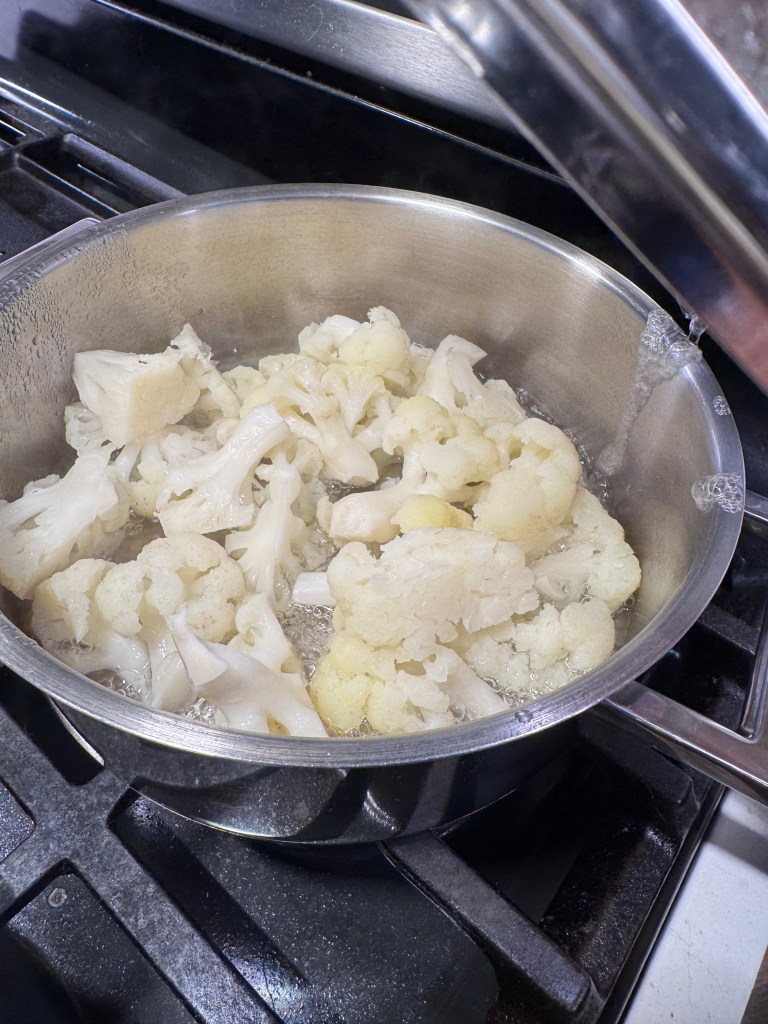
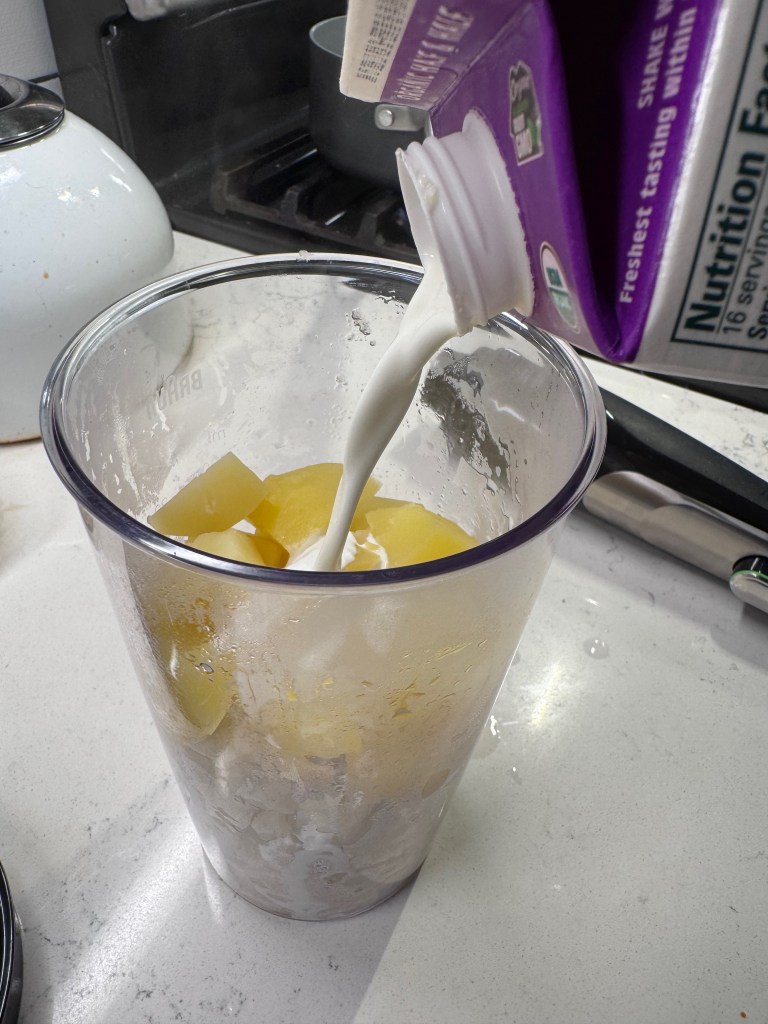
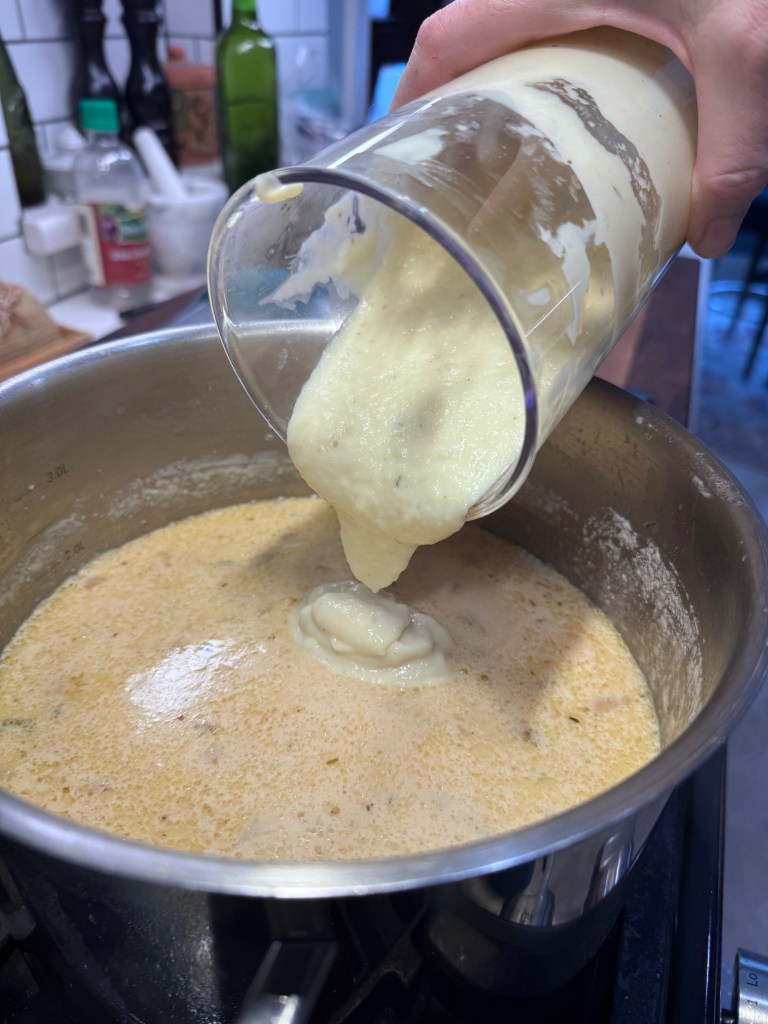
Now here comes the fun part! I still needed something to give my chowder a thicker, richer texture without heavy cream. That’s when I spotted the leftover cauliflower florets from another dish I’d made earlier in the week. If you didn’t know, cauliflower is a great understudy to lots of things, and I had a flashback to the no-guilt alfredo sauce that I shared here in the early years of my blog. It involves steaming the cauliflower florets until they’re crazy tender, then pureeing them with roasted garlic and a splash of half and half. I also had some gold potatoes that I was cooking in the chowder, so I boiled up an extra one and pureed that, too.
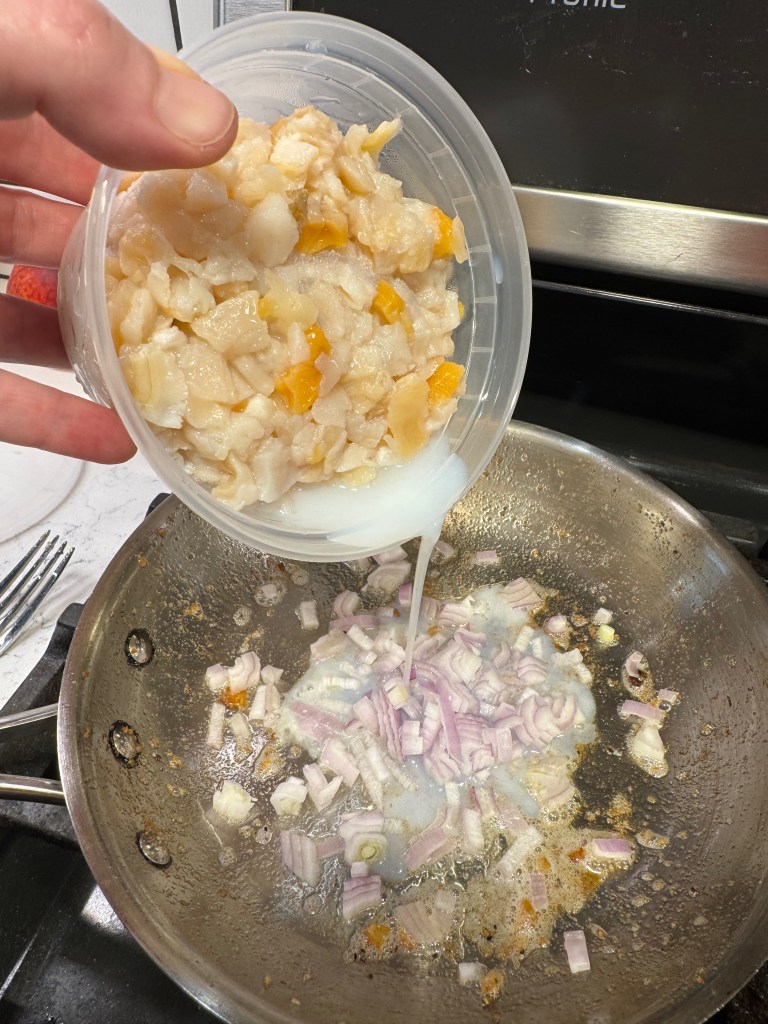
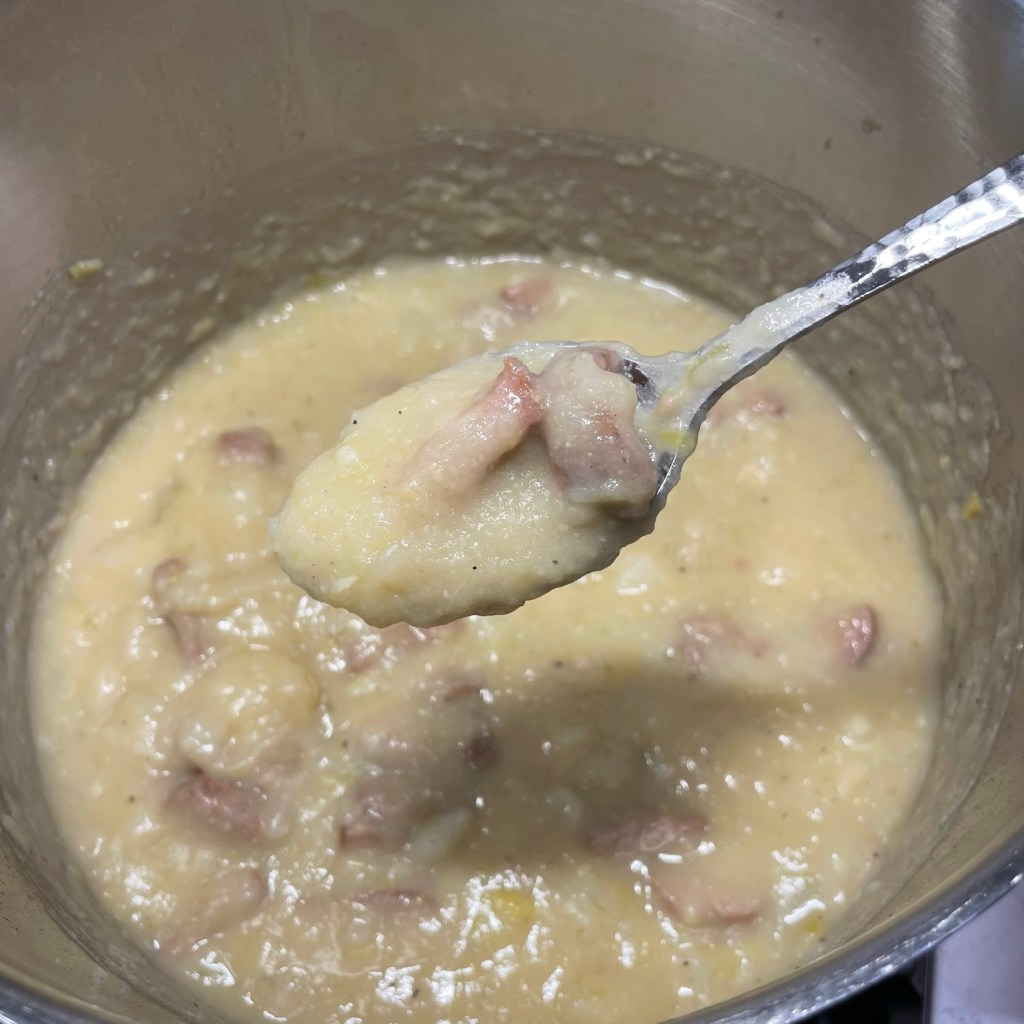
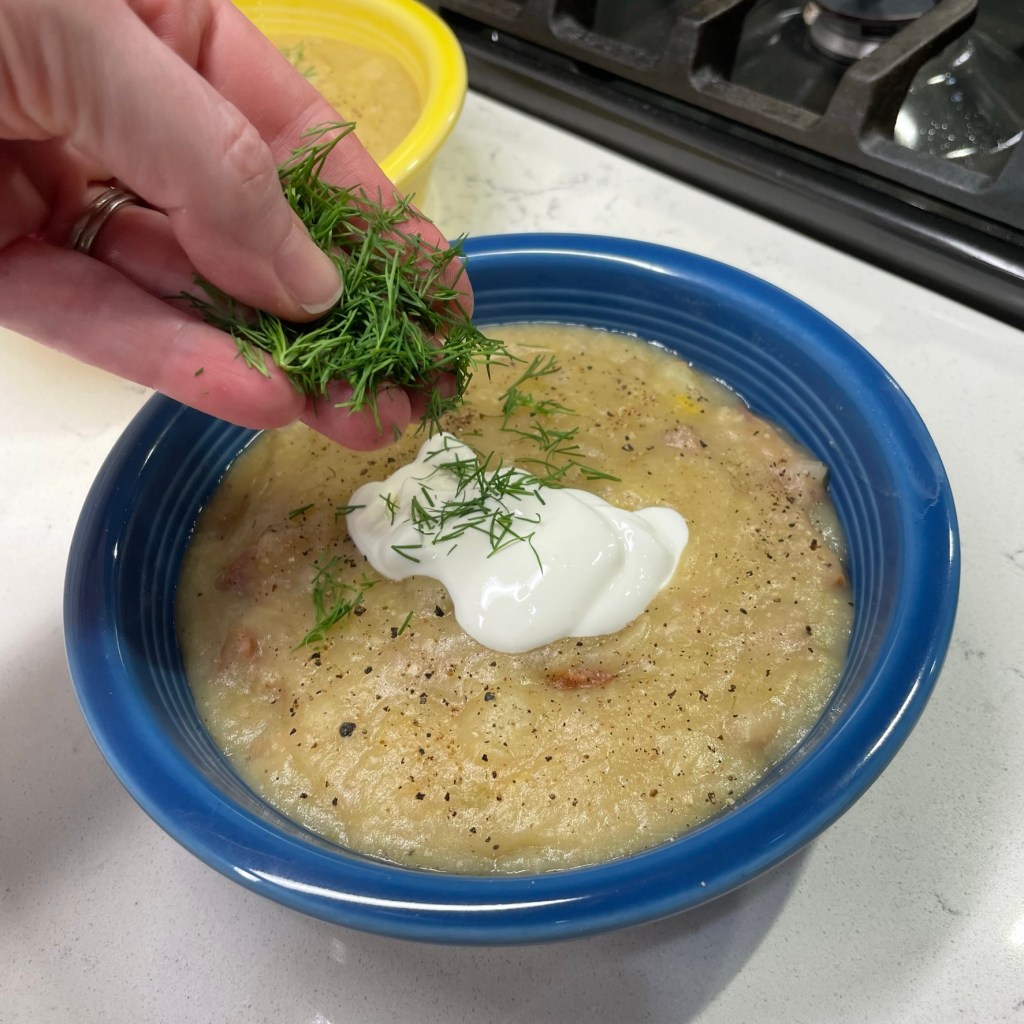
Finally, it was time for the stars of the show, the chopped clams along with their liquid. I love being able to purchase the clams fresh, without having to do the cleaning and shucking. Yet another reason to support my local seafood shop! The bacon that started this chowder pot was reintroduced, and dinner was served.
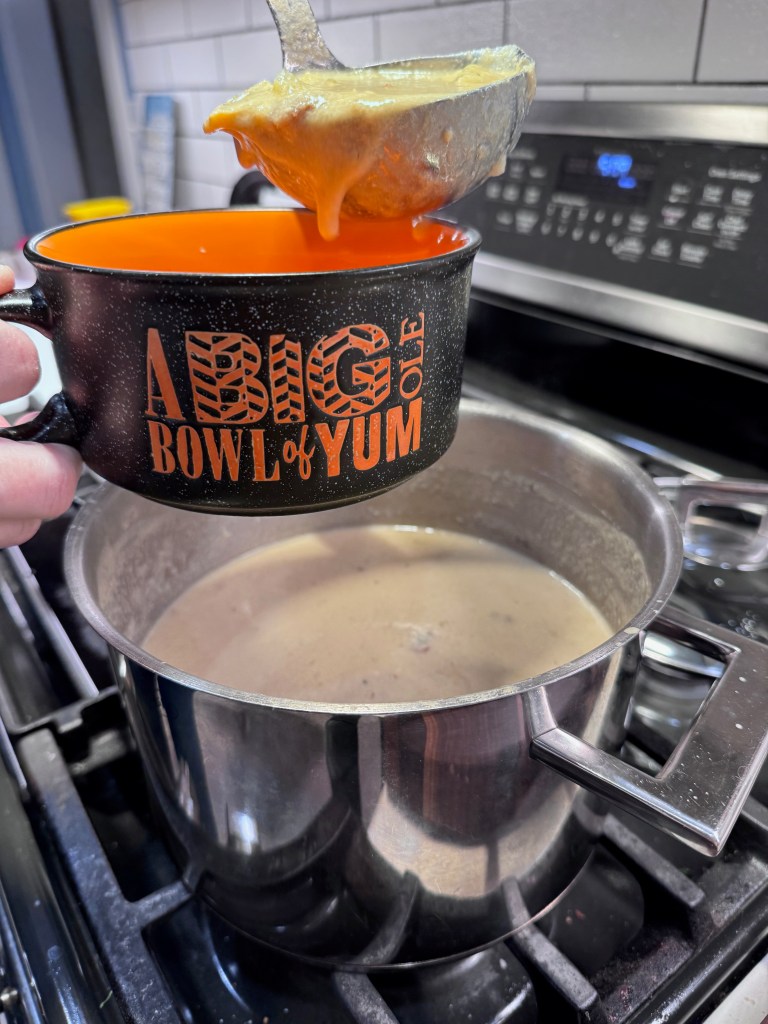
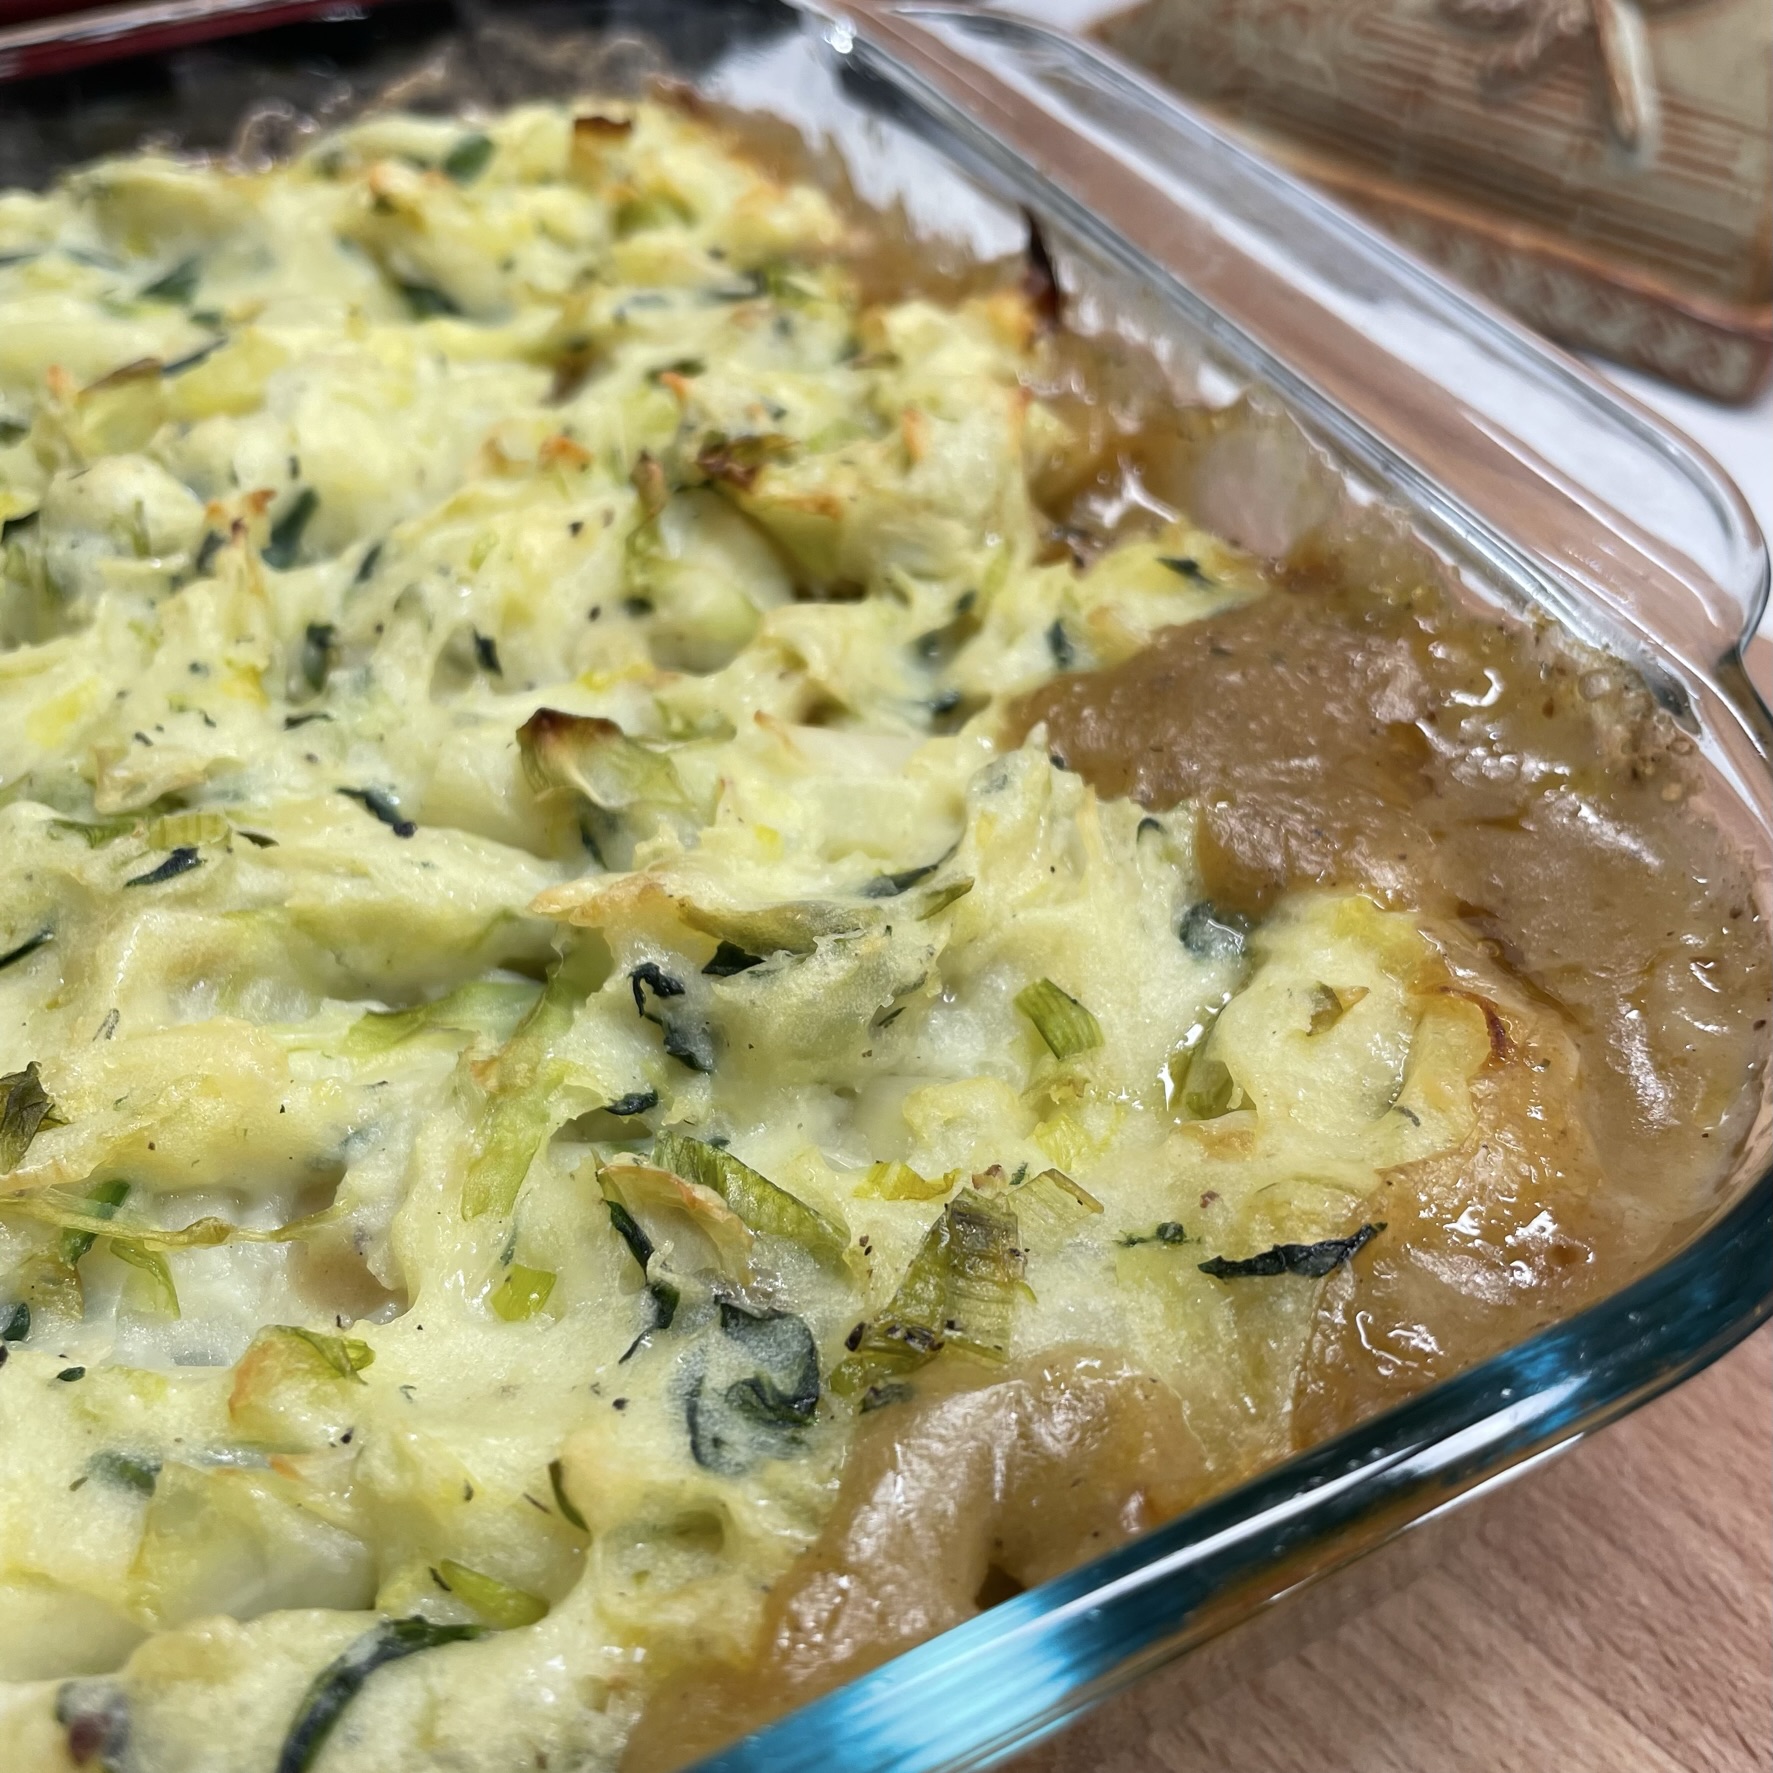
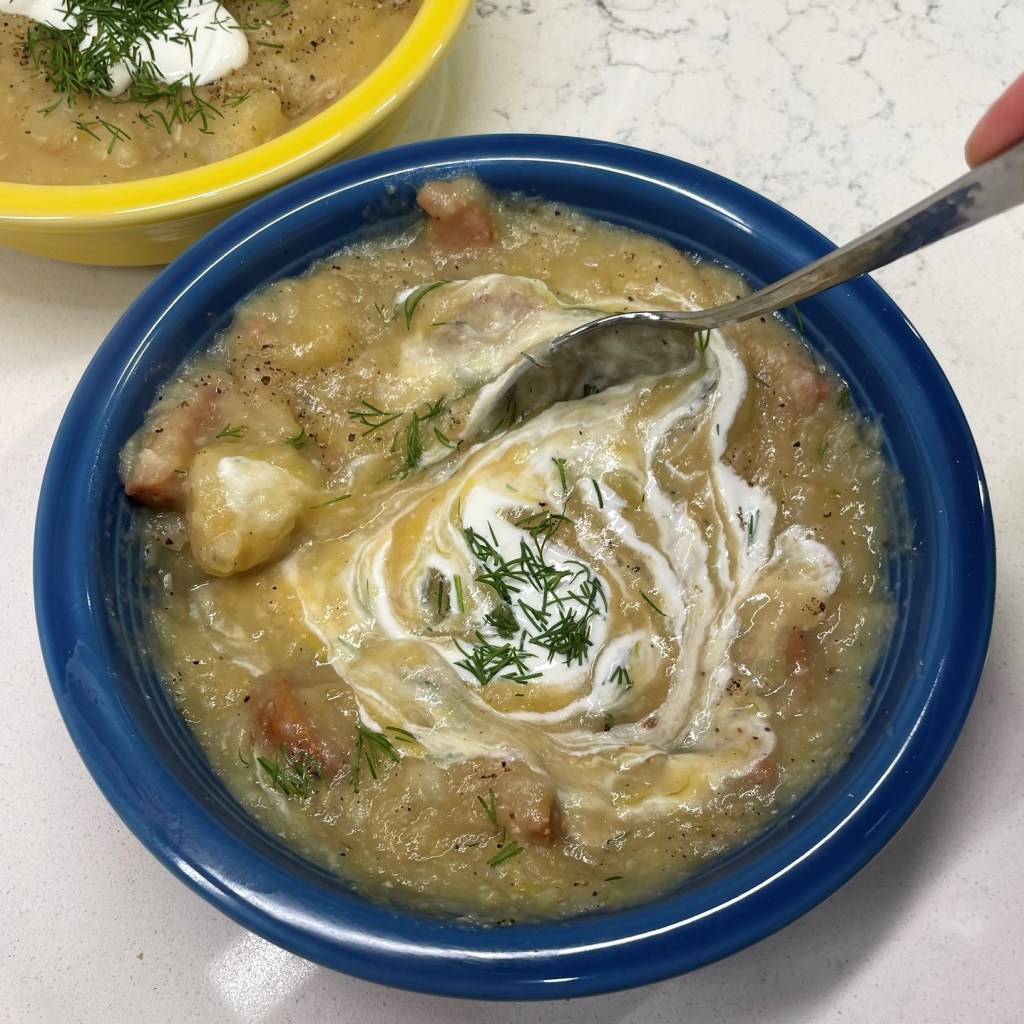
The chowder turned out great, and my cauliflower hack spared us from the fattening heavy cream, which we didn’t even miss. Between this and Les’s incredible chili, we breezed right through our wintry mess.
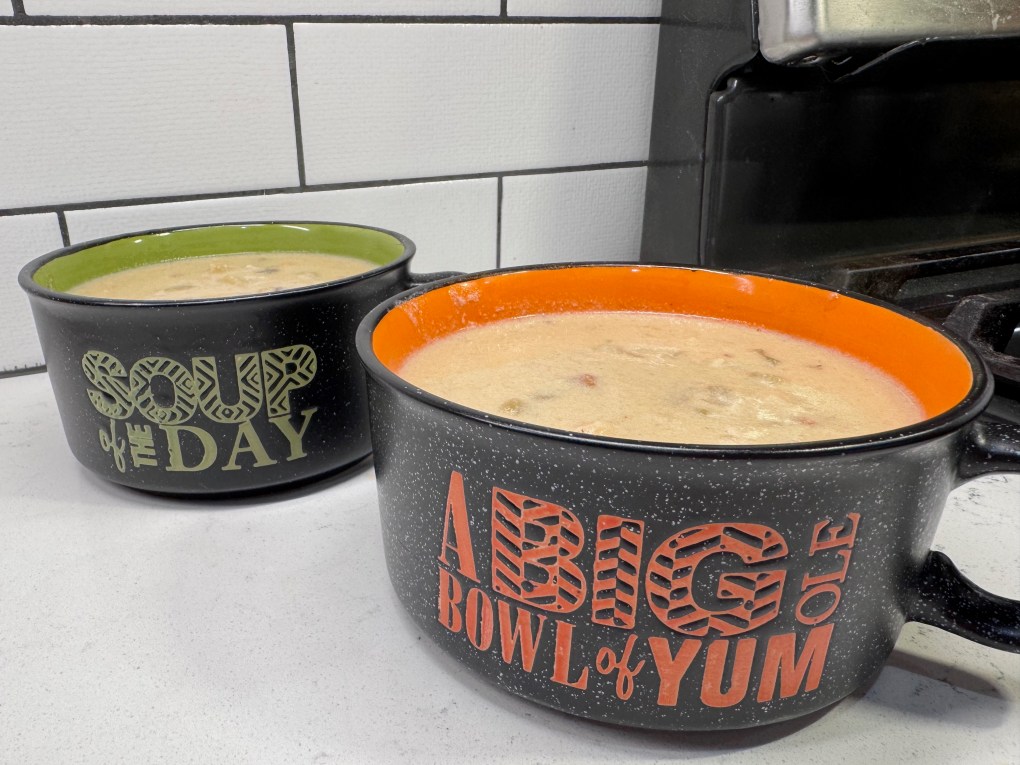
So bring it on, Punxsutawney Phil! You want to threaten us with more winter? I’ve got more soup pots where this came from, and plenty of recipes in my head. Six more weeks of winter—we’ve got this!
Snow Day Clam Chowder
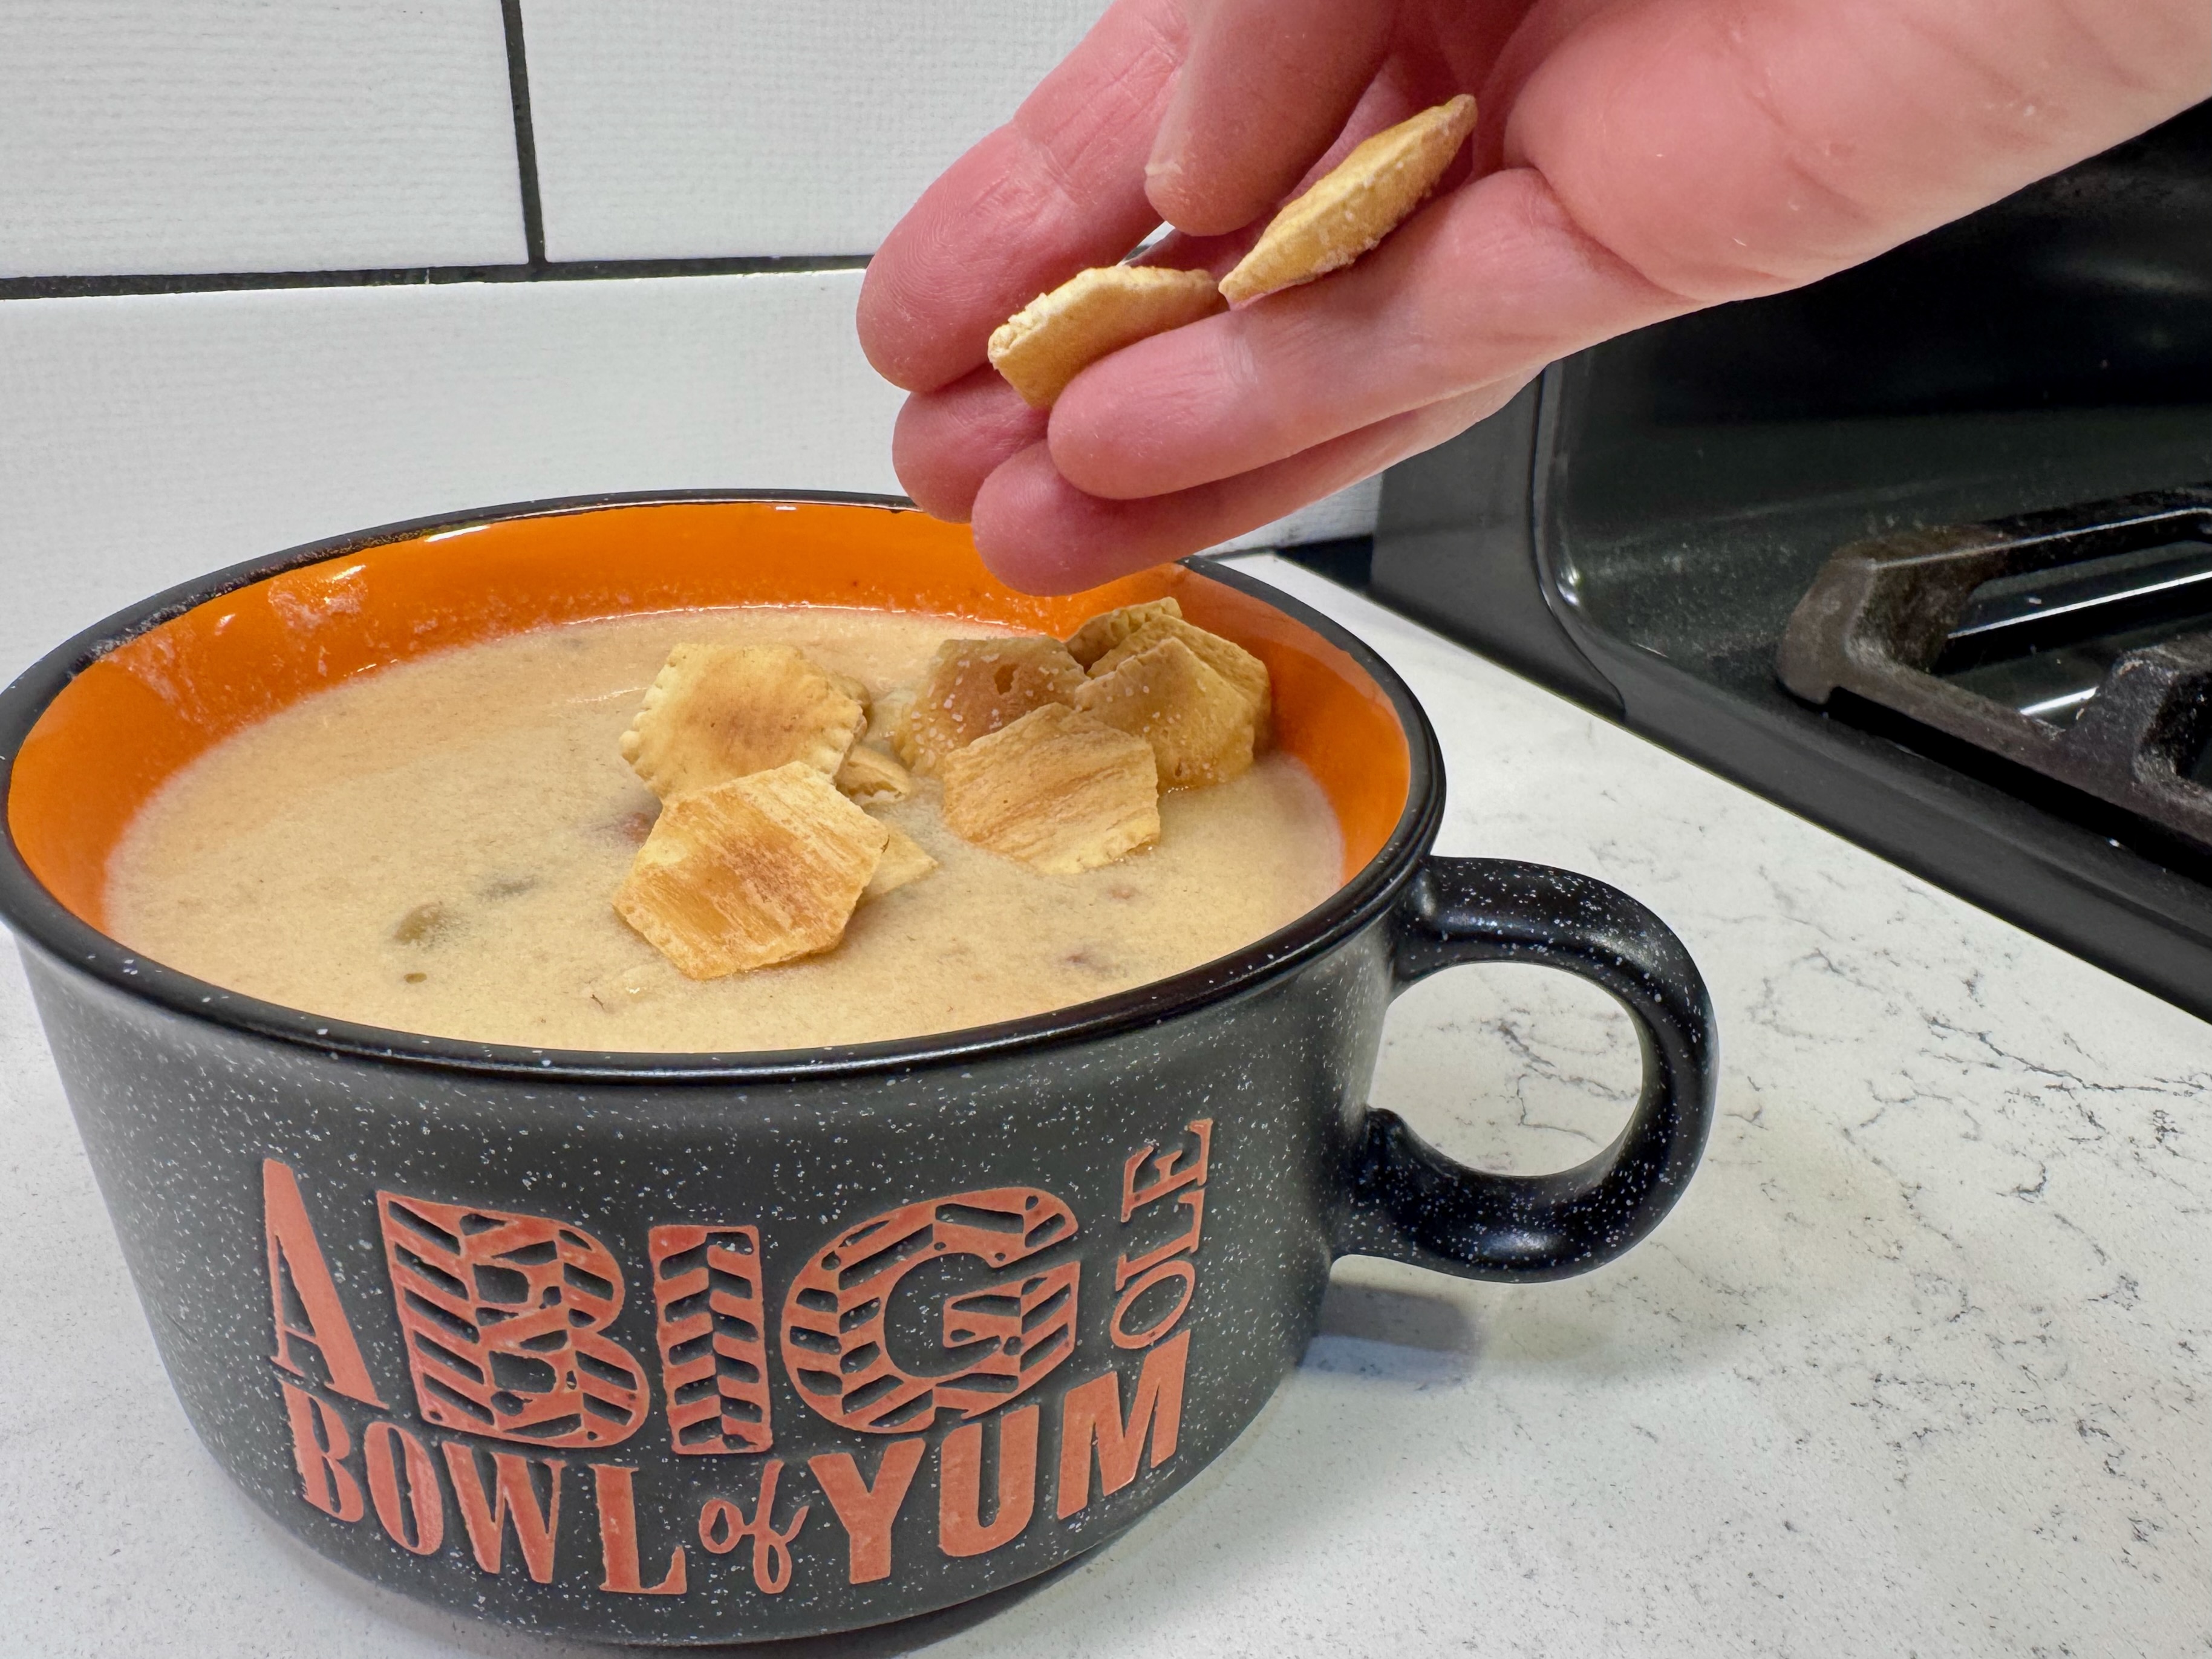
When you're snowed in, you really learn to trust your instincts in the kitchen. This chowder recipe relied on a few clever substitutions, and it was perfectly creamy and flavorful.
Ingredients
- 2 slices thick bacon, cut into 1/2-inch wide pieces
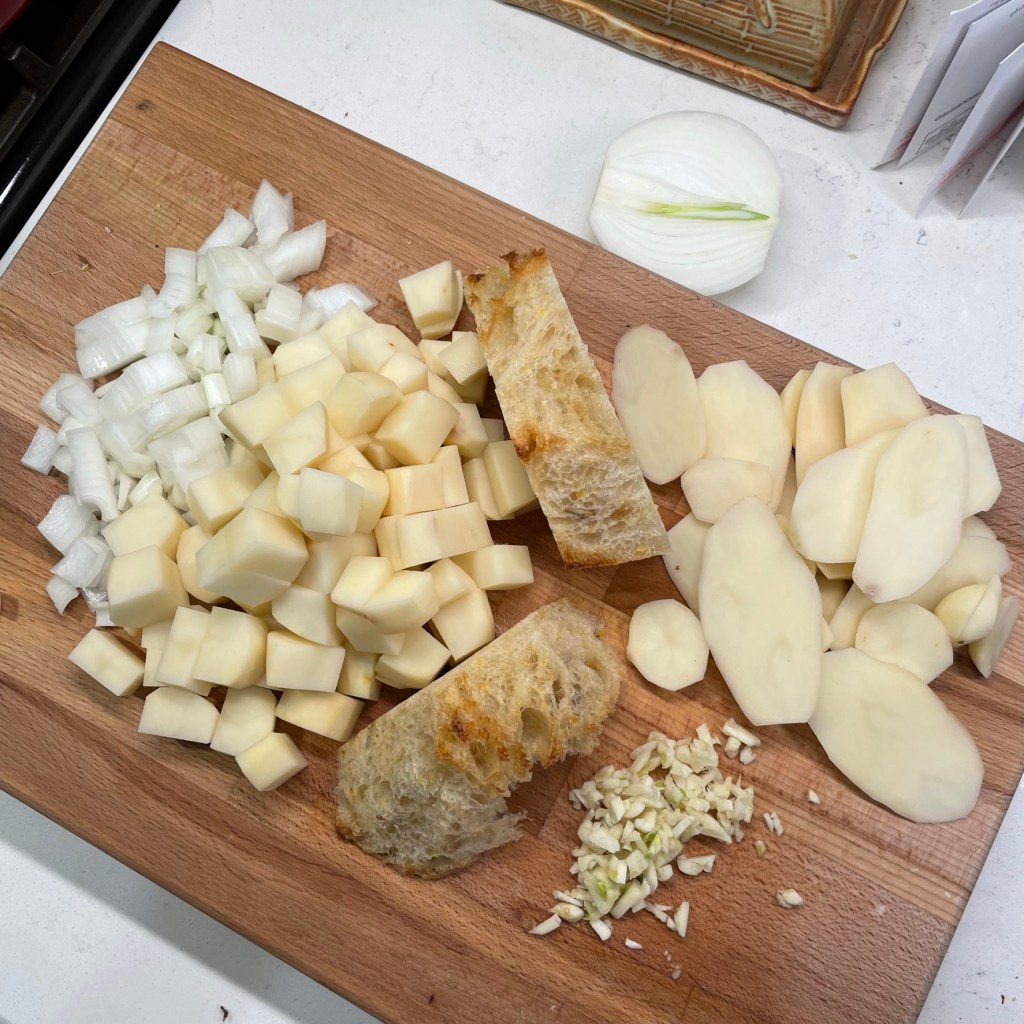
- 1 medium onion, chopped
- 3 stalks celery, strings removed and sliced
- 2 or 3 cloves garlic, smashed and minced
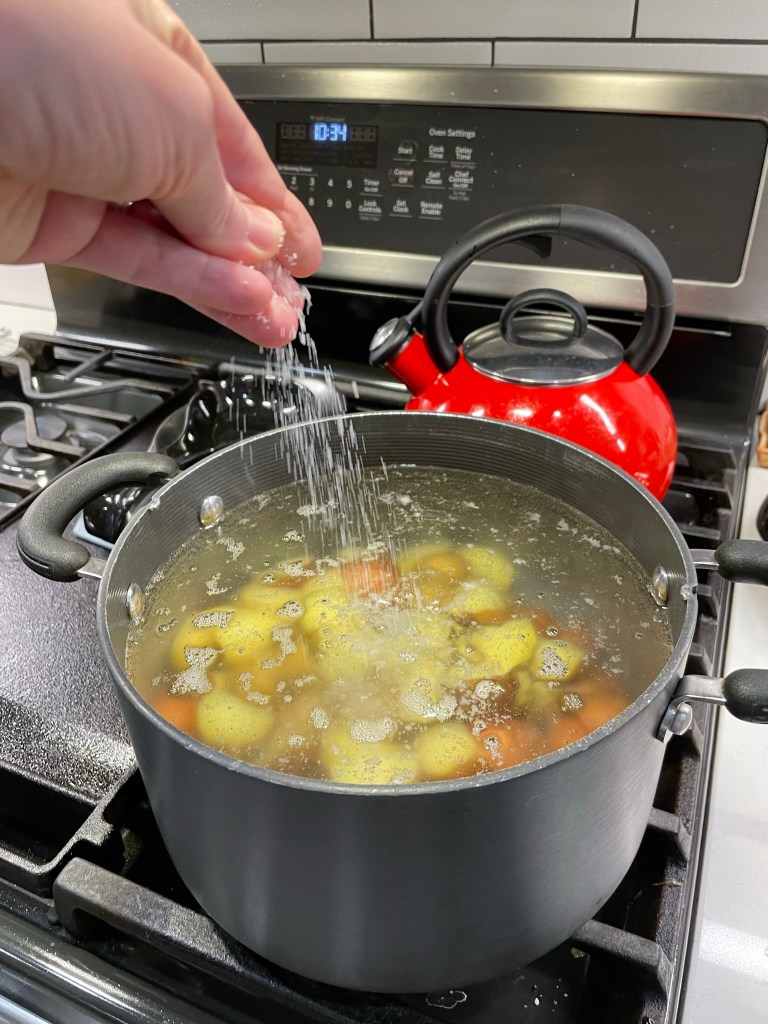
- Salt and pepper
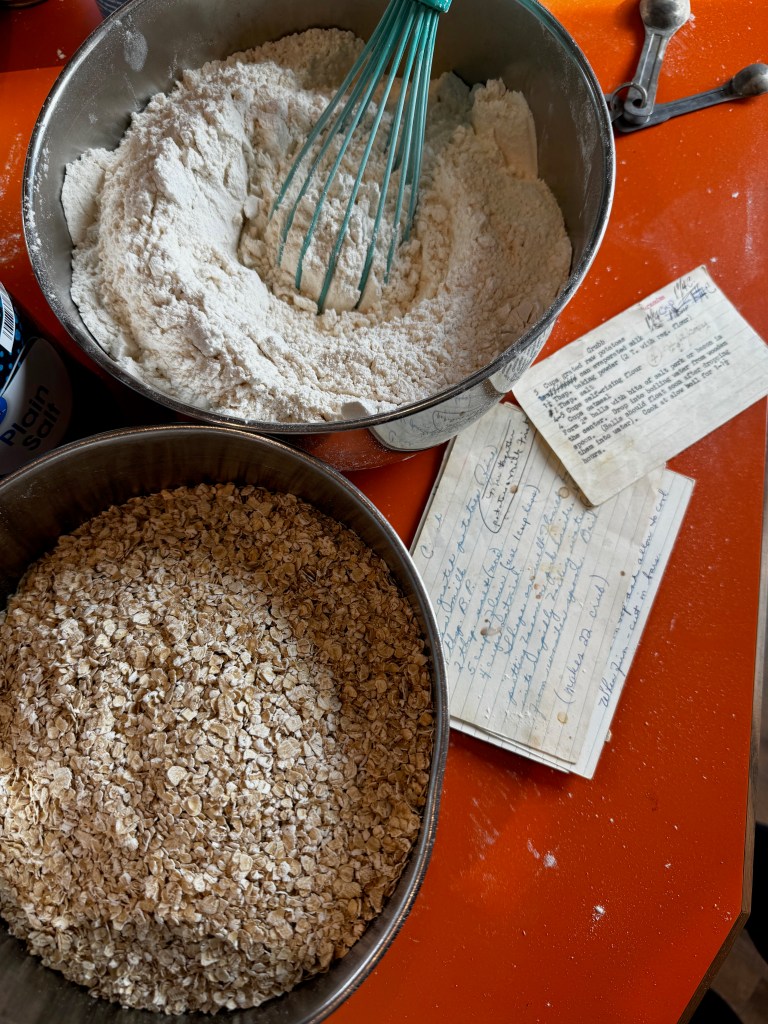
- 3 Tbsp. all-purpose flour (or gluten-free 1:1)
- 1/4 cup dry white wine (or vermouth)
- 12 oz. can evaporated milk
- 1/2 cup 2% milk
- 2 cups vegetable broth, divided
- 1 bottle clam juice (or substitute shrimp broth)
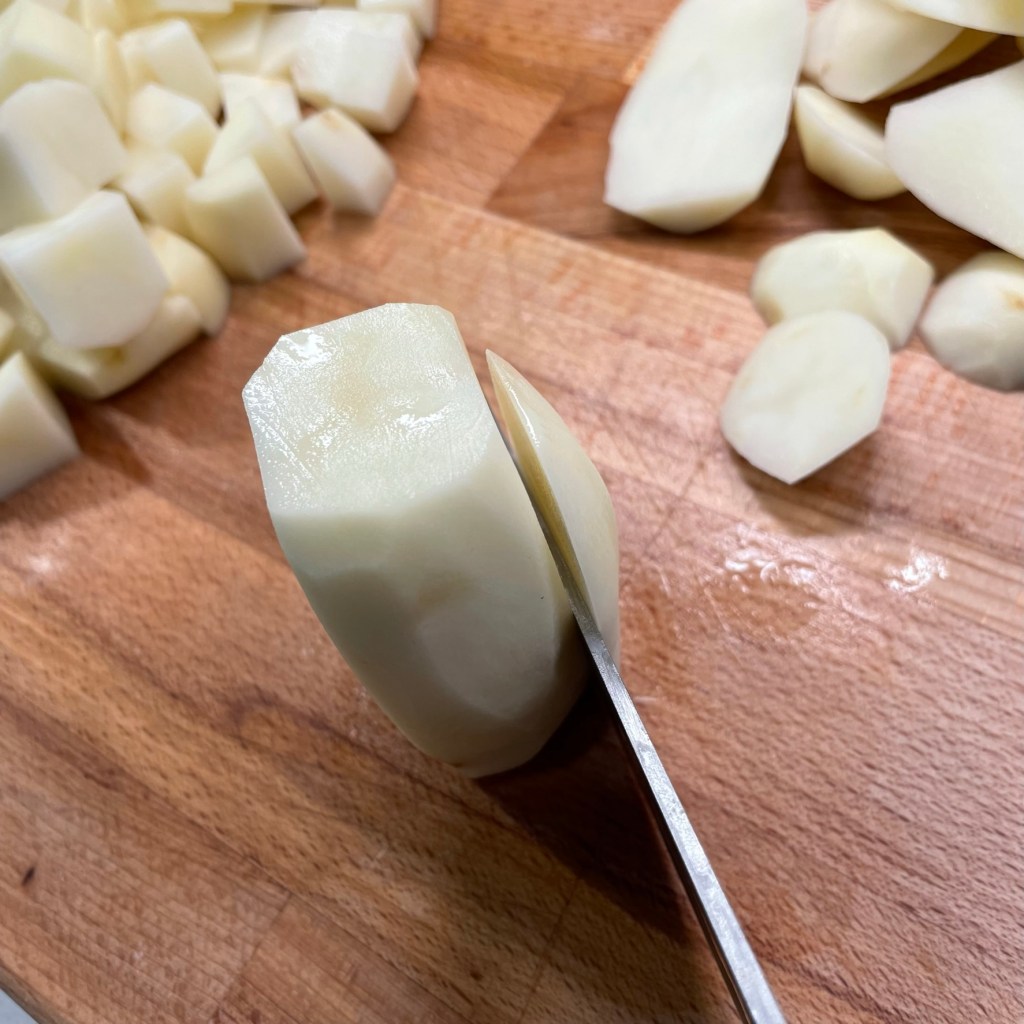
- 4 Yukon gold potatoes; 3 washed and cubed, 1 peeled and cubed
- 1/2 small head cauliflower, cut into florets
- 1/2 cup half and half (or whole milk)
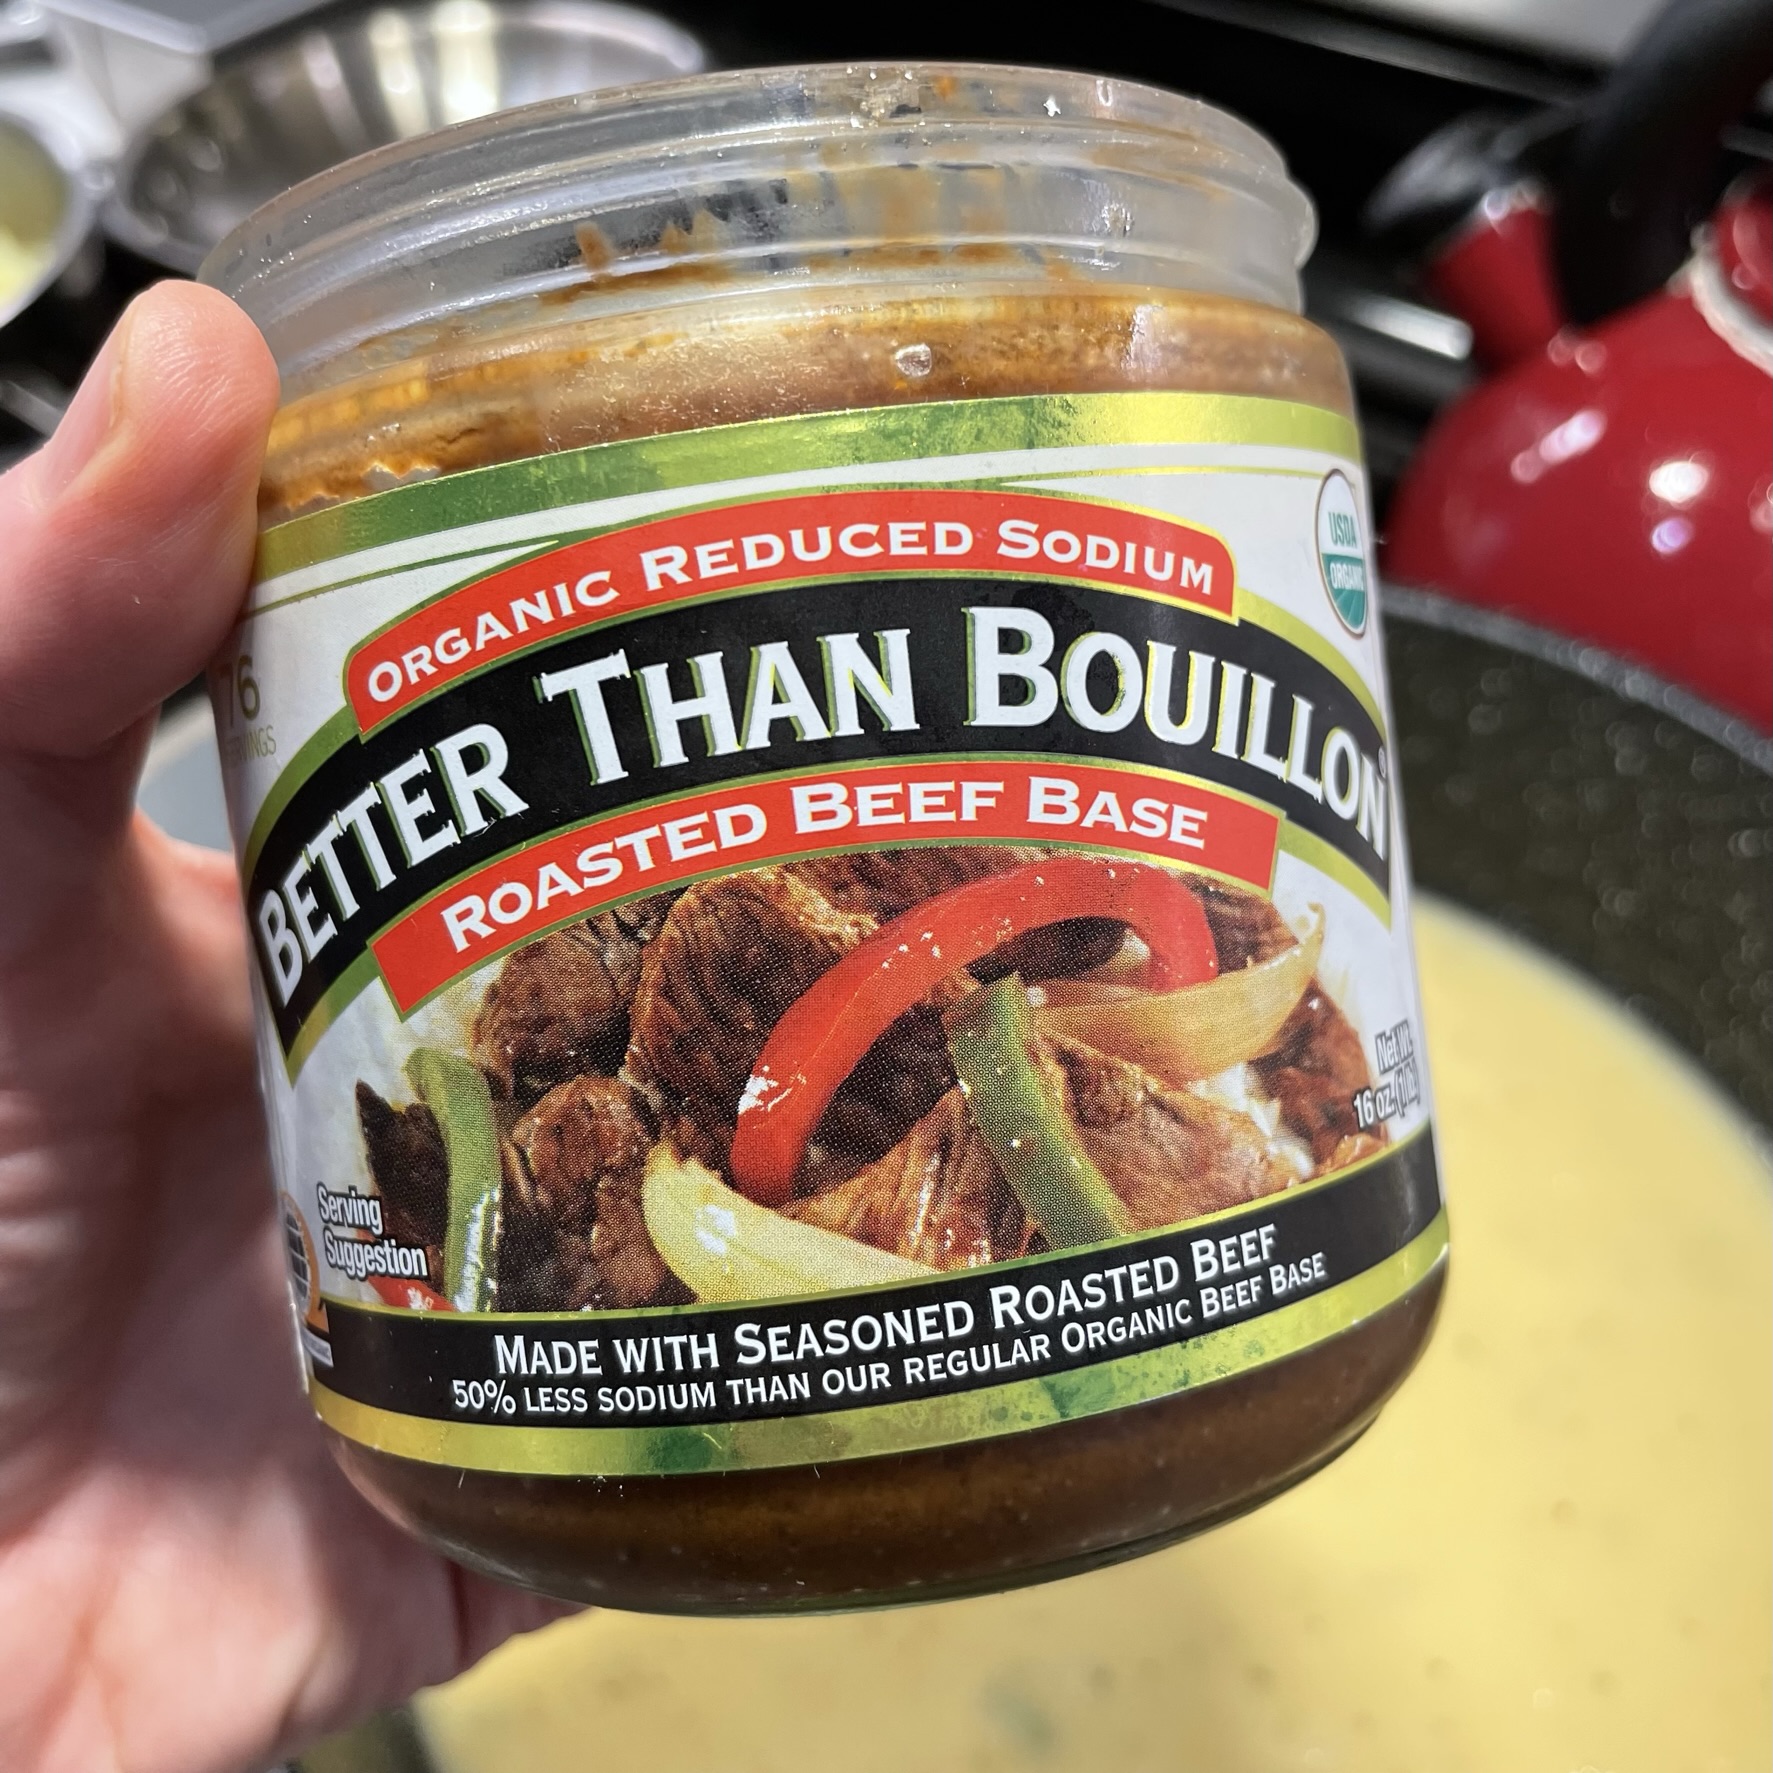
- 1 tsp. roasted garlic bouillon base
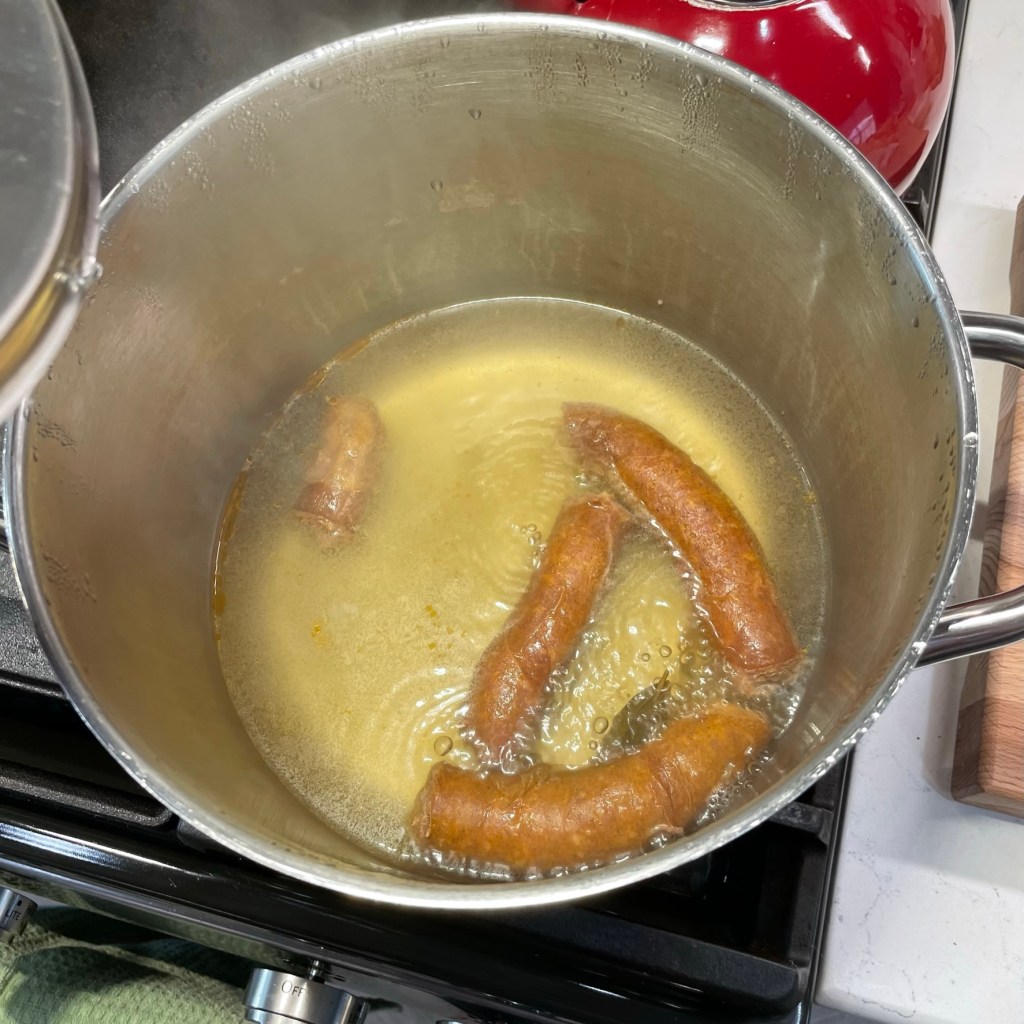
- 3 cups frozen shrimp shells
- 1 pint fresh chopped clams with juices
Directions
- Cook bacon in a skillet or the chowder pot until crisp. Use a slotted spoon to remove the bacon, and set it aside to be added back to the chowder at the end.
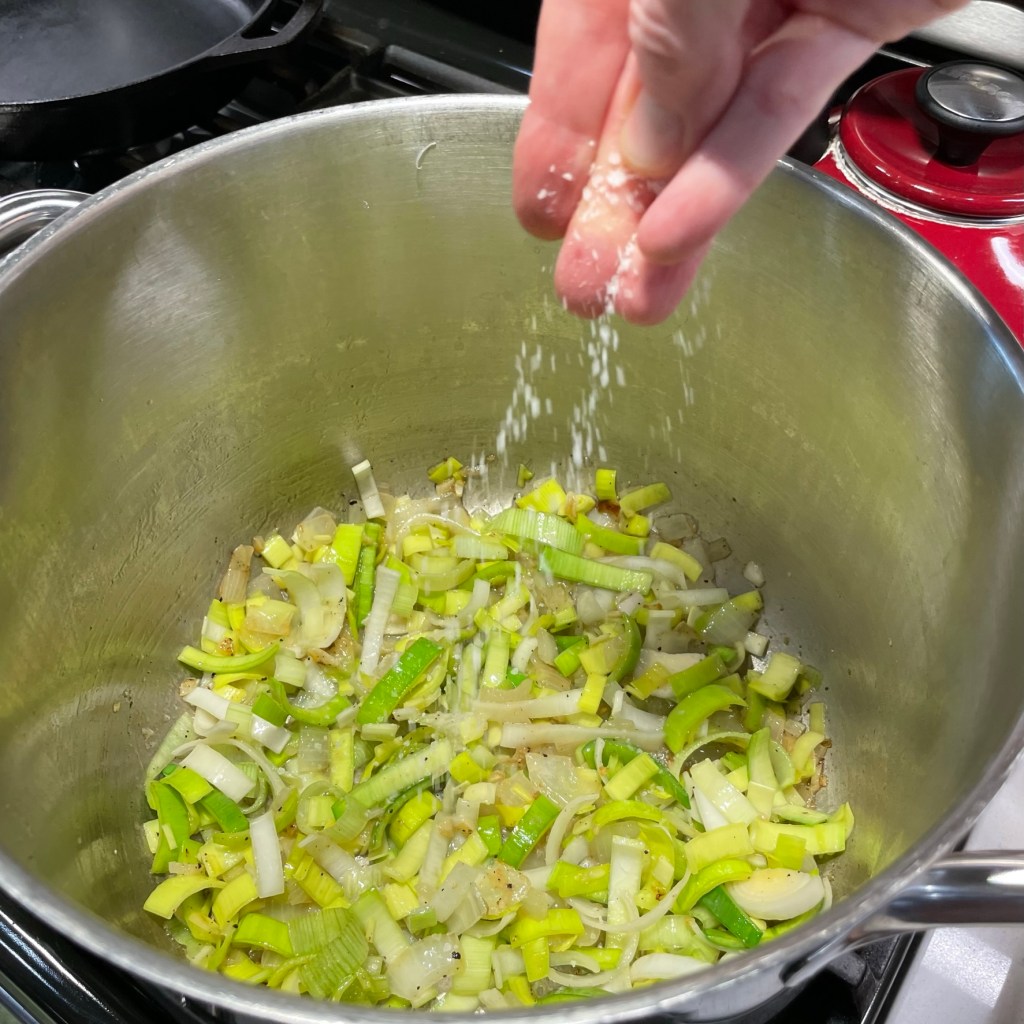
- Add celery and onion to the bacon grease, sautéing until slightly tender. Add garlic and cook briefly. Season with salt and pepper, then sprinkle in flour. Cook until the mixture becomes bubbly, and then pour in white wine (vermouth, in my case) to deglaze the bits that are stuck on the pan.
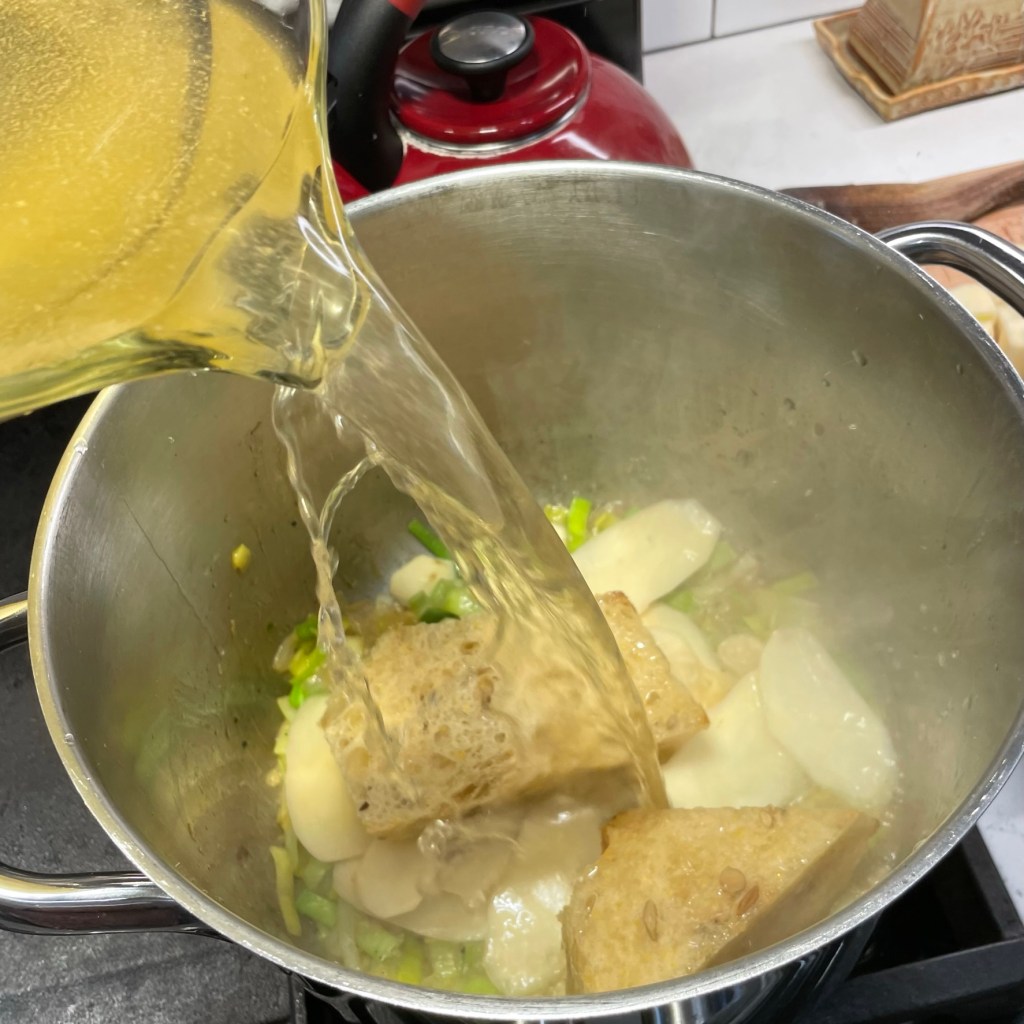
- Add one cup veggie broth to the pot, along with evaporated milk and regular milk. Immediately add skin-on potatoes, and drop in a bay leaf or two.
- While the chowder simmers, place cauliflower in a double boiler over simmering water and steam it until it’s very tender. Simmer peeled potatoes in remaining cup of veggie broth until it’s easily pierced with a fork. Cool both several minutes.
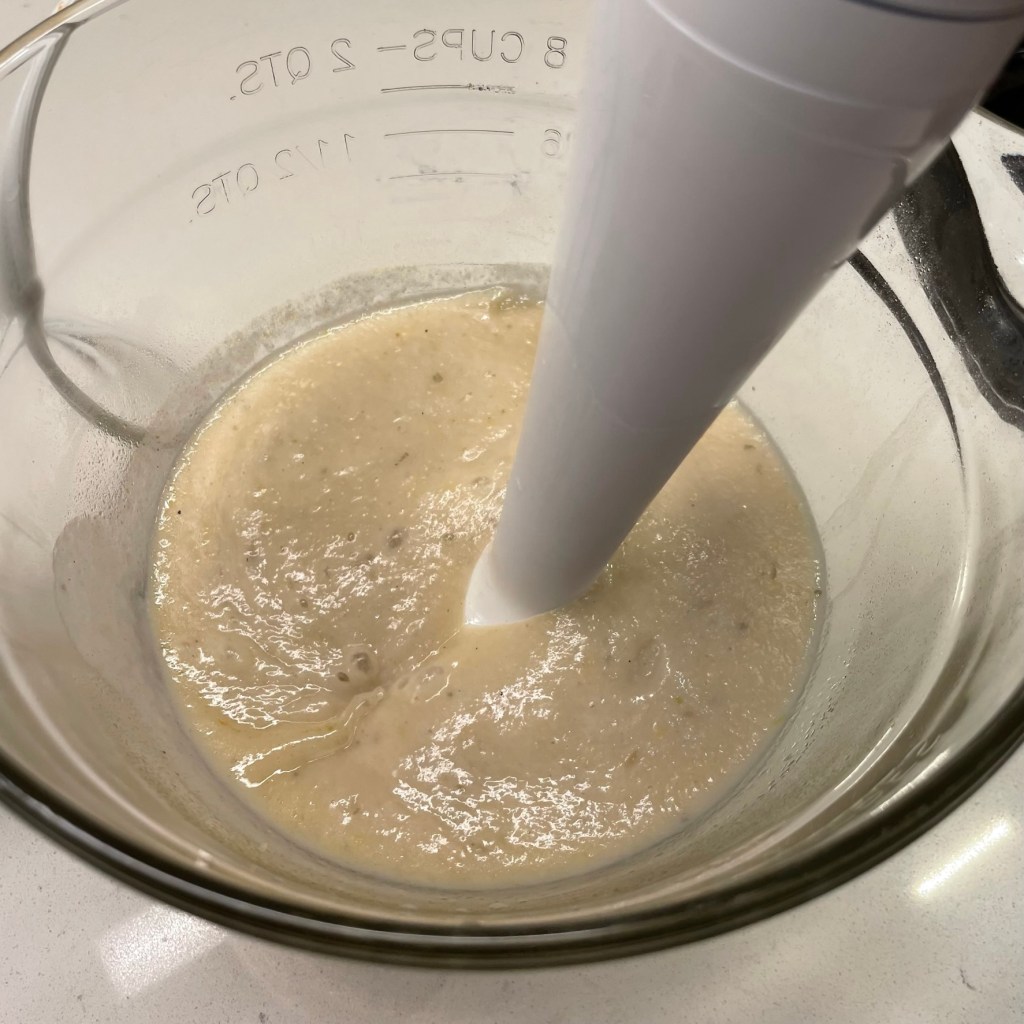
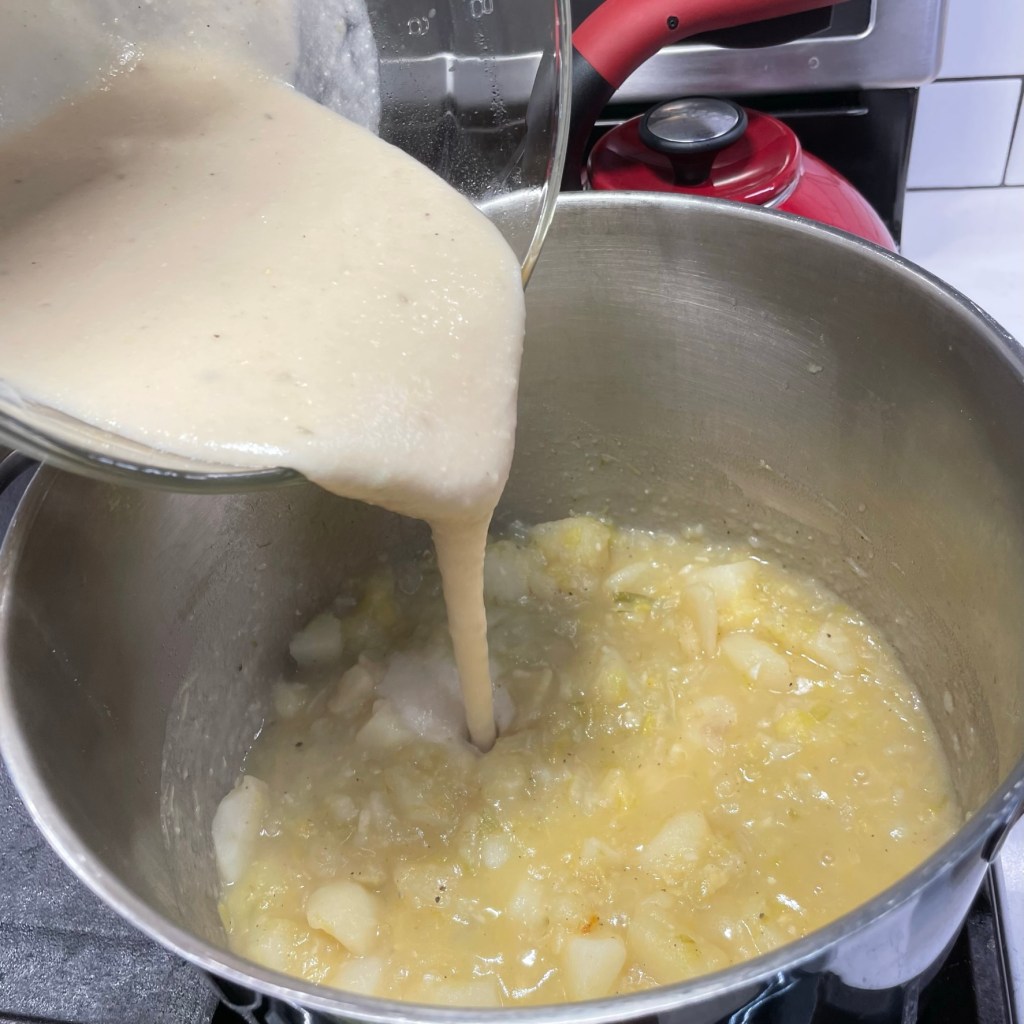
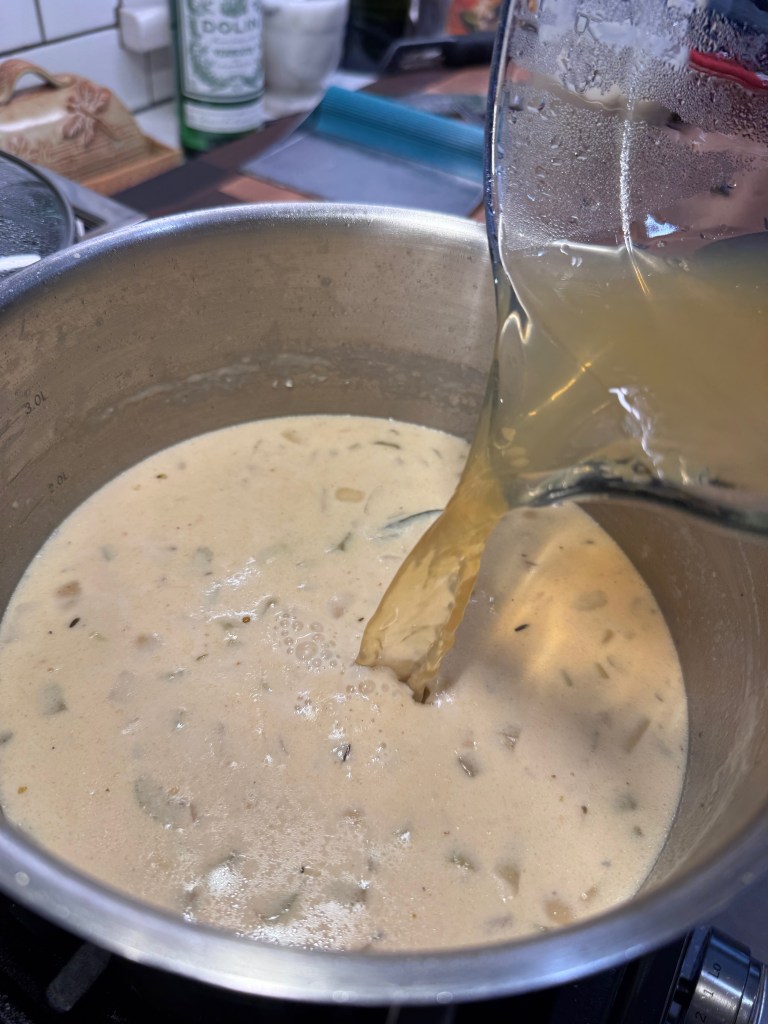
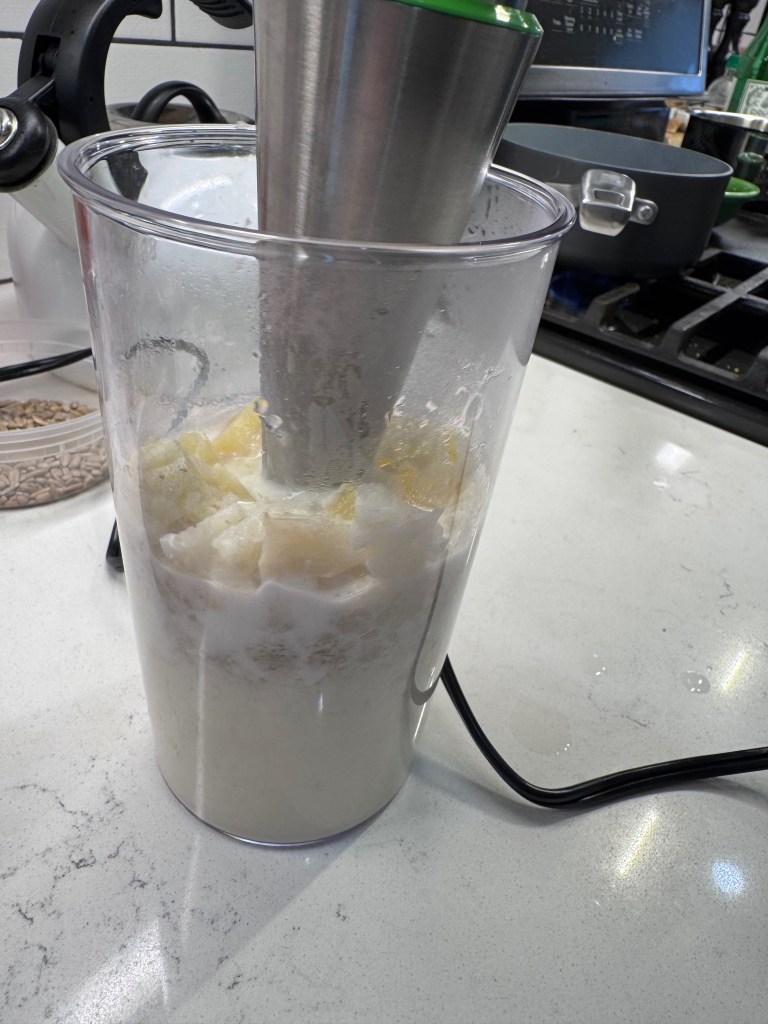
- Place cooked cauliflower and potatoes in a blender jar with half and half and roasted garlic bouillon base. Blend until smooth and thick. Add puree to chowder and stir to combine.
- Remove bay leaf from chowder, then add clams and cooked bacon. Heat through and serve.